正确安装,正常启动,参照https://www.cnblogs.com/pjuncool/p/12701758.html
修改默认密码
在my.cnf文件中增加skip-grant-tables属性
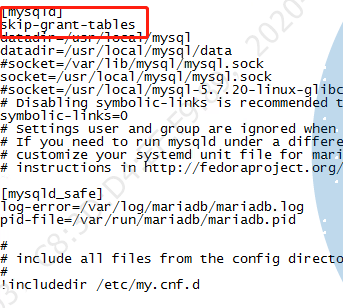
然后进行登录
shell> /usr/local/mysql/bin/mysql -uroot -p
如果提示下面错误,则需要创建软连接
Can't connect to local MySQL server through socket '/tmp/mysql.sock'
创建软连接
shell>find / -name "mysql.sock"
shell>ln XXX/XXX/mysql.sock /tmp/mysql.sock
查询tmp目录,出现下图表示建立成功

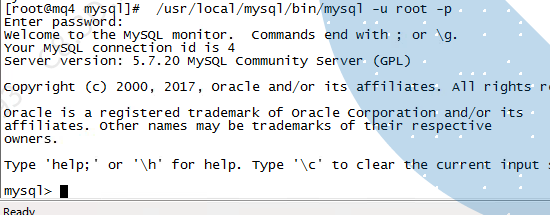
然后再登录,要输入密码时,直接回车跳过即可
shell> /usr/local/mysql/bin/mysql -uroot -p
就可以直接进入
执行命令
mysql>update mysql.user set authentication_string=PASSWORD('123') where user='root' and host='localhost';
mysql>exit;
重启mysql
shell>service mysqld restart
在my.cnf文件中删除skip-grant-tables属性,并重启mysql
shell>service mysqld restart
然后再登录,输入刚才修改后的密码,即可登录
shell> /usr/local/mysql/bin/mysql -uroot -p
如果登录后提示错误:
ERROR 1820 (HY000): You must SET PASSWORD before executing this statement
需要执行
set password=password('root');
flush privileges;
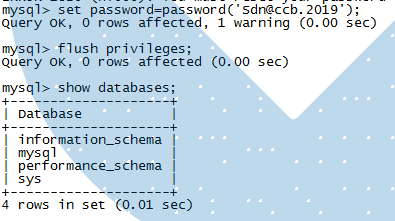
创建数据库
mysql> CREATE DATABASE testdb  CHARACTER SET utf8 COLLATE utf8_bin;
mysql> GRANT ALL ON db_name.* TO user_name@'%' IDENTIFIED BY 'passwprd';
mysql> flush privileges;
创建用户,授权并登录新用户
mysql>CREATE USER 'username'@'%' IDENTIFIED BY 'password';
mysql>grant all privileges on mq.* to 'testdb'@'%';
mysql>exit;
shell> /usr/local/mysql/bin/mysql -u test -p