1. 重点提炼
- 路由守卫
- 组件内容守卫
- 路由守卫参数
- 路由独享的守卫
- 全局守卫
2. 引言
像koa中间件、生命周期等的概念和路由守卫的概念差不多,其实就是在一个东西当中,预留了一些接口,并且这个东西是有很多过程组成的,每一个过程中都打入一个钉子(钩子),可利用这种方式往里注入想要的东西。
守卫(拦截器)其实就是可以拦截每个(工作)过程,在工作过程当中去做一些事,并且决定当前的工作流。可以理解为路由拦截器,其实很多概念都是相通的,它其实和axios中的拦截器概念是一样的。在这个执行过程中,比如你想让其往下执行,就调用一个方法让其继续往下执行,如果不想继续往下执行,可以直接终止它的行为即可。
导航守卫 => “导航”表示路由正在发生改变。
正如其名,vue-router 提供的导航守卫主要用来通过跳转或取消的方式守卫导航。
有多种机会植入路由导航过程中:全局的, 单个路由独享的, 或者组件级的。
记住参数或查询的改变并不会触发进入/离开的导航守卫。
你可以通过观察 $route 对象来应对这些变化,或使用 beforeRouteUpdate 的组件内守卫。
3. 路由守卫
当导航发生改变的时候,vue-router 会在多个不同的地方调用指定的函数,也就是与路由有关的生命周期函数,也称为:路由守卫(路由拦截器)。
4. 生命周期
把不同阶段内调用的生命周期函数,划分了以下几种方式(每个生命周期都有自己的使用规则,并不是想干嘛就干嘛的):

- 组件内守卫(组件内触发)
- 路由独享守卫(路由配置中触发)
- 全局守卫(全局触发)
5. 完整的导航解析流程
为啥有守卫这个东西,看官网说明: => 官网
要想了解分类,就需要认识完整的导航解析流程(工作流)
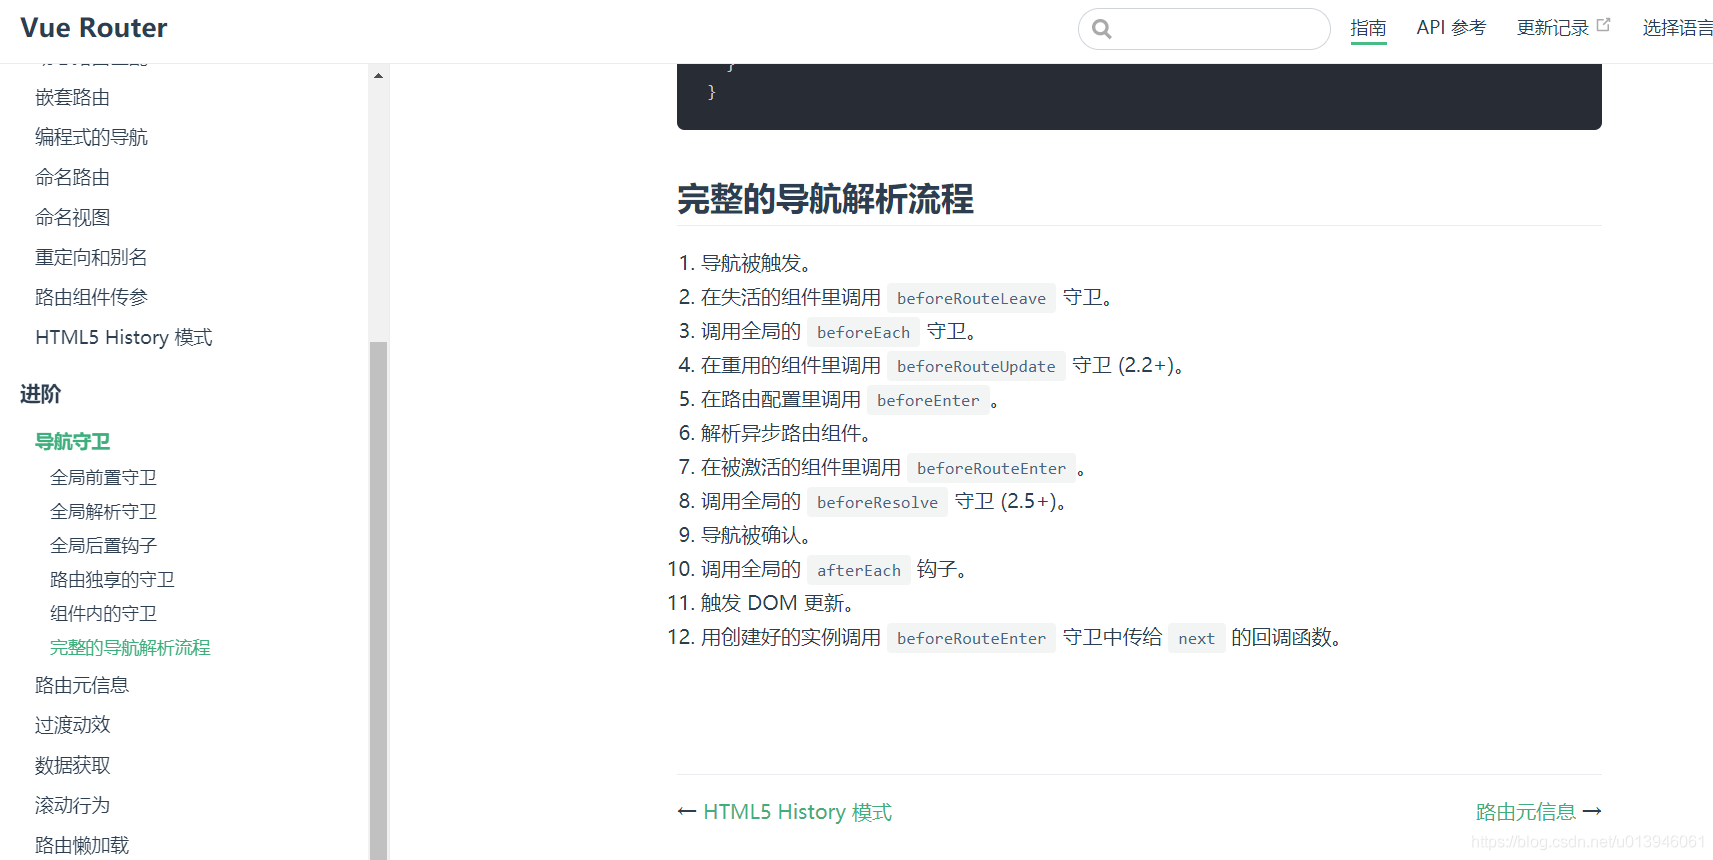
当通过一个url进行访问时,大致走以下这个流程。
- 导航被触发。(
vue-router开始工作了) - 在失活的组件里调用
beforeRouteLeave(离开)守卫。(导航的触发可能是从一个url触发另一个url,url的变化会导致当前某个组件销毁,同时也会导致当前某个组件对应的路由失活了) - 调用全局的
beforeEach守卫。(每次导航都会触发,类似created生命周期) - 在重用的组件里调用
beforeRouteUpdate守卫 (2.2+)。(路由的变换,复用了该组件,进入和离开的组件都是同一个,实际上并没有真正意味上把组件销毁,而是重用该组件,如果有这种情况发生,就会在重用的组件中触发beforeRouteUpdate) - 在路由配置里调用
beforeEnter。(进入路由) - 解析异步路由组件。
- 在被激活的组件里调用
beforeRouteEnter。 - 调用全局的
beforeResolve守卫 (2.5+)。 - 导航被确认。
- 调用全局的
afterEach钩子。 - 触发
DOM更新。 - 用创建好的实例调用
beforeRouteEnter守卫中传给next的回调函数。(在这个过程中,最为重要的是next函数,为什么称为拦截呢?因为可以通过next函数去控制当前的一个流程,在这个过程当中,不允许程序往下走了,这个时候可以通过next函数控制,即可以拦截)
6. 组件内守卫
定义在组件内的与路由有关的生命周期函数(守卫)
- beforeRouteEnter(进入)
- beforeRouteUpdate(更新)
- beforeRouteLeave(离开)
6.1 官方解释
const Foo = {


  template: `...`,
  beforeRouteEnter (to, from, next) {


    // 在渲染该组件的对应路由被 confirm 前调用
    // 不!能!获取组件实例 `this`
    // 因为当守卫执行前,组件实例还没被创建
  },
  beforeRouteUpdate (to, from, next) {


    // 在当前路由改变,但是该组件被复用时调用
    // 举例来说,对于一个带有动态参数的路径 /foo/:id,在 /foo/1 和 /foo/2 之间跳转的时候,
    // 由于会渲染同样的 Foo 组件,因此组件实例会被复用。而这个钩子就会在这个情况下被调用。
    // 可以访问组件实例 `this`
  },
  beforeRouteLeave (to, from, next) {


    // 导航离开该组件的对应路由时调用
    // 可以访问组件实例 `this`
  }
}
6.2 beforeRouteEnter
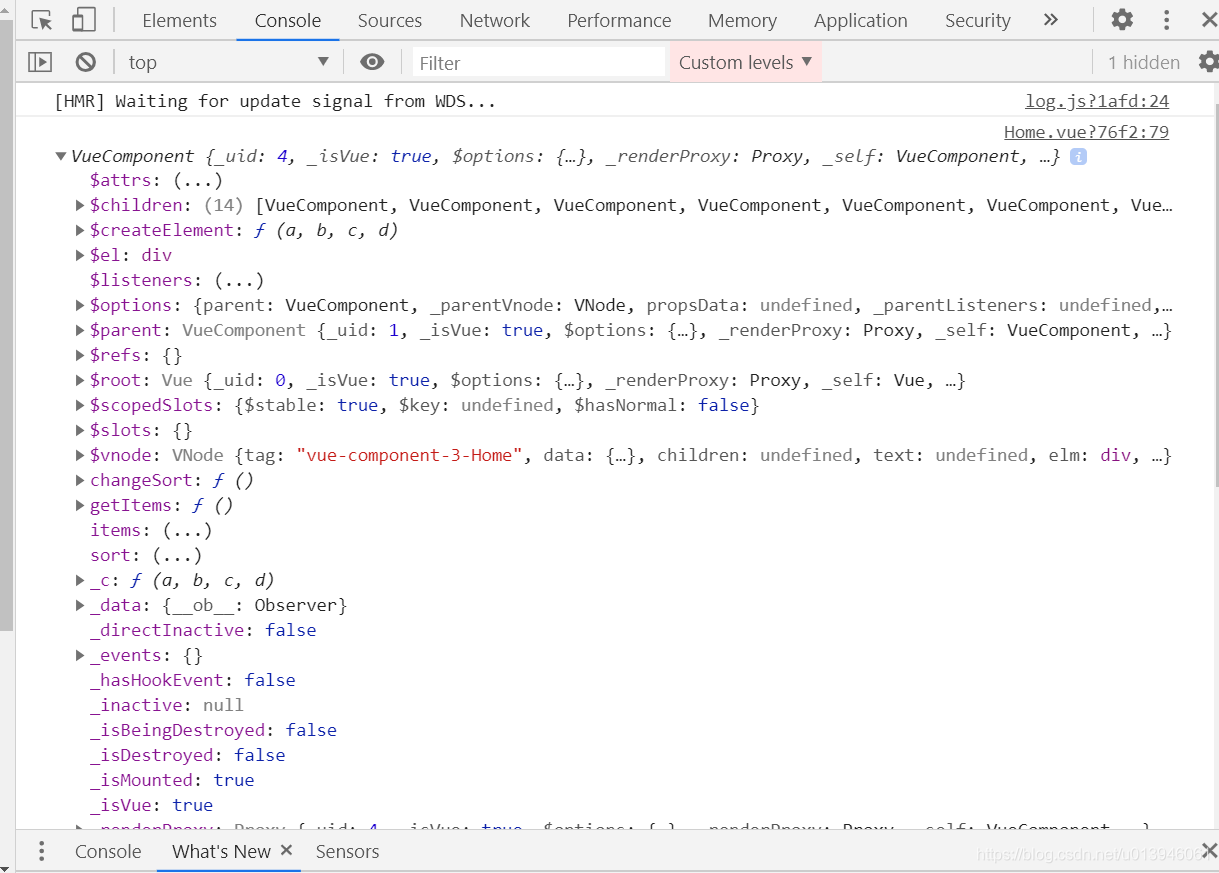
路由进入某个组件会被调用的,而且它还会先用当前组件触发,即组件还没created的时候,beforeRouteEnter就会执行。既然你想控制组件,有些时候是不希望组件被渲染的,所以要在组件渲染(构建)之前先触发一个东西。
当路由解析完成,并中指定的组件渲染之前(组件 beforeCreate 之前),不能这里通过 this 访问组件实例,需要通过 next 回调来进行调用
beforeRouteEnter (to, from, next) {


    // 不!能!获取组件实例 `this`
    // 因为当守卫执行前,组件实例还没被创建
  	next(vm => {


      // vm...
    })
}
在导航被确认的时候执行回调,并且把组件实例作为回调方法的参数。
beforeRouteEnter (to, from, next) {


  next(vm => {


    // 通过 `vm` 访问组件实例
  })
}
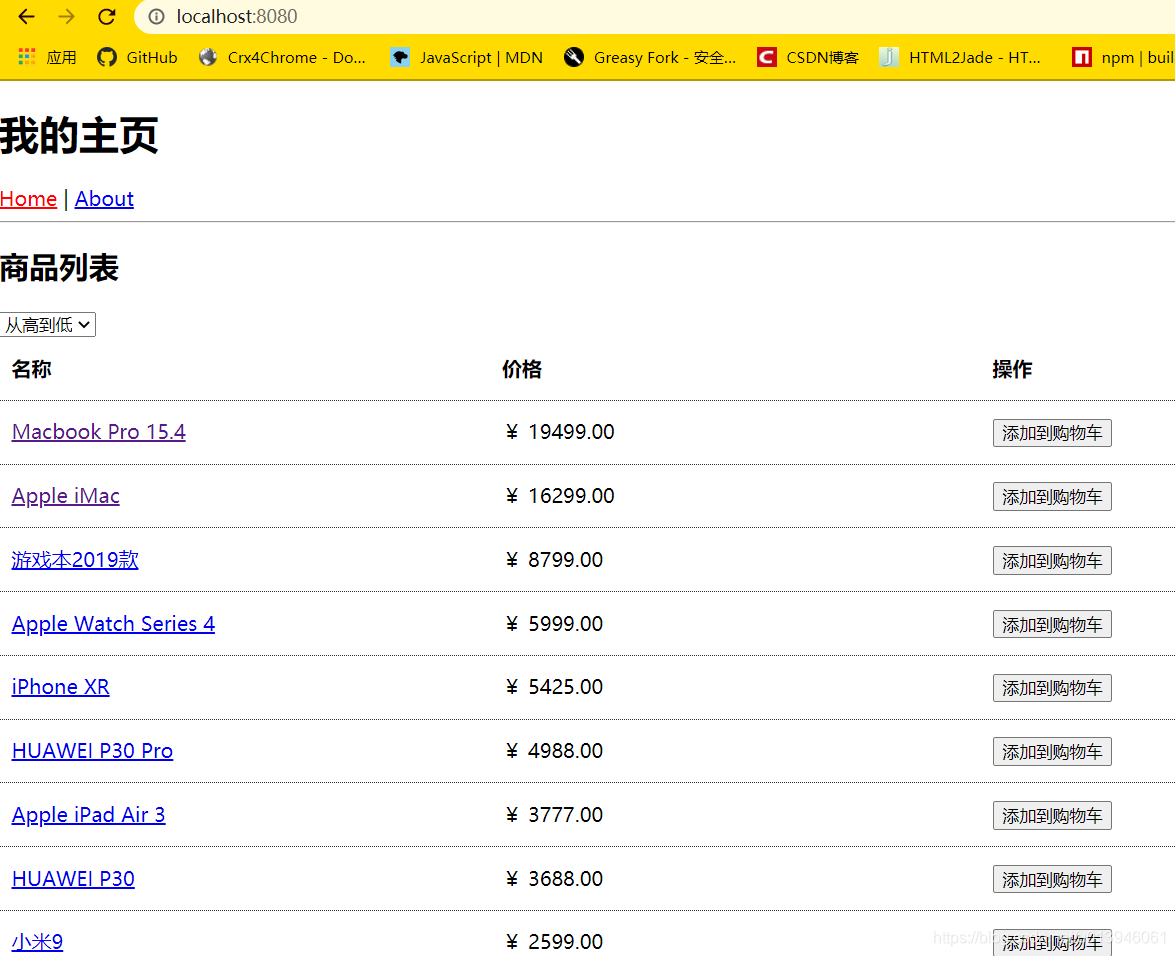
6.2.1 example01
6.2.1.1 example01-1
\app\src\views\Home.vue
<template>
<div>
<h2>商品列表</h2>
<select @change="changeSort" :value="sort">
<option value="desc">从高到低</option>
<option value="asc">从低到高</option>
</select>
<ul class="item-list">
<li class="head">
<span>名称</span>
<span>价格</span>
<span>操作</span>
</li>
<li v-for="item of items" :key="item.id">
<span>
<router-link :to="{name: 'view', params: {id: item.id}}">{
{item.name}}</router-link>
</span>
<span>{
{item.price|RMB}}</span>
<span>
<button>添加到购物车</button>
</span>
</li>
</ul>
</div>
</template>
<script>
import * as apis from '@/apis'
import {
RMB} from "@/filters/RMB";
export default {
name: "Home",
data() {
return {
sort: 'desc',
items: []
}
},
async created() {
this.getItems();
},
// 局部过滤器引入,挂载到filters
filters: {
RMB
},
watch: {
async $route(to, from) {
this.getItems();
}
},
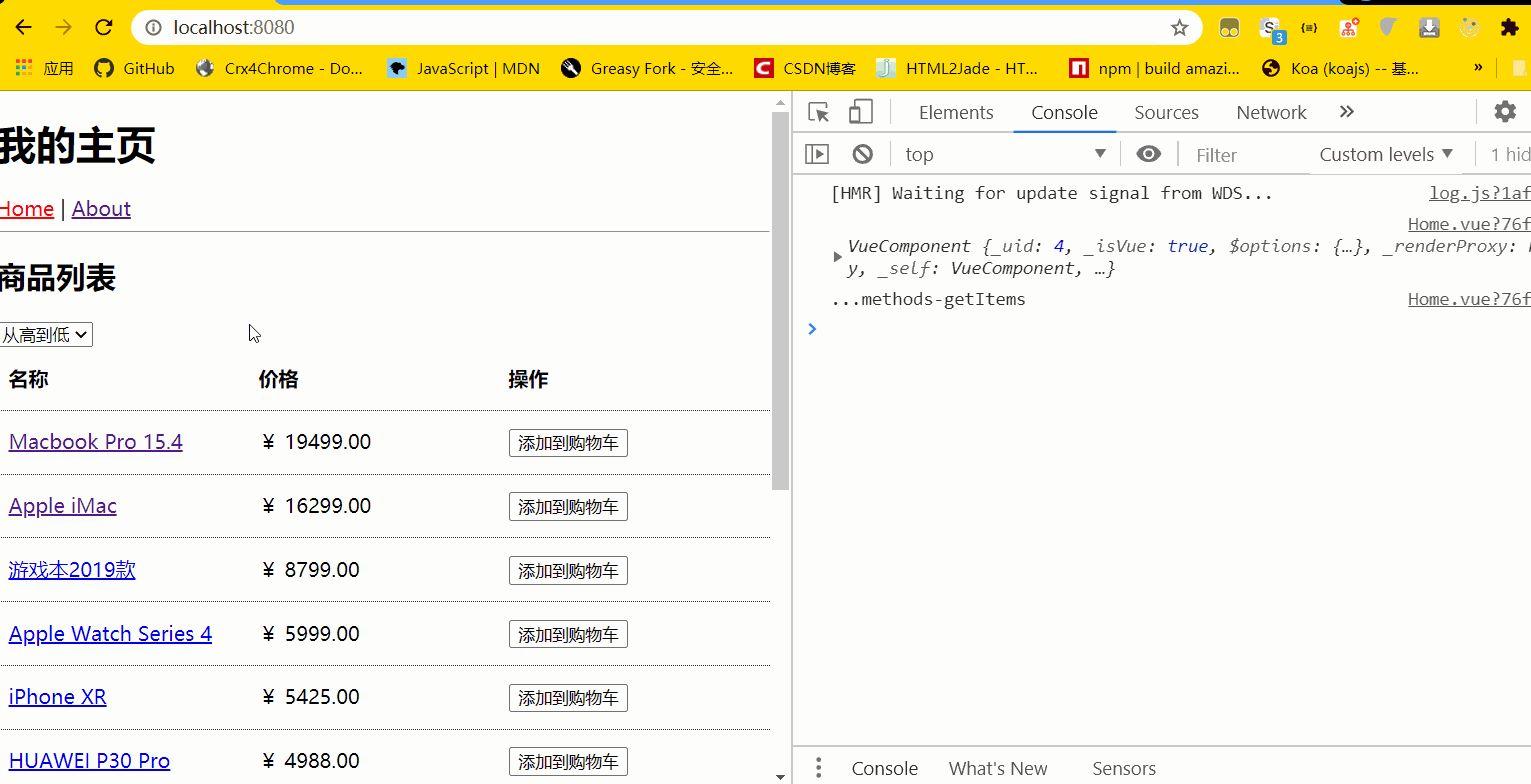
beforeRouteEnter(to, from, next) {
},
methods: {
changeSort({
target: {
value}}) {
this.$router.push({
name: 'home',
query: {
sort: value
}
});
},
async getItems() {
this.sort = this.$route.query.sort || 'desc';
let rs = await apis.getItems(this.sort);
this.items = rs.data;
}
}
}
</script>
<style>
ul {
margin: 0;
padding: 0;
}
li {
list-style: none;
}
.item-list li {
padding: 10px;
display: flex;
justify-content: space-between;
height: 30px;
line-height: 30px;
border-bottom: 1px dotted #333;
}
.item-list li.head {
font-weight: bold;
}
.item-list li span {
min-width: 200px;
}
</style>
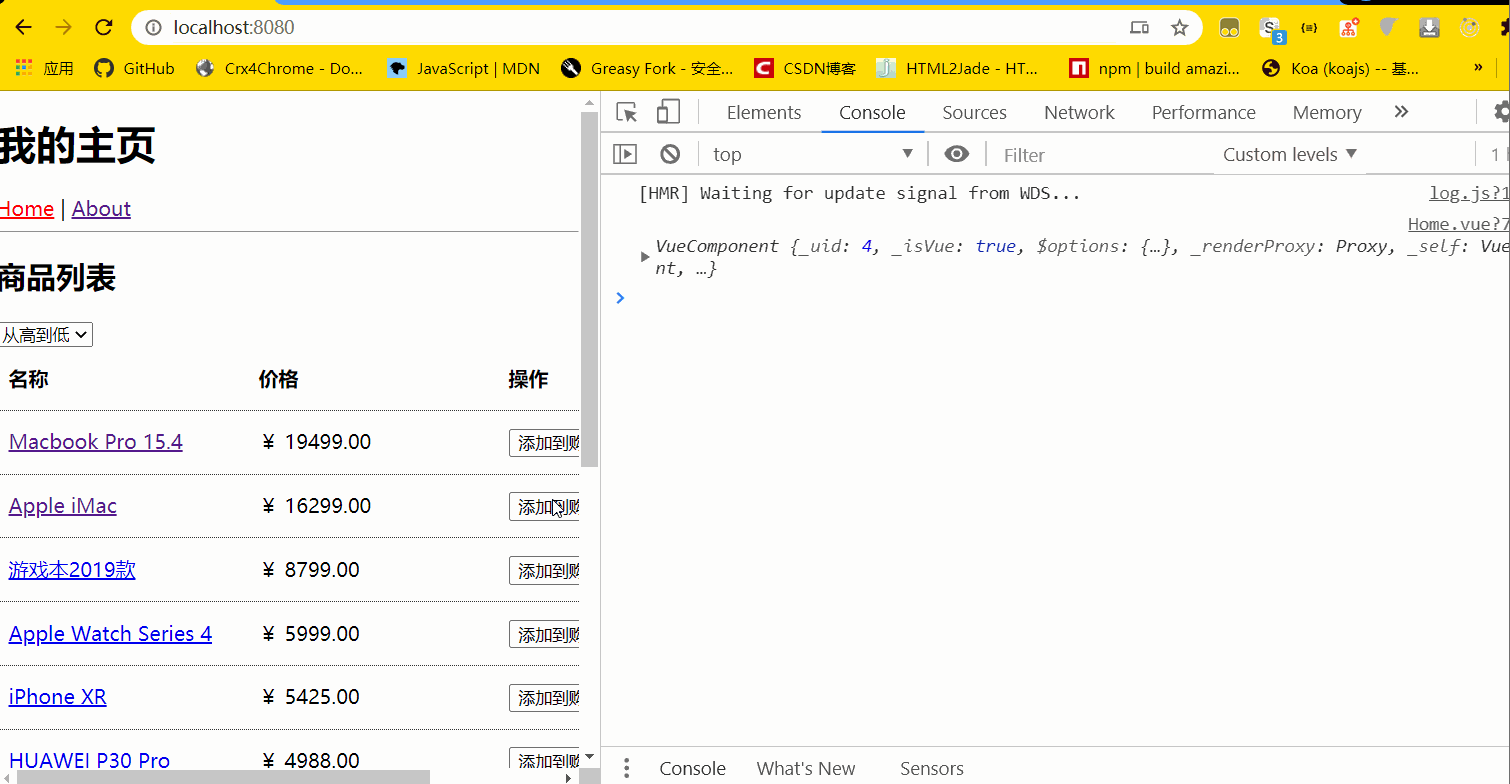
下面一片空白,其实程序是挂在beforeRouteEnter里了,不允许程序往下进行了。
想要继续往下执行,必须在其内调用next函数。
参考:https://https://github.com/6xiaoDi/blog-vue-Novice/tree/a1.88
Branch: branch05commit description:a1.88(example01-1——程序执行被挂在
beforeRouteEnter里了)tag:a1.88
6.2.1.2 example01-2
        beforeRouteEnter(to, from, next) {


            next();
        },
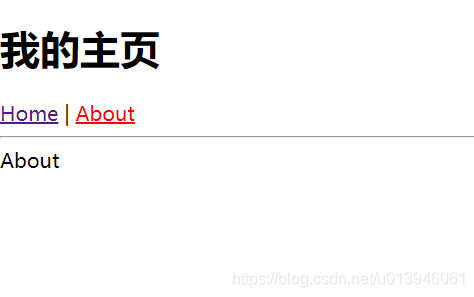
这样程序就可以往下进行了。
参考:https://https://github.com/6xiaoDi/blog-vue-Novice/tree/a1.89
Branch: branch05commit description:a1.89(example01-2——程序执行在
beforeRouteEnter里了,继续往后执行)
6.2.1.3 example01-3
设置成false,也不继续往下进行了。
        beforeRouteEnter(to, from, next) {


            next(false);
        },

参考:https://https://github.com/6xiaoDi/blog-vue-Novice/tree/a1.90
Branch: branch05commit description:a1.90(example01-3——next传false,则不会往下执行)
tag:a1.90
6.2.1.4 example01-4
除此之外,还可以传入路由对象 => 跳转到about页面
        beforeRouteEnter(to, from, next) {


            next({


                name:'about'
            });
        },
这个时候访问首页,就转到About了。
因此可通过next控制当前的导航。
参考:https://https://github.com/6xiaoDi/blog-vue-Novice/tree/a1.91
Branch: branch05commit description:a1.91(example01-4——传入路由对象 => 跳转到
about页面)tag:a1.91
6.2.2 关于this
而在这一个环节是调用不了this的,如果需要调用this,如在这里需要处理一些数据,把某些数据赋值给Home组件中data中的sort属性。我们可以,将处理的数据提取后赋值给sort,我们不用created生命周期了 =>
可用next调用一个回调函数。这个回调函数什么时候执行呢?
路由处理完成,next代表进入下一步,当它组件渲染完成后,
即当组件创建完成后,next函数就会被执行,这里就可以进行访问了,当然这里不能访问this,而是把组件对象(vm)传给该函数,然后通过第一个参数拿到它,这个再去控制它就没任何问题了。
next(function(vm) {


    console.log(vm)
});
这样就可以得到VueComponent实例对象了。
参考:https://https://github.com/6xiaoDi/blog-vue-Novice/tree/a1.92
Branch: branch05commit description:a1.92(beforeRouteEnter的this执行怎么处理)
tag:a1.92
6.3 beforeRouteUpdate
在当前路由改变,但是该组件被复用时调用
beforeRouteUpdate (to, from, next) {


  // just use `this`
  // 可以访问组件实例 `this`
  this.name = to.params.name
  next()
}
注意 beforeRouteEnter 是支持给 next 传递回调的唯一守卫。对于 beforeRouteUpdate 和 beforeRouteLeave 来说,this 已经可用了,所以不支持传递回调,因为没有必要了。
组件内守卫外的守卫是无法获取this的
6.3.1 example02
在watch中可以不再监听$route是否变化了,我们看看这个组件能否被复用了,可以通过以下方式来达到效果了。
beforeRouteUpdate可代替watch
6.3.1.1 example02-1
        beforeRouteUpdate(to, from, next) {


            console.log('...', this.$route.query.sort)
            next();
        },
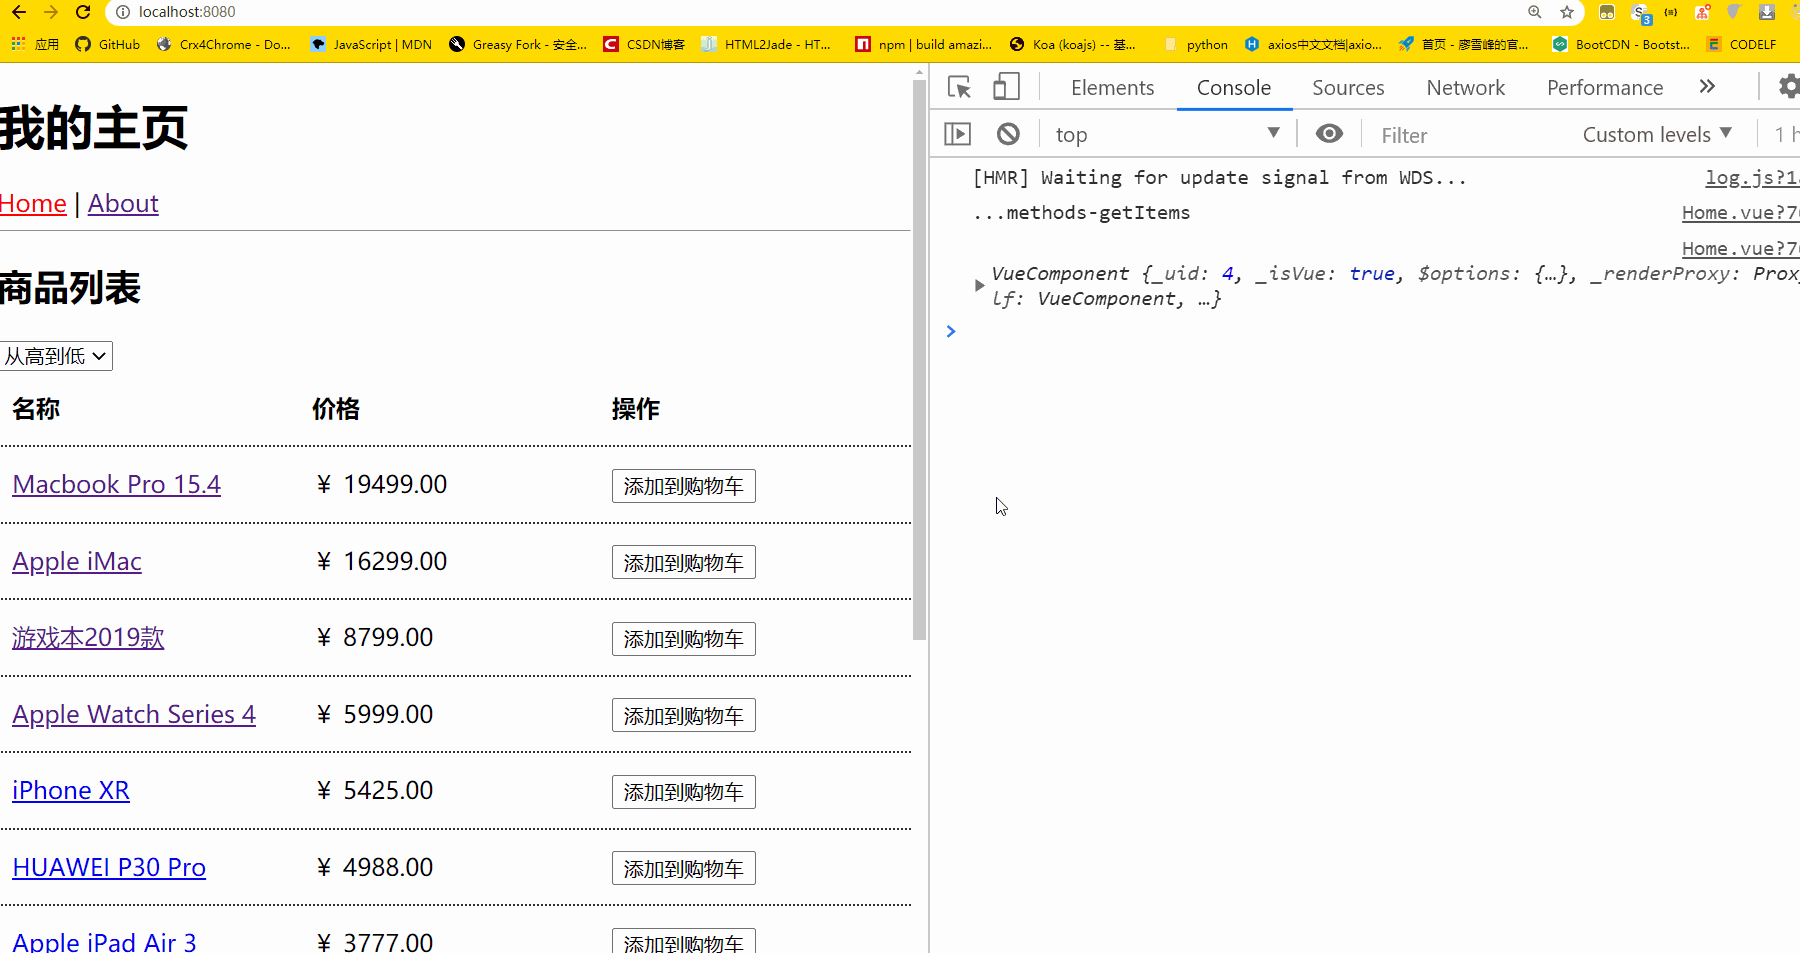
第一次渲染的时候,它是不会被触发的,我们切换排序,复用这个组件的时候,就可以触发了。
我们查看每次排序值,发现每次打印的值,是上一次的排序值。
beforeRouteUpdate是导航确认之前,即它有一个导航确认的步骤,导航确认之后才能取到这个值,next就是导航确认,即执行next之后才是导航确认之后,所以导航执行之前,获取的是上回的值。
所以一定要注意这个坑,这里在导航没有确认之前,去取值,肯定是上一次的值。
所以要调用getItems的话,一定要在next之后,否则必出错。
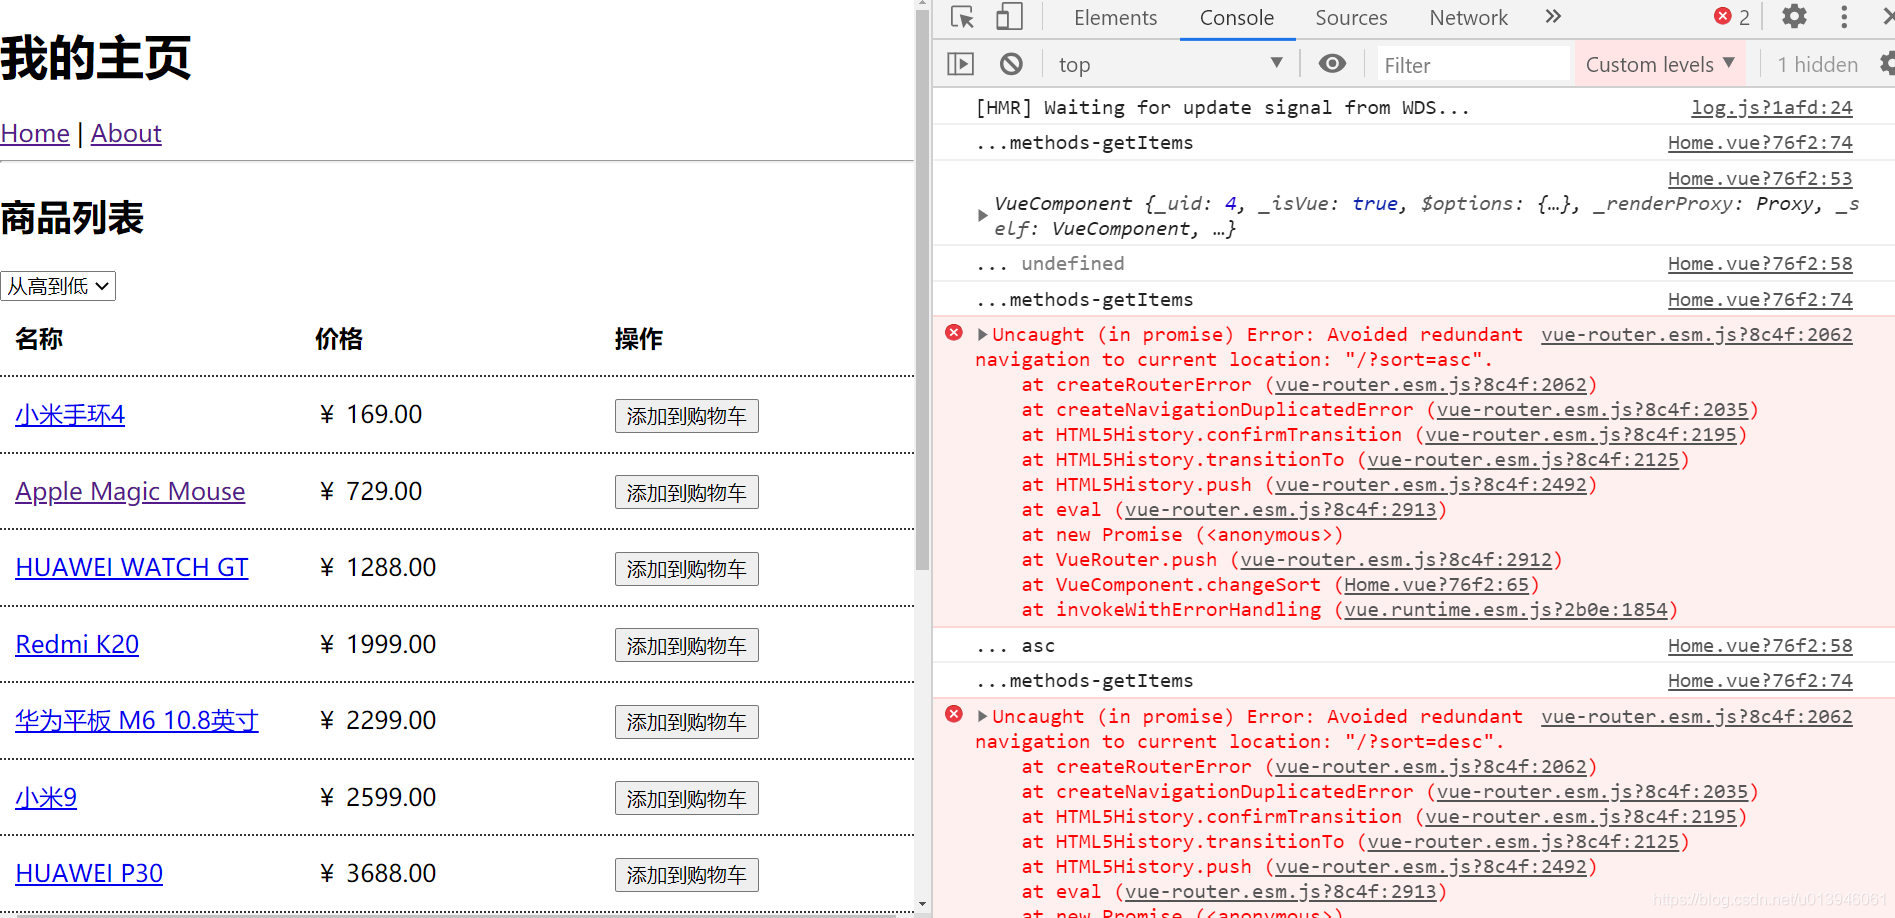
并且还有一个坑,从一个url跳转到另一个url,如果是同样的地址,就变成重复导航了,必然会报错。
因此一定要注意这个顺序问题。
参考:https://https://github.com/6xiaoDi/blog-vue-Novice/tree/a1.93
Branch: branch05commit description:a1.93(example02-1——beforeRouteUpdate使用)
tag:a1.93
6.3.1.2 example02-2
调用getItems,放在next之前
<template>
    <div>
        <h2>商品列表</h2>
        <select @change="changeSort" :value="sort">
            <option value="desc">从高到低</option>
            <option value="asc">从低到高</option>
        </select>

        <ul class="item-list">
            <li class="head">
                <span>名称</span>
                <span>价格</span>
                <span>操作</span>
            </li>
            <li v-for="item of items" :key="item.id">
                <span>
                    <router-link :to="{name: 'view', params: {id: item.id}}">{

   {item.name}}</router-link>
                </span>
                <span>{

   {item.price|RMB}}</span>
                <span>
                    <button>添加到购物车</button>
                </span>
            </li>
        </ul>
    </div>
</template>

<script>
    import * as apis from '@/apis'
    import {

     RMB} from "@/filters/RMB";

    export default {


        name: "Home",

        data() {


            return {


                sort: 'desc',
                items: []
            }
        },

        async created() {


            this.getItems();
        },

        // 局部过滤器引入,挂载到filters
        filters: {


            RMB
        },

        beforeRouteEnter(to, from, next) {


            next(function(vm) {


                console.log(vm)
            });
        },

        beforeRouteUpdate(to, from, next) {


            console.log('...', this.$route.query.sort)
            this.getItems();
            next();
        },

        methods: {


            changeSort({

     target: {

     value}}) {


                this.$router.push({


                    name: 'home',
                    query: {


                        sort: value
                    }
                });
            },

            async getItems() {


                console.log("...methods-getItems");
                this.sort = this.$route.query.sort || 'desc';
                let rs = await apis.getItems(this.sort);

                this.items = rs.data;
            }
        }
    }
</script>

<style>
    ul {


        margin: 0;
        padding: 0;
    }

    li {


        list-style: none;
    }

    .item-list li {


        padding: 10px;
        display: flex;
        justify-content: space-between;
        height: 30px;
        line-height: 30px;
        border-bottom: 1px dotted #333;
    }
    .item-list li.head {


        font-weight: bold;
    }
    .item-list li span {


        min-width: 200px;
    }
</style>
从一个url跳转到另一个url,如果是同样的地址,就变成重复导航了,必然会报错。
参考:https://https://github.com/6xiaoDi/blog-vue-Novice/tree/a1.94
Branch: branch05commit description:a1.94(example02-2——调用
getItems,放在next之前)tag:a1.94
6.3.1.3 example02-3
用beforeRouteEnter代替created周期
调用getItems的话,放在next之后
        beforeRouteUpdate(to, from, next) {


            console.log('...', this.$route.query.sort)
            next();
            this.getItems();
        },
参考:https://https://github.com/6xiaoDi/blog-vue-Novice/tree/a1.95
Branch: branch05commit description:a1.95(example02-3——调用
getItems,放在next之后)tag:a1.95
6.4 beforeRouteLeave
导航离开该组件的对应路由时调用
离开守卫通常用来禁止用户在还未保存修改前突然离开。该导航可以通过 next(false) 来取消。
beforeRouteLeave (to, from, next) {


  // 可以访问组件实例 `this`
  const answer = window.confirm('Do you really want to leave? you have unsaved changes!')
  if (answer) {


    next()
  } else {


    next(false)
  }
}
7. 路由守卫参数
7.1 to
(目标点)即将要进入的目标 路由对象($route)
7.2 from
(来源)当前导航正要离开的路由对象($route)
7.3 next
路由确认回调函数,类似 Promise 中的 resolve 函数,一定要确保调用 next 函数,但是后续的导航行为将依赖 next 方法的调用参数
next(): 进行管道中的下一个钩子。如果全部钩子执行完了,则导航的状态就是confirmed(确认的)next(false): 中断当前的导航。如果浏览器的 URL 改变了 (可能是用户手动或者浏览器后退按钮),那么 URL 地址会重置到from路由对应的地址next('/') 或者 next({ path: '/' }): 跳转到一个不同的地址。当前的导航被中断,然后进行一个新的导航。你可以向next传递任意位置对象,且允许设置诸如replace: true、name: 'home'之类的选项以及任何用在router-link的toprop 或router.push中的选项。next(error): (2.4.0+) 如果传入next的参数是一个Error实例,则导航会被终止且该错误会被传递给router.onError()注册过的回调。
8. 路由独享的守卫
刚刚学习的守卫是针对组件上而言的,这里针对的是路由。
可以在路由配置上直接定义 beforeEnter 守卫(这些守卫与全局前置守卫的方法参数是一样的。),相对来说,应用不多 => 针对路由而非组件
VueRouter => routes属性 => beforeEnter
因为路由里可有多个组件。
路由可能会显示(配套)不同的组件,如果把控制权写在组件中,其实并不太合适,应用是跟路由url有关,而不是跟某个组件有关的。
后面有需求还会涉及一个url对应多个路由的情况。 => 这个时候整体是针对一个url进行路由控制了
const router = new VueRouter(
  {


    routes: [
      {


        path: '/foo',
        component: Foo,
        beforeEnter: (to, from, next) => {


          // ...
      	}
    	}
    ]
  }
)
9. 全局守卫
全局守卫是注册在 router 对象(new VueRouter({…}))上的 => 应用较多
- beforeEach
- beforeResolve
- afterEach
守卫是异步解析执行,此时导航在所有守卫 resolve 完之前一直处于 等待中。
9.1 beforeEach — 全局前置守卫
当一个导航触发时,全局前置守卫按照创建顺序调用
router.beforeEach((to, from, next) => {


  // ...
})
应用 => 用来控制权限级别使用(因为不管路由跳到哪,都会触发它),因此把鉴权放在这里,告诉用户你是否可以访问当前页面,做权限控制。
9.1.1 example03
鉴权实例
9.1.1.1 example03-1
\app\src\views\Login.vue
<template>
    <div>
        登录
    </div>
</template>

<script>
    export default {


        name: "Login"
    }
</script>

<style scoped>

</style>
\app\src\views\User.vue
<template>
    <div>
        <h3>用户中心</h3>
    </div>
</template>

<script>
    export default {


        name: "User"
    }
</script>

<style scoped>
</style>
\app\src\router\index.js
let router = new VueRouter({


    mode: 'history',
    routes: [
        {


            path: '/',
            name: 'home',
            component: Home
        },
        {


            path: '/about',
            name: 'about',
            component: About
        },
        {


            path: '/view/:id',
            name: 'view',
            component: Detail
        },
        {


            path: '/user',
            name: 'user',
            component: User
        },
        {


            path: '/login',
            name: 'login',
            component: Login
        }
    ]
});
\app\src\App.vue
<template>
  <div id="app">
    <h1>我的主页</h1>
    <div id="nav">
      <router-link exact to="/">Home</router-link>
      <span> | </span>
      <router-link  to="/about">About</router-link>
      <span> | </span>
      <router-link to="/user">User</router-link>
      <span> | </span>
      <router-link to="/login">Login</router-link>
    </div>
    <hr />
    <router-view></router-view>
  </div>
</template>
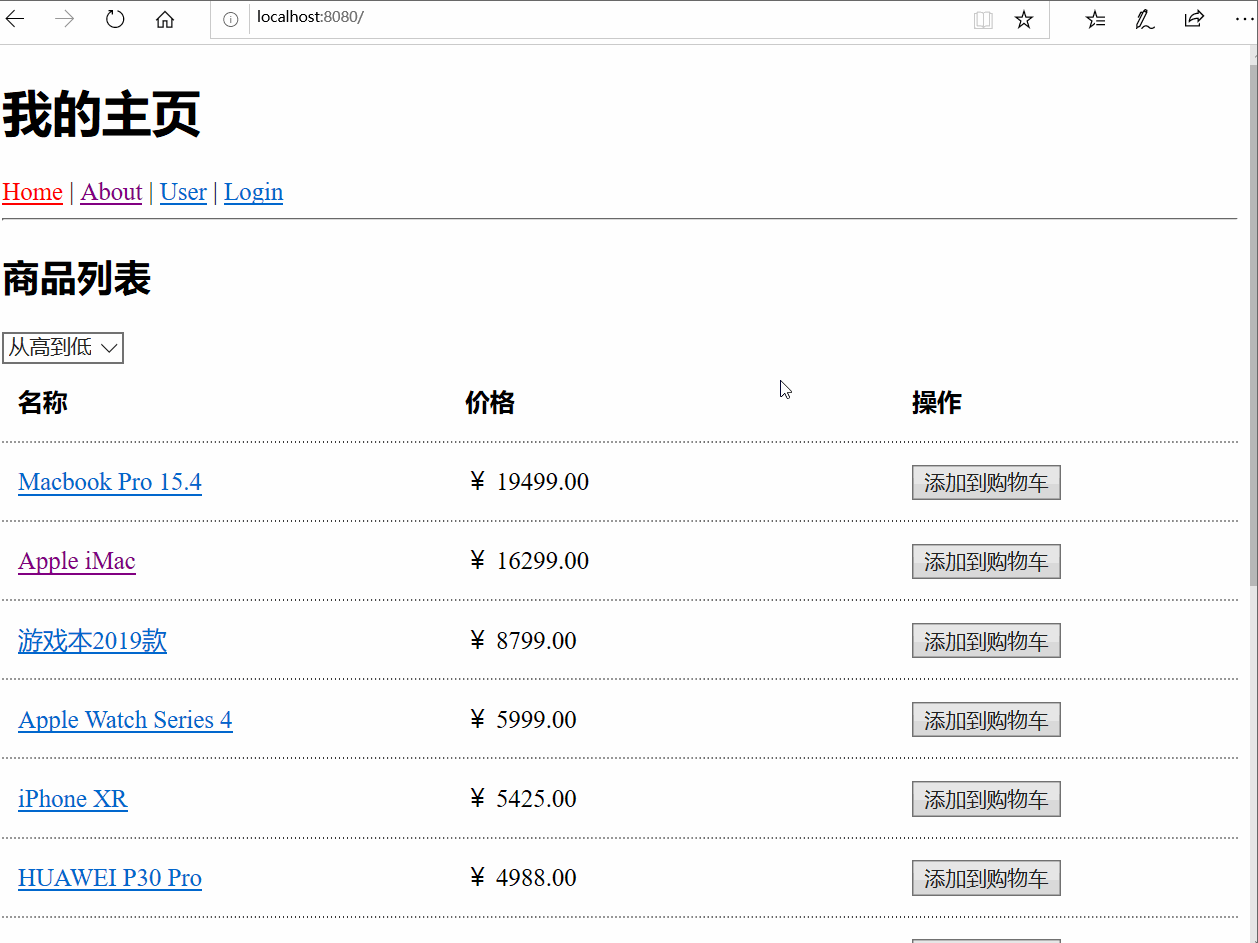
参考:https://https://github.com/6xiaoDi/blog-vue-Novice/tree/a1.96
Branch: branch05commit description:a1.96(example03-1——鉴权框子-加入登录和用户首页)
tag:a1.96
9.1.1.2 example03-2
设置权限,没登录就不能访问用户中心。
\app\src\router\index.js
let user = {


    id: 0
}

router.beforeEach((to, from, next) => {


    // next();
    // id为1代表登录,否则为0代表没登录
    if (user.id === 0) {


        next({

    name: 'login'});
    } else {


        next();
    }

});

export default router;
发现报错了,程序挂了!RangeError: Maximum call stack size exceeded根据这个明显看出,就是递归出问题了(死递归了:递归调用栈超出了)。
因为发现没登录,就去login页面,还没登录,继续跳,跳着跳着就死递归了。
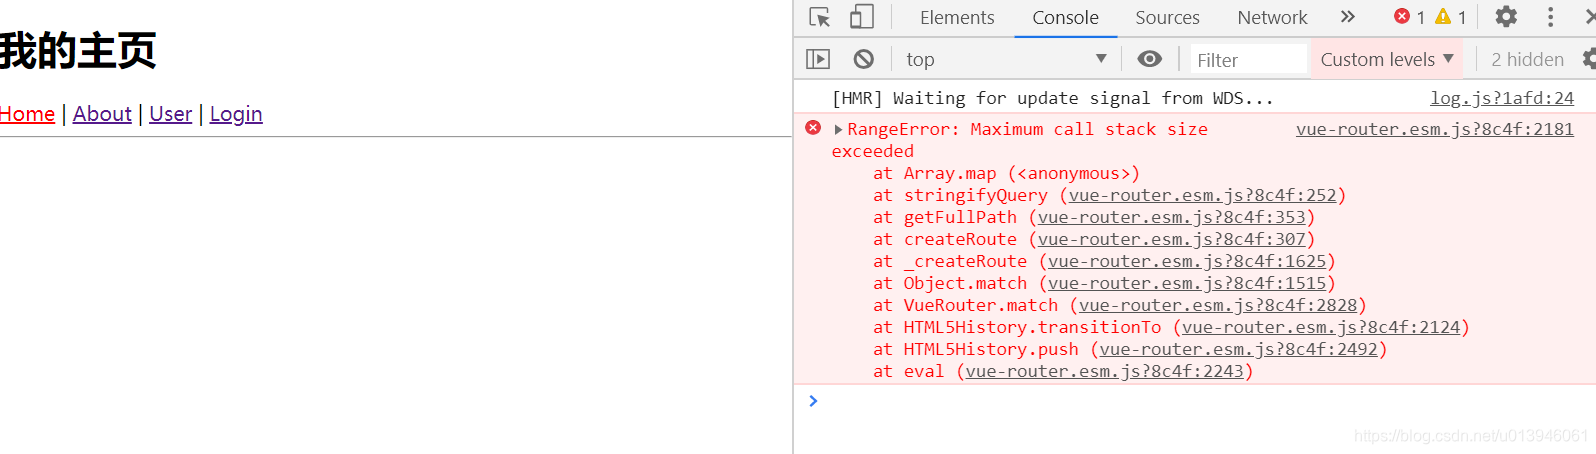
参考:https://https://github.com/6xiaoDi/blog-vue-Novice/tree/a1.97
Branch: branch05commit description:a1.97(example03-2——设置权限,没登录就不能访问用户中心-报错)
tag:a1.97
9.1.1.3 example03-3
因此判断除非id为0,并且要跳转的页面是用户页面(Home和About、Login不需要鉴权)才行。
\app\src\router\index.js
router.beforeEach((to, from, next) => {


    // next();
    // id为1代表登录,否则为0代表没登录
    if (user.id === 0 && to.name === 'user') {


        next({

    name: 'login'});
    } else {


        next();
    }

});
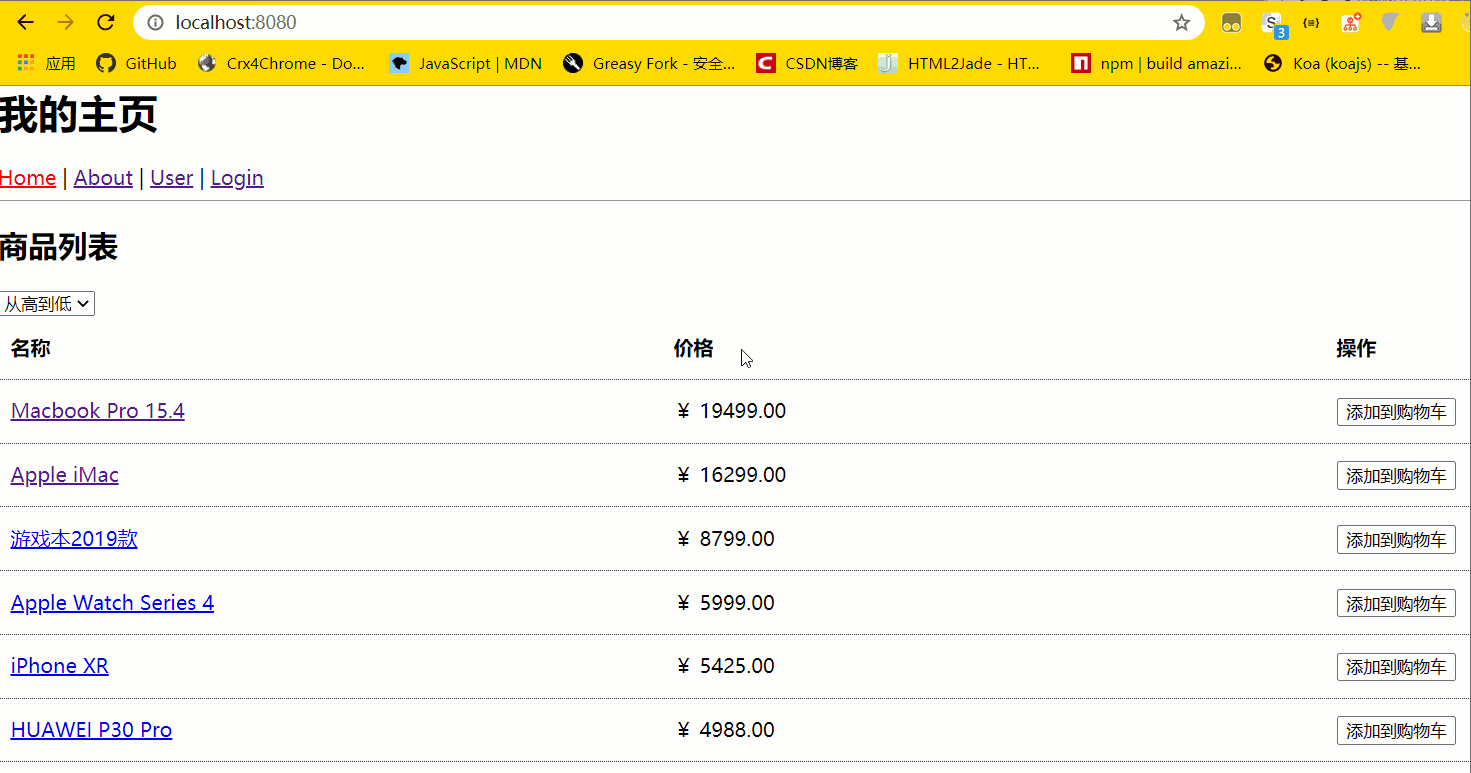
当然更细致的鉴权后面再讲。
id设置为1,一切就正常了。
let user = {


    id: 1
}

参考:https://https://github.com/6xiaoDi/blog-vue-Novice/tree/a1.98
Branch: branch05commit description:a1.98(example03-3——设置权限,没登录就不能访问用户中心-鉴权简单实现最终版)
tag:a1.98
9.2 beforeResolve—全局解析守卫
在 2.5.0+ 你可以用 router.beforeResolve 注册一个全局守卫。这和 router.beforeEach 类似,区别是在导航被确认之前,同时在所有组件内守卫和异步路由组件被解析之后,解析守卫就被调用。
在所有组件内守卫和异步路由组件被解析之后被调用
router.beforeResolve((to, from, next) => {


  // ...
})
9.3 afterEach—全局后置钩子
你也可以注册全局后置钩子,然而和守卫不同的是,这些钩子不会接受 next 函数也不会改变导航本身:
导航被确认后调用
router.afterEach((to, from) => {


  // ...
})
因为导航已经被确认,所以没有
next
考虑到在blog中不好体现代码更改的位置,小迪才用github托管代码,大家可以查看github,看到详细版本修改过程,搭配博客学习。
(后续待补充)