1.conftest.py文件是单独存放的一个夹具配置文件,它的名称是不能够更改的
2.用处:可以在不同的py文件中使用同一个前置 同一个fixture函数
3.conftest.py原则上需要和运行的用例放到同一层,并且不需要做任何的导入操作 但是不同层也可以
一、conftest.py和@pytest.fixture()结合使用实现全局的前置
import pytest


@pytest.fixture(scope="module",autouse=True)
def all_fixture():
    print('这是全局前置')
    yield
    print("这是全局后置")
以上是我设置的一个全局前置,作用域就是module,autouse=True就代表自动执行,默认是False
现在我们在不同测试文件里去使用这个前置 all_fixture
class TestUserManagement:
    # @pytest.mark.run(order=1)
    def test_01(self):
        print("测试会员张三")


    def test_02_wyc(self):
        print("测试vip李四")


    def test_03(self):
        print("测试超级vip王五")


    def test_04(self):
        print("测试普通用户丁6")
运行结果截图
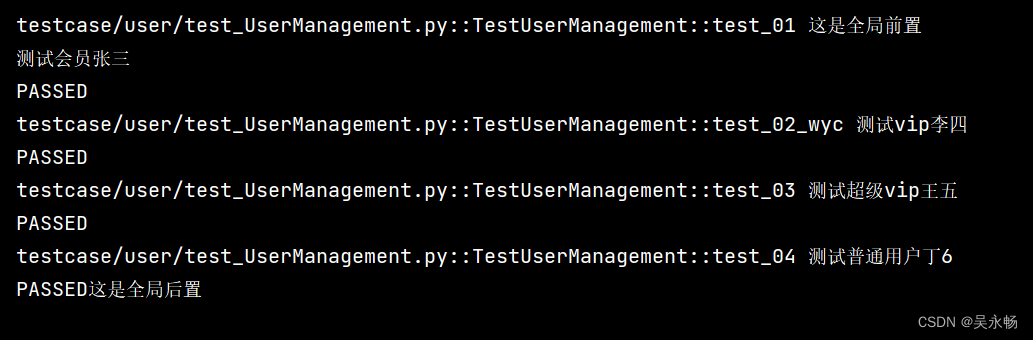
ok没问题,换个py文件呢? 当然也可以!因为这个作用域是全局的(注意要放在根目录下面哦)
那我就我不演示了,感兴趣的可以去试试
二、提问?那还可以调用专属于我这个方法或者类的函数吗
当然可以!!看好了
user_fixture是专门给user.py使用的,作用域为函数,传入一个参数
request是用来接受参数的,这里就不多做解释了,有问题直接留言♥
import pytest


@pytest.fixture(scope="function",params=["管理员2号"])
def user_fixture(request):
    print('这是用户管理前置')
    yield request.param
    print("这是用户管理后置")
看好了 这里是tese_01去调用了这个函数
class TestUserManagement:
    # @pytest.mark.run(order=1)
    def test_01(self,user_fixture):
        print("测试会员张三")
        print("----",str(user_fixture)) #打印参数信息

    # @pytest.mark.smoke
    def test_02_wyc(self):
        print("测试vip李四")

    # @pytest.mark.skip(reason="有问题")
    def test_03(self):
        print("测试超级vip王五")
        # assert 1==2

    def test_04(self):
        print("测试普通用户丁6")
先预测一下:应该是出现咱们之前设置的全局前后置,然后test_01出现user_fixture所设置的用户管理前后置并且传入我们所设定的参数。那么我们给他打印一下,看看效果!
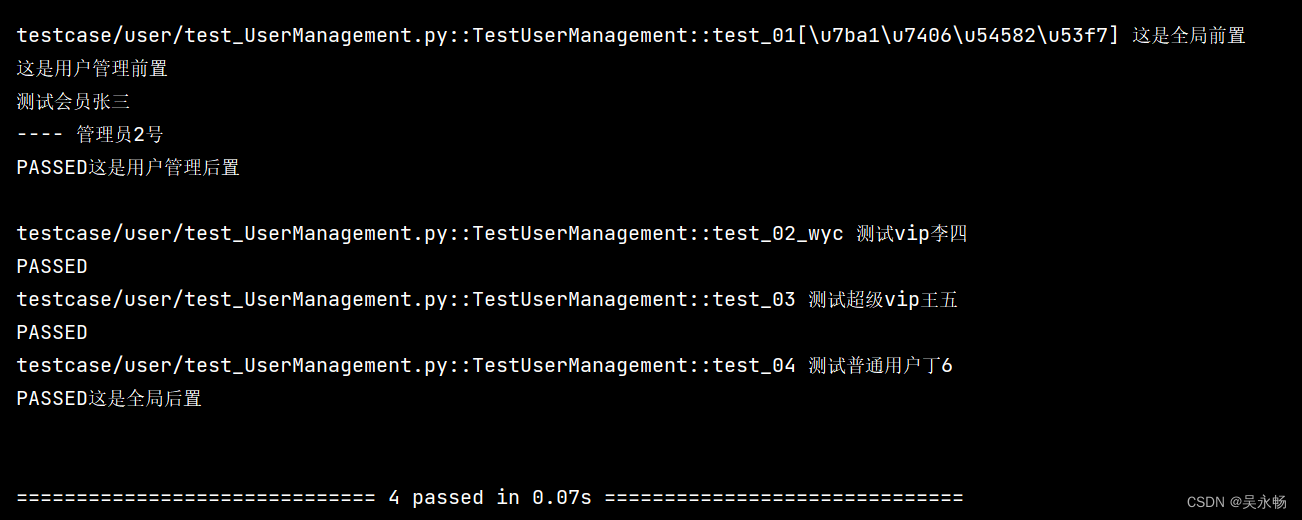
没毛病!所以我们通过conftest.py和@pytest.fixtrue()的结合使用,可以实现全局的前后置,也可以实现部分前后置
你上面写的都是那么简单的?那真的在一个项目里我们要怎么去使用呢?行,既然如此来个实战演示?
三、用户登录实现全调用
@pytest.fixture(scope="function")
def login_fixture():
    username = 'wakunscya'
    psw = 1234567890
    text = "这个笔记用来记录学习过程中所遇到的问题"
    f_username = 'qwertyuio'
    f_psw = 123456789
    reply = "用于测试回复功能"
    return username, psw,text,f_username,f_psw,reply
这里把我们所需要的用户名和密码存放起来
class TestSend:
    def setup(self):
        self.driver = webdriver.Chrome()
        self.driver.get('https://ceshiren.com')
        self.driver.implicitly_wait(5)


    def test01(self,login_fixture):
        self.driver.find_element('xpath', '//*[@id="ember7"]/header/div/div/div[2]/span/button[2]/span').click()
        # print(login_fixture)
        self.driver.find_element('xpath', '//*[@id="login-account-name"]').send_keys(login_fixture[0])
        self.driver.find_element('xpath', '//*[@id="login-account-password"]').send_keys(login_fixture[1])
        self.driver.find_element('xpath', '//*[@id="login-button"]/span').click()
        self.driver.implicitly_wait(5)  # 隐式等待
        self.driver.find_element('xpath', '//*[@id="create-topic"]/span').click()
        self.driver.find_element('xpath', '//*[@id="reply-title"]').send_keys(login_fixture[2])
        self.driver.find_element('xpath',
                                 '/html/body/section/div/div[6]/div[3]/div[2]/div/div/div[1]/div[1]/div/div[2]/details/summary/div/div/span').click()
        self.driver.find_element('xpath', "/html/body/section/div/div[6]/div[3]/div[2]/div/div/div[1]/div[1]/div/div[2]/details/div/ul/li[2]").click()
        self.driver.find_element('xpath',
                                 "/html/body/section/div/div[6]/div[3]/div[2]/div/div/div[1]/div[2]/textarea").send_keys(
            "正文要求大于8个字符,测完就会删除本话题,打扰到大家很抱歉")
        self.driver.find_element('xpath', '/html/body/section/div/div[6]/div[3]/div[3]/div/button/span').click()
        self.driver.find_element('xpath', '//*[@id="search-button"]').click()
        self.driver.find_element('xpath', '//*[@id="search-term"]').send_keys(login_fixture[2])
        self.driver.find_element('xpath', '//*[@id="search-term"]').send_keys(Keys.ENTER)
        find = self.driver.find_element('xpath', '/html/body/section/div/div[2]/div[2]/div[3]/div/div/h1/a[1]').text
        print(find)
        my_data = login_fixture[2]
        assert find == my_data
这是一个论坛的平台,这条用例所测试的功能为发帖,那么在这个项目里呢,我们去测试发帖、回复、登录等一系列操作的时候都需要去登录。那么你可以看到在要求输入用户名和密码进行登录操作的时候,我们就可以去调用login_fixture里事先存放的数据了,这就是个简单的小栗子,难的我也不会啊!!
下期出一个生成allure报告?以及如何去自定制报告。