类似于这种
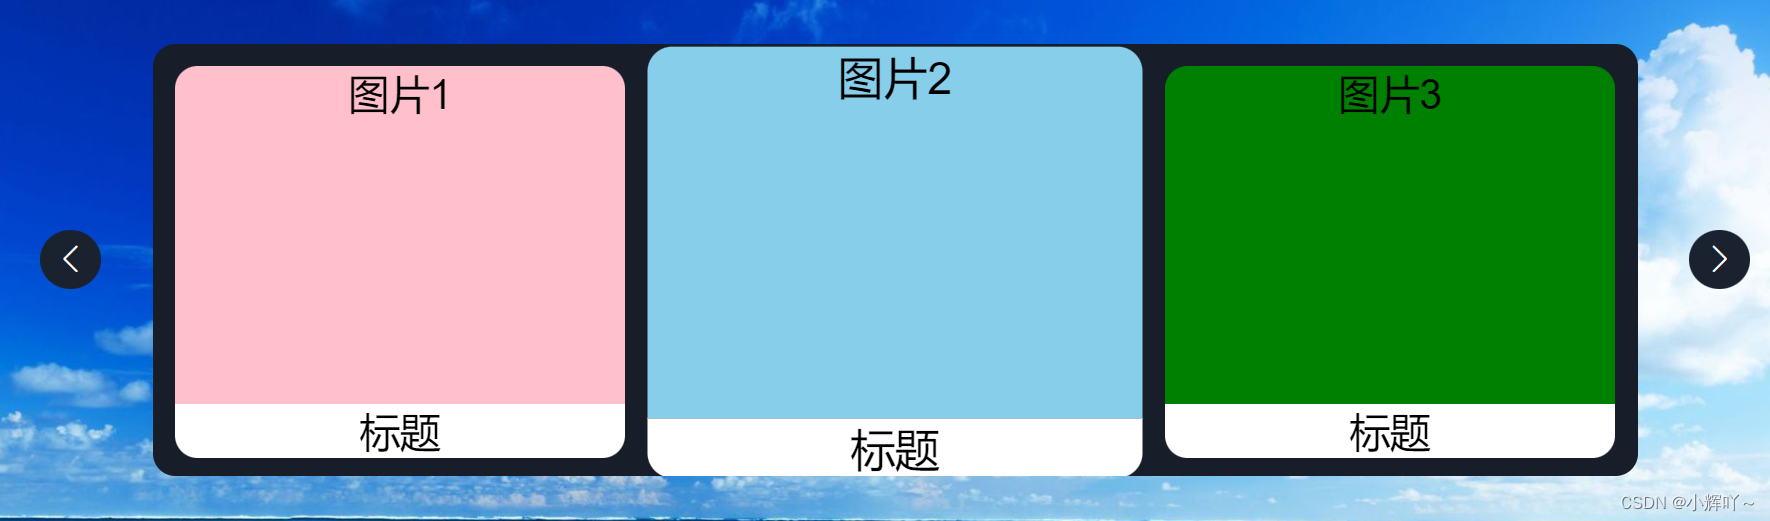
引入的Swiper的cdn,粘贴后可直接在本地运行,我这里引入了一个背景,忽略即可
<!DOCTYPE html>
<html lang="en">

<head>
    <meta charset="UTF-8">
    <meta http-equiv="X-UA-Compatible" content="IE=edge">
    <meta name="viewport" content="width=device-width, initial-scale=1.0">
    <title>Document</title>
    <link rel="stylesheet" href="https://unpkg.com/swiper@8/swiper-bundle.min.css">
    <style>
        * {
            padding: 0;
            margin: 0;
            box-sizing: border-box;
        }

        body {
            background: url(./img/ns.jpg) no-repeat;
            background-size: cover;
            background-attachment: fixed;
        }

        html,
        body {
            position: relative;
            width: 100%;
            height: 100%;
        }

        main {
            margin-top: 30px;
        }

        body {
            font-family: Helvetica Neue, Helvetica, Arial, sans-serif;
            font-size: 14px;
            color: #000;
        }

        /* ----------------------------下面的才重要 */
        /* 给左右按钮定位用 */
        .swiperList {
            position: relative;
            width: 600px;
            margin: 10px auto;
        }

        /* swiper包裹的大盒子 */
        .swiper-container {
            position: relative;
            width: 660px;
            height: 192px;
            overflow: hidden;
            background-color: #1a212f;
            margin: 10px auto;
            border-radius: 10px;
        }

        .swiper-slide {
            display: flex;
            justify-content: space-between;
            text-align: center;
            font-size: 18px;
            background: rgba(0, 0, 0, .1);
            padding: 10px;
            cursor: pointer;
        }

        .swiper-button-next:after,
        .swiper-button-prev:after {
            font-size: 12px;
            color: #fff;
            width: 50px;
            text-align: center;
            line-height: 26px;
            border-radius: 50%;
            background-color: #1a212f;
        }

        .swiper-button-prev {
            left: -50px;
        }

        .swiper-button-next {
            right: -110px;
        }

        .item {
            transition: all .5s;
        }

        /* 移入哪一项,就让哪一项变大 */
        .item:hover {
            transform: scale(1.1);
            z-index: 1;
        }

        .middle {
            transform: scale(1.1);
        }

        .img {
            width: 200px;
            height: 150px;
            border-radius: 10px 10px 0 0;
        }

        .item p {
            background-color: #fff;
            border-radius: 0 0 10px 10px;
        }
    </style>
</head>

<body>
    <main>
        <!-- Swiper -->
        <div class="swiperList">
            <div class="swiper-container">
                <div class="swiper-wrapper">
                    <div class="swiper-slide">
                        <div class="left item">
                            <div class="img" style="background-color: pink;">图片1</div>
                            <p>标题</p>
                        </div>
                        <div class="middle item">
                            <div class="img" style="background-color: skyblue;">图片2</div>
                            <p>标题</p>
                        </div>
                        <div class="right item">
                            <div class="img" style="background-color: green;">图片3</div>
                            <p>标题</p>
                        </div>
                    </div>
                    <div class="swiper-slide">
                        <div class="left item">
                            <div class="img" style="background-color: pink;">图片4</div>
                            <p>标题</p>
                        </div>
                        <div class="middle item">
                            <div class="img" style="background-color: skyblue;">图片5</div>
                            <p>标题</p>
                        </div>
                        <div class="right item">
                            <div class="img" style="background-color: green;">图片6</div>
                            <p>标题</p>
                        </div>
                    </div>
                    <div class="swiper-slide">
                        <div class="left item">
                            <div class="img" style="background-color: pink;">图片7</div>
                            <p>标题</p>
                        </div>
                        <div class="middle item">
                            <div class="img" style="background-color: skyblue;">图片8</div>
                            <p>标题</p>
                        </div>
                        <div class="right item">
                            <div class="img" style="background-color: green;">图片9</div>
                            <p>标题</p>
                        </div>
                    </div>
                </div>
            </div>
            <!-- 如果需要导航按钮 -->
            <div class="swiper-button-prev"></div>
            <div class="swiper-button-next"></div>
        </div>
    </main>
    <script src="https://unpkg.com/swiper@8/swiper-bundle.min.js"> </script>
    <script>
        var swiper = new Swiper('.swiper-container', {
            spaceBetween: 5, // 间距
            centeredSlides: true,
            loop: true, // 是否循环
            autoplay: { // 自动轮播
                delay: 3000,
                stopOnLastSlide: false,
                disableOnInteraction: false,
                pauseOnMouseEnter: true
            },
            navigation: { // 左右按钮
                nextEl: '.swiper-button-next',
                prevEl: '.swiper-button-prev',
            },
        });
        // 把所有在中间的项获取过来
        let middles = document.querySelectorAll('.middle')
        // 获取所有的每一项
        let items = document.querySelectorAll('.item')
        items.forEach(item => {
            // 鼠标移入的时候,遍历中间的,判断是否是选中的中间的所有的某一项,如果不是,则让中间的这一项缩小到原先大小
            item.addEventListener('mouseenter', function (e) {
                middles.forEach(i => {
                    if (e.target !== i) {
                        i.style.transform = `scale(1)`
                    }
                })
            })
            // 鼠标离开后,把中间的这一项放大
            item.addEventListener('mouseleave', function () {
                middles.forEach(i => {
                    i.style.transform = `scale(1.1)`
                })
            })
        })
    </script>
</body>

</html>