百度飞桨 AI studio中使用PyTorch
1.打开shell,输入命令 ls -a,如下所示:
aistudio@jupyter-7849654-7210433:~$ ls -a

2.如果出现".condarc"文件夹,则需要进行删除:
aistudio@jupyter-7849654-7210433:~$ rm -r .condarc
3.更换清华源
conda config --add channels https://mirrors.tuna.tsinghua.edu.cn/anaconda/pkgs/free/
conda config --add channels https://mirrors.tuna.tsinghua.edu.cn/anaconda/pkgs/main/
conda config --set show_channel_urls yes
4.创建环境
conda create -n pytorch python=3.10
5.查看是否已经创建完成
aistudio@jupyter-7849654-7210433:~$ conda env list
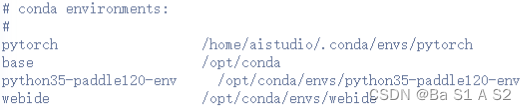
6.进入虚拟环境
source activate pytorch
7.下载PyTorch
去官网,下载CUDA版本对应的PyTorch:
(这里下载如图所示的版本)
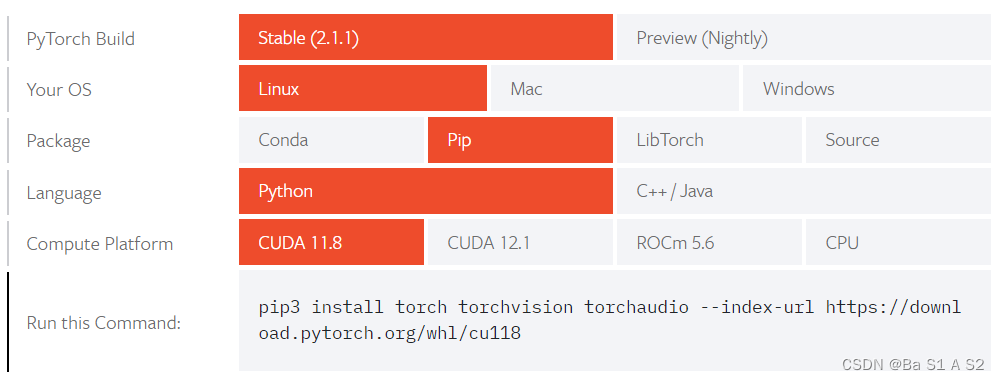
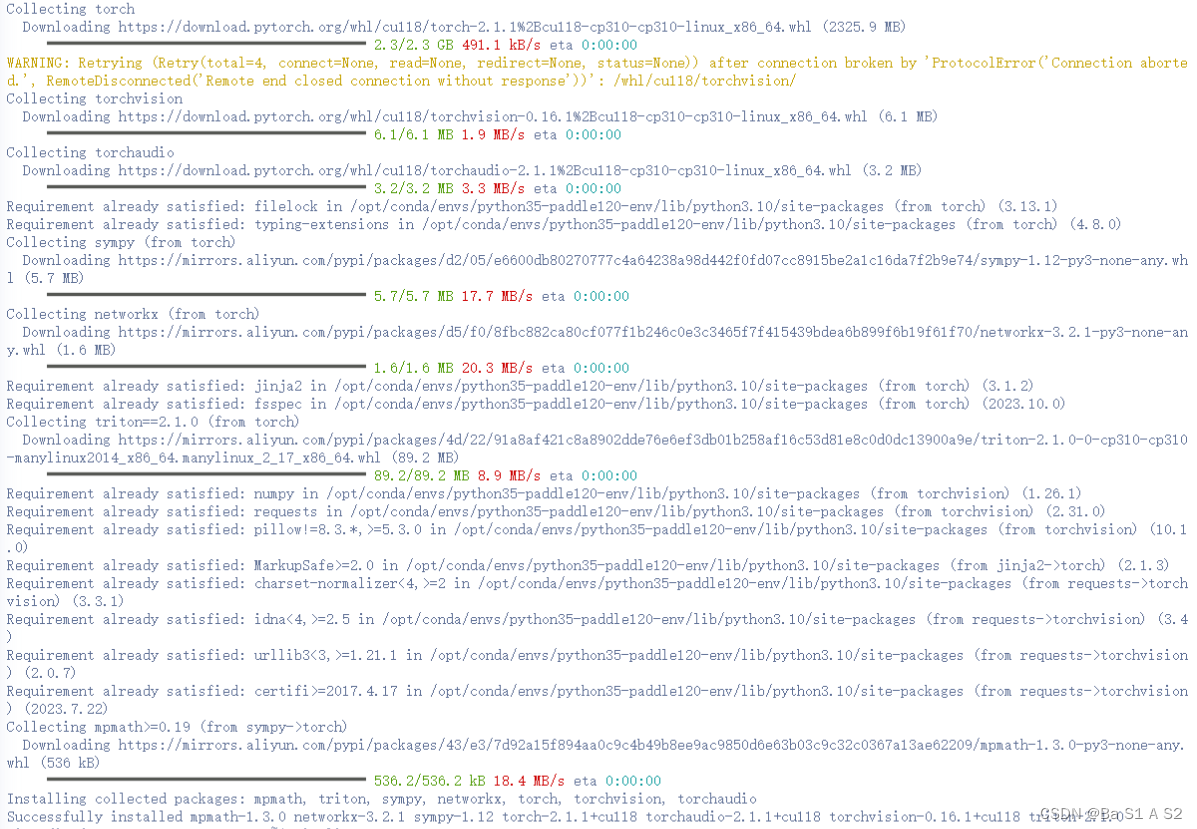
aistudio@jupyter-7849654-7210433:~$ pip3 install torch torchvision torchaudio --index-url https://download.pytorch.org/whl/cu118
下载完成:
8.查看版本号
aistudio@jupyter-7849654-7210433:~$ pip list
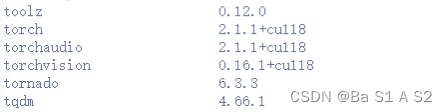
可以找到torch和torchvision,说明安装成功。
9.测试
创建"test.py"文件,编写以下内容:
import torch

print(torch.cuda.is_available())
print(torch.version)
运行python文件:
aistudio@jupyter-7849654-7210433:~/work$ python test.py
出现以下结果则说明可以正常使用:
