一、介绍
项目开发完成后,需要部署到线上环境,目前用Windows环境做的模拟,后续把环境搬到Linux即可,理想状态是Docker部署,不过在windows上的docker安装因为没有文件复制权限暂时不做
本文分为以下几个部分:
1)Spring boot打包成war包,放到tomcat的webapps下面
2)Vue打包后放到nginx里面
3)采用SwitchHosts进行本机虚拟网址
4)docker实践步骤(虽然暂时放弃,但是遇到的问题记录下)
二、Spring boot打包成war包,放到tomcat的webapps下面
步骤:1、采用maven方式,修改prom.xml,如下
<?xml version="1.0" encoding="UTF-8"?>
<project xmlns="http://maven.apache.org/POM/4.0.0" xmlns:xsi="http://www.w3.org/2001/XMLSchema-instance"
	xsi:schemaLocation="http://maven.apache.org/POM/4.0.0 http://maven.apache.org/xsd/maven-4.0.0.xsd">
	<modelVersion>4.0.0</modelVersion>

	<groupId>com.tj</groupId>
	<artifactId>mt</artifactId>
	<version>0.0.1-SNAPSHOT</version>
	<!--<packaging>jar</packaging>-->
	<!--TODO:发布用-->
	<packaging>war</packaging>

	<name>mt</name>
	<description>Demo project for Spring Boot</description>

	<parent>
		<groupId>org.springframework.boot</groupId>
		<artifactId>spring-boot-starter-parent</artifactId>
		<version>1.5.9.RELEASE</version>
		<relativePath/> <!-- lookup parent from repository -->
	</parent>

	<properties>
		<project.build.sourceEncoding>UTF-8</project.build.sourceEncoding>
		<project.reporting.outputEncoding>UTF-8</project.reporting.outputEncoding>
		<java.version>1.8</java.version>
	</properties>

	<dependencies>
		<dependency>
			<groupId>org.springframework.boot</groupId>
			<artifactId>spring-boot-starter-data-mongodb</artifactId>
		</dependency>
		<dependency>
			<groupId>org.springframework.boot</groupId>
			<artifactId>spring-boot-starter-thymeleaf</artifactId>
		</dependency>

		<dependency>
			<groupId>org.springframework.boot</groupId>
			<artifactId>spring-boot-starter-test</artifactId>
			<scope>test</scope>
		</dependency>

		<!-- https://mvnrepository.com/artifact/com.alibaba/fastjson -->
		<dependency>
			<groupId>com.alibaba</groupId>
			<artifactId>fastjson</artifactId>
			<version>1.2.46</version>
		</dependency>

	</dependencies>

	<!--<build>-->
		<!--<plugins>-->
			<!--<plugin>-->
				<!--<groupId>org.springframework.boot</groupId>-->
				<!--<artifactId>spring-boot-maven-plugin</artifactId>-->
			<!--</plugin>-->
		<!--</plugins>-->
	<!--</build>-->


	<!--TODO:发布用-->
	<build>
		<plugins>
			<plugin>
				<groupId>org.springframework.boot</groupId>
				<artifactId>spring-boot-maven-plugin</artifactId>
				<executions>
					<execution>
						<goals>
							<goal>repackage</goal>
						</goals>
					</execution>
				</executions>
			</plugin>

			<plugin>
				<artifactId>maven-compiler-plugin</artifactId>
				<configuration>
					<skip>true</skip>
					<encoding>UTF-8</encoding>
					<compilerArguments>
						<extdirs>${basedir}/lib</extdirs>
						<!--引用的第三方jar文件放在lib文件夹下面-->
					</compilerArguments>
				</configuration>
			</plugin>
		</plugins>

		<resources>
			<resource>
				<directory>src/main/resources</directory>
				<targetPath>BOOT-INF/lib/</targetPath>
				<includes>
					<include>**/*.jar</include>
				</includes>
			</resource>
		</resources>
	</build>


</project>
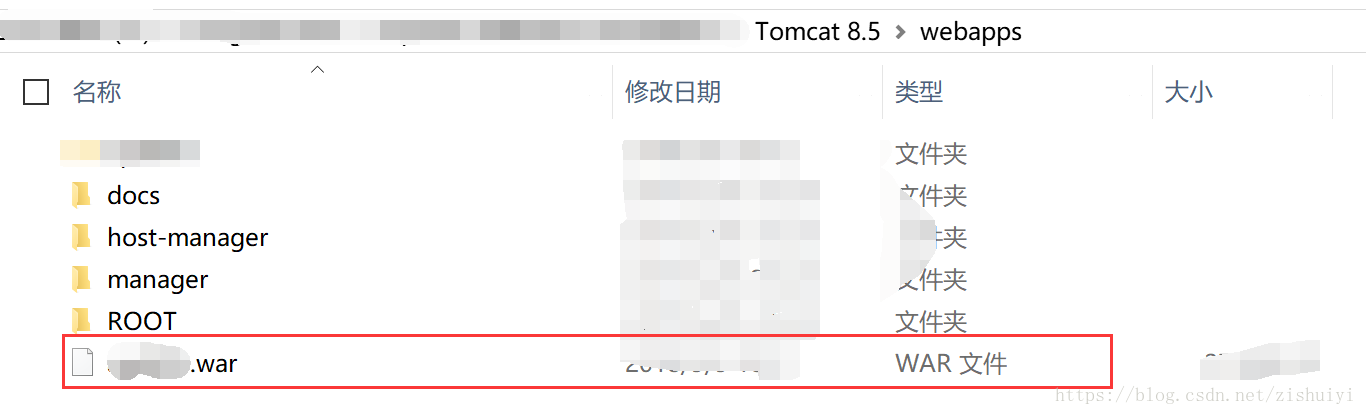
2、打开IDEA右侧的maven方式,选择package,build,即可生成war包

3、把war包放到tomcat的webapps 目录下,启动tomcat即可访问 http://localhost:8080/文件名xxx/请求名xxx
参考:
https://www.jb51.net/article/139235.htm
https://blog.csdn.net/zhoucheng05_13/article/details/77915294
https://blog.csdn.net/jhq2904982765/article/details/77686324
https://blog.csdn.net/u010004082/article/details/79351227
https://blog.csdn.net/zhihang19941024/article/details/79880271
三、Vue打包后放到nginx里面
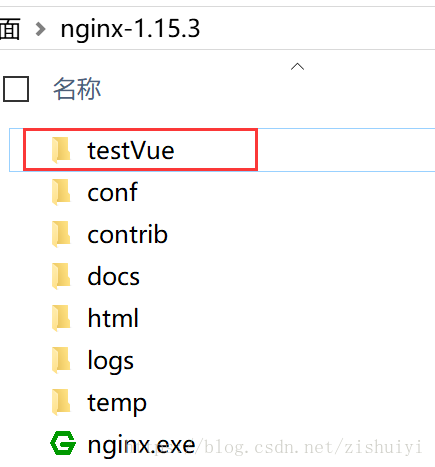
1、vs code 执行命令: npm run build:prod, 完成后获得 dist 文件夹,修改名字为 testVue
2、下载nginx,把testVue放到nginx根目录下面
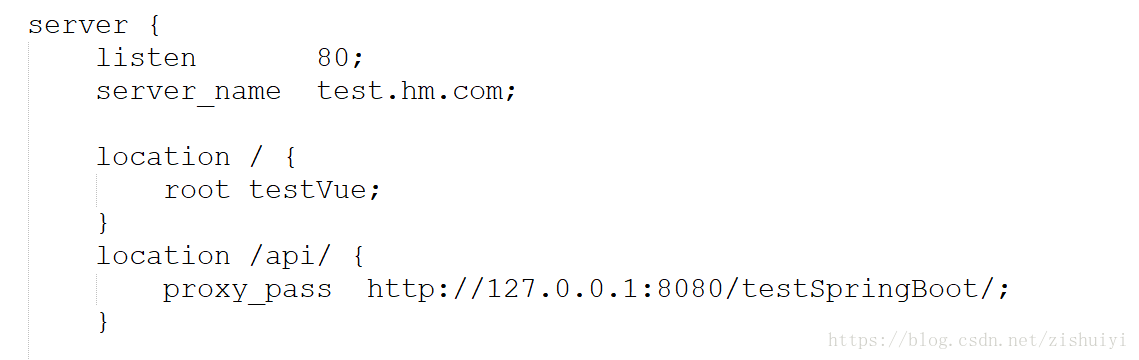
3、修改nginx的配置文件 conf

4、修改conf的server节点,如下
listen 监听 80 端口,一定要保证nginx使用的是 80 端口
server_name test.hm.com 这是域名,在switch_host里面设置的
设置转发
location / 前端的请求 为 "/",指向 nginx根目录下的 testVue文件夹
location /api/ 后端请求为 "/api/",指向tomcat下面的testSpringBoot目录的请求
5、启动nginx服务,采用nginx.exe, 更新配置,采用命令 nginx -s reload
6、采用 http://test.hm.com/即可跳转到vue的请求列表,在vue对服务端的请求前面添加如下字符串即可http://test.hm.com/api/
参考:
https://www.cnblogs.com/hai-cheng/p/7826701.html
四、Switch_host 设置域名
设置switch_host,设置域名

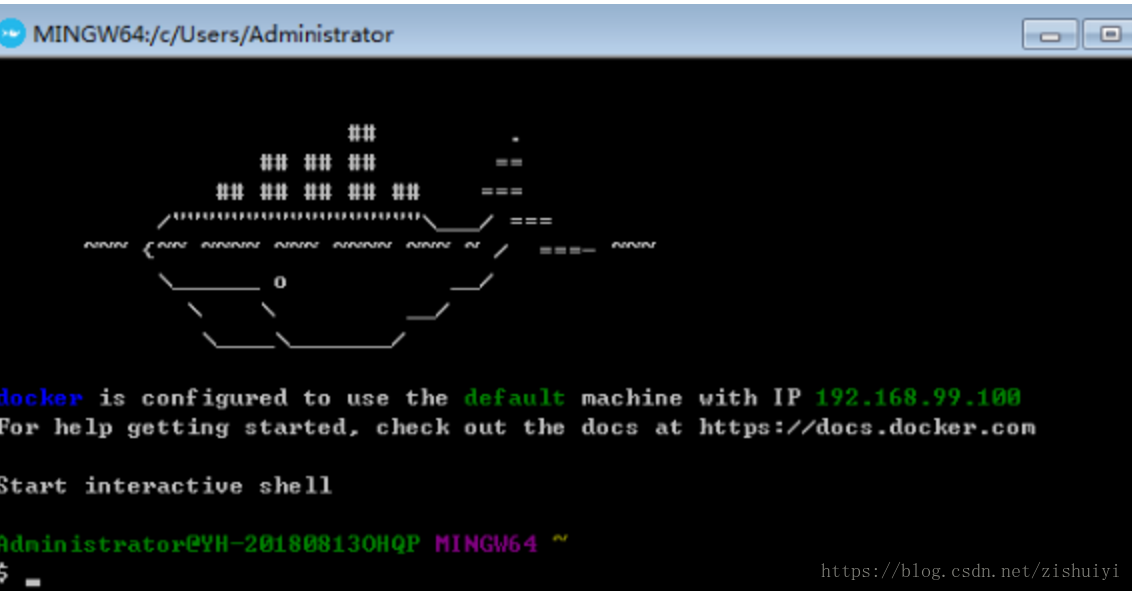
五、Docker安装尝试,在Windows上,环境部署完成,
最后由于没有能复制文件的权限暂时放弃,操作步骤如下
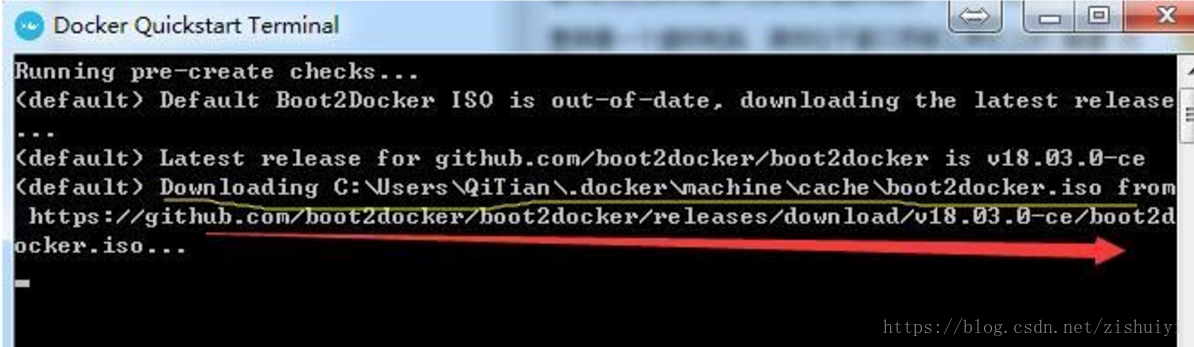
新机器安装出现2个问题:
1、Docker Quickstart Terminal 找不到快捷方式,
解决:选择 D:\Program Files\Git\bin\bash即可,因为安装toolbox已经把它放到 git里面了
2、运行quik后显示
default Boot2Docker ISO is out-of-date
解决:去指向的git目录下载报错的版本内容,放到指定的目录,然后重启电脑,再次欲行即可
或者断网,让他找不到是不是最新的
测试docker
runoob@runoob:~$ docker run ubuntu:15.10 /bin/echo "Hello world"
Hello world

各个参数解析:
- docker: Docker 的二进制执行文件。
- run:与前面的 docker 组合来运行一个容器。
- ubuntu:15.10指定要运行的镜像,Docker首先从本地主机上查找镜像是否存在,如果不存在,Docker 就会从镜像仓库 Docker Hub 下载公共镜像。
- /bin/echo "Hello world": 在启动的容器里执行的命令
以上命令完整的意思可以解释为:Docker 以 ubuntu15.10 镜像创建一个新容器,然后在容器里执行 bin/echo "Hello world",然后输出结果。
确认容器有在运行,可以通过 docker ps 来查看
docker logs 2b1b7a428627
ocker stop 命令来停止容器:

运行一个容器
http://www.runoob.com/docker/docker-container-usage.html
访问web的ip是 docker的ip + 端口号
nginx启动,不要用那个复杂命令。启动有问题,用简单的即可
https://blog.csdn.net/u014258541/article/details/79353365
docker run --name nginx_test -d -p 8765:80 nginx
这个下面的太复杂,又出错,弃用
runoob@runoob:~/nginx$ docker run -p 80:80 --name mynginx -v $PWD/www:/www -v $PWD/conf/nginx.conf:/etc/nginx/nginx.conf -v $PWD/logs:/wwwlogs -d nginx 45c89fab0bf9ad643bc7ab571f3ccd65379b844498f54a7c8a4e7ca1dc3a2c1e runoob@runoob:~/nginx$
命令说明:
- -p 80:80:将容器的80端口映射到主机的80端口
- --name mynginx:将容器命名为mynginx
- -v $PWD/www:/www:将主机中当前目录下的www挂载到容器的/www
- -v $PWD/conf/nginx.conf:/etc/nginx/nginx.conf:将主机中当前目录下的nginx.conf挂载到容器的/etc/nginx/nginx.conf
- -v $PWD/logs:/wwwlogs:将主机中当前目录下的logs挂载到容器的/wwwlogs
Tomcat
docker run -p 8080:8080 tomcat
mongo
docker run -p 27017:27017 -d mongo
docker因为 toolbox没有复制文件的权限。没法放进去文件。所以放弃,只能安装虚拟机 CentOS
安装参考:http://www.runoob.com/docker/windows-docker-install.html