一、Eurake的简介
springcloud的核心组件Eureka是负责微服务架构中服务治理的功能,负责各个服务实例的注册与发现。
Eureka包含了服务器端和客户端组件。服务器端,也被称作是服务注册中心,用于提供服务的注册与发现。 客户端组件包含服务消费者与服务生产者。在应用程序运行时,服务生产者向注册中心注册自己的服务实例,当消费者需要调用这个服务时,会先从注册中心去查找对应的生产者,然后就可以实现对该服务的消费了。
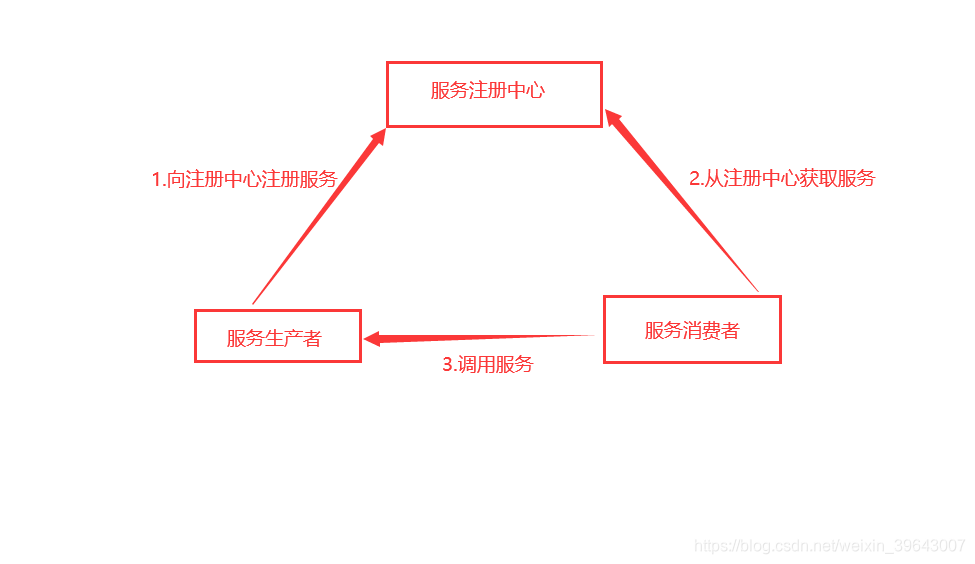
上图是一个较为简单的服务注册消费过程,也是Eureka组件的一个基本运转流程,说得通俗点Eureka就像一个房产中介,房东把想租出去的房子信息挂到房产中介 ,然后租户通过房产中介信息资源租到自己心仪的房子
二、注册中心Eurake项目搭建
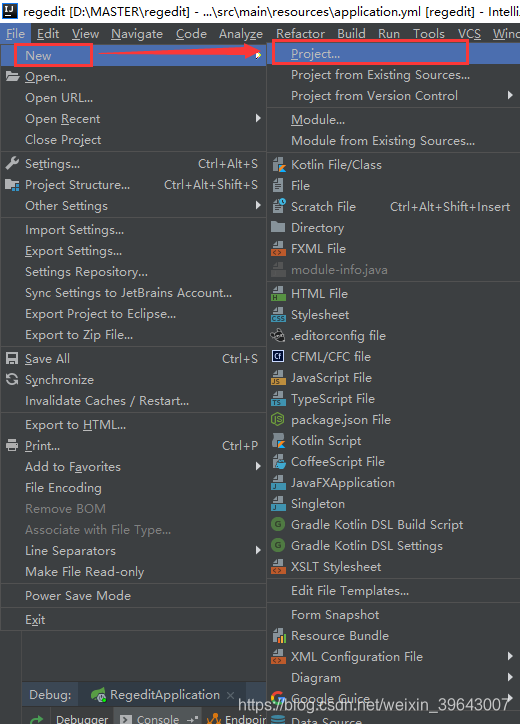
1.新建SpringBoot项目 如图:
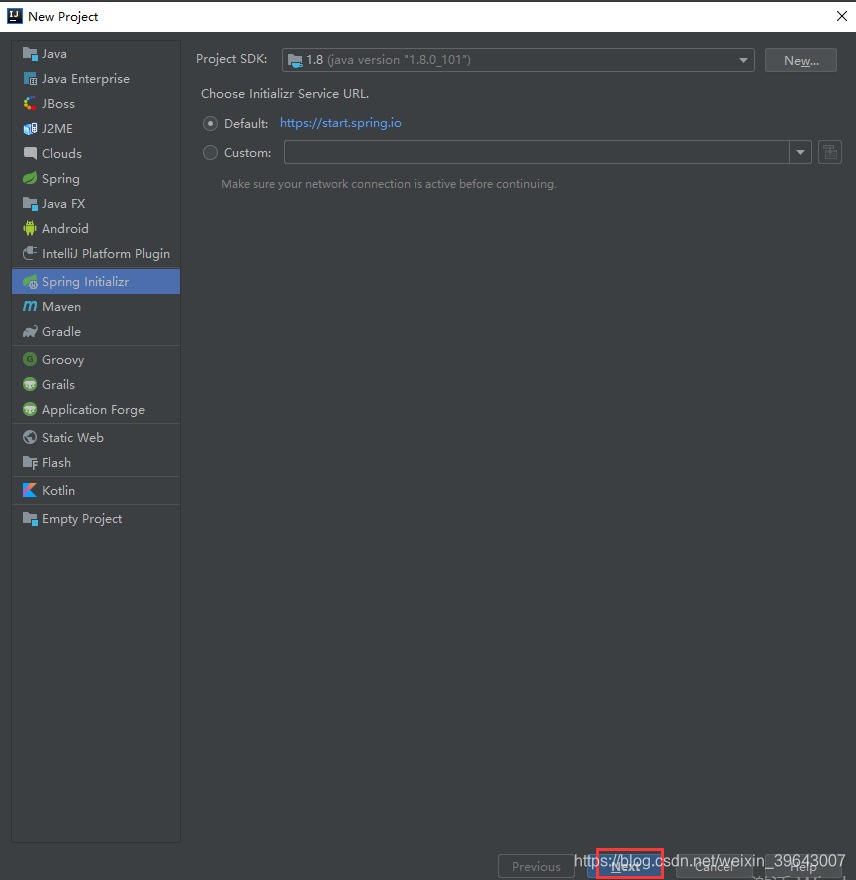


以上点Next 最后点finsh即可完成项目创建
2.导入eureka的依赖,具体pom如下:
<?xml version="1.0" encoding="UTF-8"?>
<project xmlns="http://maven.apache.org/POM/4.0.0" xmlns:xsi="http://www.w3.org/2001/XMLSchema-instance"
         xsi:schemaLocation="http://maven.apache.org/POM/4.0.0 https://maven.apache.org/xsd/maven-4.0.0.xsd">
    <modelVersion>4.0.0</modelVersion>
    <parent>
        <groupId>org.springframework.boot</groupId>
        <artifactId>spring-boot-starter-parent</artifactId>
        <version>2.2.6.RELEASE</version>
        <relativePath/> <!-- lookup parent from repository -->
    </parent>
    <groupId>com.regedit</groupId>
    <artifactId>regedit</artifactId>
    <version>0.0.1-SNAPSHOT</version>
    <name>regedit</name>
    <description>Demo project for Spring Boot</description>

    <properties>
        <java.version>1.8</java.version>
        <spring-cloud.version>Hoxton.SR3</spring-cloud.version>
    </properties>

    <dependencies>
        <dependency>
            <groupId>org.springframework.boot</groupId>
            <artifactId>spring-boot-starter-web</artifactId>
        </dependency>
        <dependency>
            <groupId>org.springframework.cloud</groupId>
            <artifactId>spring-cloud-starter-netflix-eureka-server</artifactId>
        </dependency>
        <dependency>
            <groupId>org.springframework.boot</groupId>
            <artifactId>spring-boot-starter-security</artifactId>
        </dependency>

        <dependency>
            <groupId>org.springframework.boot</groupId>
            <artifactId>spring-boot-starter-test</artifactId>
            <scope>test</scope>
            <exclusions>
                <exclusion>
                    <groupId>org.junit.vintage</groupId>
                    <artifactId>junit-vintage-engine</artifactId>
                </exclusion>
            </exclusions>
        </dependency>
    </dependencies>

    <dependencyManagement>
        <dependencies>
            <dependency>
                <groupId>org.springframework.cloud</groupId>
                <artifactId>spring-cloud-dependencies</artifactId>
                <version>${spring-cloud.version}</version>
                <type>pom</type>
                <scope>import</scope>
            </dependency>
        </dependencies>
    </dependencyManagement>

    <build>
        <plugins>
            <plugin>
                <groupId>org.springframework.boot</groupId>
                <artifactId>spring-boot-maven-plugin</artifactId>
            </plugin>
        </plugins>
    </build>

</project>
3、在应用启动类添加EurekaServer注解,这样在SpringBoot启动的时候,会启动EurekaServer注册中心
package com.regedit;

import org.springframework.boot.SpringApplication;
import org.springframework.boot.autoconfigure.SpringBootApplication;
import org.springframework.cloud.netflix.eureka.server.EnableEurekaServer;

@SpringBootApplication
@EnableEurekaServer
public class RegeditApplication {

    public static void main(String[] args) {
        SpringApplication.run(RegeditApplication.class, args);
    }

}
4.配置application.property或者application.yml,我这里用的yml格式的,这个主要配置Eureka注册中心的参数信息,每一个Eureka Client注册后,都会向Server端发送心跳。而默认情况下Eureka Server本身也是一个Client,需要指定注册中心,其中 registerWithEureka: false fetchRegistry: false 表示自身是一个Eureka Server,是一个注册中心。配置如下:
server:
  port: 8762

eureka:
  instance:
    hostname: 127.0.0.1
  server:
    enable-self-preservation: false
    eviction-interval-timer-in-ms: 3000
    response-cache-update-interval-ms: 3000
    response-cache-auto-expiration-in-seconds: 180
  client:
    registerWithEureka: false
    fetchRegistry: false
    serviceUrl:
      defaultZone: http://${eureka.instance.hostname}:${server.port}/eureka/
logging:
  config: classpath:logback-spring.xml
spring:
  security:
    user:
      name: admin
      password: 123456
5.这里为了使可以使用 http://${user}:${password}@${host}:${port}/eureka/ 这种方式登录 引用了spring security 在pom文件里引入spring-boot-starter-security包即可 开启认证代码如下:
package com.regedit;

import org.springframework.security.config.annotation.web.builders.HttpSecurity;
import org.springframework.security.config.annotation.web.configuration.EnableWebSecurity;
import org.springframework.security.config.annotation.web.configuration.WebSecurityConfigurerAdapter;


@EnableWebSecurity
public class WebSecurityConfigurer extends WebSecurityConfigurerAdapter {

    @Override
    protected void configure(HttpSecurity http) throws Exception {
        //开启认证
        //为了可以使用 http://${user}:${password}@${host}:${port}/eureka/ 这种方式登录,所以必须是httpBasic
        http.csrf().disable().authorizeRequests().anyRequest().authenticated().and().httpBasic();
    }

}
6、到此配置和项目搭建已全部完成,启动应用 项目代码结构如下:

7、访问:http://localhost:8762 输入登录名和密码 界面如下:

三、Eureka Client端创建并注册
1、新建SpringBoot项目,导入依赖,Pom文件和Server端一致 在应用启动类添加EurekaClient注解,表示这是一个客户端,如下:
@SpringBootApplication
@EnableDiscoveryClient
public class SystemModuleJdbcApplication {

   public static void main(String[] args) {
      SpringApplication springApplication = new SpringApplication(SystemModuleJdbcApplication.class);
        springApplication.addListeners(new InitUserRoleResources());
        springApplication.run(args);
   }


}
2.在配置文件中添加配置,将自身注册到指定的Eureka注册中心去
server:
  port: 8081
  servlet:
    context-path: /system
  max-http-header-size: 10240
  tomcat:
    uri-encoding: UTF-8
    max-threads: 500
    max-connections: 10000

config:
  db:
    ip: 127.0.0.1
    port: 3306
    username: root
    password: root@123456
  regcenter:
    ip: 127.0.0.1
    prot: 8762
    username: admin
    password: 123456

#当前使用配置
spring:
  application:
    name: systemCenter
  datasource:
    url: jdbc:mysql://${config.db.ip}:${config.db.port}/system_module?characterEncoding=utf8&useSSL=false&allowMultiQueries=true
    username: ${config.db.username}
    password: ${config.db.password}
  servlet:
    multipart:
      max-file-size: 20MB
      max-request-size: 100MB
logging:
  config: classpath:logback-spring-test.xml

eureka:
  client:
    register-with-eureka: true
    fetch-registry: true
    ## 注册服务中心的配置
    service-url:
      defaultZone: http://${config.regcenter.username}:${config.regcenter.password}@${config.regcenter.ip}:${config.regcenter.prot}/eureka/
其中:defaultZone是注册中心的地址,application.name是应用名称,后续服务间调用一般是通过应用名称和应用地址来调用的。
3.启动应用 查看注册中心,发现这个实例注册进来了 到此我们服务的注册中心和实例注册基本完成,如下图:

