文章目录
背景
微博的圆角边框的Dialog用户体验很好,让我们一起来实现这个功能,然后应用到自己的项目中去。
微博中图示为:

实现思路
新建一个AlertDialog对象并显示,然后获取这个dialog的Window对象,给这个Window对象设置自定义view显示视图内容即可。
这里view视图中的内容展示一般常用两种方式:
- 在xml布局中固定写好需要展示的内容
- 在代码中利用listView或者recyclerView控件来呈现数据进行内容的展示
这里为了展示方便,我用了写成固定内容的展示方式来实现。
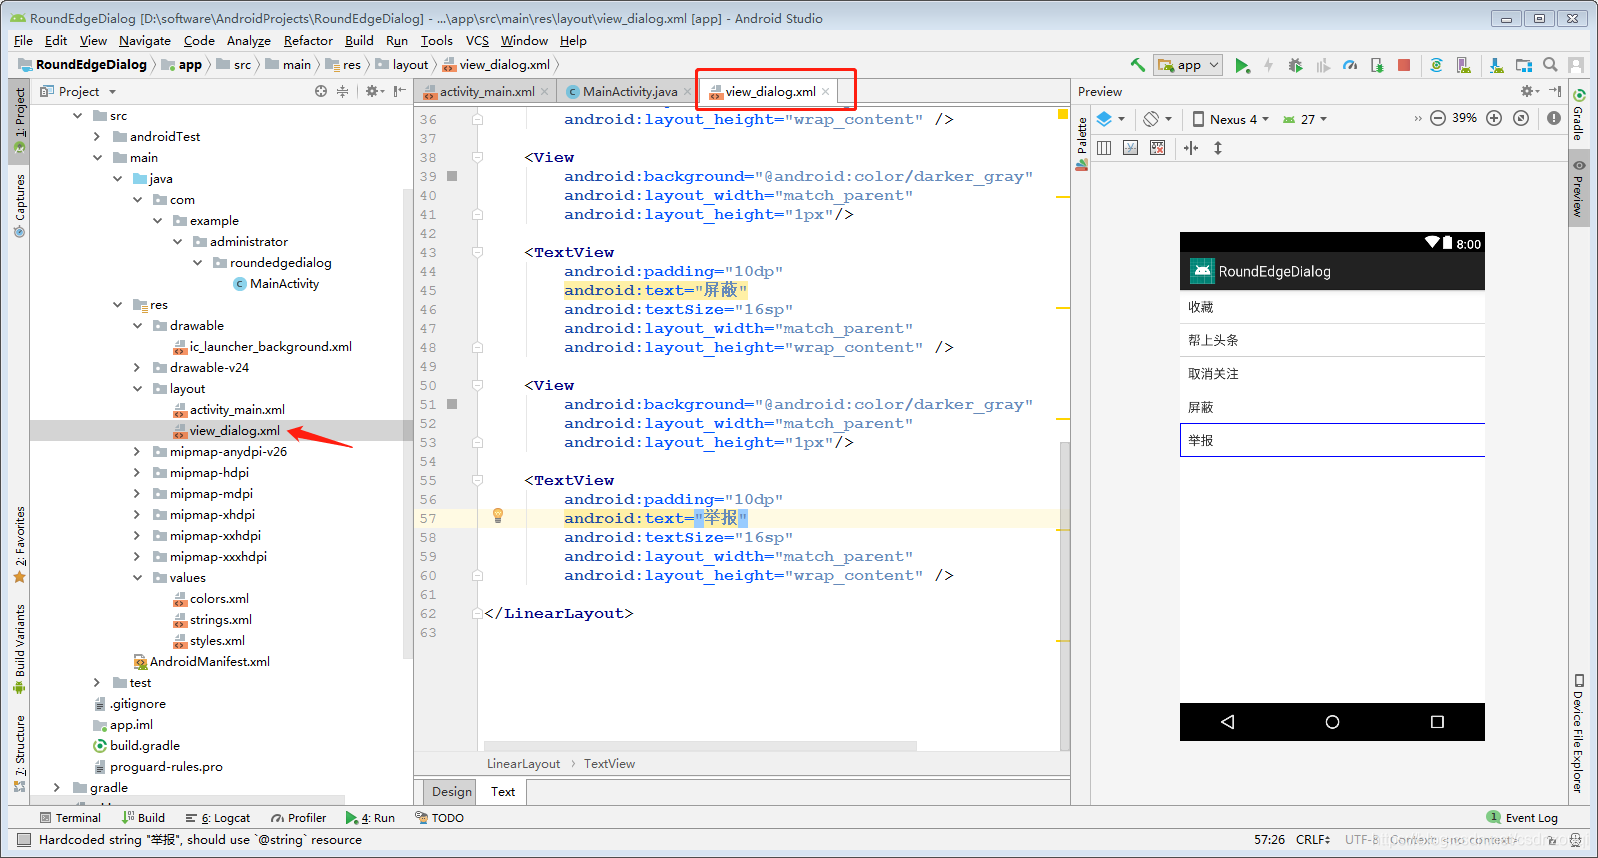
创建自定义视图的布局文件
要用自定义view展示内容,就需要创建一个xml布局文件,我这里命名为view_dialog.xml,如下:
<?xml version="1.0" encoding="utf-8"?>
<LinearLayout xmlns:android="http://schemas.android.com/apk/res/android"
    android:orientation="vertical"
    android:background="@drawable/drawable_round_edge"
    android:layout_width="match_parent"
    android:layout_height="match_parent">

    <TextView
        android:padding="10dp"
        android:text="收藏"
        android:textSize="16sp"
        android:layout_width="match_parent"
        android:layout_height="wrap_content" />

    <View
        android:background="@android:color/darker_gray"
        android:layout_width="match_parent"
        android:layout_height="1px"/>

    <TextView
        android:padding="10dp"
        android:text="帮上头条"
        android:textSize="16sp"
        android:layout_width="match_parent"
        android:layout_height="wrap_content" />

    <View
        android:background="@android:color/darker_gray"
        android:layout_width="match_parent"
        android:layout_height="1px"/>

    <TextView
        android:padding="10dp"
        android:text="取消关注"
        android:textSize="16sp"
        android:layout_width="match_parent"
        android:layout_height="wrap_content" />

    <View
        android:background="@android:color/darker_gray"
        android:layout_width="match_parent"
        android:layout_height="1px"/>

    <TextView
        android:padding="10dp"
        android:text="屏蔽"
        android:textSize="16sp"
        android:layout_width="match_parent"
        android:layout_height="wrap_content" />

    <View
        android:background="@android:color/darker_gray"
        android:layout_width="match_parent"
        android:layout_height="1px"/>

    <TextView
        android:padding="10dp"
        android:text="举报"
        android:textSize="16sp"
        android:layout_width="match_parent"
        android:layout_height="wrap_content" />

</LinearLayout>
view_dialog.xml布局文件中用了一个线性布局,里面排列方式为竖直,然后添加需要展示的内容控件显示即可。
- 上面的xml布局文件中,我在根布局中设置了background属性为
@drawable/drawable_round_edge,目的是为了让dialog显示圆角边框。
drawable_round_edge.xml代码如下:
<?xml version="1.0" encoding="utf-8"?>
<shape xmlns:android="http://schemas.android.com/apk/res/android">

    <!--描边设置-->
    <stroke android:color="@android:color/darker_gray"
        android:width="1px"
        />

    <!--填充设置-->
    <solid android:color="@android:color/white"/>

    <!--圆角设置-->
    <corners android:radius="20dp"/>

</shape>
实现代码
下面在MainActivity.java中给出对话框提示的实现代码,如下:
package com.example.administrator.roundedgedialog;

import android.annotation.TargetApi;
import android.app.Activity;
import android.app.AlertDialog;
import android.graphics.Color;
import android.graphics.drawable.ColorDrawable;
import android.os.Build;
import android.os.Bundle;
import android.view.View;
import android.view.ViewGroup;
import android.view.Window;
import android.view.WindowManager;

public class MainActivity extends Activity {

    private AlertDialog dialog = null;

    @Override
    protected void onCreate(Bundle savedInstanceState) {
        super.onCreate(savedInstanceState);
        setContentView(R.layout.activity_main);
        showDialog();// 对话框提示
    }


    /**
     * 对话框提示
     */
    @TargetApi(Build.VERSION_CODES.LOLLIPOP)
    private void showDialog() {

        // 构建dialog显示的view布局
        View view_dialog = getLayoutInflater().from(this).inflate(R.layout.view_dialog, null);

        if (dialog == null){
            // 创建AlertDialog对象
            dialog = new AlertDialog.Builder(this)
                    .create();
            dialog.show();
            // 设置点击可取消
            dialog.setCancelable(true);

            // 获取Window对象
            Window window = dialog.getWindow();
            // 设置显示视图内容
            window.setContentView(view_dialog);
        }else {
            dialog.show();
        }


    }

}
代码很简单:创建AlertDialog对象,然后获取dialog的Window对象,为Window对象设置这个View视图显示内容即可。注释也写得很明白,大家仔细理解。
简单运行效果图
现行运行上面的代码,在手机上显示的效果如下:
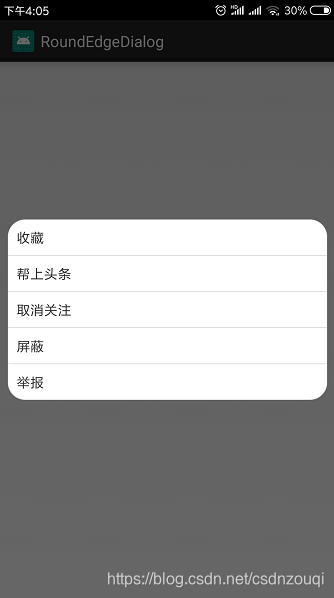
可以看到圆角对话框提示已经成功的显示了。
改变dialog的宽度
虽然我们看到圆角边框的AlertDialog对话框已经显示了,但是可以发现跟微博的效果图示有点区别,就是微博的对话框提示的宽度会稍微的距离左右的边距大一点(其实也就是对话框的宽度要小很多)。
关键就是改变对话框的大小即可。在原来代码的基础上添加下面代码即可:
	        WindowManager.LayoutParams lp = dialog.getWindow().getAttributes();
            lp.width = 500;// 调整该值可以设置对话框显示的宽度
            lp.height = ViewGroup.LayoutParams.WRAP_CONTENT;
            window.setAttributes(lp);

最后在修改代码后的基础上再次运行项目,效果图示如下:

这样就跟微博效果一样了。希望这篇文章能帮到各位同学们,分享快乐!
A little bit of progress every day!Come on!
