Sentinel是什么
Sentinel的官方标题是:分布式系统的流量防卫兵。从名字上来看,很容易就能猜到它是用来作服务稳定性保障的。Spring cloud的服务稳定性保障组件还有Hystrix(已经停止更新),
Sentinel的功能和细节比较多,那么我们说说如何把Sentinel整合到Spring Cloud应用中,以及如何使用Sentinel Dashboard来配置限流规则。
使用Sentinel实现接口限流
Sentinel的使用分为两部分:
- entinel-dashboard:与hystrix-dashboard类似,但是它更为强大一些。除了与hystrix-dashboard一样提供实时监控之外,还提供了流控规则、熔断规则的在线维护等功能。
- 客户端整合:每个微服务客户端都需要整合sentinel的客户端封装与配置,才能将监控信息上报给dashboard展示以及实时的更改限流或熔断规则等。
部署Sentinel Dashboard
下载地址 : sentinel-dashboard-1.6.0.jar
通过命令启动:
java -jar sentinel-dashboard-1.6.0.jar
如果需要修改启动的端口:-Dserver.port=8888
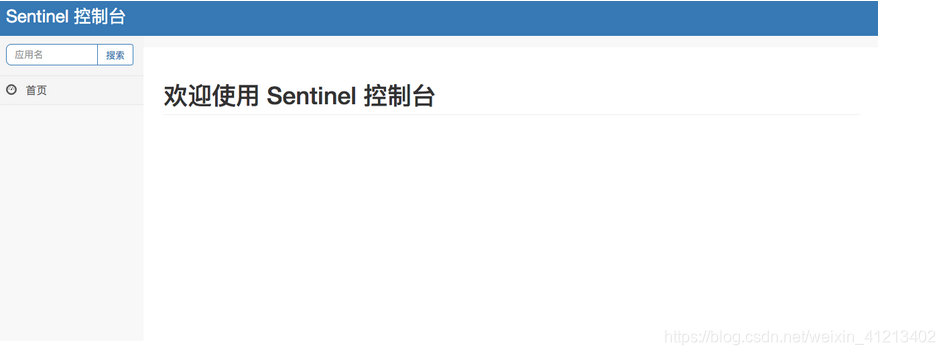
默认情况下,sentinel-dashboard以8080端口启动,所以可以通过访问:localhost:8080来验证是否已经启动成功,如图:
 注意 : 默认用户名和密码都是
sentinel
用户登录的相关配置可以在启动命令中增加下面的参数来进行配置:
- -
Dsentinel.dashboard.auth.username=sentinel: 用于指定控制台的登录用户名为sentinel; - -
Dsentinel.dashboard.auth.password=123456: 用于指定控制台的登录密码为 123456;如果省略这两个参数,默认用户和密码均为sentinel - -
Dserver.servlet.session.timeout=7200: 用于指定 Spring Boot 服务端 session 的过期时间,如 7200 表示 7200 秒;60m 表示 60 分钟,默认为 30 分钟;
如图:
 整合Sentinel
第一步:在Spring Cloud应用的pom.xml中引入Spring Cloud Alibaba的Sentinel模块:
 <dependencies>
    <dependency>
        <groupId>org.springframework.boot</groupId>
        <artifactId>spring-boot-starter-web</artifactId>
    </dependency>
    <dependency>
        <groupId>org.springframework.cloud</groupId>
        <artifactId>spring-cloud-starter-alibaba-sentinel</artifactId>
    </dependency>

    <dependency>
        <groupId>org.projectlombok</groupId>
        <artifactId>lombok</artifactId>
        <version>1.18.2</version>
        <optional>true</optional>
    </dependency>
    <dependency>
        <groupId>org.springframework.boot</groupId>
        <artifactId>spring-boot-starter-test</artifactId>
        <scope>test</scope>
    </dependency>
</dependencies>
第二步:在Spring Cloud应用中通过spring.cloud.sentinel.transport.dashboard参数配置sentinel dashboard的访问地址,比如:
spring.application.name=alibaba-sentinel-rate-limiting
server.port=8001

# sentinel dashboard
spring.cloud.sentinel.transport.dashboard=localhost:8080
第三步:创建应用主类,并提供一个rest接口,比如:
@SpringBootApplication
public class TestApplication {

    public static void main(String[] args) {
        SpringApplication.run(TestApplication.class, args);
    }

    @Slf4j
    @RestController
    static class TestController {

        @GetMapping("/hello")
        public String hello() {
            return "didispace.com";
        }

    }

}
第四步:启动应用,然后通过postman或者curl访问几下localhost:8001/hello接口。
$ curl localhost:8001/hello
didispace.com
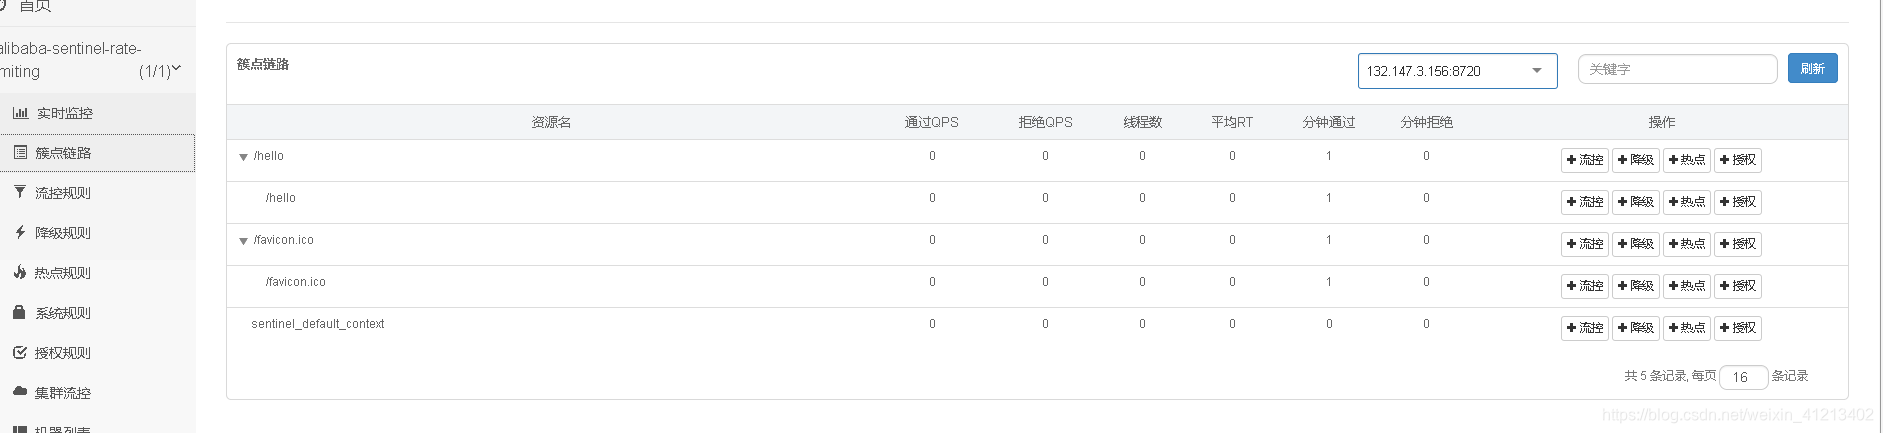
现在可以看到监控页面:
 配置限流规则
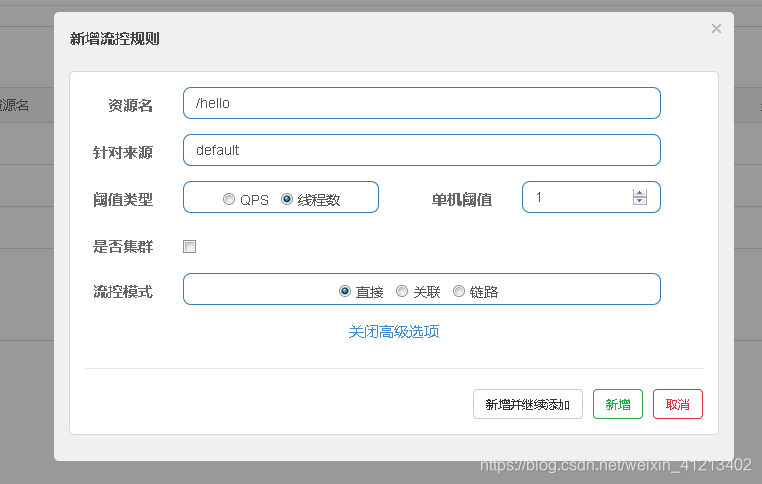 设置QPS,阈值。
综合起来的配置效果就是,该接口的限流策略是每秒最多允许2个请求进入。
 验证限流规则
验证是否会触发限流控制,比如:
$ curl localhost:8001/hello
didispace.com
$ curl localhost:8001/hello
didispace.com
$ curl localhost:8001/hello
Blocked by Sentinel (flow limiting)
参考资料:
Sentinel学习材料
