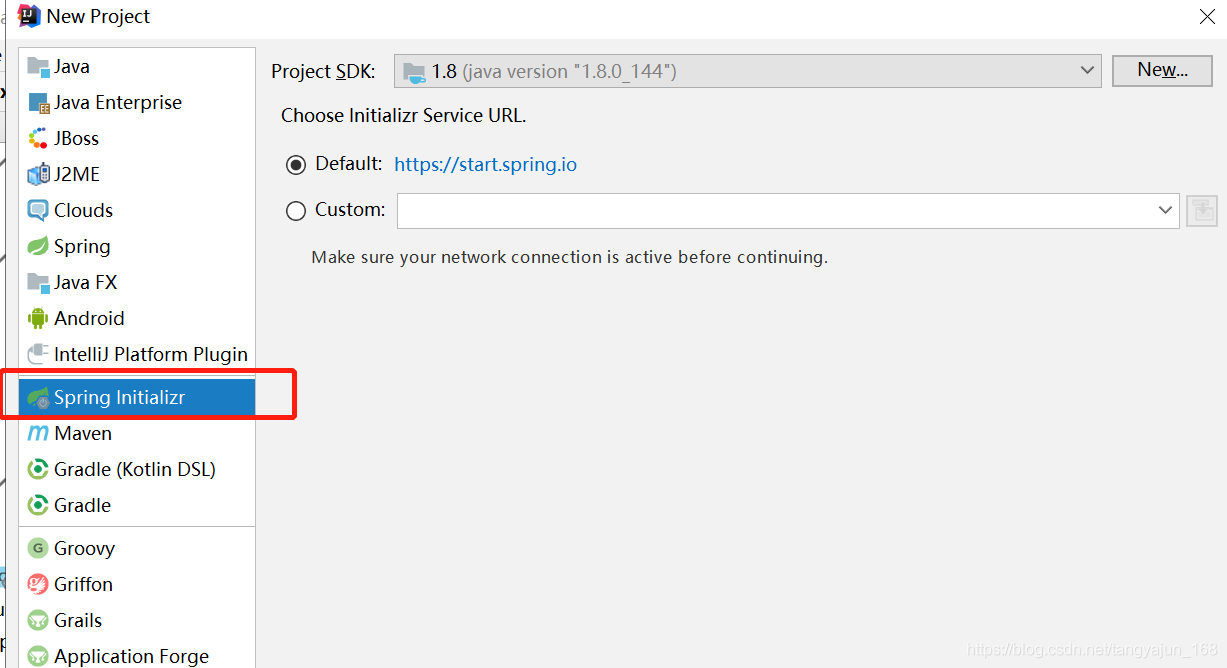
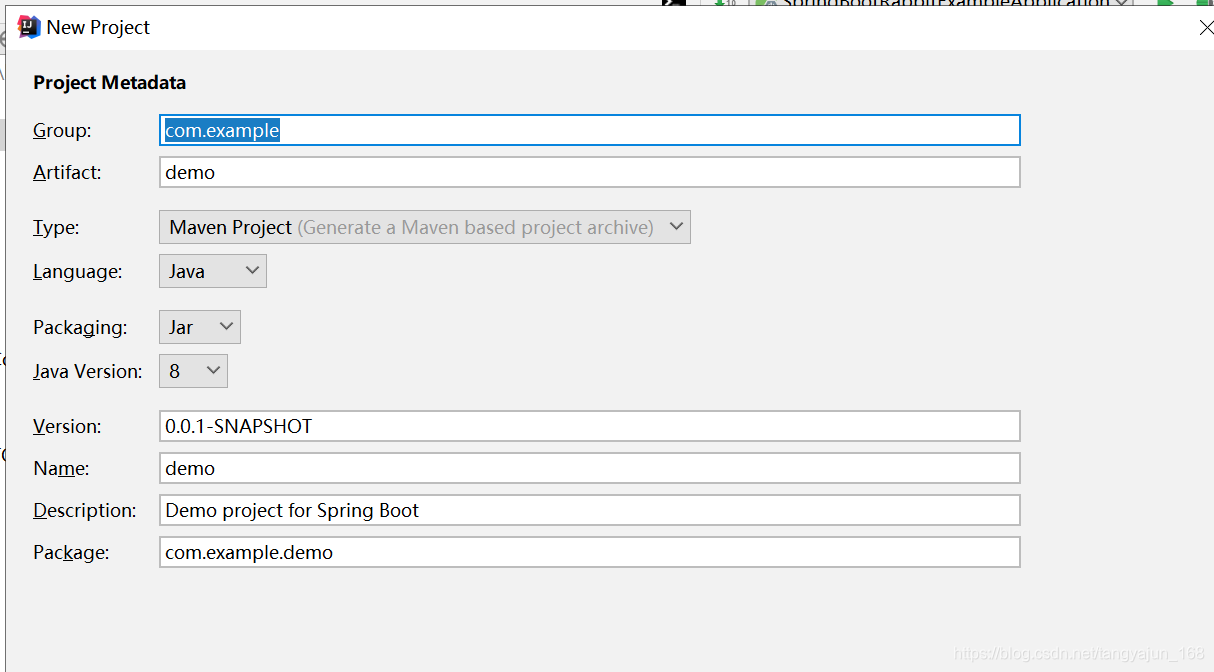
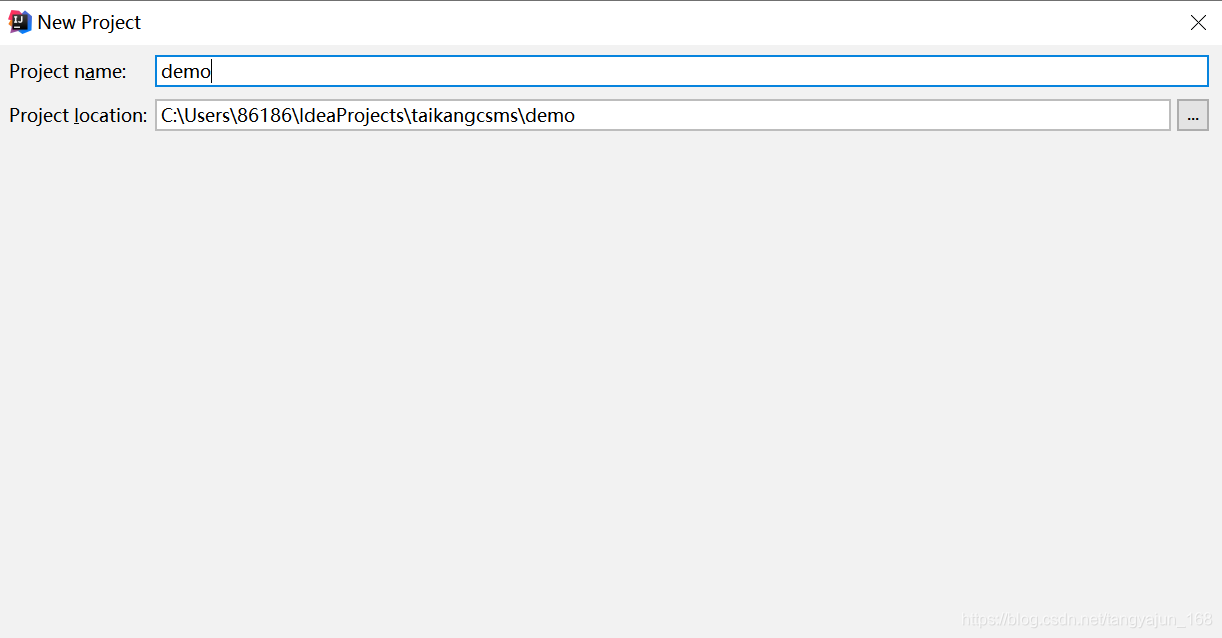
一、创建spring-boot工程
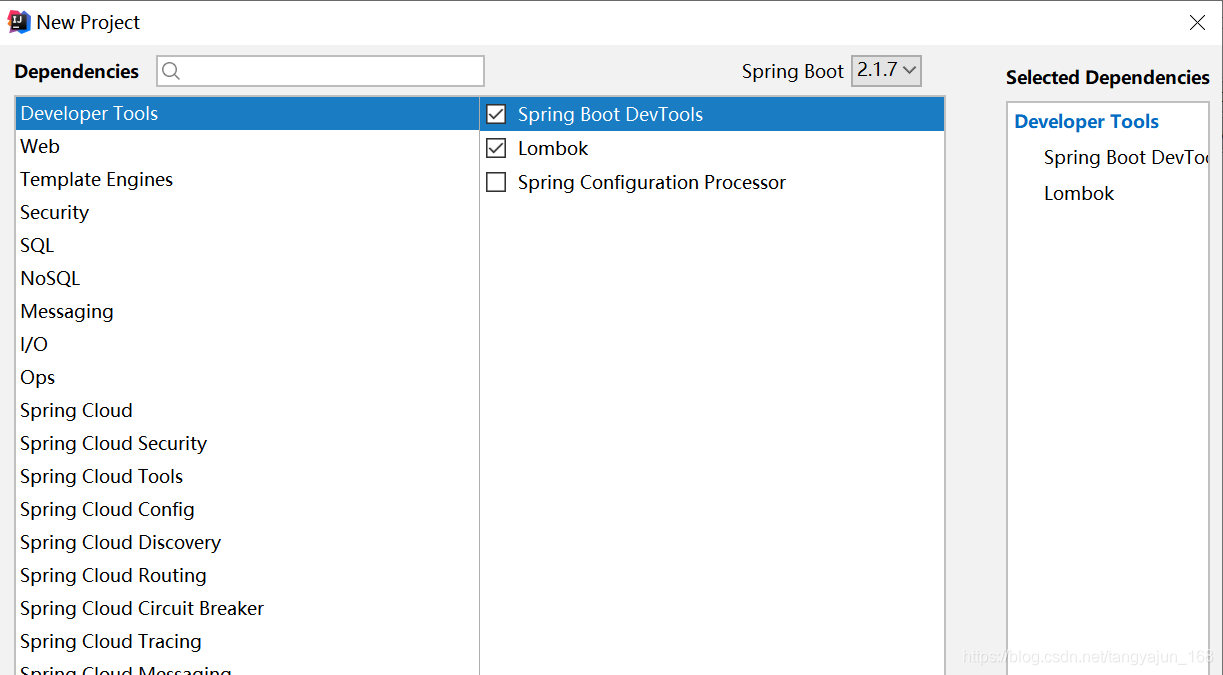
二、添加依赖
<parent>
		<groupId>org.springframework.boot</groupId>
		<artifactId>spring-boot-starter-parent</artifactId>
		<version>2.1.6.RELEASE</version>
		<relativePath/> <!-- lookup parent from repository -->
	</parent>
<dependencies>
		<dependency>
			<groupId>org.springframework.boot</groupId>
			<artifactId>spring-boot-starter</artifactId>
		</dependency>
<dependency>
			<groupId>org.springframework.boot</groupId>
			<artifactId>spring-boot-starter-web</artifactId>
		</dependency>

		<dependency>
			<groupId>org.springframework.boot</groupId>
			<artifactId>spring-boot-starter-amqp</artifactId>
		</dependency>
		</dependencies>
		<build>
		<plugins>
			<plugin>
				<groupId>org.springframework.boot</groupId>
				<artifactId>spring-boot-maven-plugin</artifactId>
			</plugin>
		</plugins>
	</build>
三、在application.yml中配置 rabbitmq连接
spring:
application:
name: rabbit-spring-boot
rabbitmq:
host: 192.168.98.22
username: root
password: root
四、声明队列、交换器并将队列绑定到交换器
@Configuration
public class TopicExchangeConfig {
	// 声明队列
    @Bean
	public Queue queue1() {
		return new Queue("q.queue1");
	}
	//  声明交换器
  @Bean
	public FanoutExchange fanoutExchange() {
		return new FanoutExchange("x.fanout");
	}
	// 将交换器绑定到队列(fanout交换器没有路由)
	@Bean
	public Binding bindingQueue2Fanout() {
		return BindingBuilder.bind(queue1()).to(fanoutExchange());
	}
}
五、编写消息生产者
@Component
public class RabbitMQProducer {
	@Autowired
	AmqpTemplate amqpTemplate;

	public void send(Object message) {
		System.out.println("start send message ");
		amqpTemplate.convertAndSend("x.fanout",message);
	}
}
六、编写消息消费者
@Component
public class RabbitMQConsumer {
	@RabbitHandler
	@RabbitListener(queues = "q.queue1")
	public void receive(Object msg) {
		System.out.println("------------------------------------receive msg -------------"+msg);
	}
}
