其实springboot中上传文件和在springmvc中上传的方式基本一致,没多大区别,当然在springboot没多少配置,更加简单一点。
一、在application.properties中我们只需写上如下两行配置。
(其实不写这个也是可以的,只要你的单个文件小于1M)
# 上传文件总的最大值
spring.servlet.multipart.max-request-size=10MB
# 单个文件的最大值(注:springboot默认的文件大小限制为1M)
spring.servlet.multipart.max-file-size=5MB
二、完整例子(这里我们以上传图片演示)
我们先在static目录下创建一个upload目录
unloadController.java
package com.rong.upload.controller;

import org.springframework.stereotype.Controller;
import org.springframework.util.ResourceUtils;
import org.springframework.web.bind.annotation.RequestMapping;
import org.springframework.web.multipart.MultipartFile;
import org.springframework.web.servlet.ModelAndView;

import javax.servlet.http.HttpSession;
import java.io.File;
import java.io.IOException;

@Controller
public class UploadController {

    //用于转到upload.html
    @RequestMapping("/totest")
    public String toUpload(){
        return "upload";
    }


    //用于接收文件
    @RequestMapping("/upload")
    public ModelAndView upload(MultipartFile photo) throws IOException {
        ModelAndView mv = new ModelAndView();
        //判断用户是否上传了文件
        if(!photo.isEmpty()){

            //文件上传的地址
            String path = ResourceUtils.getURL("classpath:").getPath()+"static/upload";
            String realPath = path.replace('/', '\\').substring(1,path.length());
            //用于查看路径是否正确
            System.out.println(realPath);

            //获取文件的名称
            final String fileName = photo.getOriginalFilename();

            //限制文件上传的类型
            String contentType = photo.getContentType();
            if("image/jpeg".equals(contentType) || "image/jpg".equals(contentType) ){
                File file = new File(realPath,fileName);

                //完成文件的上传
                photo.transferTo(file);
                System.out.println("图片上传成功!");
                String path01 = "../upload/"+fileName;
                mv.addObject("path" ,path01);
                mv.setViewName("lookphoto");
                return mv;
            } else {
                System.out.println("上传失败!");
                mv.setViewName("upload");
                return mv;
            }
        } else {
            System.out.println("上传失败!");
            mv.setViewName("upload");
            return mv;
        }
    }
}
unload.html(用于上传文件)
<!DOCTYPE html>
<html lang="en">
<head>
    <meta charset="UTF-8">
    <title>upload</title>
</head>
<body>
<form method="post" action="/upload" enctype="multipart/form-data">
    <input type="file" name="photo"><br>
    <input type="submit" value="提交">
</form>
</body>
</html>
lookphoto.html(用于查看上传成功的图片)
<!DOCTYPE html>
<html xmlns:th="http://www.thymeleaf.org">
<head>
    <meta charset="UTF-8">
    <title>lookphoto</title>
</head>
<body>
    <img th:src="${path}">
</body>
</html>
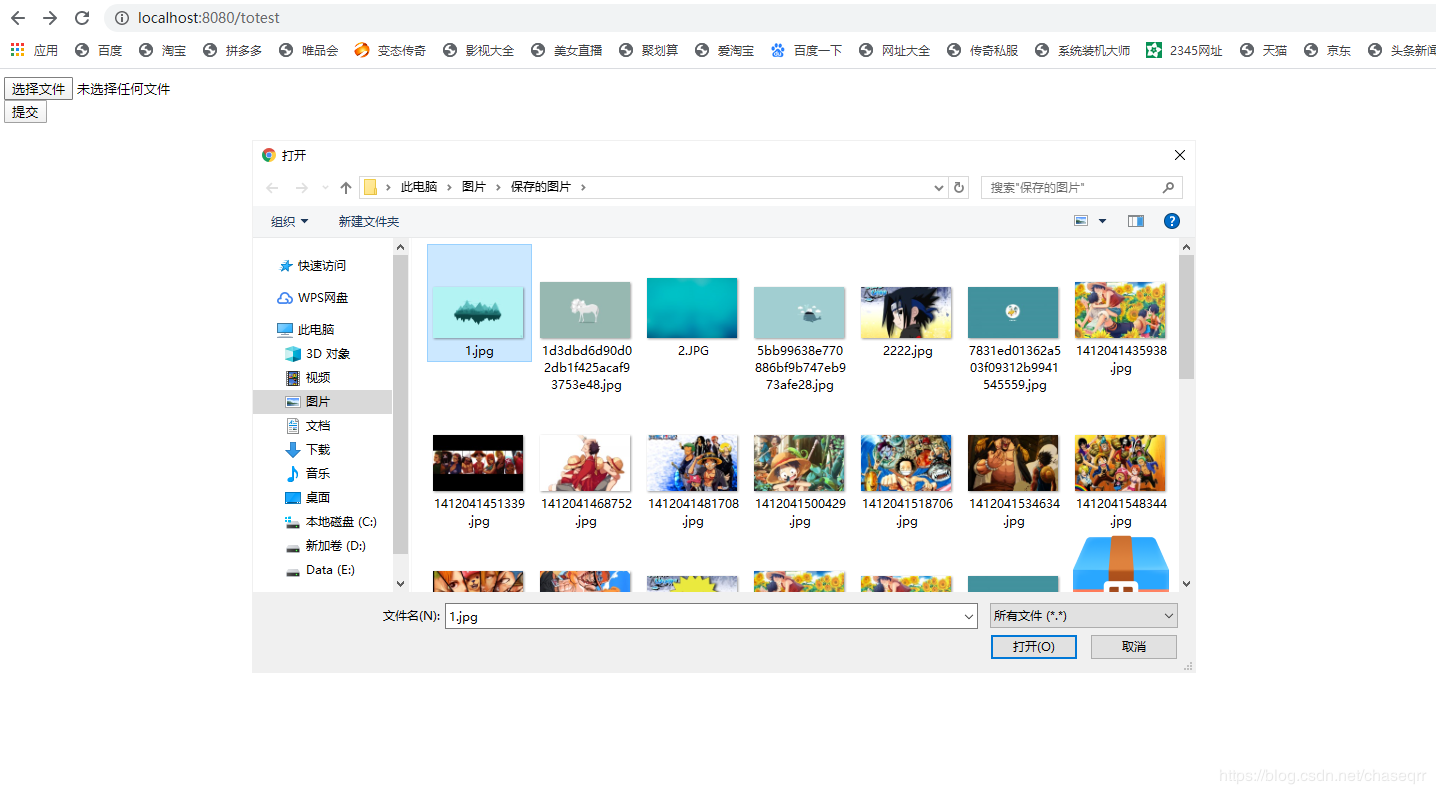
三、演示结果
(1)输入localhost:8080/totest选择文件上传
(2)上传文件成功显示该图片

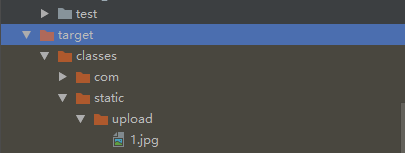
(3)查看target下是否有图片
四、上传文件需要注意的地方
1.我们需要转发到html页面,所以别忘了添加thymeleaf模板引擎。
2.如果上面上传的文件路径存在问题,可以直接手写一个,例如D:\IdeaProjects\learnspringboot\upload\target\classes\static\upload(注意了\需要用\\转义)
3.查看上传成功的图片要到target目录下查看