spring boot创建+配置
git地址
https://github.com/a18792721831/studySpringCloud.git
1.spring boot 简介
1.1 特点
-
- 自动配置
自动配置就是程序需要什么,spring boot就会装配什么。
- 自动配置
-
- 起步依赖
向原来的项目中增加依赖是比较有挑战的,版本冲突等必须考虑。在springboot中,只需要增加一个依赖,这个依赖就会将其相关联的依赖都加入,并自动解决版本冲突。
- 起步依赖
-
- Actuator监控
Actuator可以监控程序的运行。
- Actuator监控
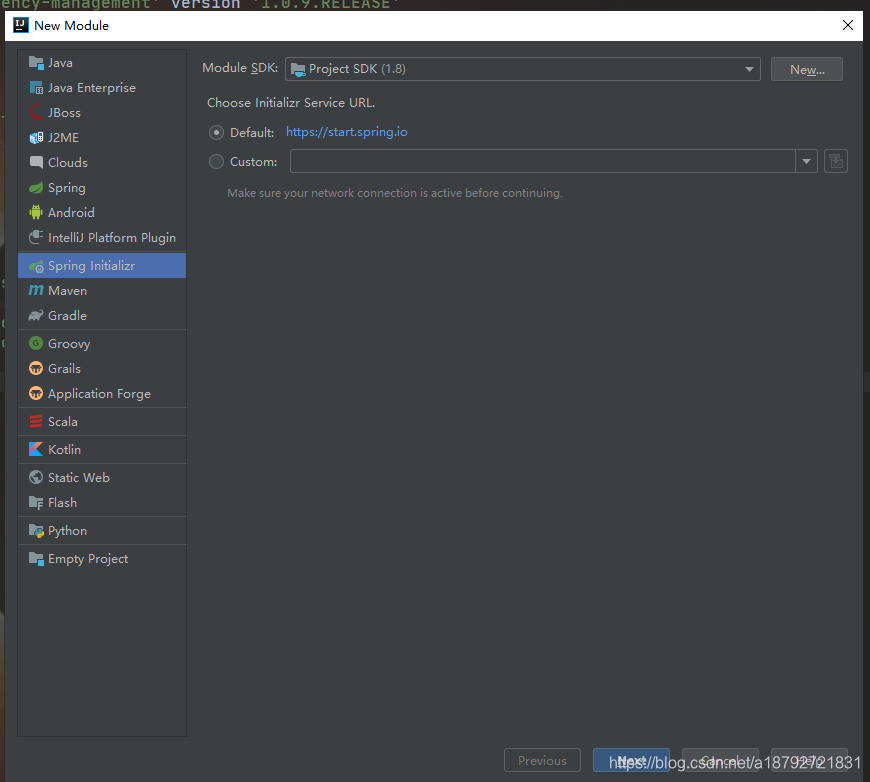
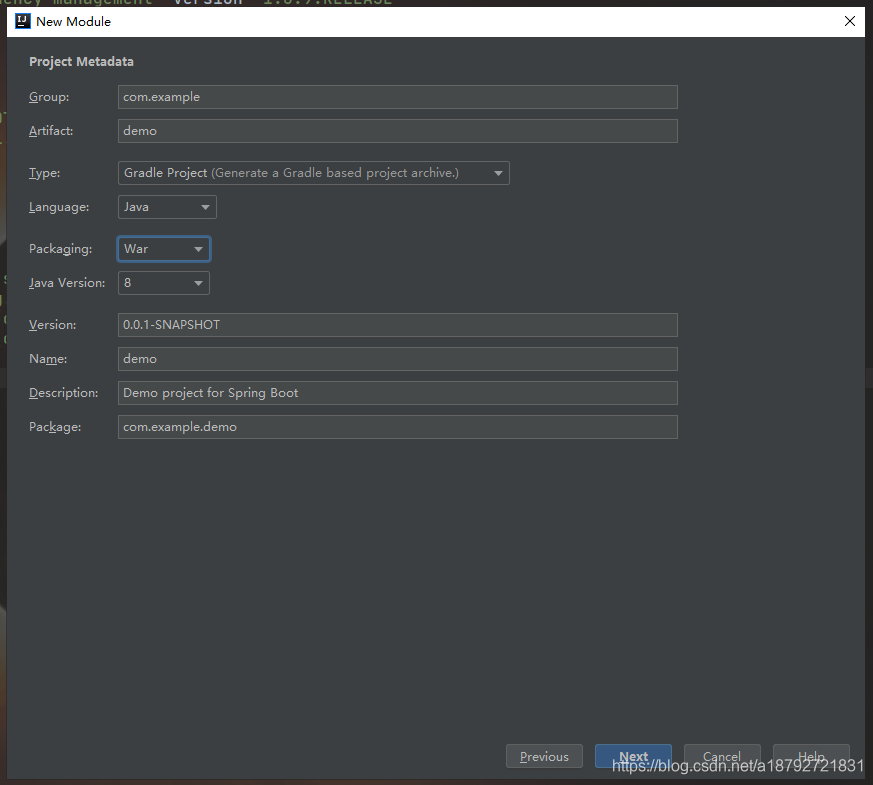
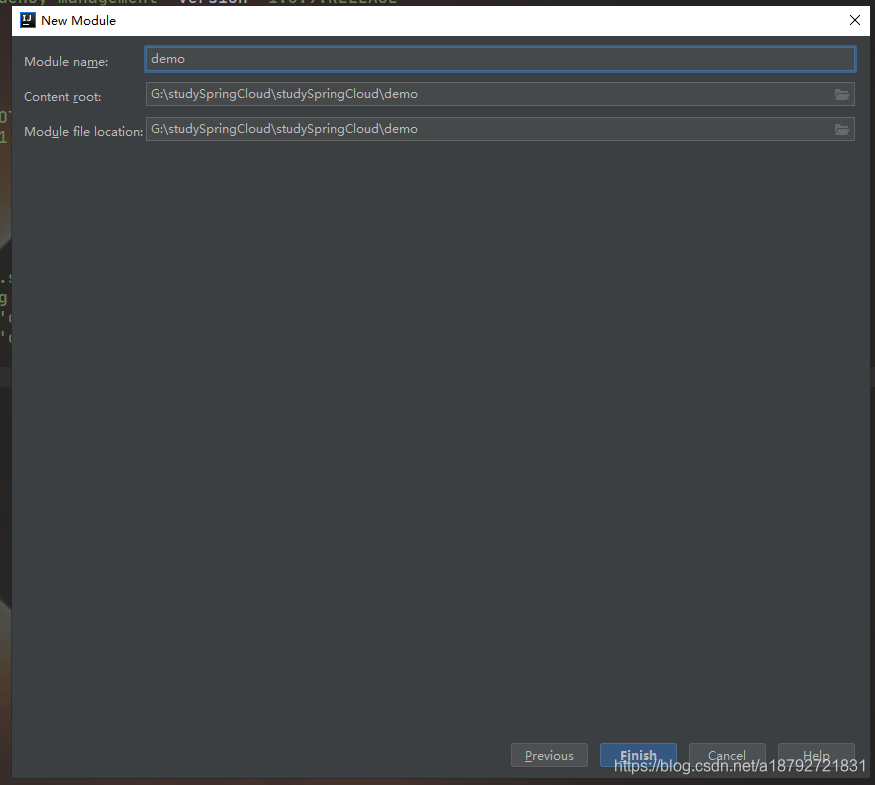
2.创建spring boot
2.1 创建

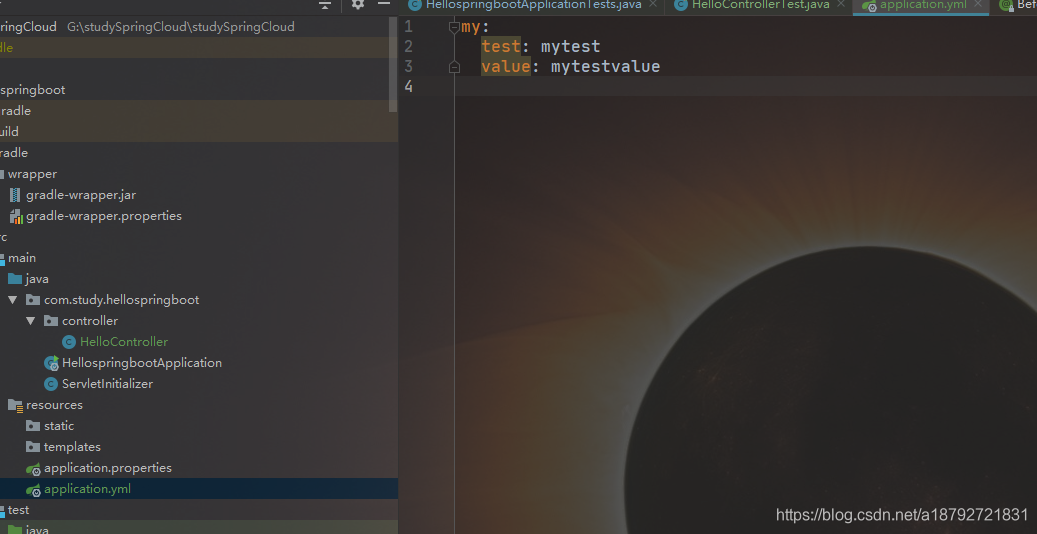
2.2 项目结构
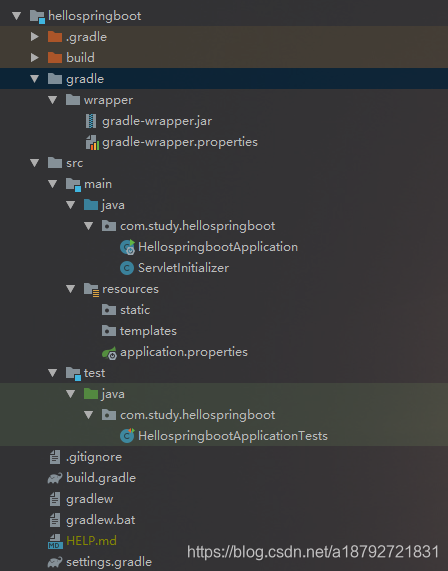
build.gradle是依赖管理
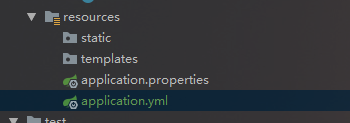
resources为资源文件夹
statics为静态资源
templates为模板资源
application.properties
application.yml是配置文件
SpringbootApplication为程序启动类
2.3 web项目
web项目会自动增加依赖
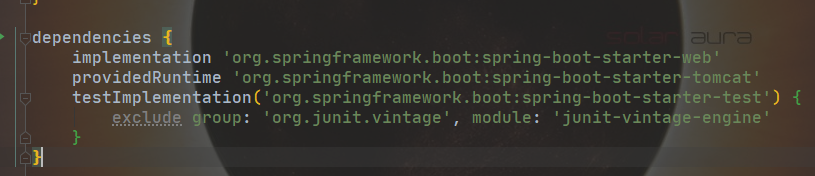
有时候maven的默认仓库下载比较慢,可以自动多个maven仓库镜像
    maven{
        url 'https://maven.aliyun.com/'
    }
    maven{
        url 'http://maven.aliyun.com/nexus/content/groups/public/'
    }
    maven{
        url 'https://repo1.maven.org/maven2/'
    }
2.4 启动类

@SpringBootApplication注解包含了@SpringBootConfiguration和@EnableAutoConfiguration和@ComponentScan,开启了包扫描、配置和自动配置的功能很。
我们新建一个Controller
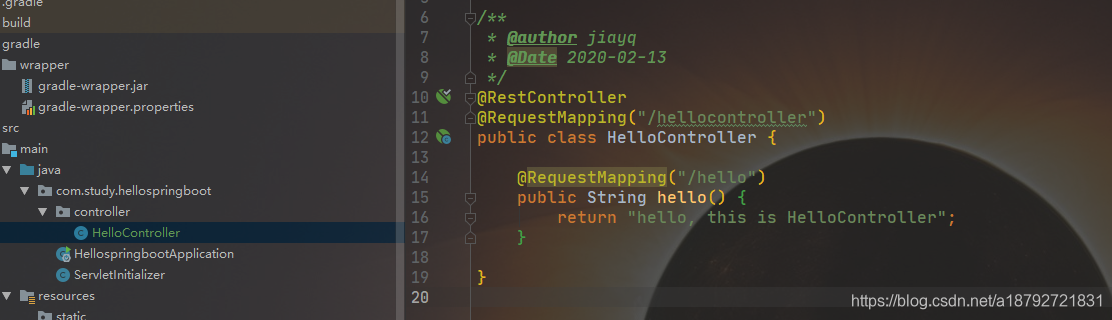
绑定controller的请求地址,然后写一个方法,方法也绑定请求地址,然后启动。
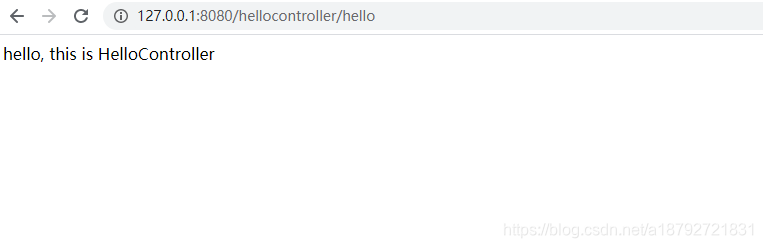
接下来访问方法
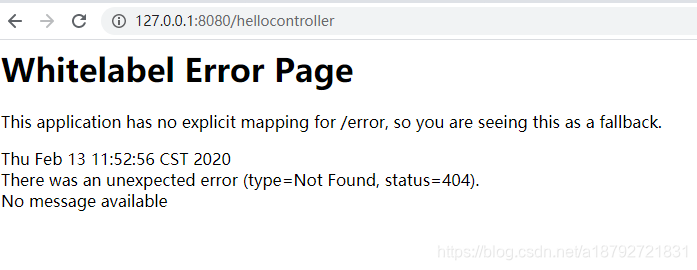
请注意,不写方法的请求地址,也会报异常的
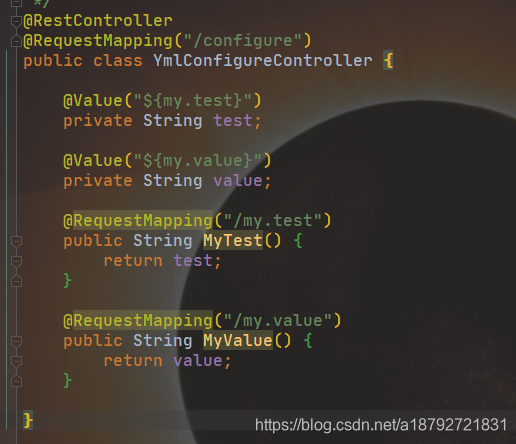
其中,@RestController注解表明这个类是一个RestController。
@RestController是spring 4.0版本的一个注解,功能相当于@Controller注解和@ResponseBody注解之和。
@RequestMapping注解是绑定请求地址映射的。
2.5 测试
在gradle项目中,我们看到,自动生成了测试类。
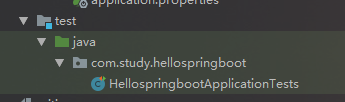
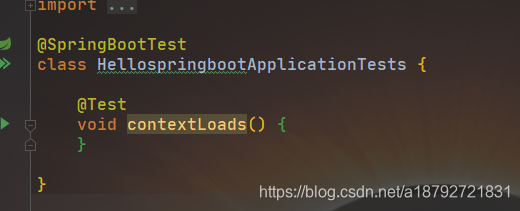
我们直接运行,可以看到启动了容器

不过这个contextLoads测试类只是为了测试自动生成或依赖没有问题,整个架构能够正确的运行。
更多的是我们自己写的,测试自己的controller,service,dao.
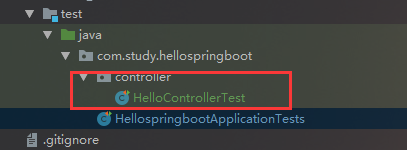
接下来,我们创建controller包(与main里面的同目录名,类名+Test)
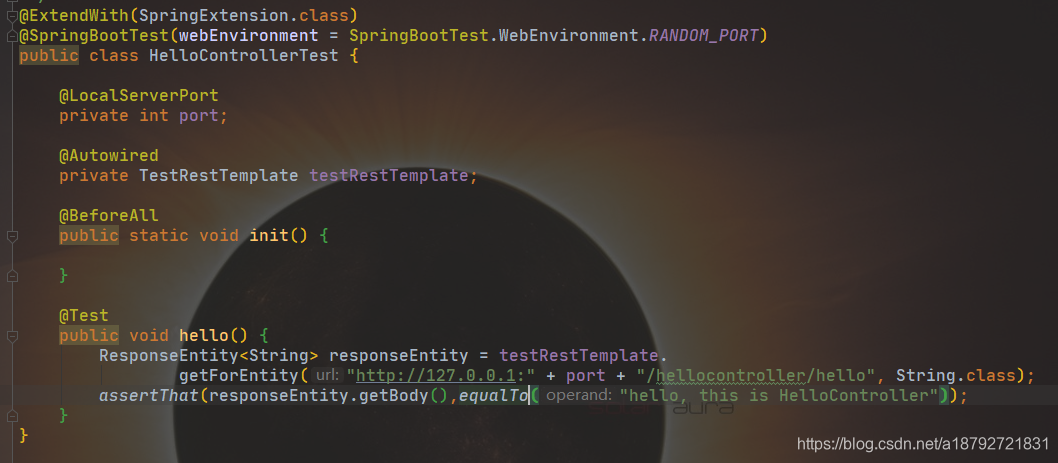
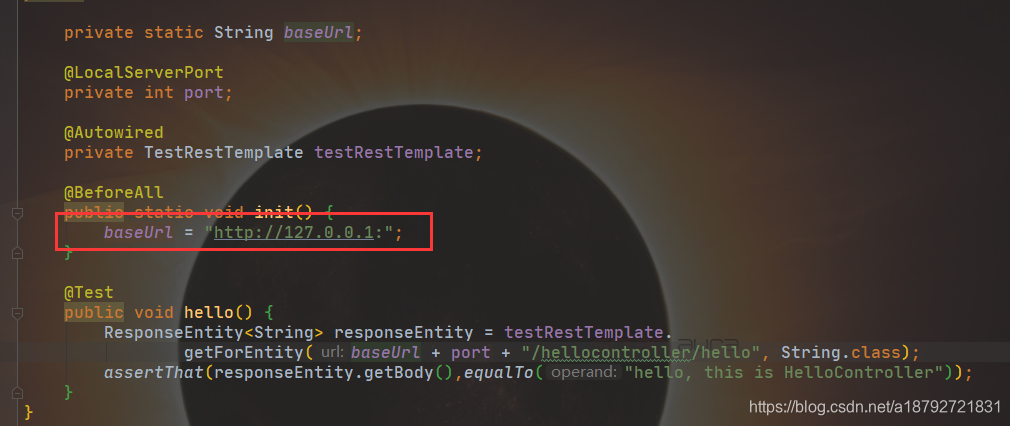
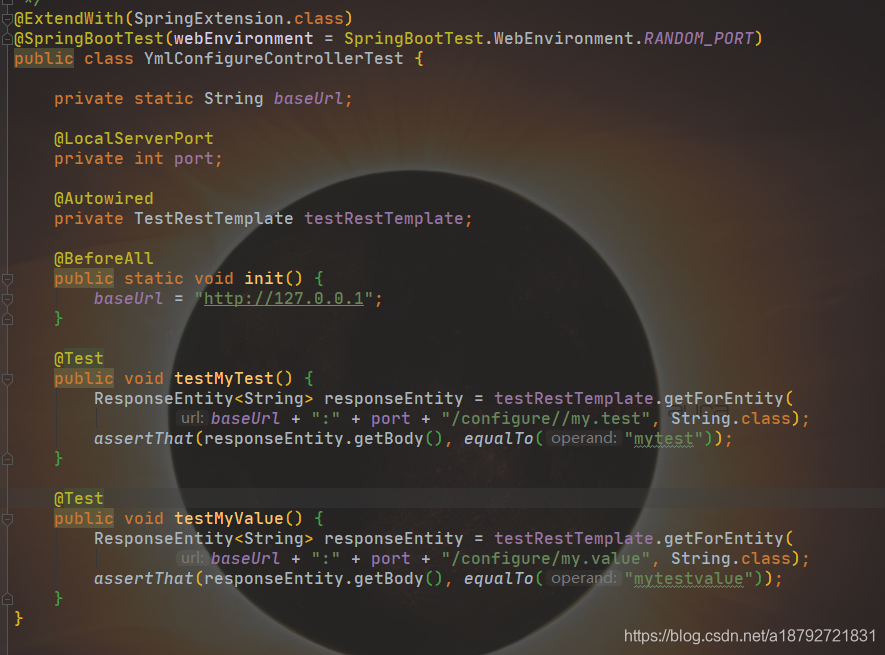
-
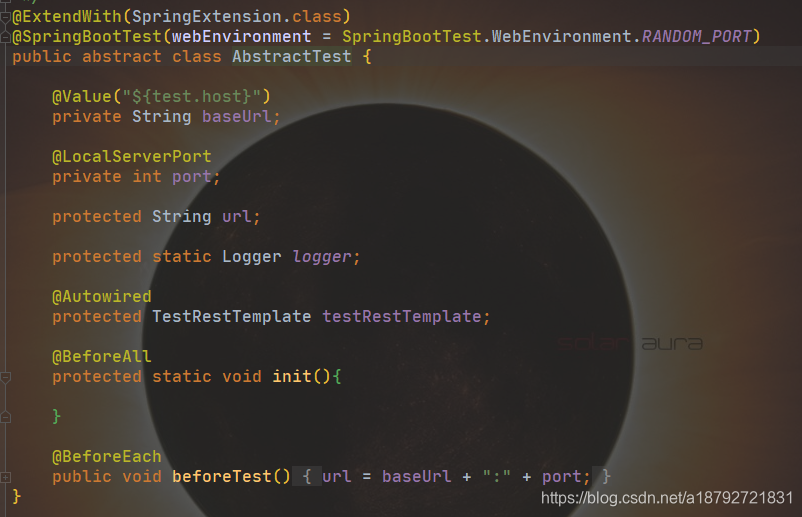
- 为了防止端口占用导致的服务启动失败,先使用@SpringBootTest(webEnvironment = SpringBootTest.WebEnvironment.RANDOM_PORT)随机使用端口。
-
- JUnit4可以使用@RunWith(SpringRunner.class),但是在JUnit5中是@ExtendWith(SpringExtension.class)
-
- 使用@LocalServerPort将随机端口读取进去
-
- 使用assertThat进行判断是否通过测试(否则即使失败,也是通过)
-
- 可以将初始化的操作放在init中
- 可以将初始化的操作放在init中
3.配置
在spring boot 中有两种配置文件,properties和yml
3.1 自定义配置
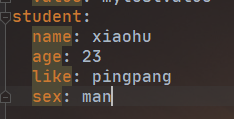
在yml中配置属性
3.2 如何访问
首先创建一个controller
接下来启动

然后访问
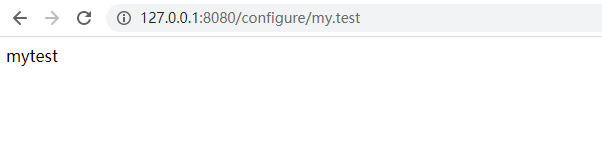
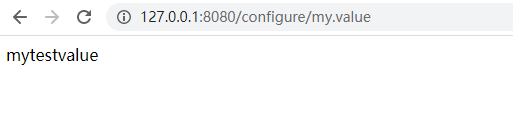
接下来创建测试类
3.3 配置赋值到实体
在配置文件中增加
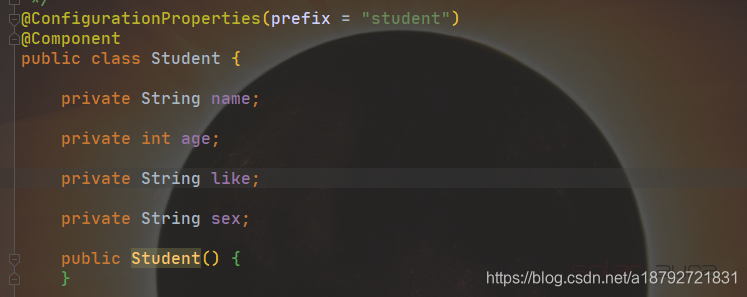
接下来创建对应的bean

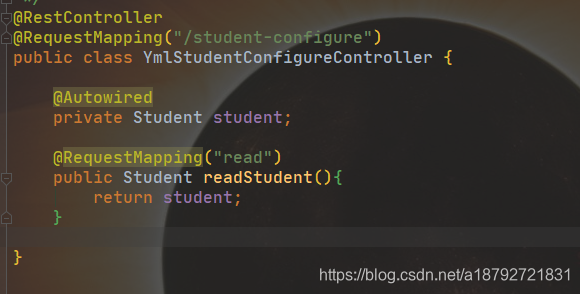
创建访问controller
启动请求

写测试类
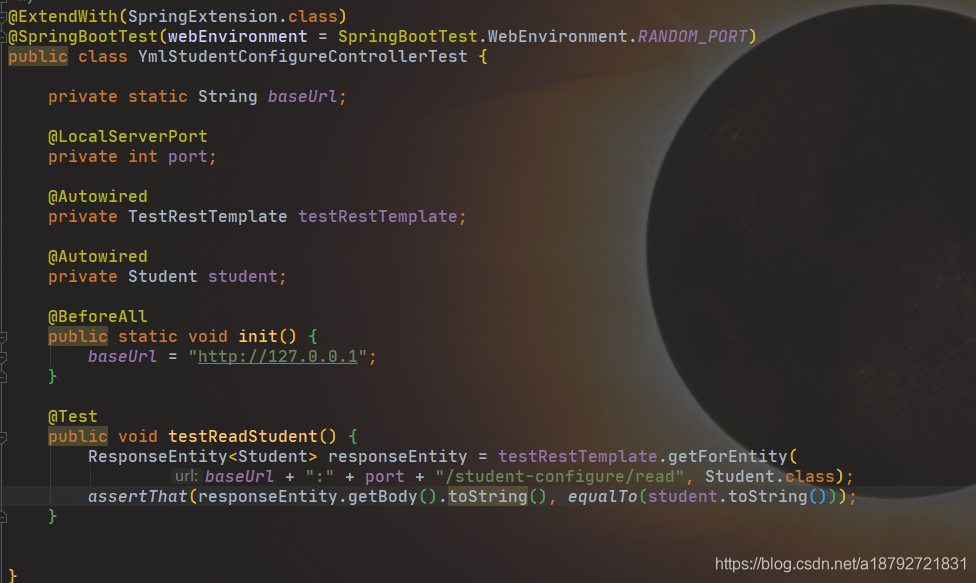
通过比较自动注入的和通过controller获取得到的是否一致。

3.4 自定义配置文件-properties
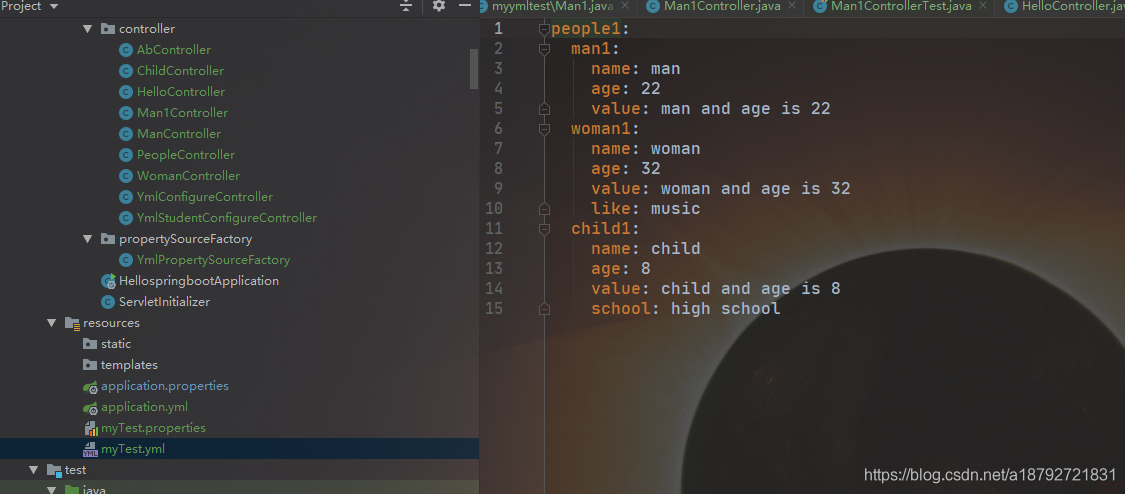
我们在resources下创建我们自己的配置文件
myTest.yml
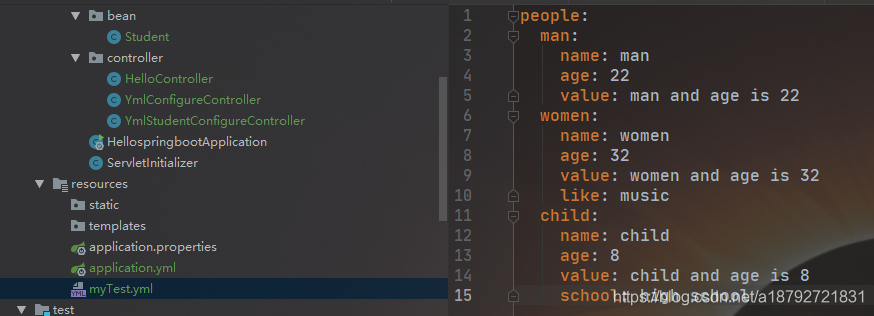
数据结构如下:
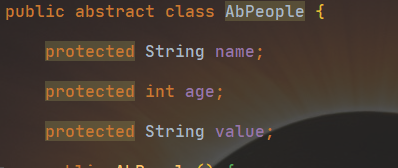
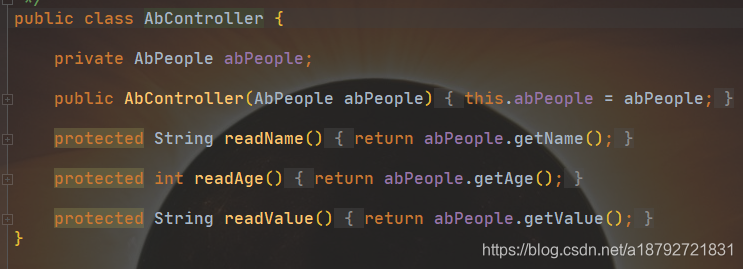
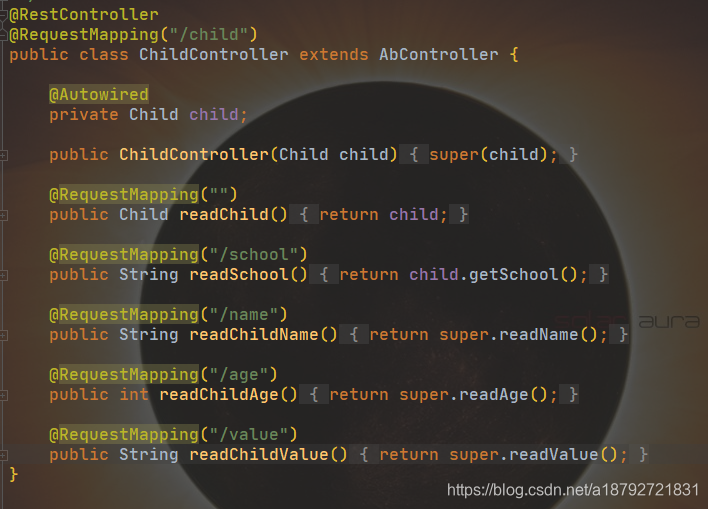
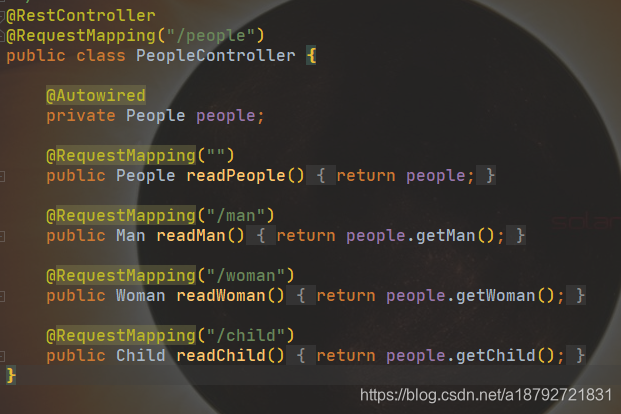
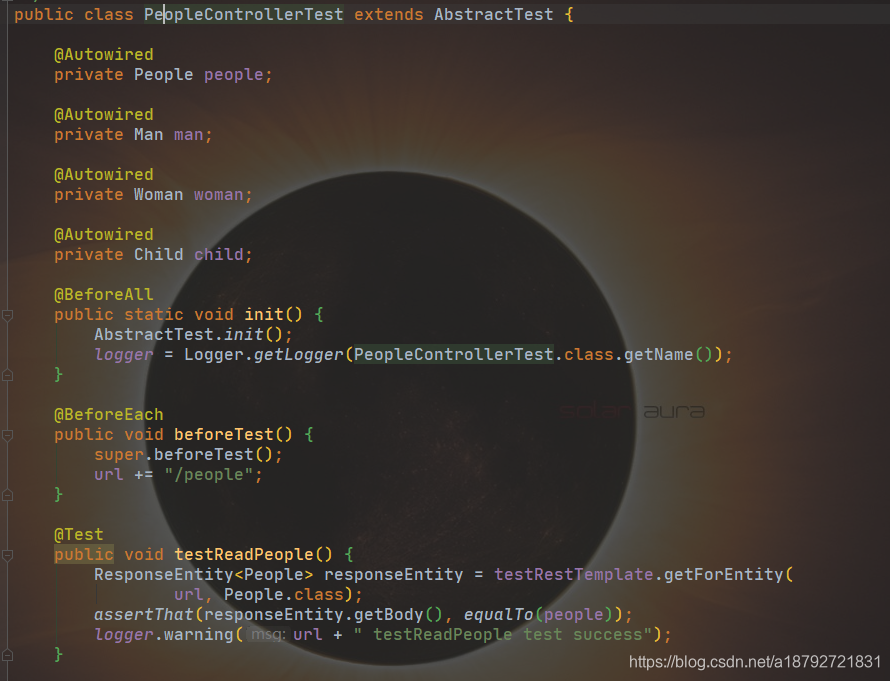
有一个抽象类,定义name,age,value
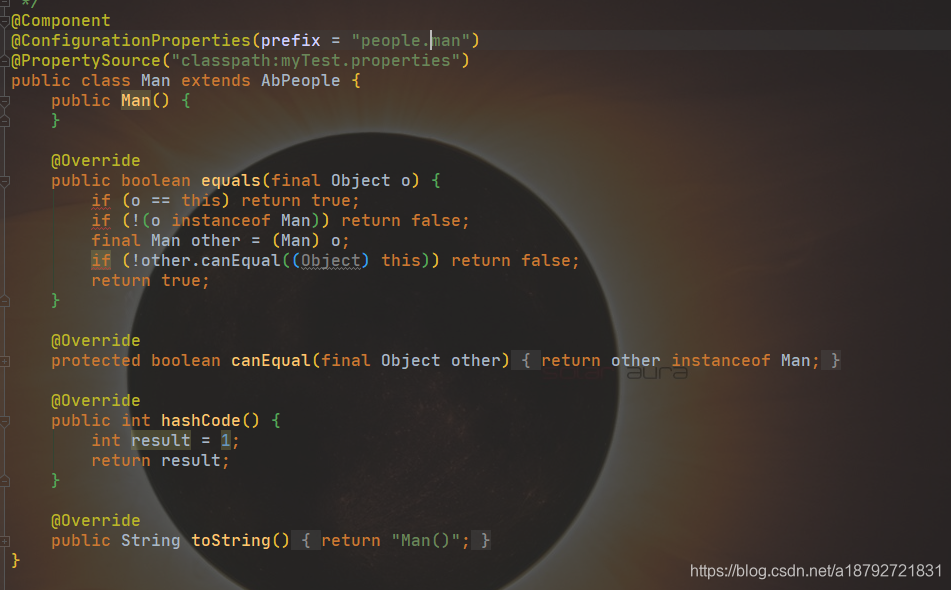
然后扩展了三个子类:
man、women、child
最后组成了people

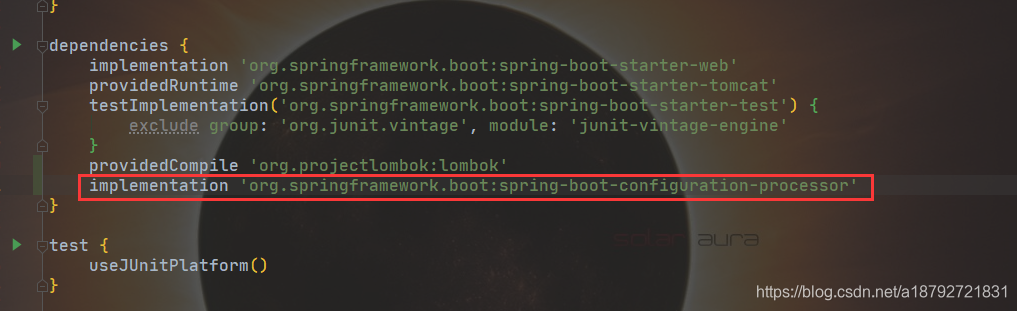
需要增加依赖
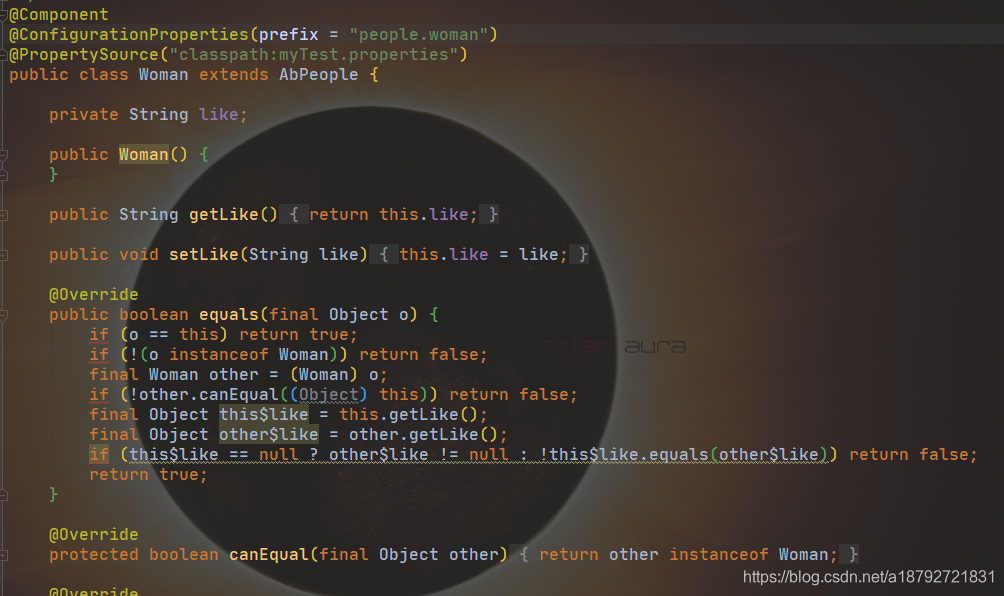
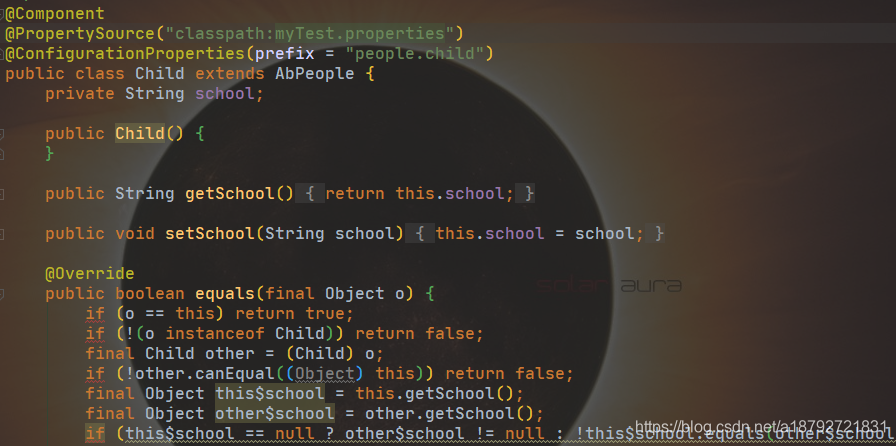
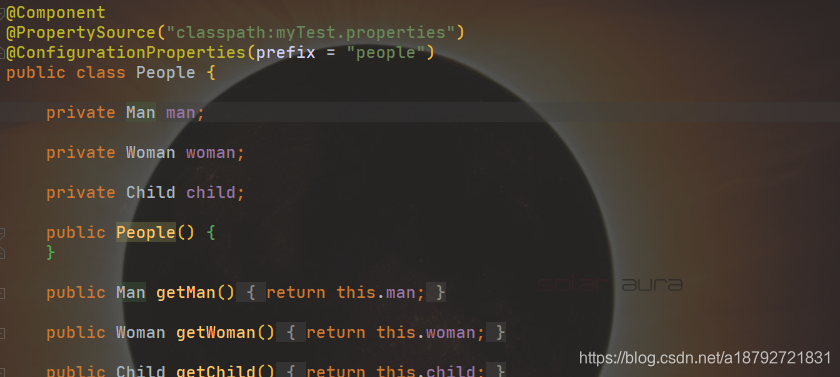
注意前缀。
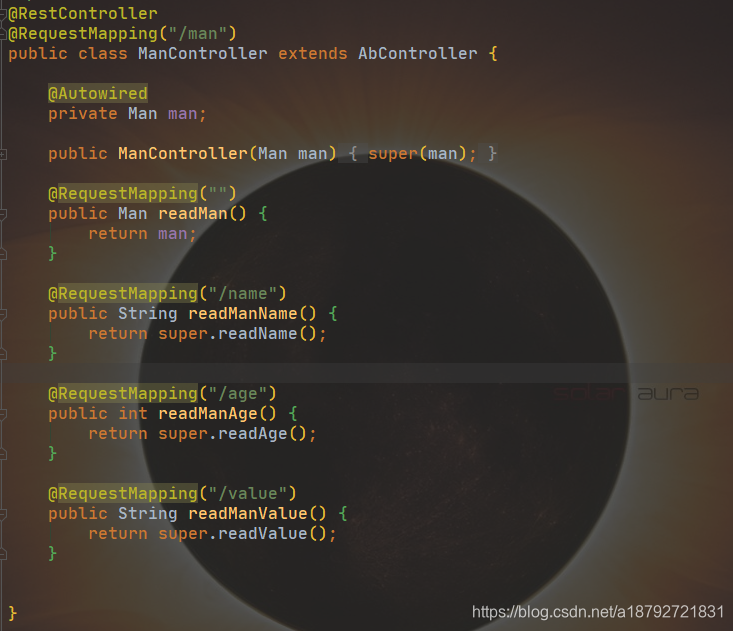
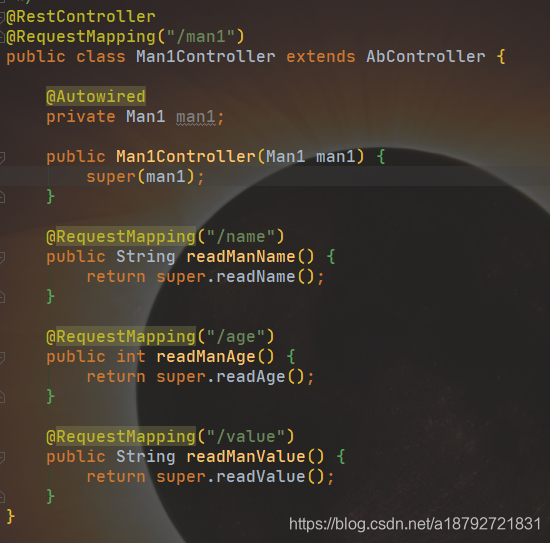
创建controller

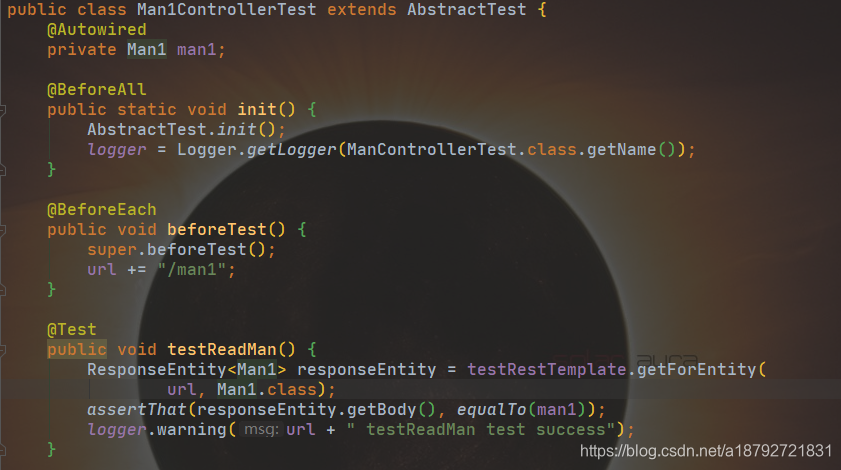
创建测试类
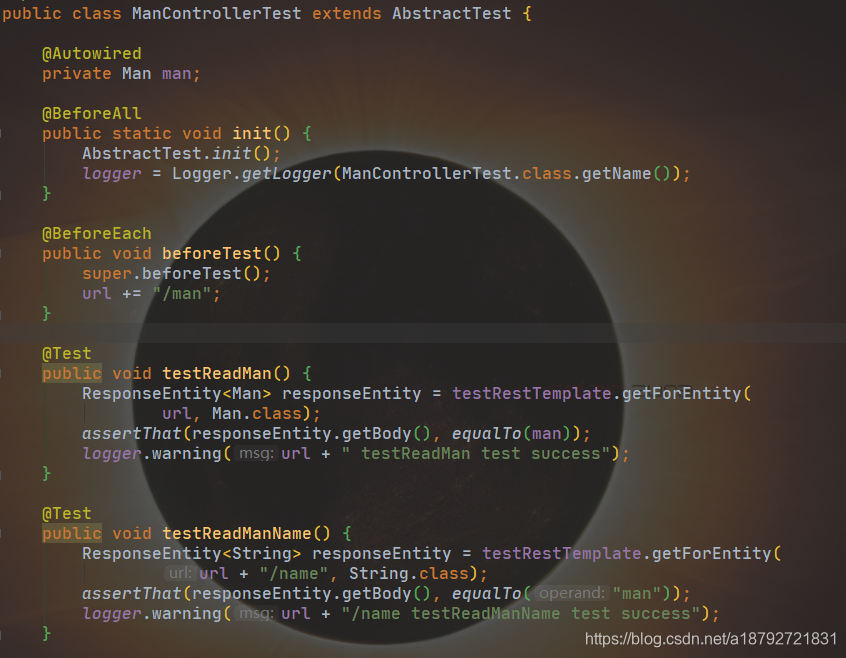
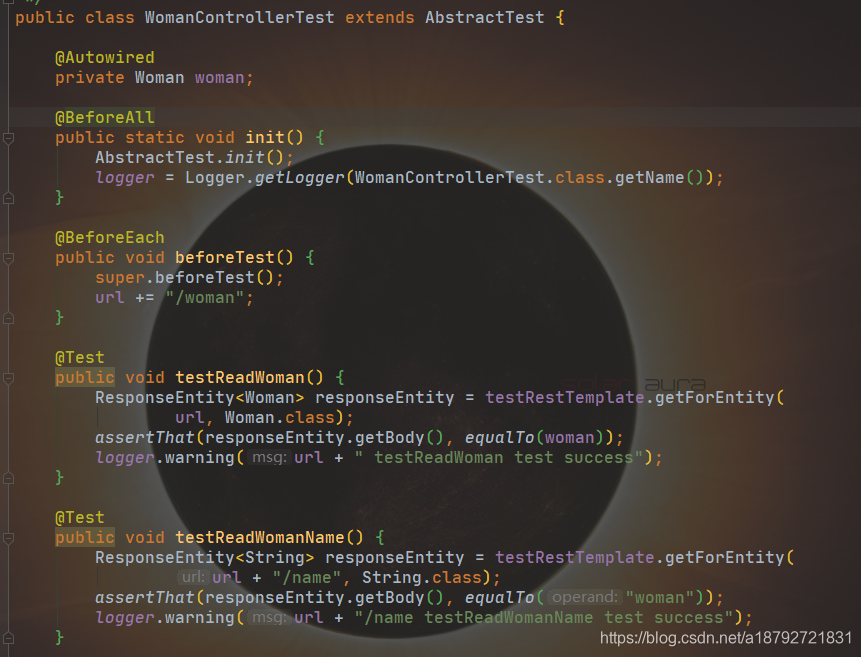
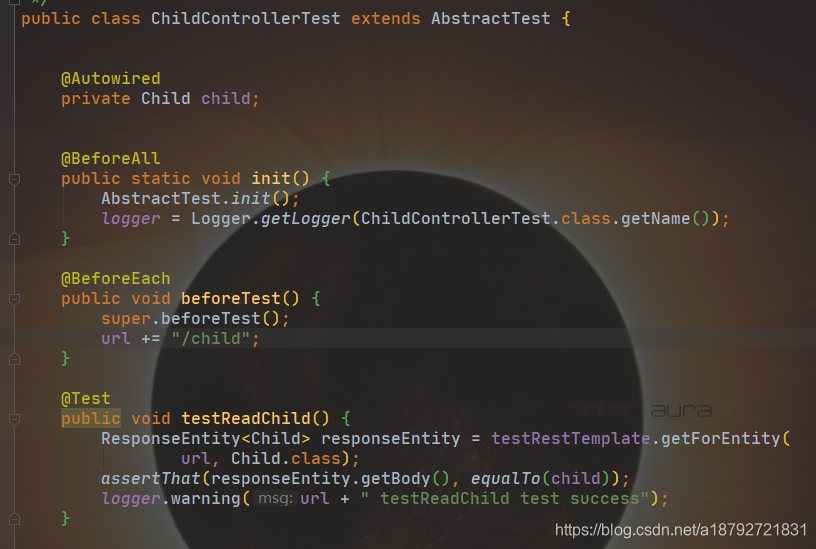
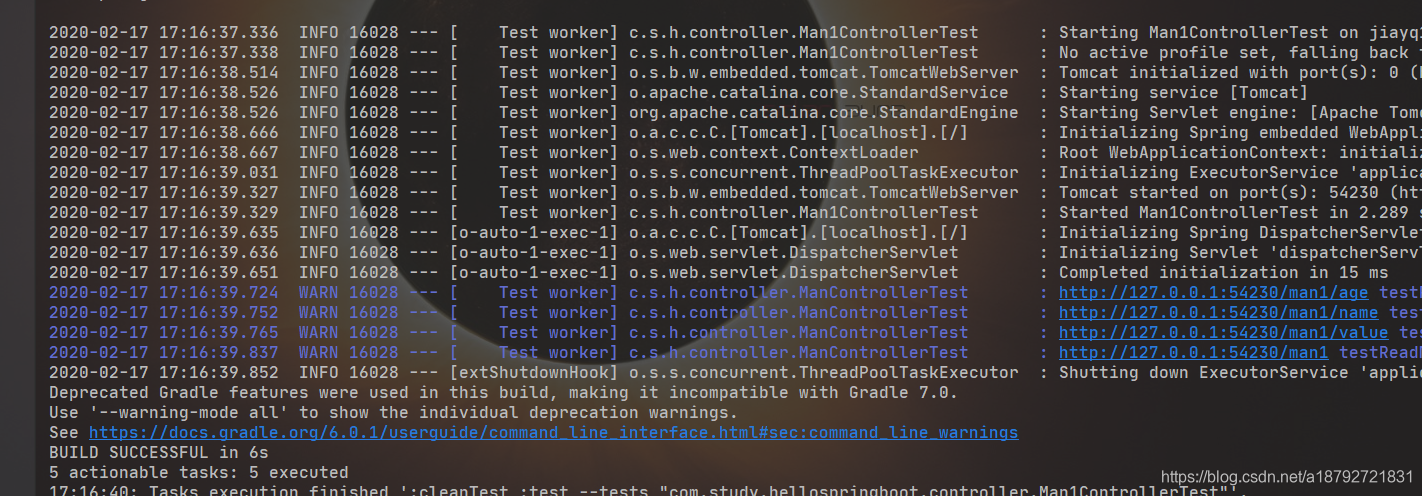
运行全部测试

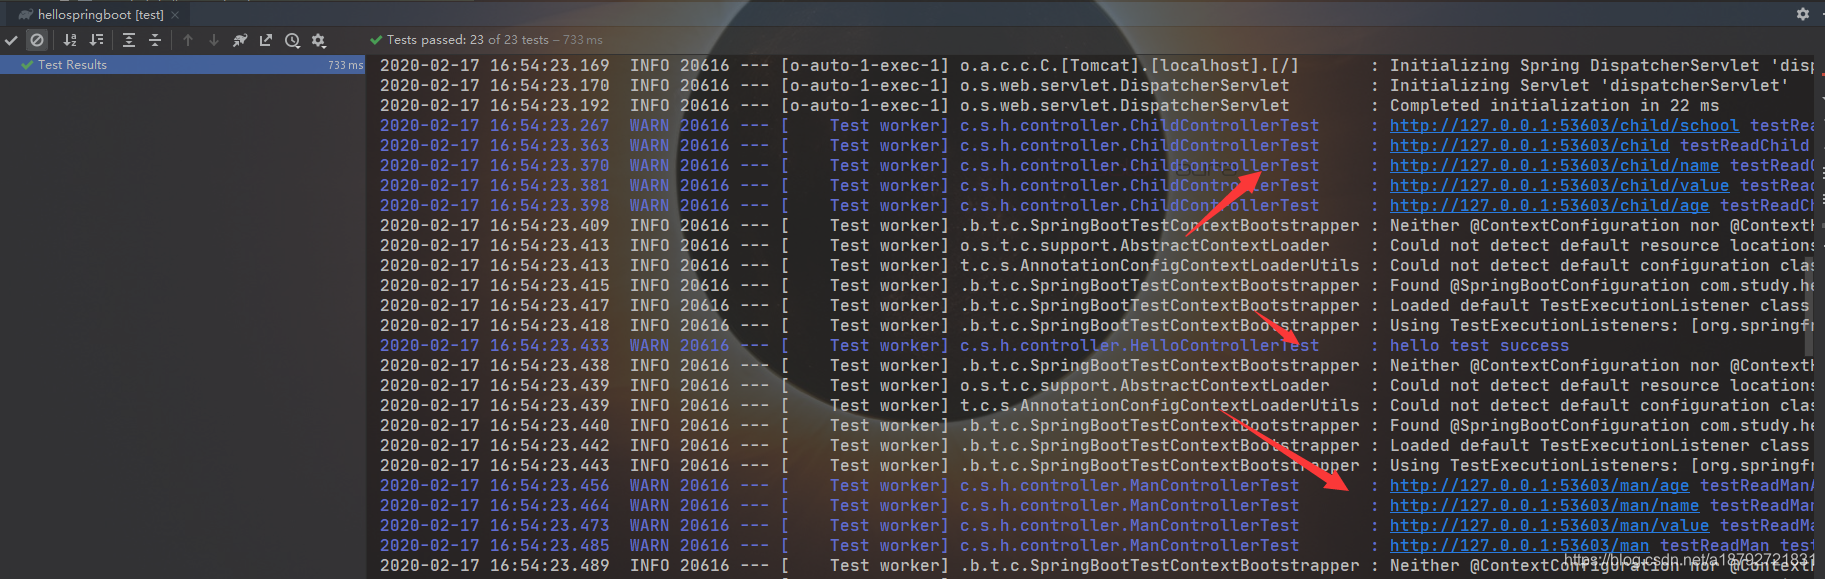
全部测试通过。
3.5 自定义配置文件-yml
因为默认情况下,@PropertySource注释不适用于YAML文件。
但是从Spring 4.3开始,有可能使其工作。Spring
4.3引入了PropertySourceFactory接口。这PropertySourceFactory是一家工厂PropertySource。使用的默认实现是DefaultPropertySourceFactory创建ResourcePropertySource实例的。编写自定义实现需要实现单个方法createPropertySource。定制实现需要做两件事:
将给定资源加载到java.util.Properties对象中 创建一个PropertySource来包装已加载的属性
要加载YAML文件,Spring提供了YamlPropertiesFactoryBean。此类将加载1个或多个文件并将其转换为java.util.Properties对象。Spring提供了一个PropertiesPropertySource包装java.util.Properties对象的[
] 。最后,PropertySource的名称是给定的或派生的。如合同中所述,派生名称是资源描述。
上述内容引用自 https://mdeinum.github.io/2018-07-04-PropertySource-with-yaml-files/
首先,创建yml解析的工厂
public class YmlPropertySourceFactory implements PropertySourceFactory {

    @Override
    public PropertySource<?> createPropertySource(@Nullable String name, EncodedResource resource) throws IOException {
        Properties propertiesFromYaml = loadYamlIntoProperties(resource);
        String sourceName = name != null ? name : resource.getResource().getFilename();
        return new PropertiesPropertySource(sourceName, propertiesFromYaml);
    }

    private Properties loadYamlIntoProperties(EncodedResource resource) throws FileNotFoundException {
        try {
            YamlPropertiesFactoryBean factory = new YamlPropertiesFactoryBean();
            factory.setResources(resource.getResource());
            factory.afterPropertiesSet();
            return factory.getObject();
        } catch (IllegalStateException e) {
            Throwable cause = e.getCause();
            if (cause instanceof FileNotFoundException) {
                throw (FileNotFoundException) e.getCause();
            }
            throw e;
        }
    }

}
然后创建自定义的yml文件
注意,前缀不能重复,在所有的配置文件中,不能重复。(感觉有些不科学)
然后创建对应的实体
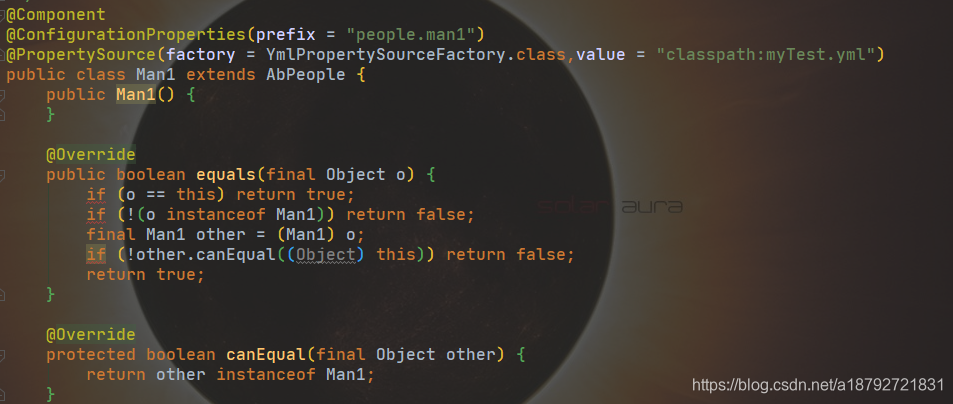
注意点
实体上的
@PropertySource(factory = YmlPropertySourceFactory.class,value = “classpath:myTest.yml”)
注解需要指定factory
然后写controller
最后写Test
测试结果
其余类似3.4
完整项目,见git.
