我发现一些软件的功能其实自己摸索一下就会了,更本不需要去看教程,不过摸索也是一种学习的过程哈,关键是要相信自己。
Tips
权重模式 - 按住ctrl+右击可以采样权重

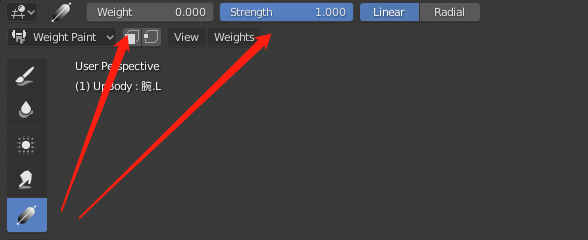

- 像这种渐变工具,原来是和Brush笔刷的强度和模式绑定在一起的
- Add模式就会由大到小,Subtract模式是由小到大
- 也和weight和strength有关,自己去试吧,没想到这个工具这么强大
多余绘制
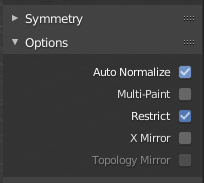
应该是bug,不勾选会出现奇怪的权重 auto Normal 和 restrict都要勾选
auto normal 有bug,不勾选试试
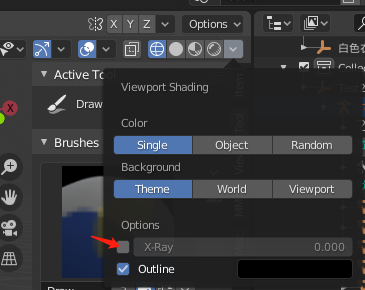
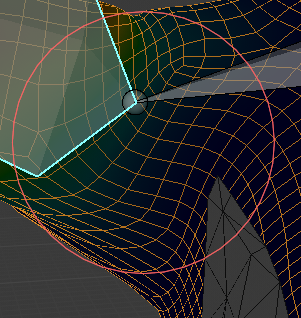
边框模式 网格线和权重色彩一起显示
去掉 X-ray就可以了
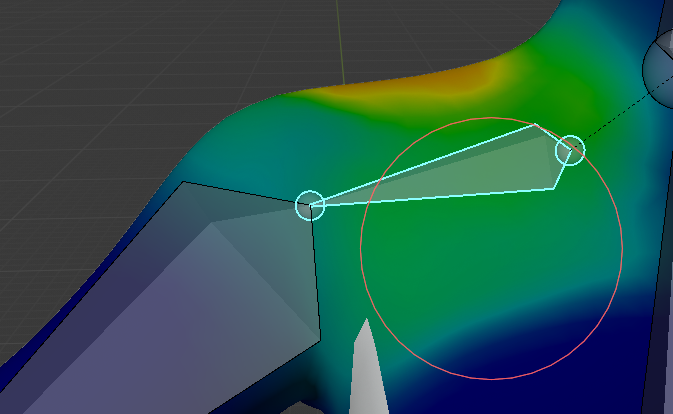
肩膀这边的骨骼刷权重的注意
- 与手臂的交界处刷带你0.3-0.4的权重
- 多用吸色,一边刷一边调节,切换网格线看布线状态
拉伸后是这个状态,就说明绑对了,对了,刷的时候需要摆正模型的T-pose/A-pose
否则又要重新绑
骨骼消失
- Pose模式 Alt + h 显示全部骨骼
自动权重 衣服和身体穿插
https://blender.stackexchange.com/questions/51589/clothes-weight-paint-skinning
- Select the cloth
- Shift select the rig
- Ctrl-P to “Set parent with empty groups”
- Select the cloth Alone
- Add the “Data transfer” modifier (anywhere in the stack) then within the modifier:
- Source object - Select your Rigged mesh (body)
- “Check” Vertex Data (first in the list below Source object)
- Select (highlight) Vertex Group(s)
- Click Apply
- Forget about most of your nightmares and forget about destructive solutions.
