Spring重要性
Spring是Java开发中最重要的框架之一
什么是Spring?
Spring是一个开源框架
准备工作
- 设置Eclipse中的代码格式为
UTF-8

- 安装插件,辅助工具
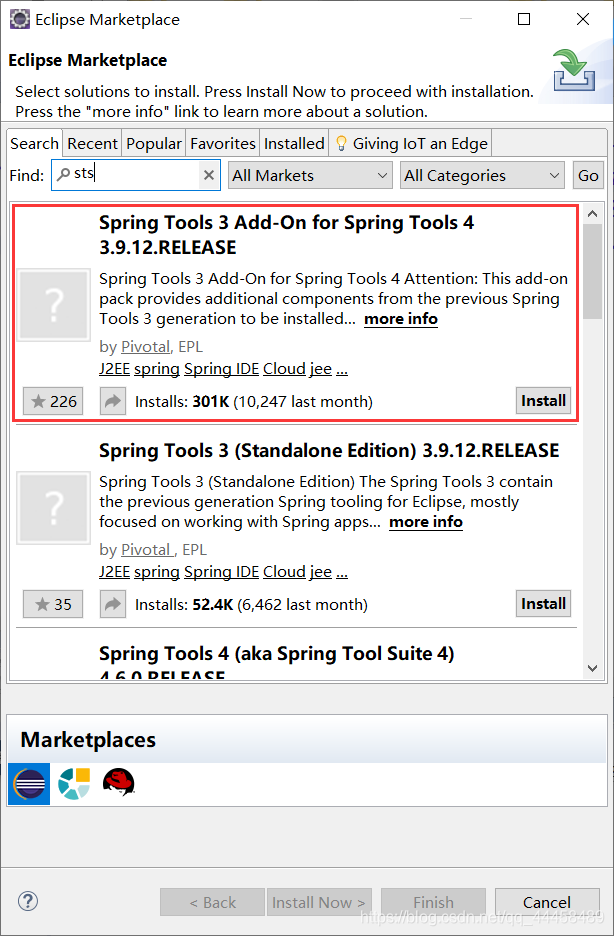
时间比较久,耐心等待 - 创建一个Java Project,并创建文件夹名为:resource,作用为:存放资源文件和配置文件

传统模式和IOC/DI思想的区别
传统模式
传统开发中创建对象的的方式 new关键字创建对象,其弊端为强耦合
代码部分:
Person.java
/**
 * 原始人
 * @author Katrina
 *
 */
public class Person {

	//武器
	//private String tool = "枪"; //new 字符串
	//private String tool = "手雷";
	private String tool = "刀";

	/**
	 * 战斗方法
	 */
	public void fight() {
		System.out.println("Person用" + tool + "打僵尸");
	}

}
PersonTest.java
/**
 * Person测试类
 * @author Katrina
 *
 */
public class PersonTest {

	public static void main(String[] args) {
		Person person = new Person();
		person.fight();
	}

}
效果图:

IOC/DI思想
修改,变成松耦合
- IOC和DI
- IOC(控制反转):Invertion of Control,武器由原来的人生产,变成了由武器背包给人,这个武器产生的转变就称之为控制反转
- 代码层次:将类的创建由原来的代码控制,转变成外部生产注入,控制权由原代码变成了外部容器
- DI(依赖注入):Dependency Inject。
区别:
-
它们是spring核心思想的不同方面的描述。
-
依赖注入和控制反转是对同一件事情的不同描述,从某个方面讲,就是它们描述的角度不同。
依赖注入是从应用程序的角度在描述,可以把依赖注入描述完整点:应用程序依赖容器创建并注入它所需要的外部资源;而控制反转是从容器的角度在描述,描述完整点:容器控制应用程序,由容器反向的向应用程序注入应用程序所需要的外部资源。
代码部分:
思路:背了背包(武器包),需要枪从武器包里面取出枪,需要刀就从武器包中取出刀
PersonPlus.java
/**
 * 升级版的人
 * @author Katrina
 *
 */
public class PersonPlus {

	private String tool;

	public String getTool() {
		return tool;
	}

	public void setTool(String tool) {
		this.tool = tool;
	}

	/**
	 * 战斗方法
	 */
	public void fight() {
		System.out.println("升级版Person使用" + tool + "打僵尸");
	}

}
PersonPlusTest.java
import java.util.ArrayList;
import java.util.List;
/**
 * 升级版Person测试类
 * @author Katrina
 *
 */
public class PersonPlusTest {

	public static void main(String[] args) {
		//武器背包:IOC容器
		List<String> bag = new ArrayList<String>();
		bag.add("刀");
		bag.add("枪");
		bag.add("手雷");
		bag.add("坦克");

		//创建Person
		PersonPlus personPlus = new PersonPlus();
		personPlus.setTool(bag.get(0)); //升级版Person使用刀打僵尸
		personPlus.fight();
	}

}
效果图:

Spring简单操作
- Spring就是IOC思想的一种实现
Spring简单的使用:
一个容器:IOC
向容器中添加bean(实例):使用bean标签添加实例
1.赋值:属性赋值
1.1单值赋值:value、ref
1.2多值赋值:array、list、set、map
2.控制初始化等
取出bean(实例)创建容器取出值
注入类
第一步:
创建lib文件夹,添加jar包,并添加路径,效果图如下:
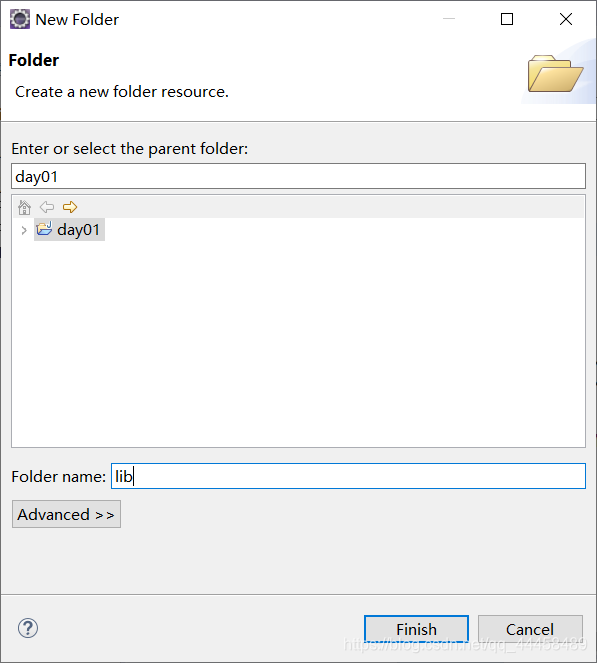
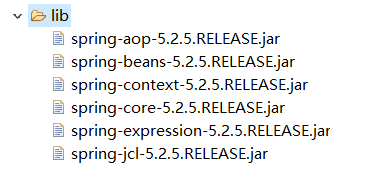
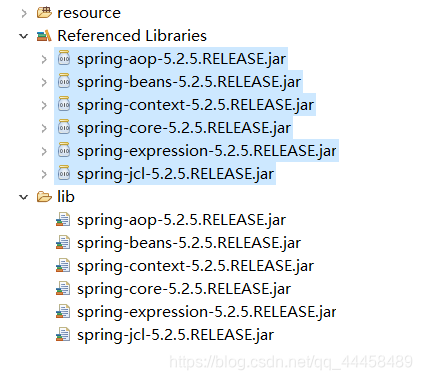
其中,spring-context依赖aop、beans、core、expression,而spring-core依赖jcl
第二步:
创建Student类及Book类,代码如下:
/**
 * 学生类
 * @author Katrina
 *
 */
public class Student {

	//名字
	private String name;
	//年龄
	private int age;

	public String getName() {
		return name;
	}
	public void setName(String name) {
		this.name = name;
	}
	public int getAge() {
		return age;
	}
	public void setAge(int age) {
		this.age = age;
	}

}
/**
 * 书籍类
 * @author Katrina
 *
 */
public class Book {

	private String name;
	private int page;

	public String getName() {
		return name;
	}

	public void setName(String name) {
		this.name = name;
	}

	public int getPage() {
		return page;
	}

	public void setPage(int page) {
		this.page = page;
	}

}
第三步:
创建config.xml并添加配置,代码部分如下:
<?xml version="1.0" encoding="UTF-8"?>
<beans xmlns="http://www.springframework.org/schema/beans"
	xmlns:xsi="http://www.w3.org/2001/XMLSchema-instance"
	xsi:schemaLocation="http://www.springframework.org/schema/beans http://www.springframework.org/schema/beans/spring-beans.xsd">

	<!--
		bean标签代表一个实例,一个类可以创建多个对象,反映在Spring当中就是可以创建多个bean标签
		注入类(武器包):使用bean标签进行注入
			class:指向类,值为类的全路径
			id:标识,类在容器中的名字(方便取用)
	-->
	<bean class="spring.Student" id="student"></bean>
	<bean class="spring.Book" id="book"></bean>
	<bean class="spring.Book" id="book1"></bean>
	<!-- tips:
			1.bean可以多个
			2.一个实例(对象)就是一个bean(可创建多个实例,只需修改id)
	-->
</beans>
第四步:
创建测试类,即主程序代码,代码如下:
import org.springframework.context.support.ClassPathXmlApplicationContext;
/**
 * Spring测试类
 * 1.创建容器
 * 2.取用类
 * 3.测试
 * 4.关闭容器
 * @author Katrina
 *
 */
public class SpringTest {

	public static void main(String[] args) {
		//1.创建容器(武器包)
		ClassPathXmlApplicationContext context = new ClassPathXmlApplicationContext("config.xml");

//		//2.取用类(武器)
//		Student student = (Student) context.getBean("student"); //获取实例,需要强制转换,未转换之前为Object类型
//		student.setName("小明");
//		student.setAge(8);
//		//3.测试
//		System.out.println("学生的姓名是:" + student.getName() + ",年龄是:" + student.getAge()); //学生的姓名是:小明,年龄是:8

		Book book = (Book) context.getBean("book");
		Book book1 = (Book) context.getBean("book1");
		System.out.println("book是:" + book);
		System.out.println("book1是:" + book1);

		//4.关闭容器
		context.close();
	}

}
效果图:

属性注入
给实例的变量初始化
set方法注入
第一步:
创建Student类及Mobile类,代码如下:
import java.util.List;
import java.util.Map;
import java.util.Set;
/**
 * 学生类
 * @author Katrina
 *
 */
public class Student {
	/*
	 * 八大基本类型、引用类型:
	 * 八大基本类型:byte、short、int、long、float、double、boolean、char
	 * 引用类型:String、自定义类、Array、List、Set、Map
	 *
	 * 单值:使用value或者ref赋值,其中value是直接量的形式;ref是引用形式,需要引用其他实例
	 * 多值:Array、List、Set、Map,使用对应的标签来进行赋值,如:<array>、<list>、<set>、<map>
	 *
	 */

	//名字
	private String name;

	//年龄
	private int age;

	//性别
	private char sex;

	//手机
	Mobile mobile = new Mobile();

	//数组
	private String[] hobbies;

	//list集合
	private List<String> books;

	//set集合
	private Set<String> students;

	//map集合
	private Map<String, String> teachers;

	public String getName() {
		return name;
	}

	public void setName(String name) {
		this.name = name;
	}

	public int getAge() {
		return age;
	}

	public void setAge(int age) {
		this.age = age;
	}

	public char getSex() {
		return sex;
	}

	public void setSex(char sex) {
		this.sex = sex;
	}

	public Mobile getMobile() {
		return mobile;
	}

	public void setMobile(Mobile mobile) {
		this.mobile = mobile;
	}

	public String[] getHobbies() {
		return hobbies;
	}

	public void setHobbies(String[] hobbies) {
		this.hobbies = hobbies;
	}

	public List<String> getBooks() {
		return books;
	}

	public void setBooks(List<String> books) {
		this.books = books;
	}

	public Set<String> getStudents() {
		return students;
	}

	public void setStudents(Set<String> students) {
		this.students = students;
	}

	public Map<String, String> getTeachers() {
		return teachers;
	}

	public void setTeachers(Map<String, String> teachers) {
		this.teachers = teachers;
	}

}
/**
 * 手机类
 * @author Katrina
 *
 */
public class Mobile {

	//品牌
	private String name;

	public String getName() {
		return name;
	}

	public void setName(String name) {
		this.name = name;
	}

}
第二步:
创建config.xml并添加配置,代码部分如下:
<?xml version="1.0" encoding="UTF-8"?>
<beans xmlns="http://www.springframework.org/schema/beans"
	xmlns:xsi="http://www.w3.org/2001/XMLSchema-instance"
	xsi:schemaLocation="http://www.springframework.org/schema/beans http://www.springframework.org/schema/beans/spring-beans.xsd">

	<!--
		bean标签代表一个实例,一个类可以创建多个对象,反映在Spring当中就是可以创建多个bean标签
		注入类(武器包):使用bean标签进行注入
			class:指向类,值为类的全路径
			id:标识,类在容器中的名字(方便取用)
	-->
	<bean class="spring.Student" id="student">
		<!-- 属性注入:给实例的变量初始化 -->
		<!-- <property name="属性的名字" value="属性值"></property> -->
		<property name="name" value="张三"></property>
		<property name="age" value="10"></property>
		<property name="sex" value="男"></property> <!-- 只写一个字:男/女 -->
		<property name="mobile" ref="mobile"></property> <!-- 自定义类 || reference:关联 -->
		 <!-- 数组赋值 -->
		<property name="hobbies" >
			<array>
				<value>吃饭</value>
				<value>睡觉</value>
				<value>打豆豆</value>
			</array>
		</property>
		<!-- list赋值 -->
		<property name="books">
			<list>
				<value>《高等数学》</value>
				<value>《计算机原理》</value>
			</list>
		</property>
		<!-- set赋值 -->
		<property name="students">
			<set>
				<value>小明</value>
				<value>小红</value>
			</set>
		</property>
		<!-- map赋值 -->
		<property name="teachers">
			<map>
				<!-- 键值对 -->
				<entry key="语文" value="李四"></entry>
				<entry key="数学" value="王五"></entry>
			</map>
		</property>
	</bean>

	<!-- 注入手机类 -->
	<bean class="spring.Mobile" id="mobile">
		<property name="name" value="华为"></property>
	</bean>

	<bean class="spring.Book" id="book"></bean>
	<bean class="spring.Book" id="book1"></bean>
	<!-- tips:
			1.bean可以多个
			2.一个实例(对象)就是一个bean(可创建多个实例,只需修改id)
	-->

</beans>
第三步:
创建测试类,即主程序代码,代码如下:
import java.util.List;
import java.util.Map;
import java.util.Map.Entry;
import java.util.Set;
import org.springframework.context.support.ClassPathXmlApplicationContext;
/**
 * 属性注入测试类
 * @author Katrina
 *
 */
public class PropertyTest {

	public static void main(String[] args) {
		//1.获取容器
		ClassPathXmlApplicationContext context = new ClassPathXmlApplicationContext("config.xml");
		//2.取用类
		Student student = (Student) context.getBean("student"); //获取实例(id)的方式
		//3.测试
		/*
		 * 八大基本类型测试
		 */
		//System.out.println("学生的姓名是:" + student.getName() + ",学生的年龄是:" + student.getAge()
				//+ ",学生的性别是:" + student.getSex());
		/*
		 * 自定义类测试
		 */
		//System.out.println("手机的品牌是:" + student.getMobile().getName());

		/*
		 * 数组测试
		 */
//		String[] hobbies = student.getHobbies();
//		for (String hobby : hobbies) {
//			System.out.println("学生的爱好是:" + hobby);
//		}
		/*
		 * list测试
		 */
//		List<String> books = student.getBooks();
//		for (String book : books) {
//			System.out.println("书籍的名称是:" + book);
//		}
		/*
		 *set测试
		 */
//		Set<String> students = student.getStudents();
//		for (String stu : students) {
//			System.out.println("学生姓名是:" + stu);
//		}
		/*
		 * map测试
		 */
		Map<String, String> teachers = student.getTeachers();
		for (Entry<String, String> entry : teachers.entrySet()) {
			System.out.println("课程的名称是:" + entry.getKey() + ",老师的姓名是:" + entry.getValue());
		}
		//4.关闭容器
		context.close();
	}

}
效果图:

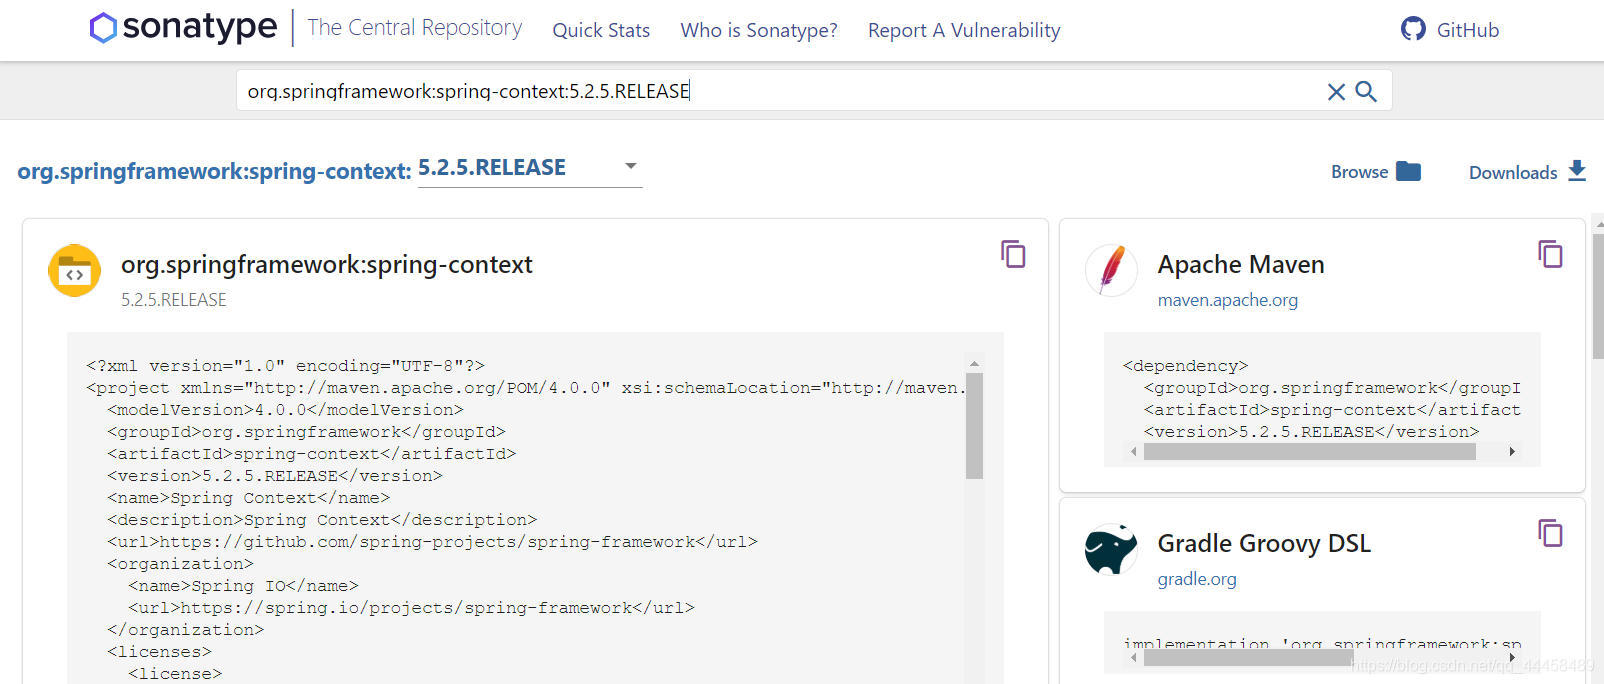
推荐网址:
下载jar包
推荐https://search.maven.org/,此网站中可以从maven第三方库中下载所需要的jar包,例如:在search中输入spring-context,其中会出现很多group,点击其中一项效果如图所示:
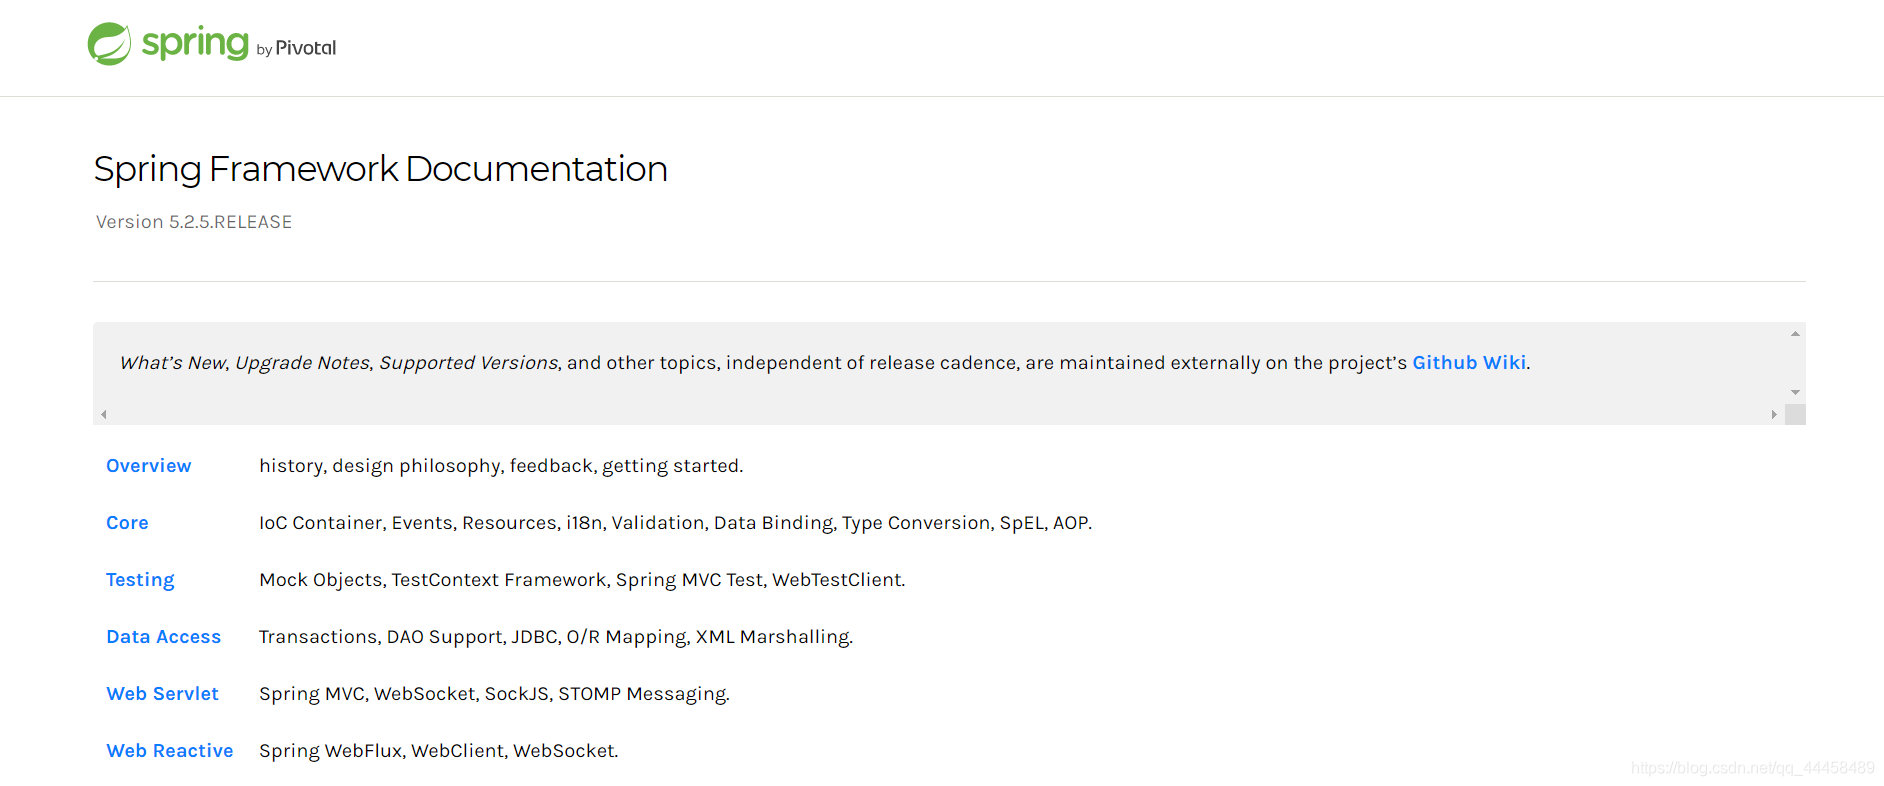
学习Spring
推荐https://docs.spring.io/spring/docs/5.2.5.RELEASE/spring-framework-reference/index.html,此网站中可以学习到一些关于Spring架构的知识,注意是英文,效果如图下所示: