Java API操作
- 一、API基本操作
- 1.1 操作环境准备
- 1.2 获取Transport Client
- 1.3 创建索引
- 1.4 删除索引
- 1.5 新建文档(源数据json串)
- 1.6 新建文档(源数据map方式添加json)
- 1.7 新建文档(源数据es构建器添加json)
- 1.8 搜索文档数据(单个索引)
- 1.9 搜索文档数据(多个索引)
- 1.10 更新文档数据(update)
- 1.11 更新文档数据(upsert)
- 1.12 删除文档数据(prepareDelete)
- 二、条件查询QueryBuilder
- 2.1 查询所有(matchAllQuery)
- 2.2 对所有字段分词查询(queryStringQuery)
- 2.3 通配符查询(wildcardQuery)
- 2.4 词条查询(TermQuery)
- 2.5 模糊查询(fuzzy)
- 三、映射相关操作(简单介绍)
Elasticsearch的Java客户端非常强大;它可以建立一个嵌入式实例并在必要时运行管理任务。
运行一个Java应用程序和Elasticsearch时,有两种操作模式可供使用。
该应用程序可在Elasticsearch集群中扮演更加主动或更加被动的角色。在更加主动的情况下(称为Node Client),应用程序实例将从集群接收请求,确定哪个节点应处理该请求,就像正常节点所做的一样。(应用程序甚至可以托管索引和处理请求。)另一种模式称为Transport Client,它将所有请求都转发到另一个Elasticsearch节点,由后者来确定最终目标。
一、API基本操作
1.1 操作环境准备
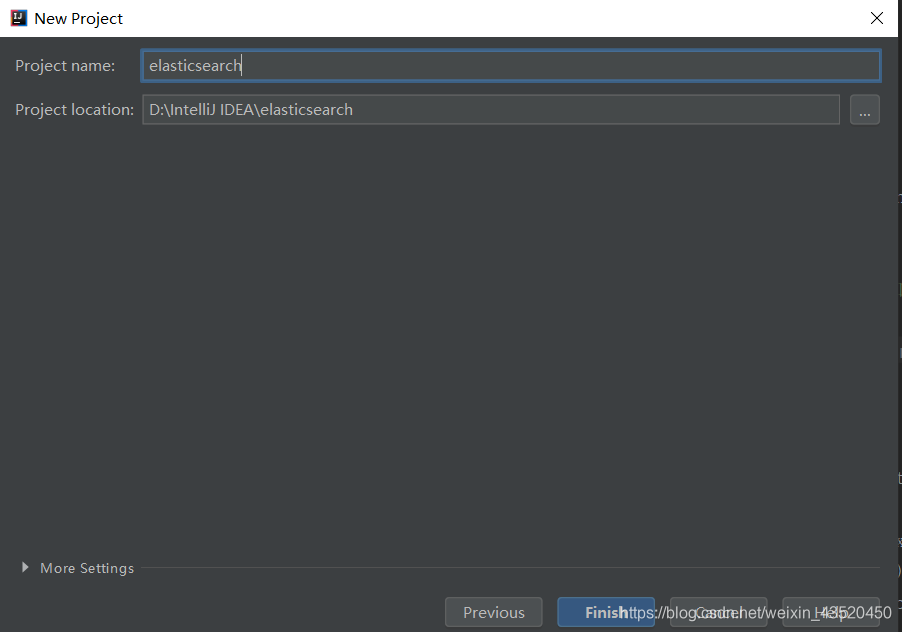
(1)创建maven工程
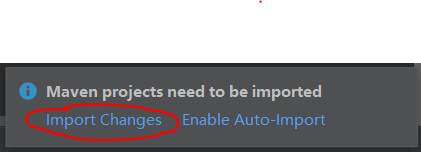
(2)添加pom文件
<project xmlns="http://maven.apache.org/POM/4.0.0" xmlns:xsi="http://www.w3.org/2001/XMLSchema-instance"
         xsi:schemaLocation="http://maven.apache.org/POM/4.0.0 http://maven.apache.org/xsd/maven-4.0.0.xsd">
    <modelVersion>4.0.0</modelVersion>

    <groupId>com.test</groupId>
    <artifactId>estest</artifactId>
    <version>0.0.1-SNAPSHOT</version>
    <packaging>jar</packaging>

    <name>estest</name>
    <url>http://maven.apache.org</url>

    <properties>
        <project.build.sourceEncoding>UTF-8</project.build.sourceEncoding>
    </properties>

    <dependencies>
        <dependency>
            <groupId>junit</groupId>
            <artifactId>junit</artifactId>
            <version>4.10</version>
            <scope>test</scope>
        </dependency>

        <dependency>
            <groupId>org.elasticsearch</groupId>
            <artifactId>elasticsearch</artifactId>
            <version>5.6.1</version>
        </dependency>

        <dependency>
            <groupId>org.elasticsearch.client</groupId>
            <artifactId>transport</artifactId>
            <version>5.6.1</version>
        </dependency>

        <dependency>
            <groupId>org.apache.logging.log4j</groupId>
            <artifactId>log4j-core</artifactId>
            <version>2.9.0</version>
        </dependency>
        <dependency>
            <groupId>junit</groupId>
            <artifactId>junit</artifactId>
            <version>4.13</version>
            <scope>compile</scope>
        </dependency>
        <dependency>
            <groupId>junit</groupId>
            <artifactId>junit</artifactId>
            <version>4.13</version>
        </dependency>

    </dependencies>
</project>
(3)加载jar包
当直接在ElasticSearch 建立文档对象时,如果索引不存在的,默认会自动创建,映射采用默认方式
1.2 获取Transport Client
(1)ElasticSearch服务默认端口9300。
(2)Web管理平台端口9200。
// 对ES的操作都是通过client
private TransportClient client;

@SuppressWarnings("unchecked")
@Before
public void getClient() throws Exception {

    // 1 设置连接集群的名称
    Settings settings = Settings.builder().put("cluster.name", "my-application").build();

    // 2 连接集群
    client = new PreBuiltTransportClient(settings);
    client.addTransportAddress(new InetSocketTransportAddress(InetAddress.getByName("192.168.1.121"), 9300));

    //3 打印集群名称
    System.out.println(client.toString());
}
(3)显示log4j2报错,在resource目录下创建一个文件命名为log4j2.xml并添加如下内容
<?xml version="1.0" encoding="UTF-8"?>
<Configuration status="warn">
    <Appenders>
        <Console name="Console" target="SYSTEM_OUT">
            <PatternLayout pattern="%m%n"/>
        </Console>
    </Appenders>
    <Loggers>
        <Root level="INFO">
            <AppenderRef ref="Console"/>
        </Root>
    </Loggers>
</Configuration>
1.3 创建索引
(1)源代码
@Test
public void createIndex_blog1() {
//1 创建索引
client.admin().indices().prepareCreate("blog").get();
//2 关闭连接
client.close();
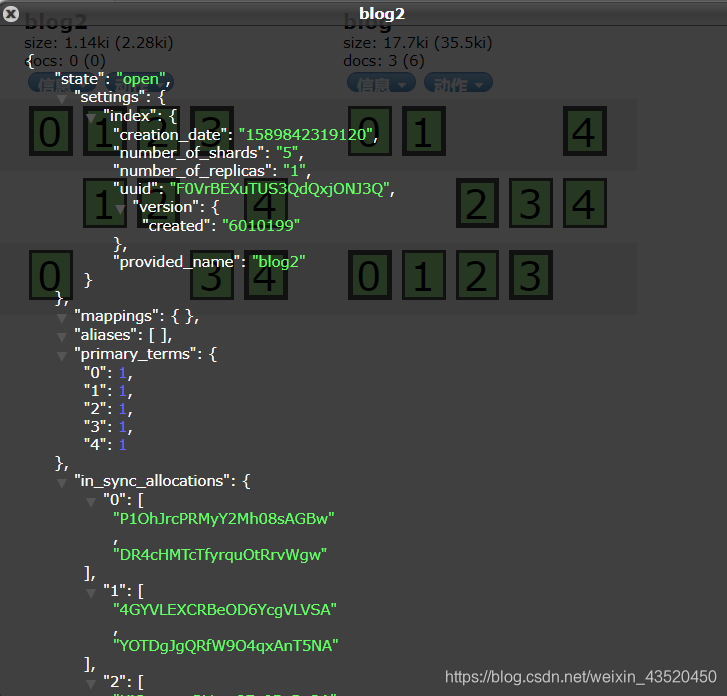
}(2)查看结果
1.4 删除索引
(1)源代码
@Test
public void deleteIndex() {
    // 1 删除索引
    client.admin().indices().prepareDelete("blog2").get();

    //2 关闭连接
    client.close();
}
(2)查看结果
浏览器查看,没有blog2索引了。
1.5 新建文档(源数据json串)
当直接在ElasticSearch建立文档对象时,如果索引不存在的,默认会自动创建,映射采用默认方式。
(1)源代码
@Test
public void createDocByJson() {
// 使用json 创建document
String json = "{" + "\"id\":\"1\"," + "\"title\":\"基于Lucene的搜索服务器\","
+ "\"content\":\"它提供了一个分布式多用户能力的全文搜索引擎,基于RESTful web接口\"" + "}";
// 创建文档
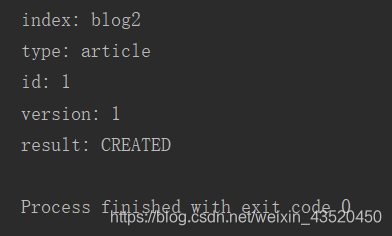
IndexResponse indexResponse = client.prepareIndex("blog2", "article", "1").setSource(json).execute().actionGet();
// 打印返回结果
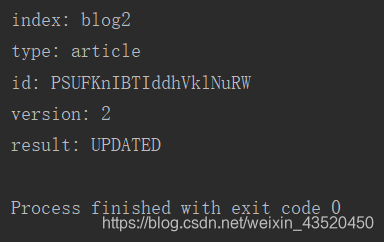
System.out.println("index: " + indexResponse.getIndex());
System.out.println("type: " + indexResponse.getType());
System.out.println("id: " + indexResponse.getId());
System.out.println("version: " + indexResponse.getVersion());
System.out.println("result: " + indexResponse.getResult());
// 关闭连接
client.close();
}(2)查看结果
1.6 新建文档(源数据map方式添加json)
(1)源代码
@Test
public void createDocByMap() {
// 文档数据准备
Map<String, Object> json = new HashMap<String, Object>();
json.put("id", "2");
json.put("title", "基于Lucene的搜索服务器");
json.put("content", "它提供了一个分布式多用户能力的全文搜索引擎,基于RESTful web接口");
// 创建文档
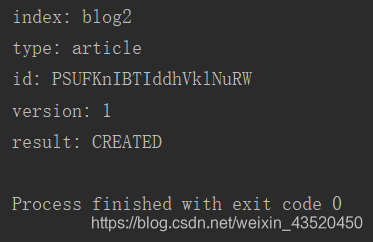
IndexResponse indexResponse = client.prepareIndex("blog2", "article").setSource(json).execute().actionGet();
// 打印返回结果
System.out.println("index: " + indexResponse.getIndex());
System.out.println("type: " + indexResponse.getType());
System.out.println("id: " + indexResponse.getId());
System.out.println("version: " + indexResponse.getVersion());
System.out.println("result: " + indexResponse.getResult());
// 关闭连接
client.close();
}(2)查看结果
1.7 新建文档(源数据es构建器添加json)
(1)源代码
@Test
public void createDocByXContent() throws Exception {
    // 使用xcontent创建document

    XContentBuilder builder = XContentFactory.jsonBuilder().startObject().field("id", "5")
            .field("title", "基于Lucene的搜索服务器").field("content", "它提供了一个分布式多用户能力的全文搜索引擎,基于RESTful web接口").endObject();

    // 创建文档
    IndexResponse indexResponse = client.prepareIndex("blog2", "article").setSource(builder).execute().actionGet();

    // 打印返回结果
    System.out.println("index: " + indexResponse.getIndex());
    System.out.println("type: " + indexResponse.getType());
    System.out.println("id: " + indexResponse.getId());
    System.out.println("version: " + indexResponse.getVersion());
    System.out.println("result: " + indexResponse.getResult());

    // 关闭连接
    client.close();

}
(2)查看结果
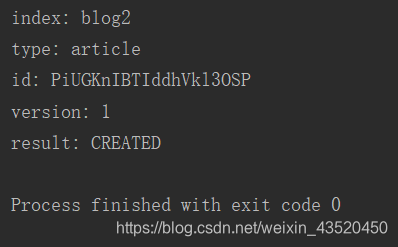
查看使用三种方式创建的文档:

1.8 搜索文档数据(单个索引)
(1)源代码
@Test
public void getData() {
    //查询单个文档
    GetResponse response = client.prepareGet("blog2","article","1").get();

    // 打印搜索的结果
    System.out.println(response.getSourceAsString());

    // 关闭连接
    client.close();
}
(2)查看结果

1.9 搜索文档数据(多个索引)
(1)源代码
@Test
public void getMultiData() {
//查询多个文档
MultiGetResponse responses = client.prepareMultiGet().add("blog2","article","1")
.add("blog2","article","1","PSUFKnIBTIddhVklNuRW")
.add("blog2","article","PiUGKnIBTIddhVkl3OSP")
.get();
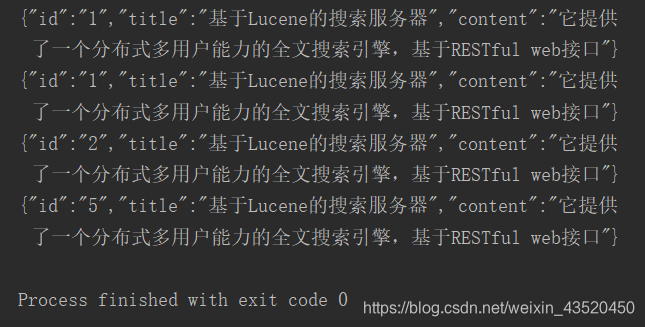
// 遍历返回的结果
for (MultiGetItemResponse multiGetItemResponse : responses){
GetResponse getResponse = multiGetItemResponse.getResponse();
// 如果获取到查询结果
if (getResponse.isExists()){
String sourceAsString = getResponse.getSourceAsString();
System.out.println(sourceAsString);
}
}
// 关闭连接
client.close();
}(2)查看结果
1.10 更新文档数据(update)
(1)源代码
@Test
public void updataData() throws Exception{
//创建更新数据的请求对象
UpdateRequest updateRequest = new UpdateRequest();
updateRequest.index("blog2");
updateRequest.type("article");
updateRequest.id("PSUFKnIBTIddhVklNuRW");
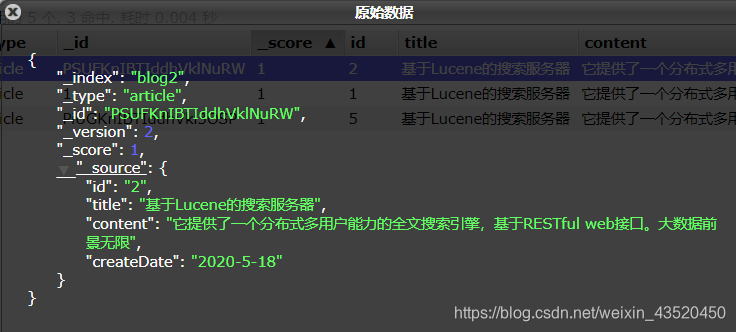
updateRequest.doc(XContentFactory.jsonBuilder().startObject()
//对没有的字段添加, 对已有的字段替换
.field("title","基于Lucene的搜索服务器")
.field("content", "它提供了一个分布式多用户能力的全文搜索引擎,基于RESTful web接口。大数据前景无限")
.field("createDate","2020-5-18").endObject()
);
// 获取更新后的值
UpdateResponse indexResponse = client.update(updateRequest).get();
// 打印返回结果
System.out.println("index: " + indexResponse.getIndex());
System.out.println("type: " + indexResponse.getType());
System.out.println("id: " + indexResponse.getId());
System.out.println("version: " + indexResponse.getVersion());
System.out.println("result: " + indexResponse.getResult());
// 关闭连接
client.close();
}(2)查看结果

1.11 更新文档数据(upsert)
设置查询条件, 查找不到则添加IndexRequest内容,查找到则按照UpdateRequest更新。
(1)源代码
@Test
public void testUpsert() throws Exception{
// 设置查询条件, 查找不到则添加
IndexRequest indexRequest = new IndexRequest("blog2","article","6")
.source(XContentFactory.jsonBuilder().startObject()
.field("title","搜索服务器")
.field("content",
"它提供了一个分布式多用户能力的全文搜索引擎,基于RESTful web接口。" +
"Elasticsearch是用Java开发的,并作为Apache许可条款下的开放源码发布," +
"是当前流行的企业级搜索引擎。设计用于云计算中," +
"能够达到实时搜索,稳定,可靠,快速,安装使用方便。")
.endObject());
// 设置更新, 查找到更新下面的设置
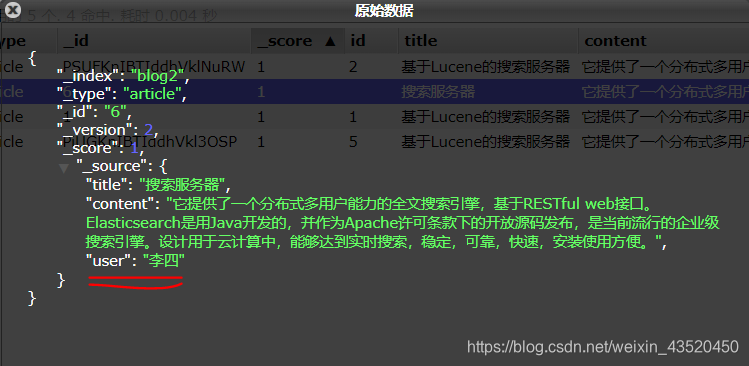
UpdateRequest upsert = new UpdateRequest("blog2", "article", "6")
.doc(XContentFactory.jsonBuilder().startObject().field
("user", "李四").endObject()).upsert(indexRequest);
client.update(upsert).get();
client.close();
}(2)查看结果
第一次执行:

第二次执行:
1.12 删除文档数据(prepareDelete)
(1)源代码
@Test
public void deleteData(){
    //删除文档数据
    DeleteResponse indexResponse = client.prepareDelete("blog2", "article", "6")
            .get();

    //打印返回结果
    System.out.println("index: " + indexResponse.getIndex());
    System.out.println("type: " + indexResponse.getType());
    System.out.println("id: " + indexResponse.getId());
    System.out.println("version: " + indexResponse.getVersion());
    System.out.println("result: " + indexResponse.getResult());

    // 关闭连接
    client.close();
}
(2)查看结果


二、条件查询QueryBuilder
2.1 查询所有(matchAllQuery)
(1)源代码
@Test
public void matchAllQuery(){
// 查询所有
SearchResponse searchResponse = client.prepareSearch("blog2")
.setTypes("article")
.setQuery(QueryBuilders.matchAllQuery())
.get();
// 打印查询结果
SearchHits hits = searchResponse.getHits(); // 获取命中次数,查询结果有多少对象
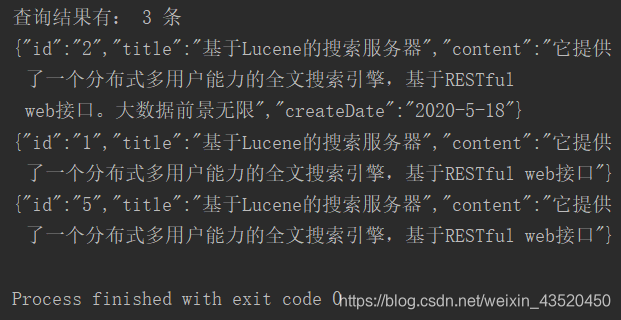
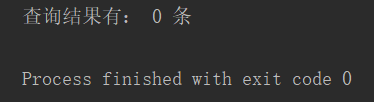
System.out.println("查询结果有: " + hits.getTotalHits() + " 条");
for (SearchHit searchHit:hits){
System.out.println(searchHit.getSourceAsString());
}
// 关闭连接
client.close();
}(2)查看结果

2.2 对所有字段分词查询(queryStringQuery)
(1)源代码
@Test
public void query(){
    // 类似于like 对所有字段like
    SearchResponse searchResponse = client.prepareSearch("blog2")
            .setTypes("article")
            .setQuery(QueryBuilders.queryStringQuery("基于"))
            .get();

    //打印查询结果
    SearchHits hits = searchResponse.getHits();
    System.out.println("查询结果有: " + hits.getTotalHits() + " 条");

    for (SearchHit searchHit:hits){
        System.out.println(searchHit.getSourceAsString());
    }
    // 关闭连接
    client.close();
}
(2)查看结果
2.3 通配符查询(wildcardQuery)
- :表示多个字符(0个或多个字符)
?:表示单个字符
(1)源代码
@Test
public void wildcardQuery() {

    // 通配符查询 *基* 类似于 %基%

    // 通配符查询
    SearchResponse searchResponse = client.prepareSearch("blog2").setTypes("article")
            .setQuery(QueryBuilders.wildcardQuery("content", "*基*")).get();

    // 打印查询结果
    SearchHits hits = searchResponse.getHits();

    System.out.println("查询结果有: " + hits.getTotalHits() + " 条");

    for (SearchHit searchHit : hits) {
        System.out.println(searchHit.getSourceAsString());
    }
    // 关闭连接
    client.close();
}
(2)查看结果

2.4 词条查询(TermQuery)
(1)源代码
@Test
public void termQuery() {
    // 类似于 mysql 中的 =
    // 不是与字段 = 是与字段的分词结果 =

    SearchResponse searchResponse = client.prepareSearch("blog2").setTypes("article")
            .setQuery(QueryBuilders.termQuery("content", "基于")).get();

    // 打印查询结果
    SearchHits hits = searchResponse.getHits();
    System.out.println("查询结果有: " + hits.getTotalHits() + " 条");

    for (SearchHit searchHit : hits) {
        System.out.println(searchHit.getSourceAsString());
    }

    // 关闭连接
    client.close();
}
(2)查看结果

2.5 模糊查询(fuzzy)
(1)源代码
@Test
public void fuzzy(){
    //模糊查询
    SearchResponse searchResponse = client.prepareSearch("blog2").setTypes("article")
            .setQuery(QueryBuilders.fuzzyQuery("title", "服务器")).get();

    // 打印查询结果
    SearchHits hits = searchResponse.getHits();
    System.out.println("查询结果有: " + hits.getTotalHits() + " 条");

    for (SearchHit searchHit : hits) {
        System.out.println(searchHit.getSourceAsString());
    }

    // 关闭连接
    client.close();
}
(2)查看结果
三、映射相关操作(简单介绍)
(1)源代码
@Test
public void createMapping() throws Exception {
// 设置mapping
XContentBuilder builder = XContentFactory.jsonBuilder().startObject().startObject("article")
.startObject("properties").startObject("id").field("type", "text").field("store", "true").endObject()
.startObject("title").field("type", "text").field("store", "false").endObject().startObject("content")
.field("type", "text").field("store", "true").endObject().endObject().endObject().endObject();
// 添加mapping
PutMappingRequest mappingRequest = Requests.putMappingRequest("blog518").type("article").source(builder);
client.admin().indices().putMapping(mappingRequest).get();
// 关闭资源
client.close();
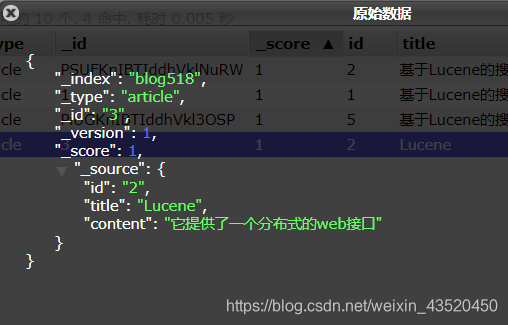
}(2)查看结果
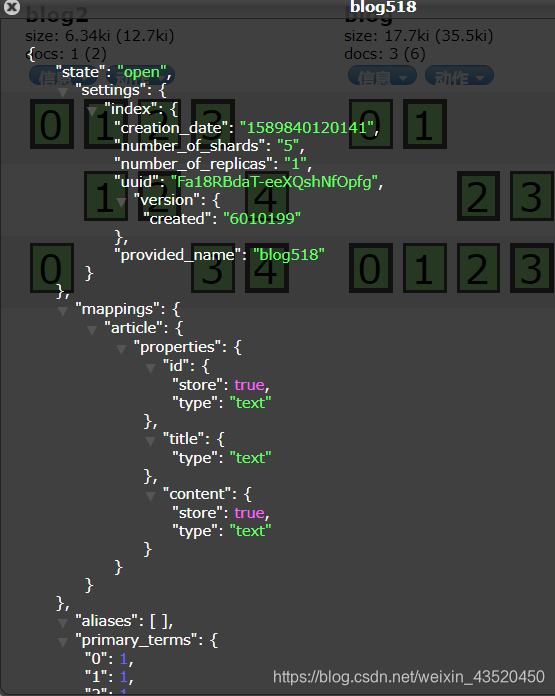
(3)创建文档添加内容
@Test
  public void createDocumentByMap_forik(){
      //创建文档,以map形式
    HashMap<String, String> map = new HashMap<String, String>();
    map.put("id","2");
    map.put("title", "Lucene");
    map.put("content", "它提供了一个分布式的web接口");

    IndexResponse response = client.prepareIndex("blog518","article", "3")
            .setSource(map).execute().actionGet();

    // 打印返回的结果
    System.out.println("结果:" + response.getResult());
    System.out.println("id:" + response.getId());
    System.out.println("index:" + response.getIndex());
    System.out.println("type:" + response.getType());
    System.out.println("版本:" + response.getVersion());

    // 关闭资源
    client.close();
}
(4)查看