使用 django+vue七牛云上传文件
安装七牛云
pip install qiniu
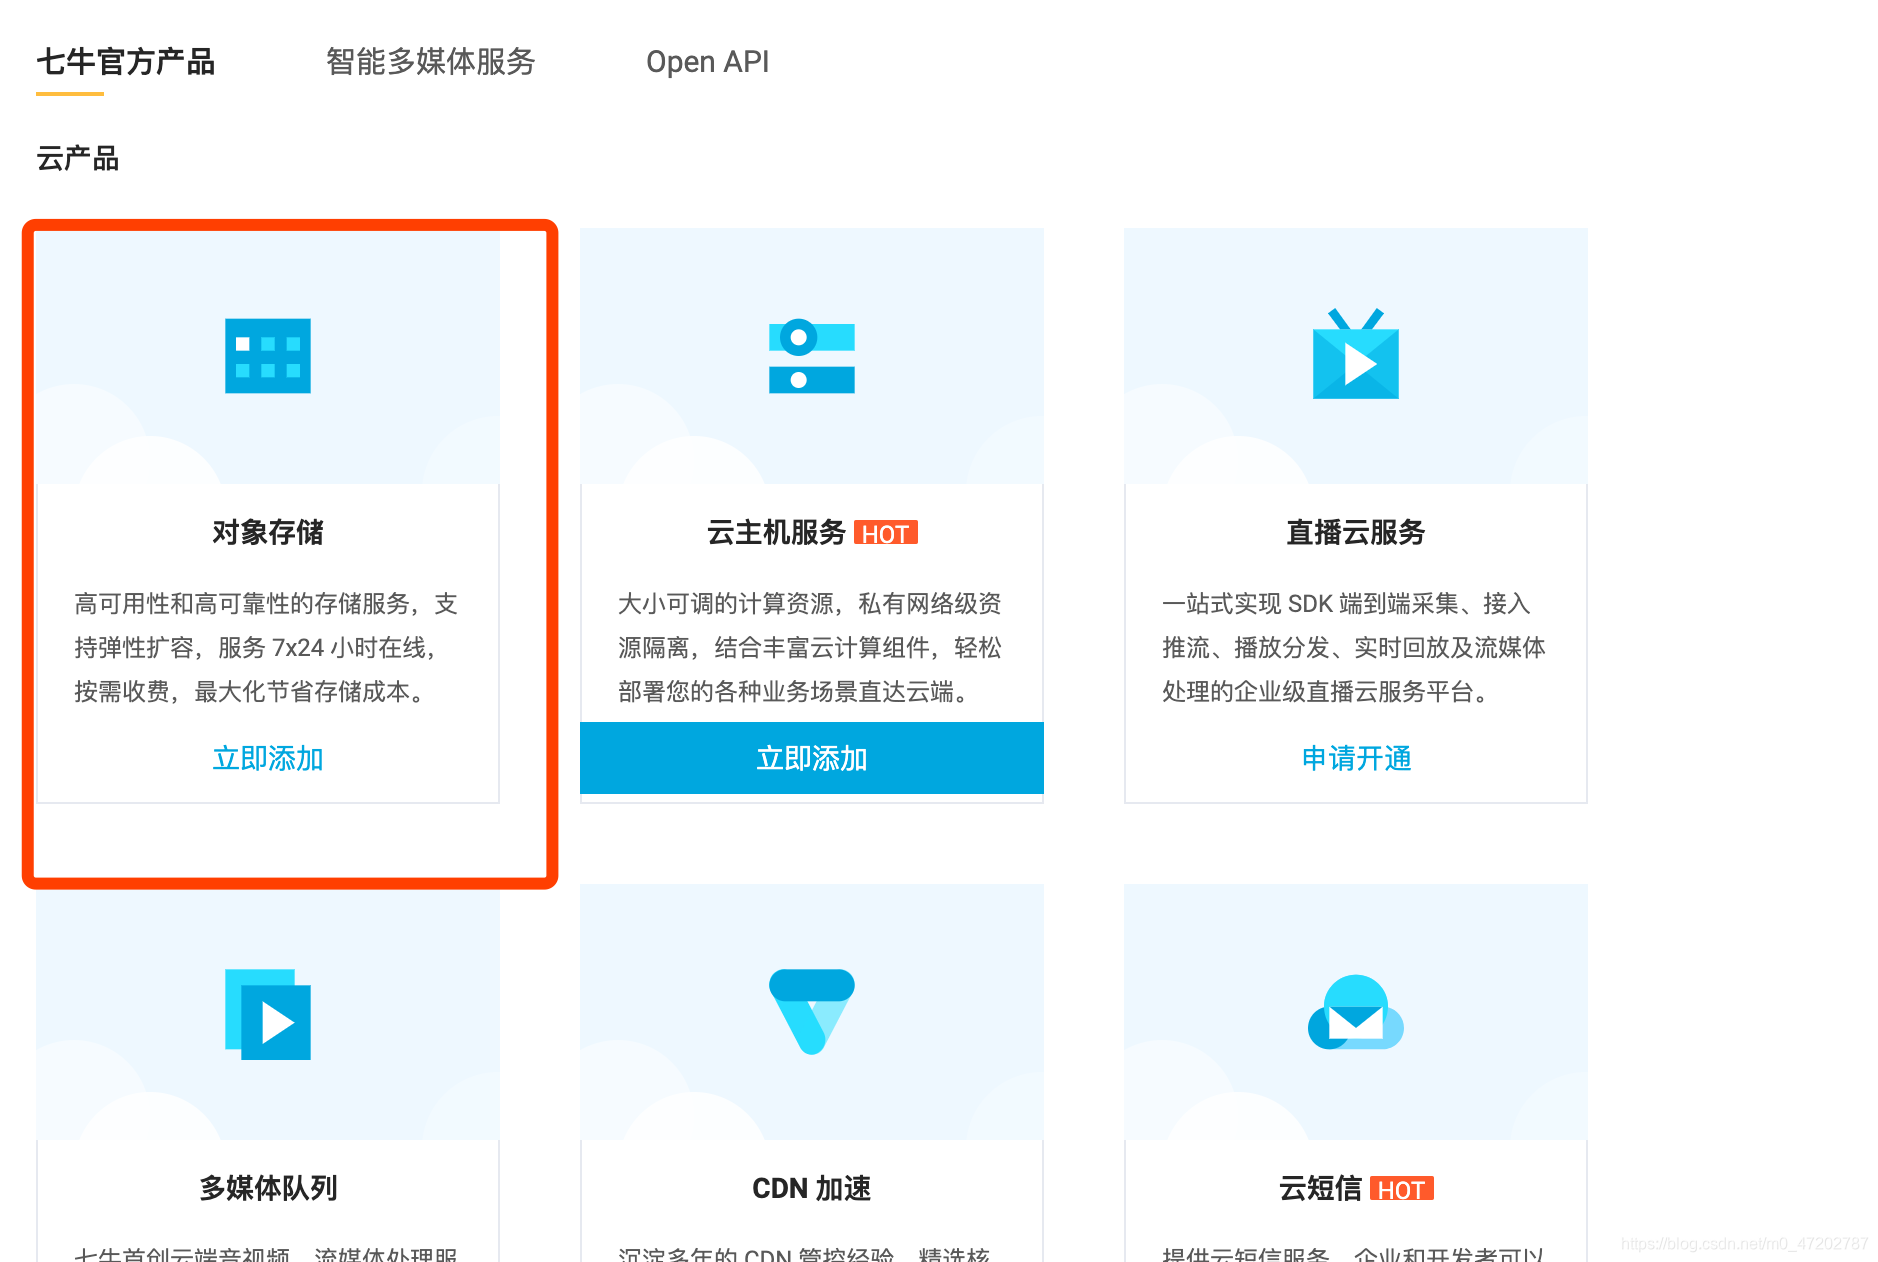
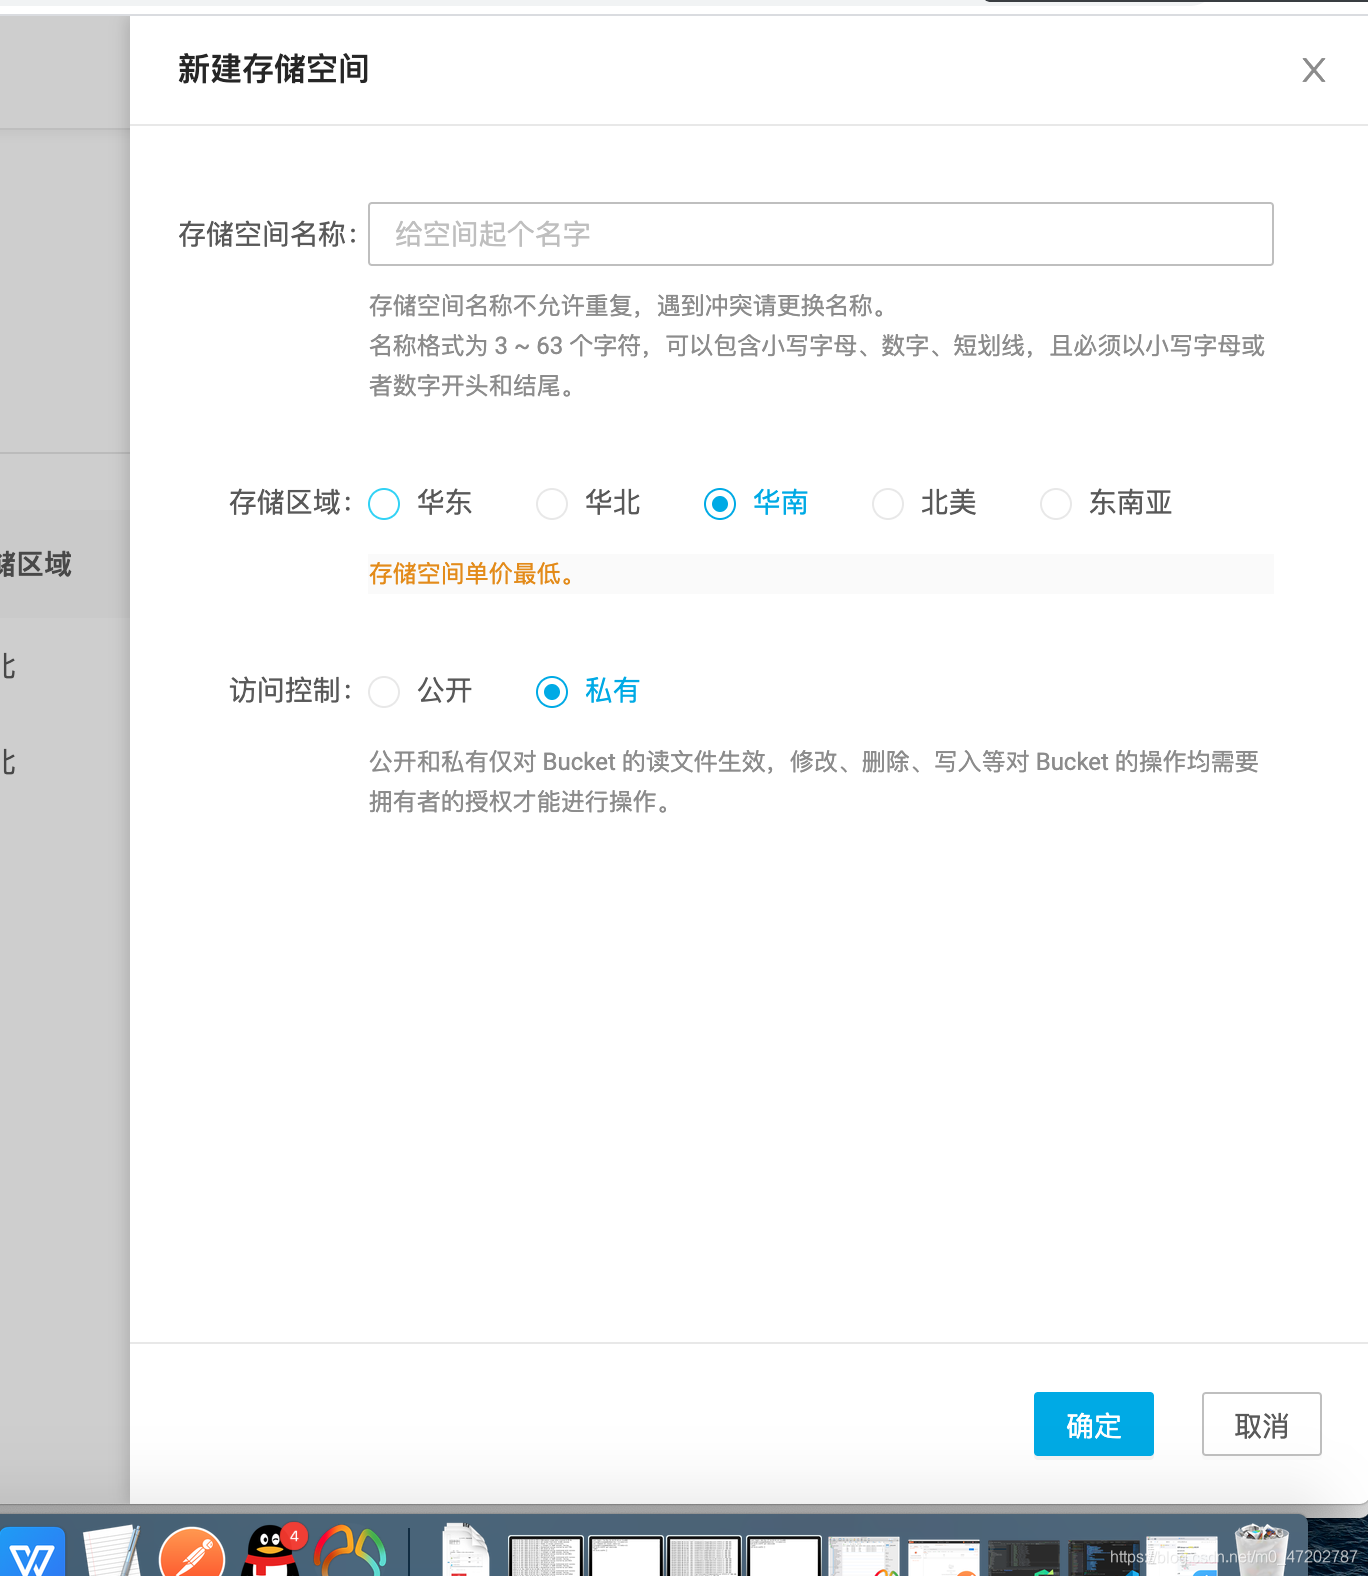
创建七牛云存储空间
django获取七牛云token 代码如下
# 定义七牛云 存储接口
from qiniu import Auth

class QiNiu(APIView):
    def get(self,request):
        # 定义密钥
        q = Auth(‘’,‘’)		#七牛云的秘钥
        # 指定上传空间
        token = q.upload_token('updateli')
        print(token)
        return Response({
            'code':200,
            'token':token
        })
上传
<template>
  <div>
       <Form>
          <FormItem label="图片">
              <input type="file" @change="update">
          </FormItem>
        <!--头像-->
        <Avatar :src="img" :width="150" fit="'fill"></Avatar>


      </Form>
  </div>
</template>

<script>
export default {
    data(){
        return{
            name:'',
            price:'',
            img:'',
            //七牛云上传凭证
            uptoken:''

        }
    },
    methods: {

       //上传七牛云
       update(e){
           console.log(this.uptoken)

           //获取文件对象
           let file = e.target.files[0];
           //声明参数
           let param = new FormData()

           //将上传凭证添加参数
           param.append('token',this.uptoken)

           //附加文件
           param.append('file',file)

           //定制化axios 不让带cokkie
           const axios_qiniu = this.axios.create({withCredentials:false});

           //发送请求
           axios_qiniu({
               method:'POST',
               url:'http://up-z1.qiniu.com/',
               data:param,
               timeout:3000,


           }).then(res=>{

               console.log(res)
               //进行辅助
               this.img = 'http://q8m7kic8f.bkt.clouddn.com/' + res.data.key;


           })


       },


       //获取七牛云上传凭证
       get_uptoken(){
           this.axios.get('http://localhost:8000/uptoken/').then((res)=>{
               console.log(res)
               this.uptoken = res.data.token

           })
       }

    },
    mounted() {
        //获取uptoken
        this.get_uptoken()
    },
}
</script>

<style>

</style>