还在5分钟构建能跑都行的项目?一个完整的待壮大的项目,在前期有些工作是必须要做的,这是一个项目建造者的基本“讲究”。下面就记录一下项目建造时候的Maven多环境相关的一些配置,以供方便拿来即用!
方法 / 步骤
- 项目环境:
Springboot 2.x
1. 首先修改配置文件
将application.properties,修改为 application.yml
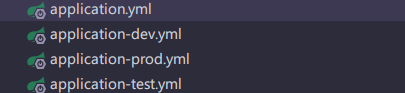
2. 创建多环境配置文件
# 通用配置文件:
#比如项目名称,激活的环境配置,静态文件的路径,log日志的配置,等等。。。。
application.yml

# 开发环境配置文件:开发环境的数据库,端口号等等。。。
application-dev.yml

# 上线环境配置文件
application-prod.yml

# 测试环境配置文件,一般留给测试组的同事用的
application-test.yml
- 创建好后如图所示:
3. 在POM依赖中添加配置
- 添加一级标签
	<profiles>
        <profile>
            <id>dev</id>
            <activation>
                <activeByDefault>true</activeByDefault>
            </activation>
            <properties>
                <env>dev</env>
            </properties>
        </profile>
        <profile>
            <id>test</id>
            <properties>
                <env>test</env>
            </properties>
        </profile>
        <profile>
            <id>prod</id>
            <properties>
                <env>prod</env>
            </properties>
        </profile>
    </profiles>
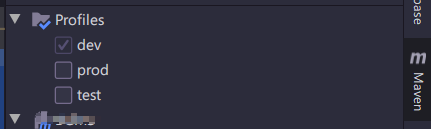
添加成功后,IDEA中右侧的Maven项目里面会出现不同环境的勾选项。
- 记得在主启动类里面添加log识别打印哦!避免我们在线上项目启动的时候,配置给搞错。
主要代码片
@SpringBootApplication
public class StartApplication{
//使用Springboot 默认实现log框架,slf4j
    private static final Logger logger = LoggerFactory.getLogger(StartApplication.class);
    public static void main(String[] args) {
       ConfigurableApplicationContext ctx = SpringApplication.run(StartApplication.class, args);
       String[] activeProfiles = ctx.getEnvironment().getActiveProfiles();
       for(String profile : activeProfiles){
           logger.info("程序启动使用profile为: "+profile);
       }
   }
}
- 主配置文件中添加启动标签
spring:
  profiles:
    active: prod
启动成功后会在控制台打印日志:
