远程服务器简略指南
1. 远程登录
Linux的远程登录使用SSH
- Windows连SSH用
MobaXterm,可直接拖文件传到服务器,保持远程连接:Settings→勾选SSH keepalive
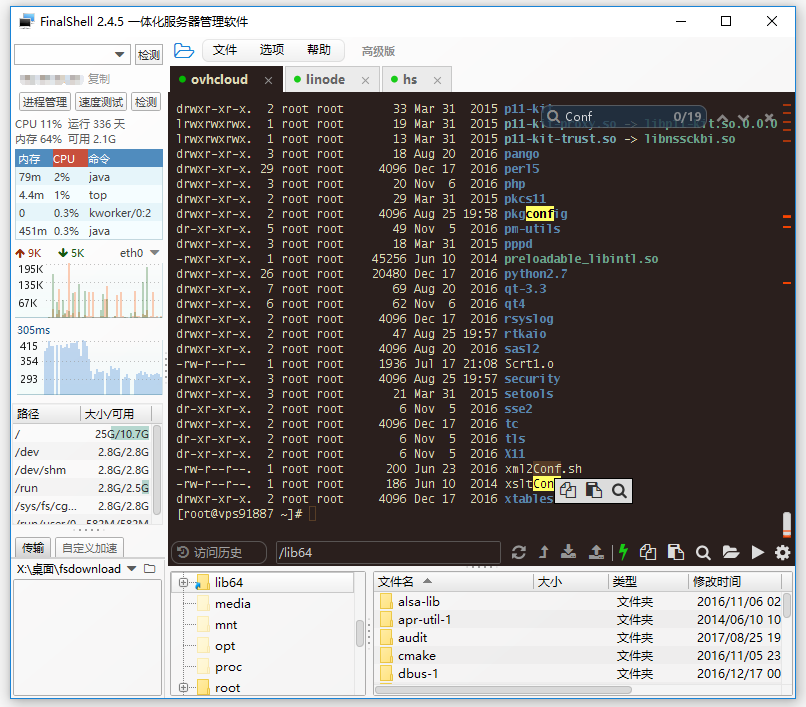
- Ubuntu连SSH用
FinalShell
PS:若是内网,需要先连VPN
2. pip使用清华镜像
pip3 install -i https://pypi.tuna.tsinghua.edu.cn/simple x --user
3. tensorflow相关
- 查看CUDA和cuDNN
cat /usr/local/cuda/version.txt
cat /usr/local/cuda/include/cudnn.h | grep CUDNN_MAJOR -A 2 - pip安装tensorflow-gpu
pip3 install -i https://pypi.tuna.tsinghua.edu.cn/simple tensorflow-gpu==1.4 --user - 测试代码
import tensorflow as tf

a = tf.constant([1.0, 2.0, 3.0, 4.0, 5.0, 6.0], shape=[2, 3], name='a')
b = tf.constant([1.0, 2.0, 3.0, 4.0, 5.0, 6.0], shape=[3, 2], name='b')
c = tf.matmul(a, b)
sess = tf.Session(config=tf.ConfigProto(log_device_placement=True))
print(sess.run(c))  # 看使用的是CPU还是GPU
a: (Const): /job:localhost/replica:0/task:0/device:GPU:0
b: (Const): /job:localhost/replica:0/task:0/device:GPU:0
[[22. 28.]
 [49. 64.]]
- 查看GPU使用情况
nvidia-smi
4. Python含中文注释无法运行
程序头加上
#!/usr/bin/python
#!-*-coding:UTF8-*-
5. 压缩、解压命令zip
压缩:zip -r mydata.zip mydata
解压:unzip -o -d ./ file.zip
压缩所有mp4文件:zip -r a.zip *.mp4
6. 安装Jupyter notebook
安装火狐浏览器
yum install firefox
安装Jupyter notebook
pip install jupyter

pip install jupyter_contrib_nbextensions

jupyter contrib nbextension install --user

pip install yapf
进入jupyter notebook后发现Nbextensions
- Code prettify:代码格式化
- Collapsible Headings:折叠Headings区域
- ScrollDown:输出过长时,自动下拉滚动条
- Table of Contents (2):根据Markdown的标题栏自动生成目录
- Codefolding:折叠代码块
7. Git
-
安装Git
yum install git -
查看版本
git --version -
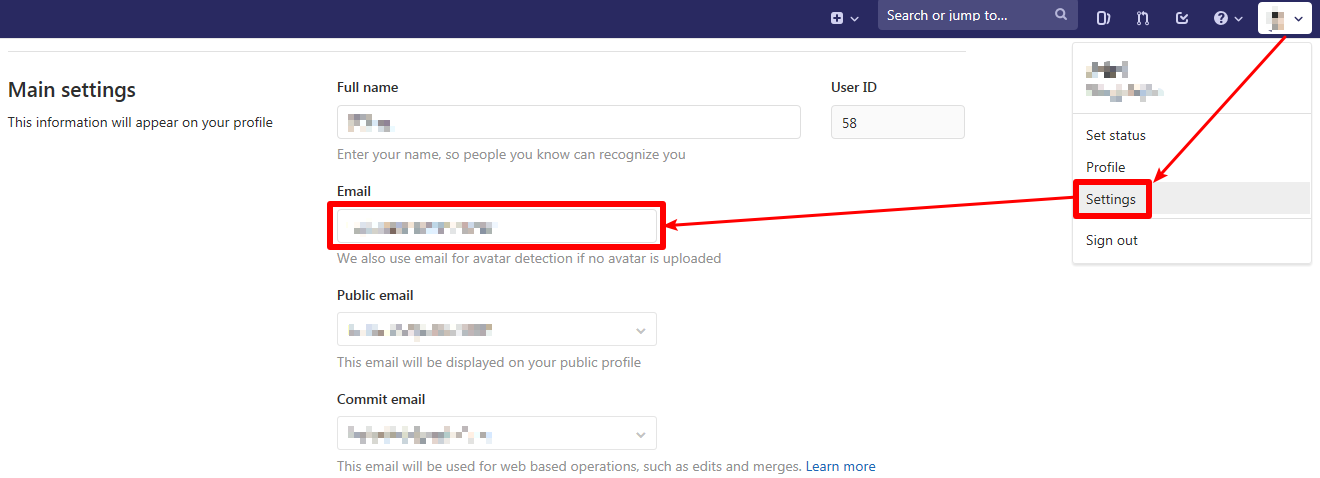
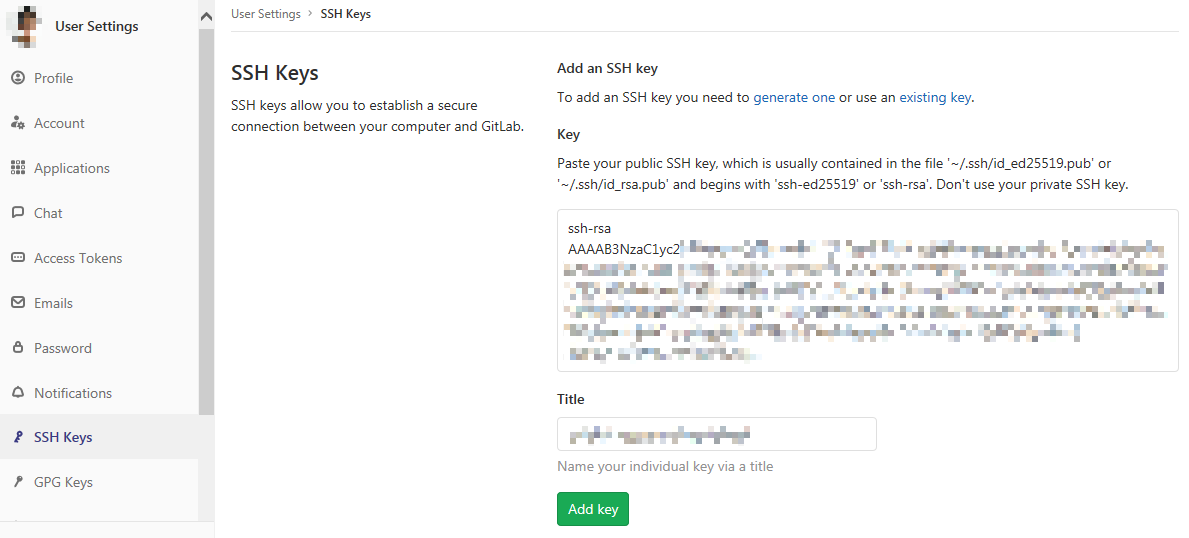
生成SSH密钥:
ssh-keygen -t rsa -C 你的邮箱→回车→打开id_rsa.pub→添加到GitLab的SSH Keys中
-
克隆项目
git clone xxx.git
PS:如果GitLab是内网自建的话,外网要操作的话要映射到外网
8. 后台启动脚本nohup
后台启动:
nohup 具体命令 &
输出默认保存到nohup.out
nohup python3 -u xxx.py &
保存输出:
nohup python3 -u xxx.py > /tmp/test.log &
后台启动脚本命令nohup返回pid
显示当前终端任务:jobs
结束进程:kill 某pid
查看端口占用情况:ss -nlpt | grep 某端口
9. 前端报错net::ERR_CONNECTION_REFUSED
前端发送请求到http://localhost:8080改成http://本机IP:8080