实现
从TNewsApplication类中的main方法启动
@SpringBootApplication
public class TNewsApplication {
    public static void main(String[] args) {
        SpringApplication.run(TNewsApplication.class,args);
    }
}
Type增删改
(1)在service下的TypeService接口中,声明deleteById、findById、input方法
    void deleteById(Long id);
    Type findById(Long id);
    void input(Type type);
(2)在service下的impl中,实现TypeService接口中声明的deleteById、findById、input方法
    @Override
    public void deleteById(Long id) {
        typeDao.deleteById(id);
    }
    @Override
    public Type findById(Long id) {
        return typeDao.getOne(id);
    }
    @Override
    public void input(Type type) {
        typeDao.save(type);
    }
(3)在Controller下的TypeController类中,写delete、input(@PathVariable Long id,Model model)、input(Type type)方法
分别用于删除、进入编辑/新增界面、完成编辑/新增,控制页面的跳转
    @RequestMapping("delete/{id}")
    public String delete(@PathVariable Long id){
        typeService.deleteById(id);
        return "redirect:/admin/types";
    }
    @GetMapping("input/{id}")
    public String input(@PathVariable Long id,Model model){
        Type type=null;
        if(id!=-1){
            type=typeService.findById(id);
        }else {
            type=new Type();
        }
        model.addAttribute("type",type);
        return "admin/types-input";
    }
    @PostMapping("input")
    public String input(Type type){
        typeService.input(type);
        return "redirect:/admin/types";
    }
types.html
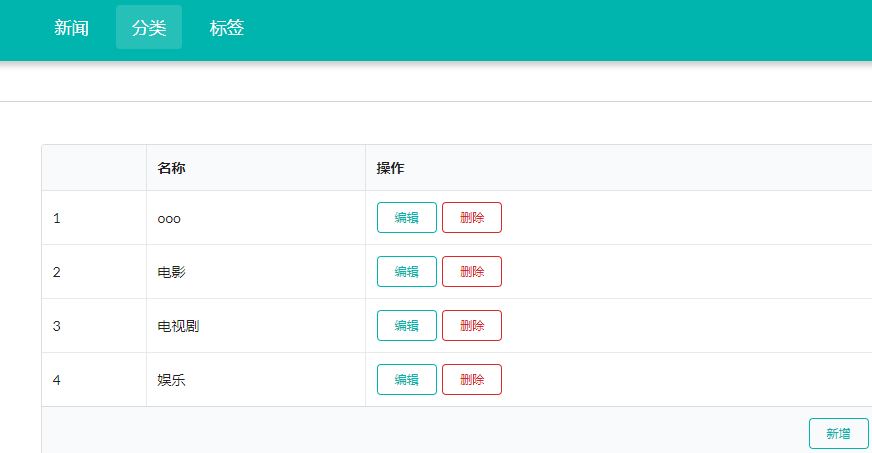
进入编辑界面
或者进行删除并刷新界面
          <td>
            <a href="#" th:href="@{/admin/types/input/{id}(id=${type.id})}" class="ui mini teal basic button">编辑</a>
            <a href="#" th:href="@{/admin/types/delete/{id}(id=${type.id})}" class="ui mini red basic button">删除</a>
          </td>
进入新增界面
<a href="#" th:href="@{/admin/types/input/{id}(id=-1)}" class="ui mini right floated teal basic button">新增</a>
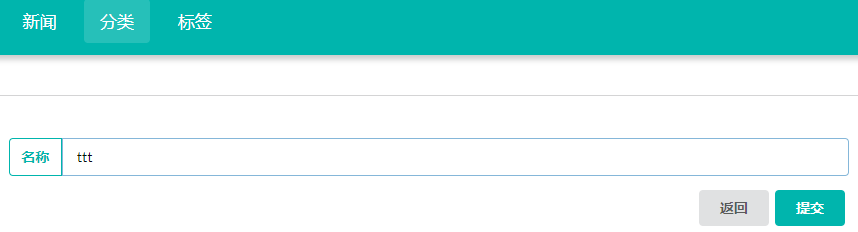
types-input.html:完成编辑/新增
      <form action="#" method="post" th:object="${type}" th:action="@{/admin/types/input}" class="ui form">
        <input type="hidden" name="id" th:value="*{id}">
        <div class=" field">
          <div class="ui left labeled input">
            <label class="ui teal basic label">名称</label>
            <input type="text" name="name" placeholder="分类名称" th:value="*{name}" >
          </div>
        </div>
        <div class="ui error message"></div>
        <div class="ui right aligned container">
          <button type="button" class="ui button" onclick="window.history.go(-1)" >返回</button>
          <button class="ui teal submit button">提交</button>
        </div>
      </form>
Tag增删改查(分页)
实体类Tag
@Entity
@Table(name = "t_tag")
public class Tag {
    @Id
    @GeneratedValue
    private Long id;
    private String name;
    @ManyToMany(mappedBy = "tags")
    private List<News> newsList = new ArrayList<>();
    public Tag() {
    }
    public Long getId() {
        return id;
    }
    public void setId(Long id) {
        this.id = id;
    }
    public String getName() {
        return name;
    }
    public void setName(String name) {
        this.name = name;
    }
    public List<News> getNewsList() {
        return newsList;
    }
    public void setNewsList(List<News> newsList) {
        this.newsList = newsList;
    }
    @Override
    public String toString() {
        return "Tag{" +
                "id=" + id +
                ", name='" + name + '\'' +
                '}';
    }
}
(1)在dao中,创建继承JpaRepository类的TagDao接口
public interface TagDao extends JpaRepository<Tag,Long> {}
(2)在service中,创建TagService接口
public interface TagService {
    Page<Tag> listTag(Pageable pageable);
    void delete(Long id);
    Tag findTagById(Long id);
    void input(Tag tag);
}
(3)在service下的impl中,实现TagService接口
@Service
public class TagServiceImpl implements TagService {
    @Autowired
    private TagDao tagDao;
    @Override
    public Page<Tag> listTag(Pageable pageable) {
        return tagDao.findAll(pageable);
    }
    @Override
    public void delete(Long id) {
        tagDao.deleteById(id);
    }
    @Override
    public Tag findTagById(Long id) {
        return tagDao.getOne(id);
    }
    @Override
    public void input(Tag tag) {
        tagDao.save(tag);
    }
}
(4)在Controller中创建TagController类,在类中写list、delete、toinput、input方法,控制页面的跳转
ssm项目中,需要自定义PageInfo类实现分页,现在可以使用内置的Pageable来实现分页,简化了编程工作
@Controller
@RequestMapping("/admin/tags")
public class TagController {
    @Autowired
    private TagService tagService;
    @RequestMapping
    public String list(@PageableDefault(size = 5,sort = {"id"},direction = Sort.Direction.DESC) Pageable pageable, Model model){
        Page<Tag> page=tagService.listTag(pageable);
        model.addAttribute("page",page);
        return "admin/tags";
    }
    @GetMapping("{id}/delete")
    public String delete(@PathVariable Long id){
        tagService.delete(id);
        return "redirect:/admin/tags";
    }
    @GetMapping("input/{id}")
    public String toInput(@PathVariable Long id,Model model){
        if(id==-1){
            Tag tag=new Tag();
            model.addAttribute("tag",tag);
        }else {
            Tag tag=tagService.findTagById(id);
            model.addAttribute("tag",tag);
        }
        return "admin/tags-input";
    }
    @RequestMapping("input")
    public String input(Tag tag){
        tagService.input(tag);
        return "redirect:/admin/tags";
    }
}
Tag有关HTML文件:与Type有关HTML文件,写法基本一致,略
MD5加密
(1)在util中,创建MD5Util类
public class MD5Util {
    /**
     * MD5加密类
     * @param str 要加密的字符串
     * @return    加密后的字符串
     */
    public static String code(String str){
        try {
            MessageDigest md = MessageDigest.getInstance("MD5");
            md.update(str.getBytes());
            byte[]byteDigest = md.digest();
            int i;
            StringBuffer buf = new StringBuffer("");
            for (int offset = 0; offset < byteDigest.length; offset++) {
                i = byteDigest[offset];
                if (i < 0)
                    i += 256;
                if (i < 16)
                    buf.append("0");
                buf.append(Integer.toHexString(i));
            }
            //32位加密
            return buf.toString();
            // 16位的加密
            //return buf.toString().substring(8, 24);
        } catch (NoSuchAlgorithmException e) {
            e.printStackTrace();
            return null;
        }
    }
    public static void main(String[] args) {
        System.out.println(code("12"));
    }
}
(2)在service下的impl中,改写UserService接口中声明的checkUser方法
    @Override
    public User checkUser(String username, String password) {
        return userDao.findByUsernameAndPassword(username, MD5Util.code(password));
    }
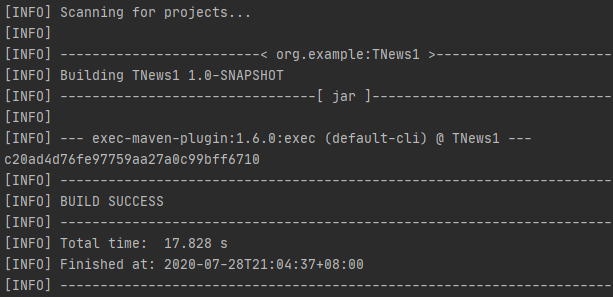
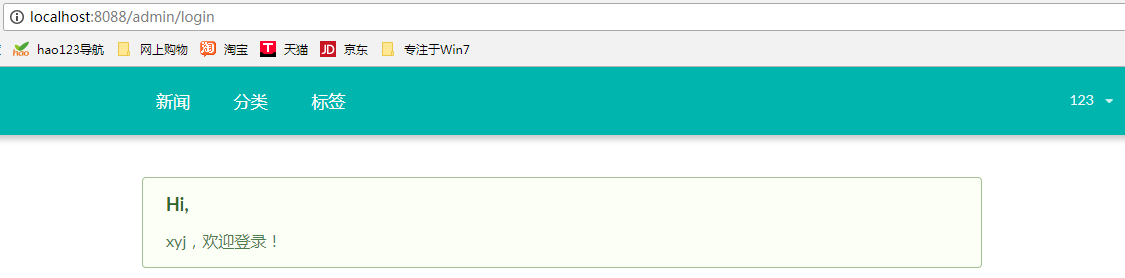
运行结果
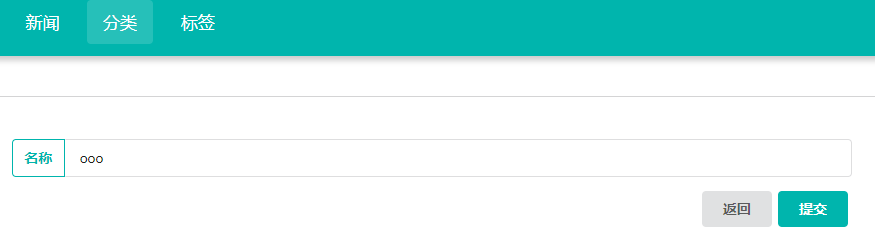
分类——新增

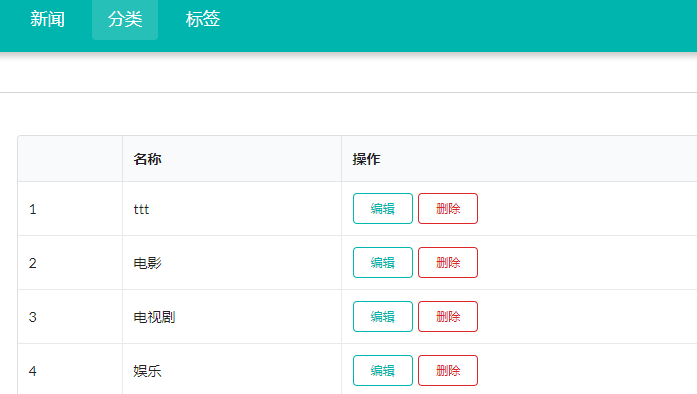
分类——编辑

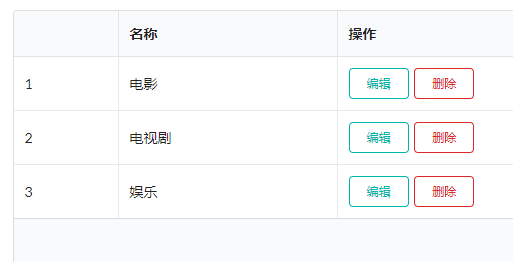
分类——删除ttt
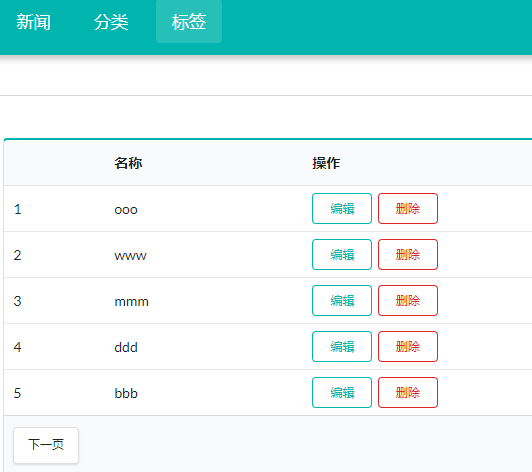
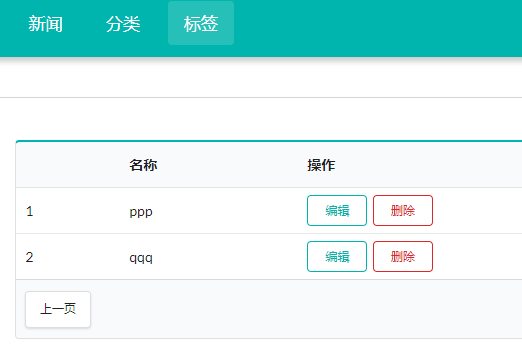
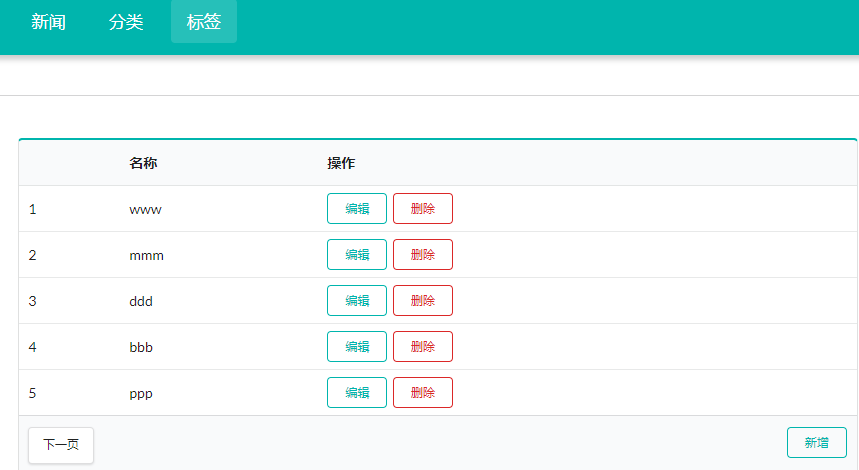
标签——分页
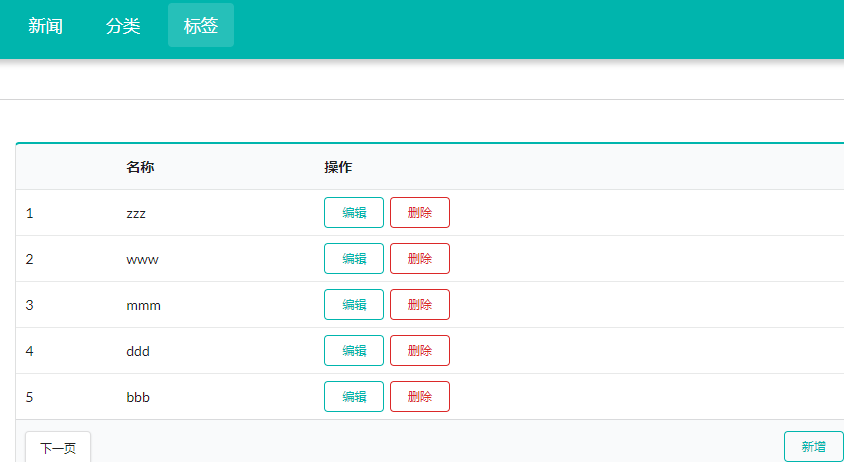
标签——新增


标签——编辑


标签——删除
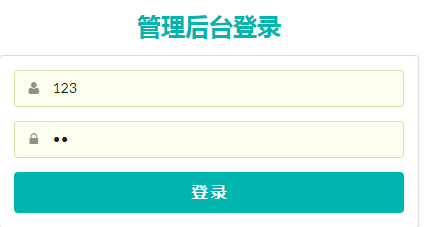
MD5加密——“12”