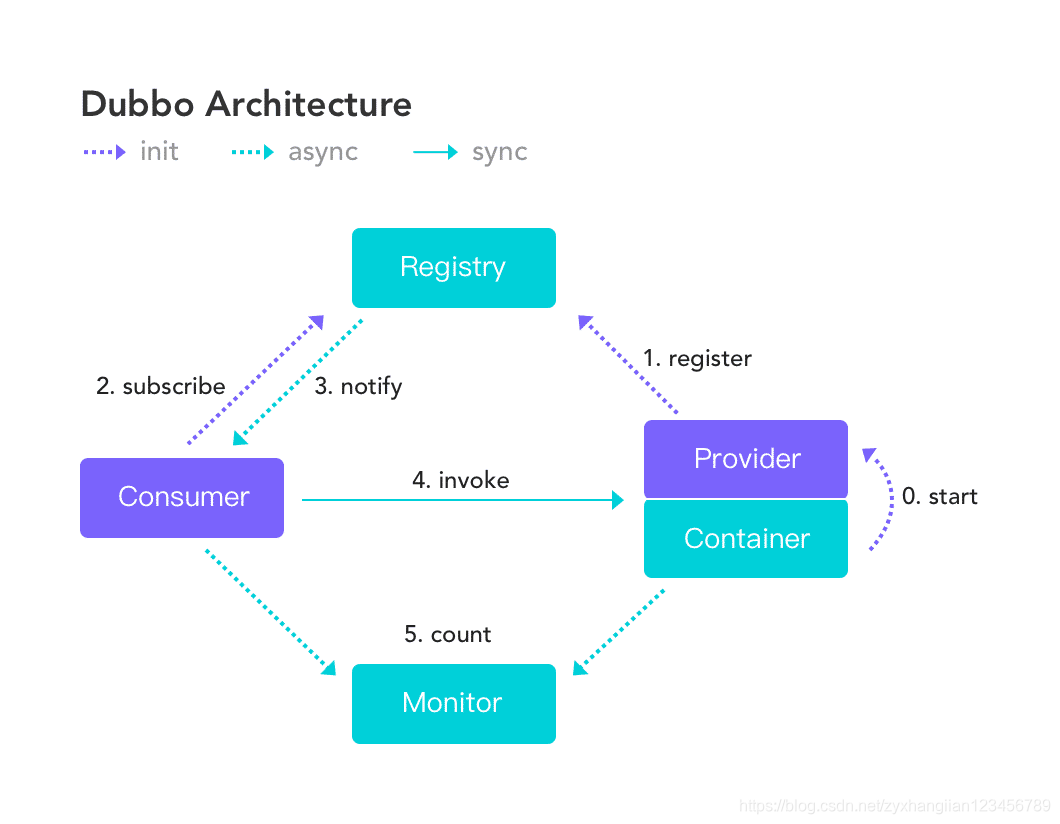
本篇将介绍创建一个zookeeper+dubbo+springboot的基础项目,以演示分布式应用开发的一个过程。
这里共有三个子项目:
- 服务接口项目
- 服务提供者项目
- 服务消费者项目
dubbo项目的github地址;
dubbo示例项目的github地址
在开始之前,请确保您的zookeeper集群已经部署完成,这里,笔者采用docker-compose的方式进行部署,三个zookeeper服务器的地址分别为192.168.137.118:2181、192.168.137.118:2182和192.168.137.118:2183。
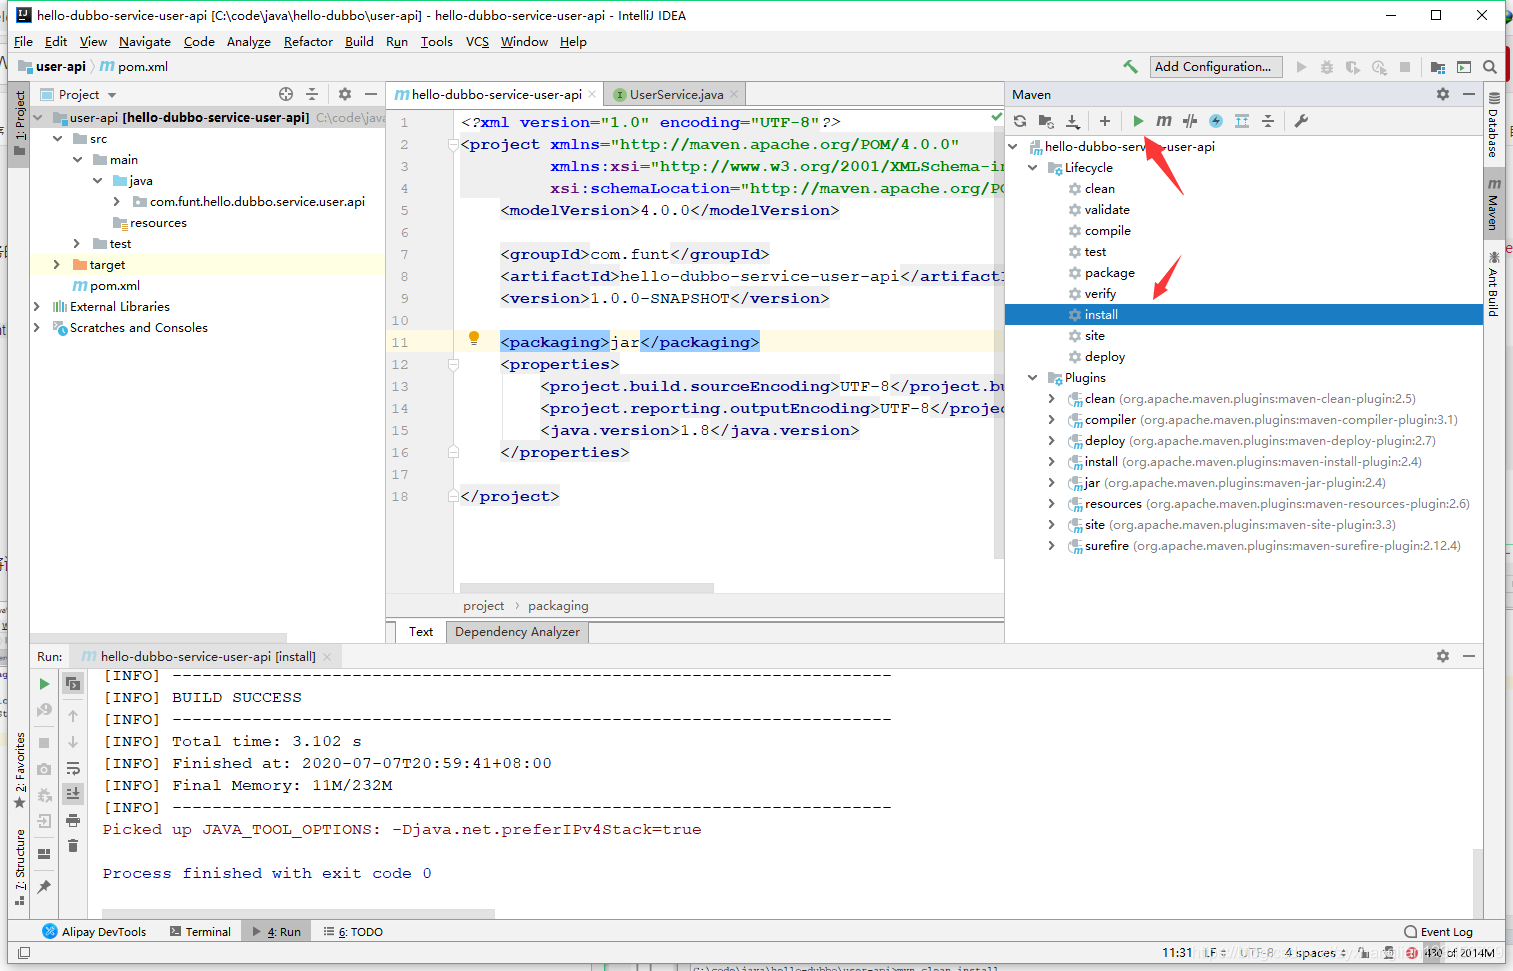
1.创建服务接口项目
创建一个普通的Maven项目,定义用户服务的API接口。这里项目的GroupId为com.funt,ArtifactId为hello-dubbo-service-user-api。
接着,根据命名规范,创建一个包com.funt.hello.dubbo.service.user.api,并创建UserService接口。
package com.funt.hello.dubbo.service.user.api;

public interface UserService {
    String sayHi();
}
为了让服务提供者项目找到该项目,需要将该项目安装到本地仓库,即执行mvn clean install。
2.创建服务提供者项目
通过Spring初始化器创建一个SpringBoot项目。实现用户服务的接口。这里项目的GroupId为com.funt,ArtifactId为hello-dubbo-service-user-provider。这是一个简单的JavaSE项目,因此不需要引入web依赖。
<?xml version="1.0" encoding="UTF-8"?>
<project xmlns="http://maven.apache.org/POM/4.0.0" xmlns:xsi="http://www.w3.org/2001/XMLSchema-instance"
         xsi:schemaLocation="http://maven.apache.org/POM/4.0.0 https://maven.apache.org/xsd/maven-4.0.0.xsd">
    <modelVersion>4.0.0</modelVersion>
    <parent>
        <groupId>org.springframework.boot</groupId>
        <artifactId>spring-boot-starter-parent</artifactId>
        <version>2.3.1.RELEASE</version>
        <relativePath/> <!-- lookup parent from repository -->
    </parent>
    <groupId>com.funt</groupId>
    <artifactId>hello-dubbo-service-user-provider</artifactId>
    <version>1.0.0-SNAPSHOT</version>
    <name>hello-dubbo-service-user-provider</name>
    <description>Demo project for Spring Boot</description>

    <properties>
        <java.version>1.8</java.version>
    </properties>

    <dependencies>
        <dependency>
            <groupId>org.springframework.boot</groupId>
            <artifactId>spring-boot-starter</artifactId>
        </dependency>

        <!-- Spring Boot Actuator可以帮助你监控和管理Spring Boot应用,比如健康检查、审计、统计和HTTP追踪等。 -->
        <dependency>
            <groupId>org.springframework.boot</groupId>
            <artifactId>spring-boot-starter-actuator</artifactId>
            <version>1.3.2.RELEASE</version>
        </dependency>

		<!--Curator是Netflix公司开源的一套zookeeper客户端框架,
		            解决了很多Zookeeper客户端非常底层的细节开发工作,包括
		            连接重连、反复注册Watcher和NodeExistsException异常等等。
		            Patrixck Hunt(Zookeeper)以一句“Guava is to Java that Curator to Zookeeper”给Curator予高度评价。
		            Curator的maven依赖-->
        <dependency>
            <groupId>org.apache.curator</groupId>
            <artifactId>curator-framework</artifactId>
            <version>2.12.0</version>
        </dependency>


        <!-- 添加dubbo依赖 -->
        <dependency>
            <groupId>org.apache.dubbo</groupId>
            <artifactId>dubbo-spring-boot-starter</artifactId>
            <version>2.7.5</version>
        </dependency>

        <!-- 引入接口 -->
        <dependency>
            <groupId>com.funt</groupId>
            <artifactId>hello-dubbo-service-user-api</artifactId>
            <version>1.0.0-SNAPSHOT</version>
        </dependency>

        <dependency>
            <groupId>org.springframework.boot</groupId>
            <artifactId>spring-boot-starter-test</artifactId>
            <scope>test</scope>
            <exclusions>
                <exclusion>
                    <groupId>org.junit.vintage</groupId>
                    <artifactId>junit-vintage-engine</artifactId>
                </exclusion>
            </exclusions>
        </dependency>
    </dependencies>

    <build>
        <plugins>
            <plugin>
                <groupId>org.springframework.boot</groupId>
                <artifactId>spring-boot-maven-plugin</artifactId>
            </plugin>
        </plugins>
    </build>

    <repositories>
        <repository>
            <id>apache.snapshots.https</id>
            <name>Apache Development Snapshot Repository</name>
            <url>https://repository.apache.org/content/repositories/snapshots</url>
            <releases>
                <enabled>false</enabled>
            </releases>
            <snapshots>
                <enabled>true</enabled>
            </snapshots>
        </repository>
    </repositories>
</project>
提供接口实现类
package com.funt.hellodubboserviceuserprovider.api.impl;

import com.funt.hello.dubbo.service.user.api.UserService;
import org.apache.dubbo.config.annotation.Service;

@Service(version = "1.0.0")
public class UserServiceImpl implements UserService {
    @Override
    public String sayHi() {
        return "hello dubbo";
    }
}
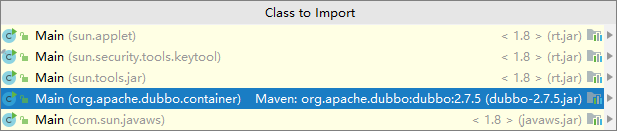
在Application类的Main入口中加入代码Main.man(args);,在dubbo容器中启动一个服务提供者。
这里使用yaml的方式配置springboot和dubbo。
spring:
  application:
    name: hello-dubbo-service-user-provider

user:
  service:
    version: 1.0.0

# dubbo组件默认不会被springboot扫描,因此,这里需要配置dubbo的组件扫描
dubbo:
  scan:
    basePackages: com.funt.hello.dubbo.service.user.provider.api
  application:
    id: hello-dubbo-service-user-provider
    name: hello-dubbo-service-user-provider
    qos-port: 22222
    qos-enable: true
  protocol:
    id: dubbo
    name: dubbo
    port: 12345
    status: server
  registry:
    id: zookeeper
    address: zookeeper://192.168.137.118:2181?backup=192.168.137.118:2182,192.168.137.118:2183
    timeout: 10000
  config-center:
  	# dubbo的config-center配置中心,默认的获取配置的超时时间是3秒钟。在项目的配置文件中修改一下这个时间为10秒。
    timeout: 10000
management:
  endpoint:
    dubbo:
      enabled: true
    dubbo-shutdown:
      enabled: true
    dubbo-config:
      enabled: true
    dubbo-services:
      enabled: true
    dubbo-references:
      enabled: true
    dubbo-properties:
      enabled: true
  health:
    dubbo:
      status:
        defaults: memory
        extras: load,threadpool
此时,管理后台可以看到已经启动的服务,代表服务已经上线。
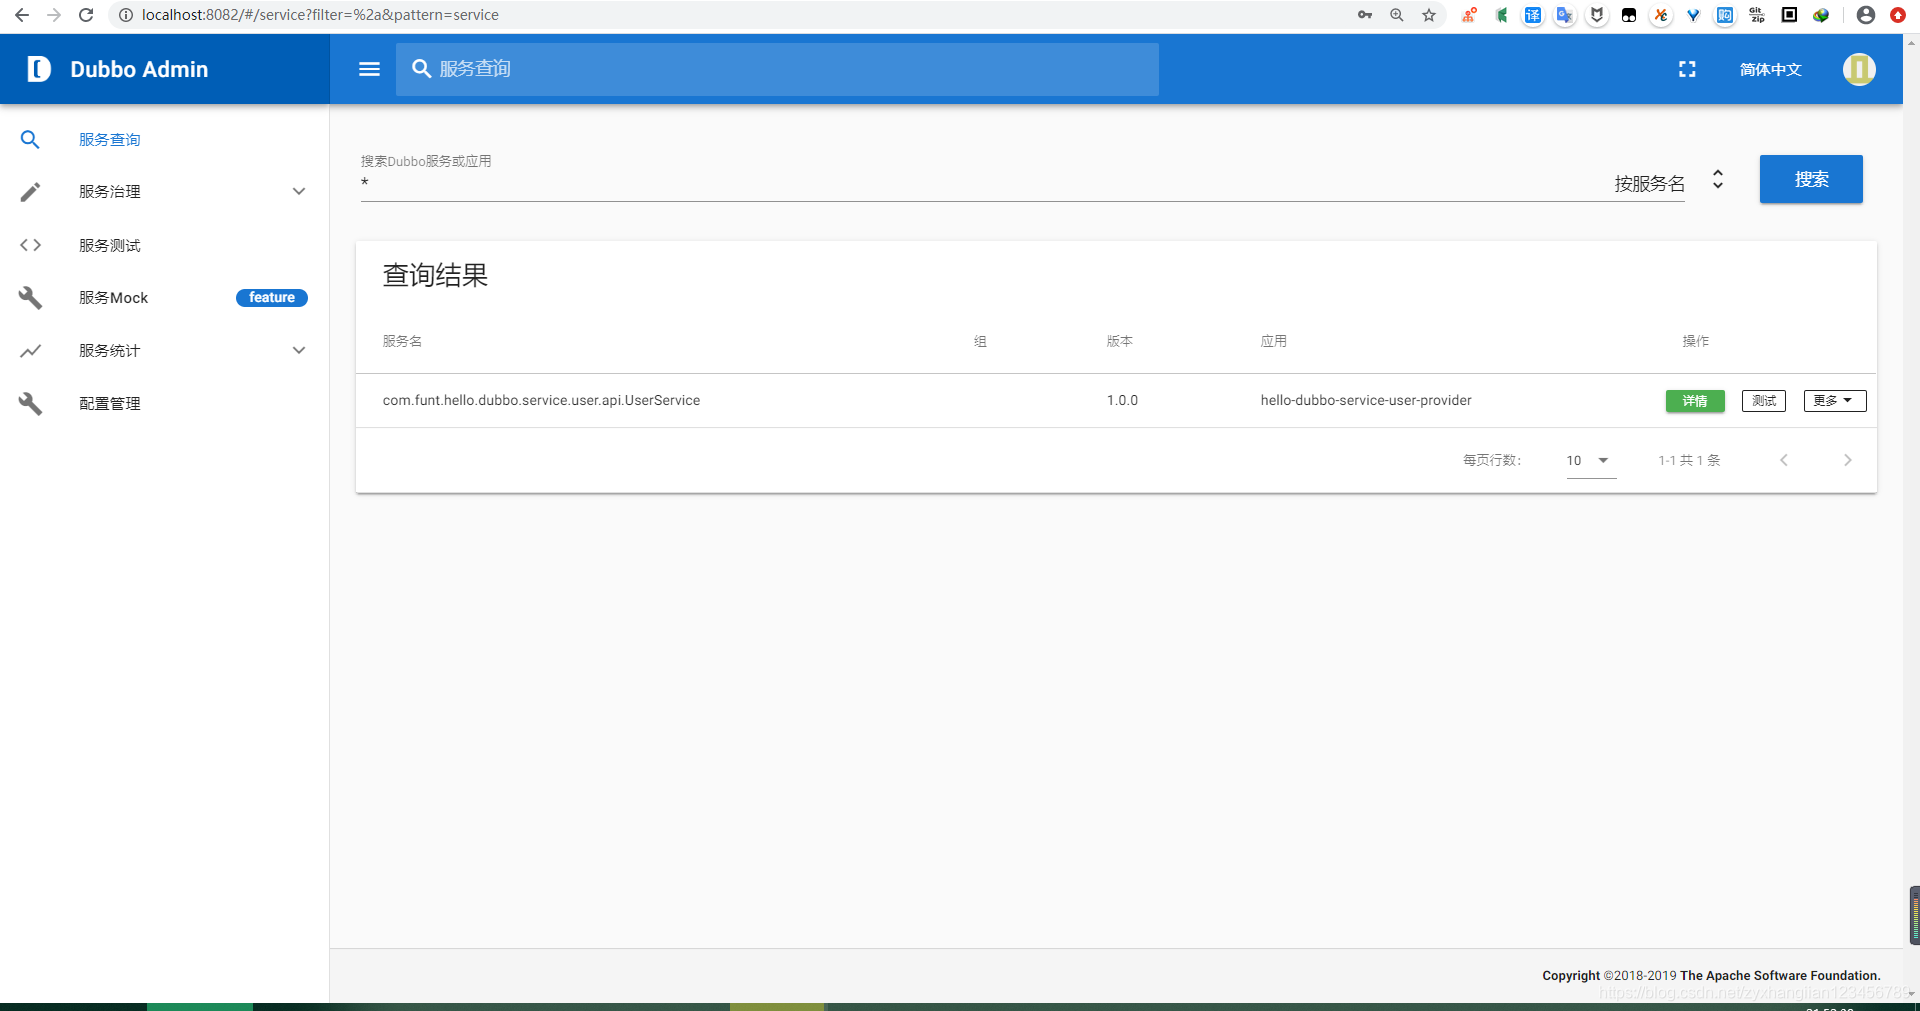
服务关闭后,过一段时间,可以看到管理后台中的服务已经下线。
3.创建服务消费者项目
创建一个SpringBoot Web项目,除了starter改为spring-boot-starter-web,其他的依赖和服务提供者一样。
<?xml version="1.0" encoding="UTF-8"?>
<project xmlns="http://maven.apache.org/POM/4.0.0" xmlns:xsi="http://www.w3.org/2001/XMLSchema-instance"
         xsi:schemaLocation="http://maven.apache.org/POM/4.0.0 https://maven.apache.org/xsd/maven-4.0.0.xsd">
    <modelVersion>4.0.0</modelVersion>
    <parent>
        <groupId>org.springframework.boot</groupId>
        <artifactId>spring-boot-starter-parent</artifactId>
        <version>2.3.1.RELEASE</version>
        <relativePath/> <!-- lookup parent from repository -->
    </parent>
    <groupId>com.funt</groupId>
    <artifactId>hello-dubbo-service-user-consumer</artifactId>
    <version>1.0.0-SNAPSHOT</version>
    <name>hello-dubbo-service-user-consumer</name>
    <description>Demo project for Spring Boot</description>

    <properties>
        <java.version>1.8</java.version>
    </properties>

    <dependencies>
        <dependency>
            <groupId>org.springframework.boot</groupId>
            <artifactId>spring-boot-starter-web</artifactId>
            <version>2.2.6.RELEASE</version>
        </dependency>


        <!-- Spring Boot Actuator可以帮助你监控和管理Spring Boot应用,比如健康检查、审计、统计和HTTP追踪等。 -->
        <dependency>
            <groupId>org.springframework.boot</groupId>
            <artifactId>spring-boot-starter-actuator</artifactId>
            <version>1.3.2.RELEASE</version>
        </dependency>

        <!--Curator是Netflix公司开源的一套zookeeper客户端框架,
            解决了很多Zookeeper客户端非常底层的细节开发工作,包括
            连接重连、反复注册Watcher和NodeExistsException异常等等。
            Patrixck Hunt(Zookeeper)以一句“Guava is to Java that Curator to Zookeeper”给Curator予高度评价。
            Curator的maven依赖-->
        <dependency>
            <groupId>org.apache.curator</groupId>
            <artifactId>curator-recipes</artifactId>
            <version>2.12.0</version>
        </dependency>

        <!-- 添加dubbo依赖 -->
        <dependency>
            <groupId>org.apache.dubbo</groupId>
            <artifactId>dubbo-spring-boot-starter</artifactId>
            <version>2.7.5</version>
        </dependency>

        <!-- 引入接口 -->
        <dependency>
            <groupId>com.funt</groupId>
            <artifactId>hello-dubbo-service-user-api</artifactId>
            <version>1.0.0-SNAPSHOT</version>
        </dependency>

        <dependency>
            <groupId>org.springframework.boot</groupId>
            <artifactId>spring-boot-starter-test</artifactId>
            <scope>test</scope>
            <exclusions>
                <exclusion>
                    <groupId>org.junit.vintage</groupId>
                    <artifactId>junit-vintage-engine</artifactId>
                </exclusion>
            </exclusions>
        </dependency>
    </dependencies>

    <build>
        <plugins>
            <plugin>
                <groupId>org.springframework.boot</groupId>
                <artifactId>spring-boot-maven-plugin</artifactId>
            </plugin>
        </plugins>
    </build>

</project>
dubbo扫描的basePackage需要改为com.funt.hello.dubbo.service.user.consumer.controller,另外,因为8080端口已经被占用,这里端口也需要做一下更改。其他yaml配置文件也是类似的。
spring:
  application:
    name: hello-dubbo-service-user-consumer

user:
  service:
    version: 1.0.0

# dubbo组件默认不会被springboot扫描,因此,这里需要配置dubbo的组件扫描
dubbo:
  scan:
    basePackages: com.funt.hello.dubbo.service.user.consumer.controller
  application:
    id: hello-dubbo-service-user-consumer
    name: hello-dubbo-service-user-consumer
    qos-port: 22223
    qos-enable: true
  protocol:
    id: dubbo
    name: dubbo
    port: 12345
    status: server
  registry:
    id: zookeeper
    address: zookeeper://192.168.137.118:2181?backup=192.168.137.118:2182,192.168.137.118:2183
    timeout: 10000
  config-center:
    timeout: 10000
management:
  endpoint:
    dubbo:
      enabled: true
    dubbo-shutdown:
      enabled: true
    dubbo-config:
      enabled: true
    dubbo-services:
      enabled: true
    dubbo-references:
      enabled: true
    dubbo-properties:
      enabled: true
  health:
    dubbo:
      status:
        defaults: memory
        extras: load,threadpool
server:
  port: 9090
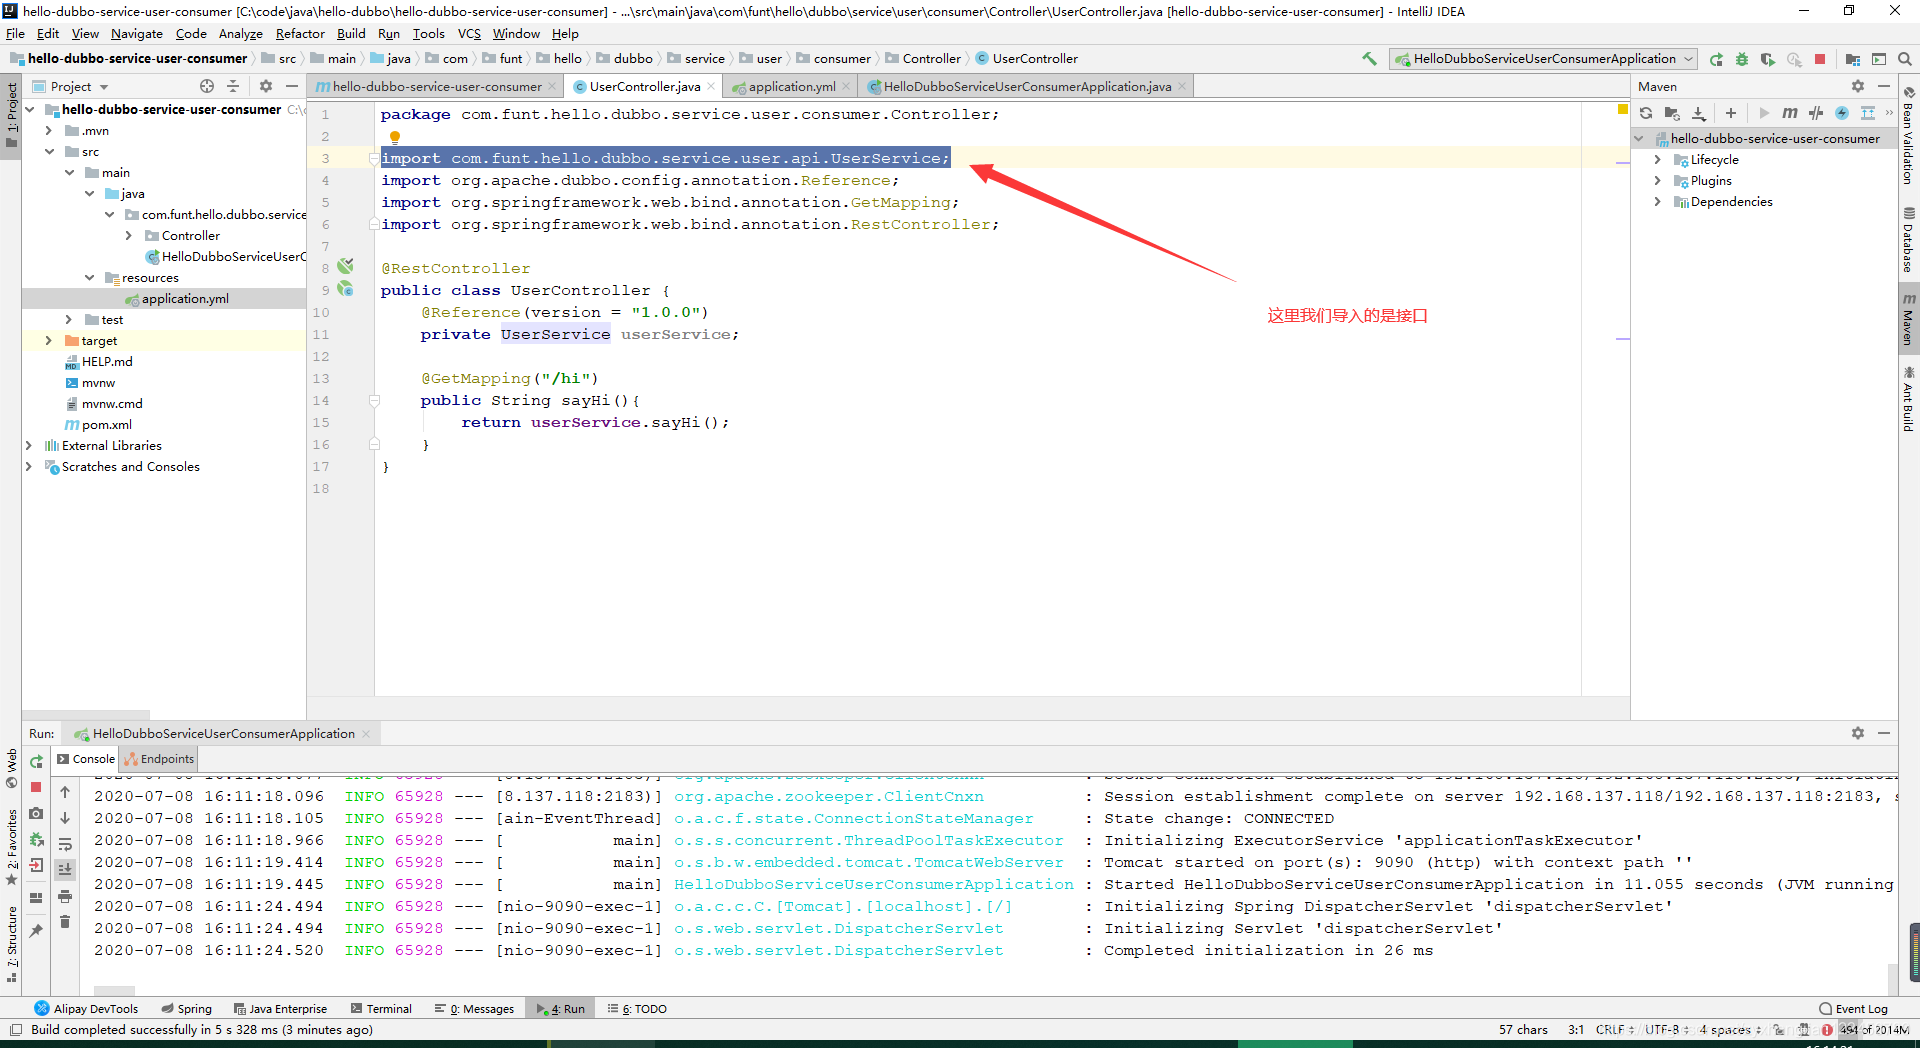
创建UserController,通过@Reference(version = "1.0.0")注解引入依赖。
package com.funt.hello.dubbo.service.user.consumer.Controller;

import com.funt.hello.dubbo.service.user.api.UserService;
import org.apache.dubbo.config.annotation.Reference;
import org.springframework.web.bind.annotation.GetMapping;
import org.springframework.web.bind.annotation.RestController;

@RestController
public class UserController {
    @Reference(version = "1.0.0")
    private UserService userService;

    @GetMapping("/hi")
    public String sayHi(){
        return userService.sayHi();
    }
}
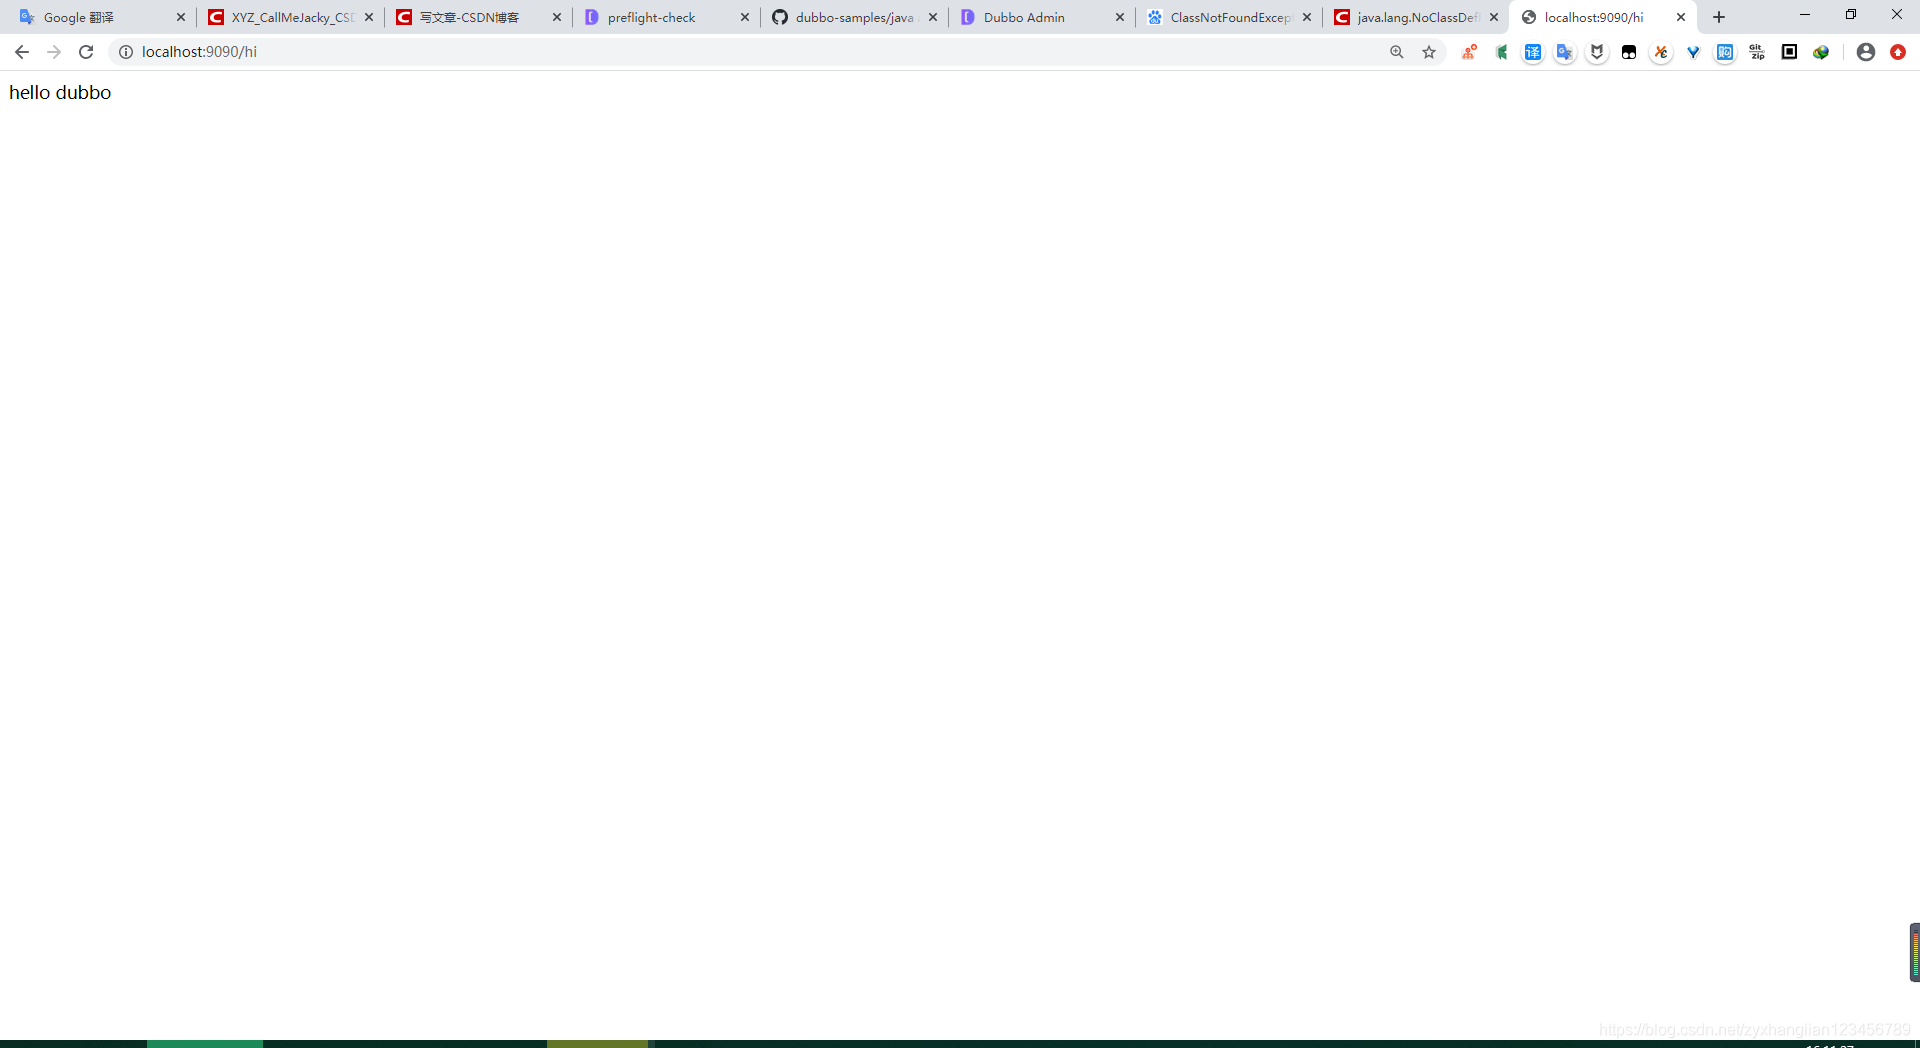
启动项目,可以看到服务的消费者已经注册。

这里,您可能会好奇,我好像什么都没做,为什么就可以调用服务提供者中的方法了。因为我们已经将接口定义安装到Maven本地仓库中了,因此,我们这里就已经告诉了dubbo要调用的是Userservice的sayHi方法,dubbo就会找到服务提供者实现的UserService的sayHi方法,并帮我们调用,最终将结果同步返回给我们。