搭建Vue
用cli创建vue项目
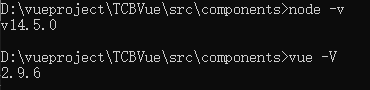
1.安装vue开发环境,这里不作阐述
版本号:
2.安装cli并创建vue项目
(1)下载vue脚手架。使用命令:npm install --global vue-cli
(2)安装webpack模块打包器:npm install -g webpack
(3)使用vue init webpack xxx(项目名),创建项目
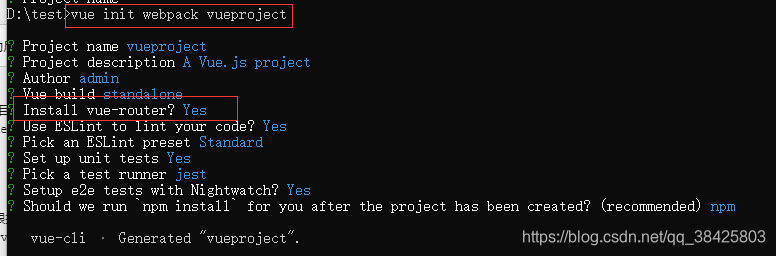
部分参数介绍:
? Project name TCBVue :项目名
? Project description A Vue.js project :项目介绍
? Author admin :作者
? Vue build standalone
? Install vue-router? Yes :是否安装vue-router,路由
? Use ESLint to lint your code? Yes : 是否用ESLint作为vue代码规范(按需使用,开发时会校验格式十分麻烦,不想用直接no)
? Pick an ESLint preset Standard :ESLint规范相关
? Set up unit tests Yes :是否安装单元测试
? Pick a test runner jest :test runner
? Setup e2e tests with Nightwatch? Yes : e2e测试
? Should we run npm install for you after the project has been created? (recommended) npm :是否项目创建后执行npm install命令
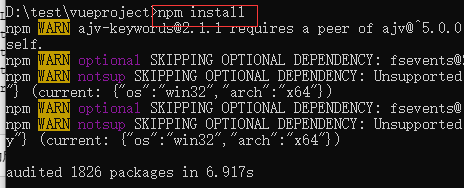
3.使用npm install 命令,安装npm
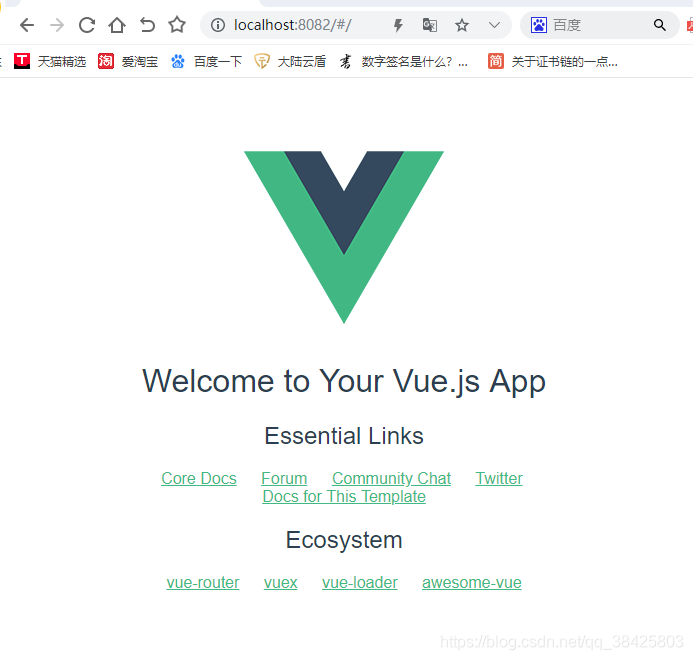
4.使用npm run dev命令,启动项目
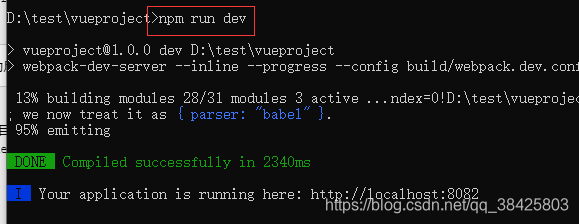
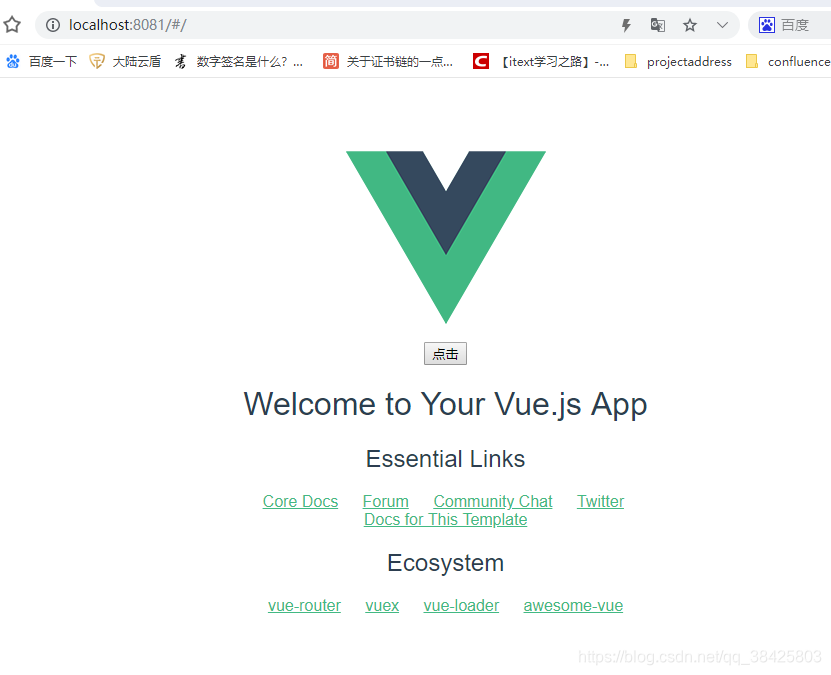
5.浏览器输入http://localhost:8082/#/访问,如下界面则创建成功
6.执行安装命令安装相关包,后续搭建项目使用
(1)npm install -g cnpm --registry=https://registry.npm.taobao.org
cnpm:淘宝镜像,国内用于下载依赖包。下载速度较快
(2)npm install axios --save-dev :安装axios包,用于前端发送get,post请求
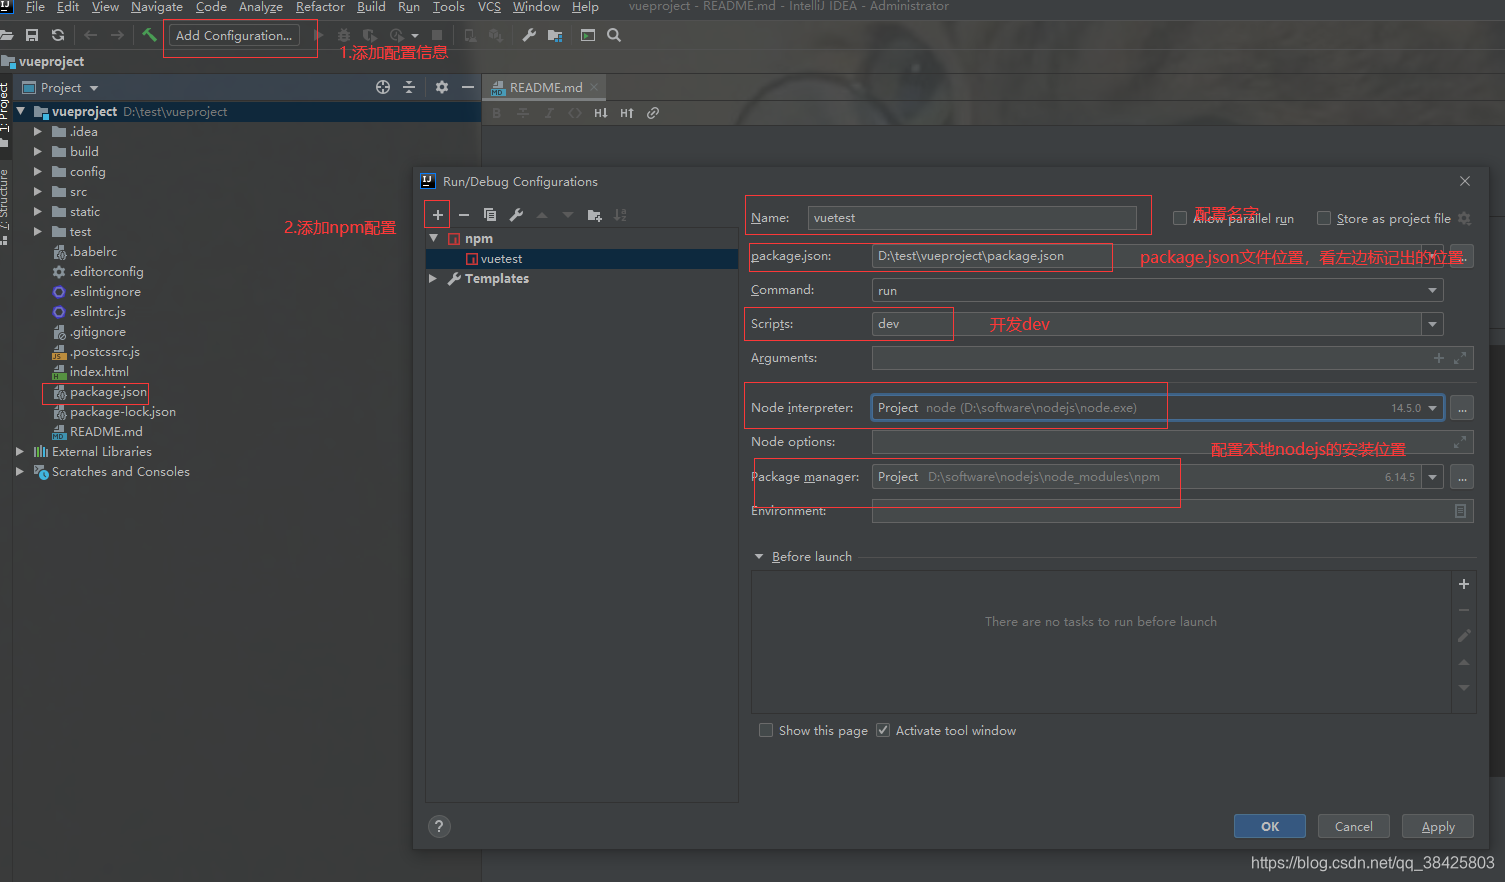
idea配置vue项目并启动
1.idea打开刚刚创建的项目
2.配置启动参数
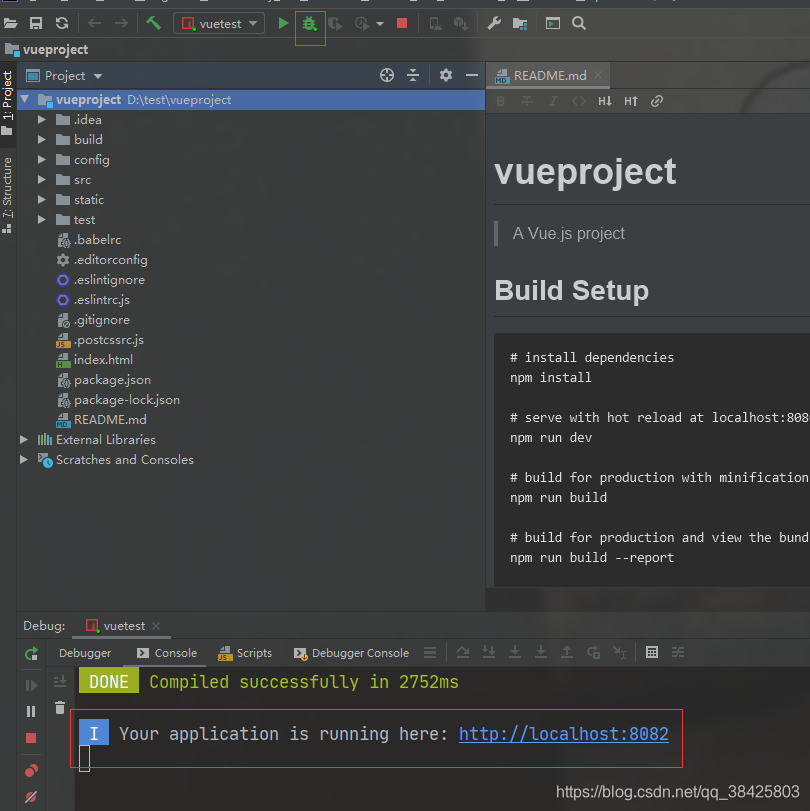
debug启动
生成的vue项目的运行原理(若想快速搭建直接跳过这节)
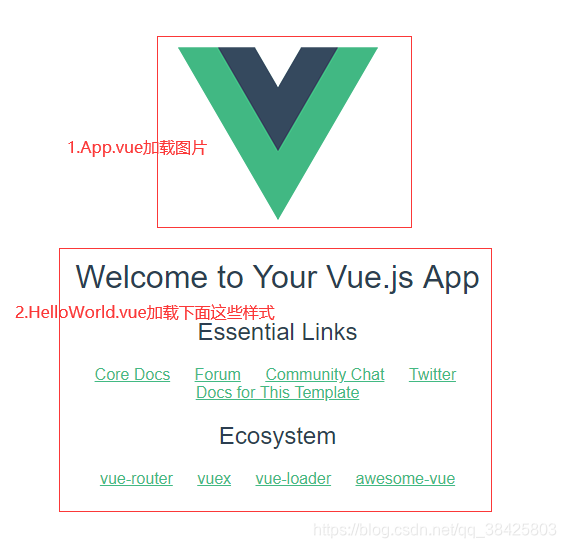
上图:
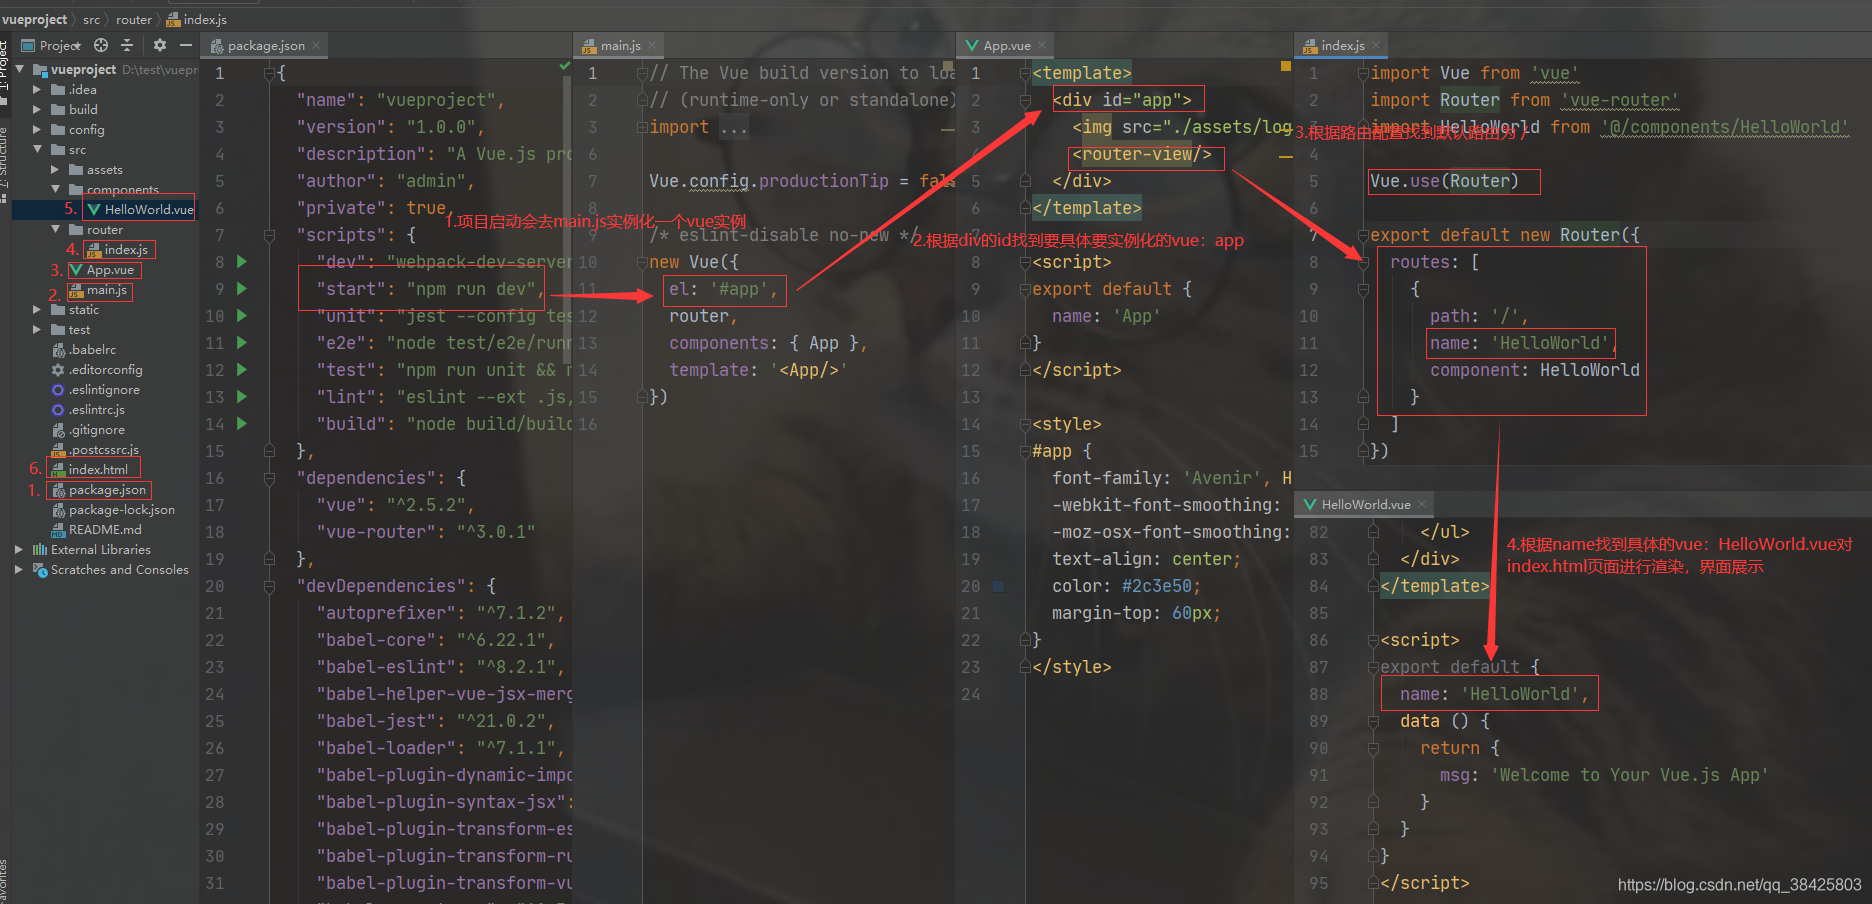
1.执行npm run dev命令启动,找到cli脚手架生成的package.json配置
2.去main.js根据id找要实例化的vue:App.vue,对页面进行渲染。此时加载logo.png图片
3.App.vue根据router-view找到默认路由路径 “/”
4.根据配置的默认路由信息name找到具体的HelloWorld.vue对页面再次渲染。此时渲染图片中的Essential Links等等界面信息
搭建springboot项目
1.用spring initializr创建项目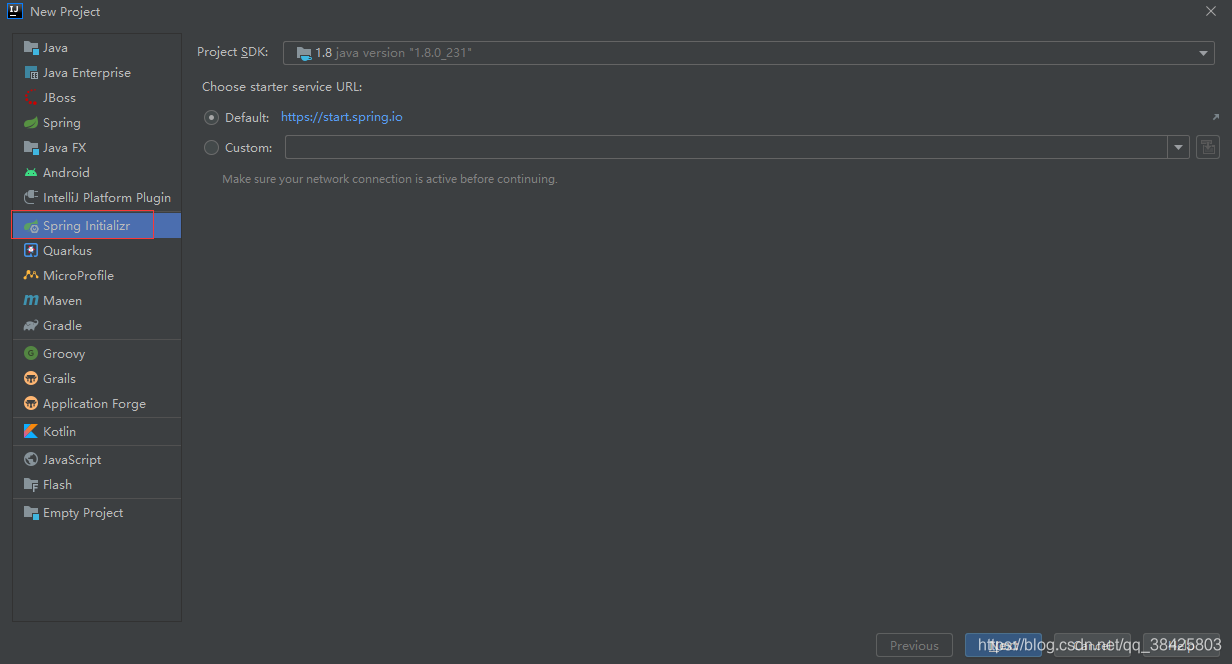
2.配置生成项目的相关信息

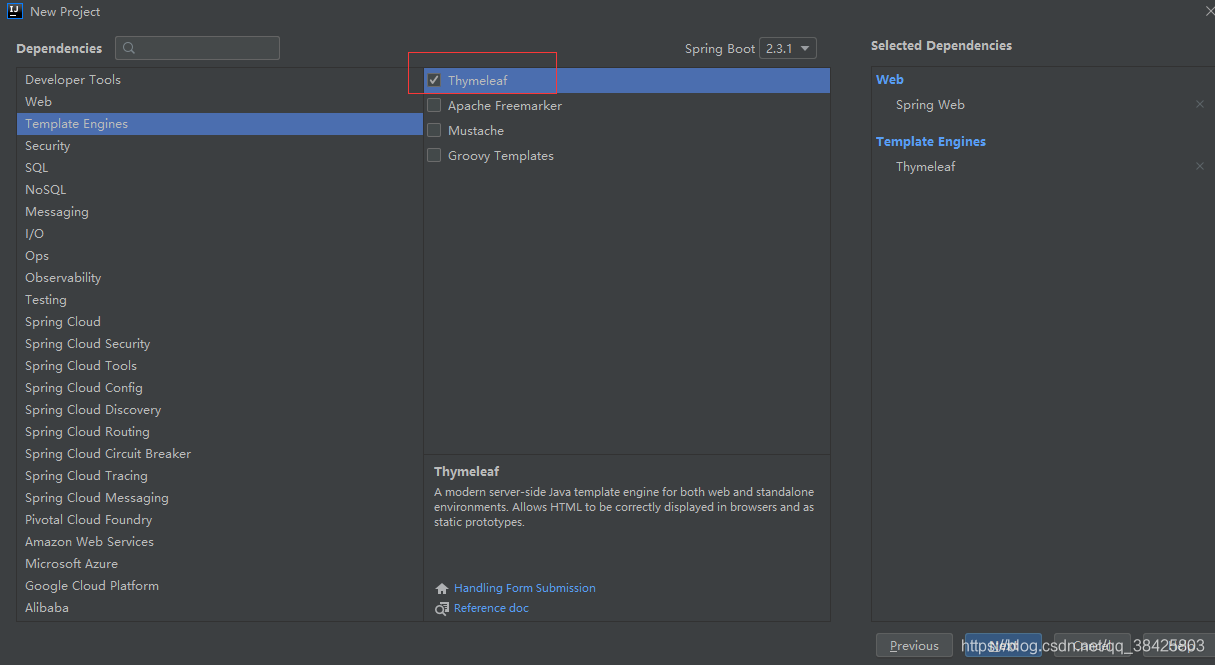
3.选择需要依赖的组件,这里选择Spring Web和Thymeleaf风格

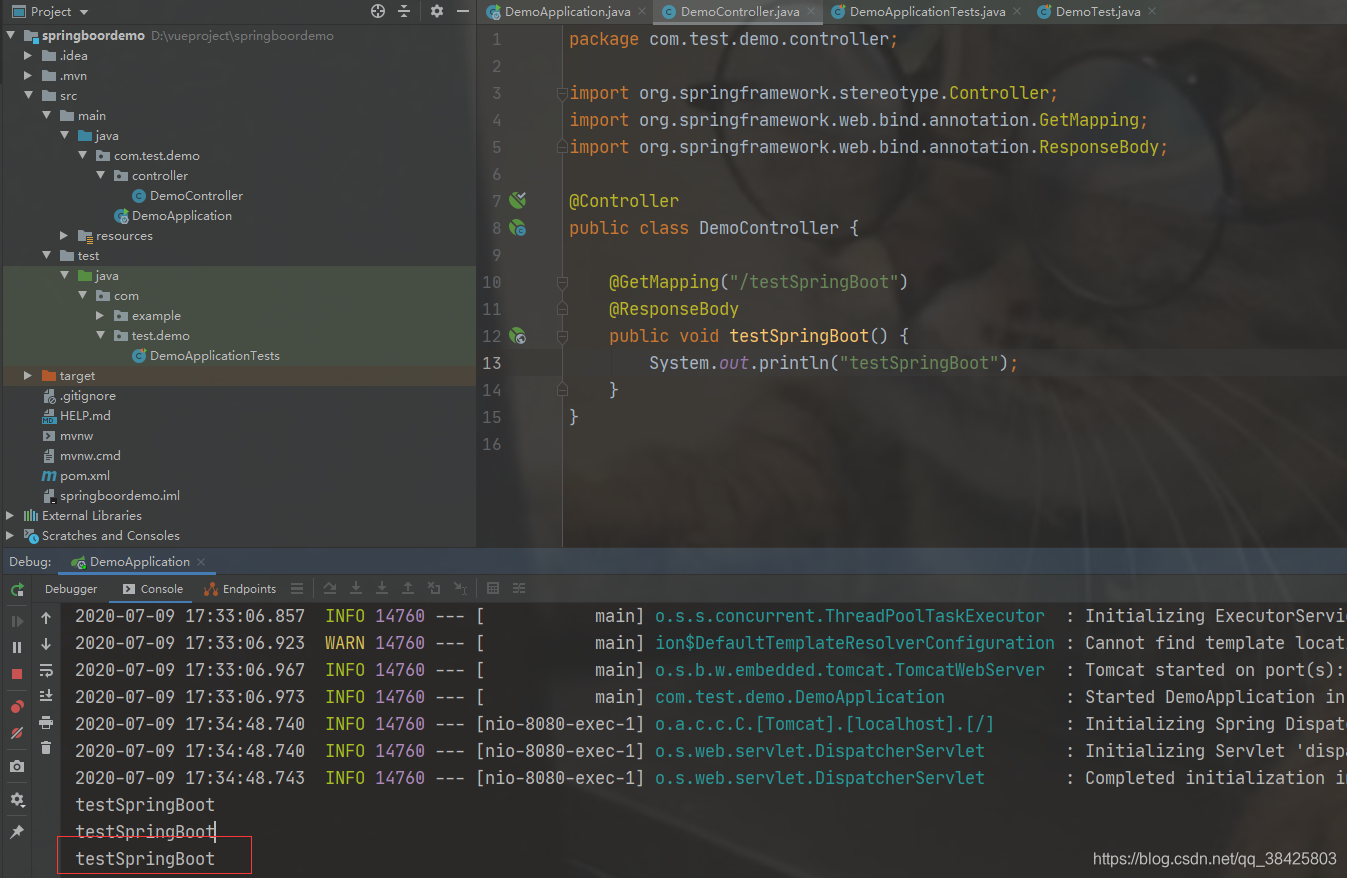
4.新建controller包,这个包下面创建DemoController.java
package com.test.demo.controller;

import org.springframework.stereotype.Controller;
import org.springframework.web.bind.annotation.GetMapping;
import org.springframework.web.bind.annotation.ResponseBody;

@Controller
public class DemoController {

    @GetMapping("/testSpringBoot")
    @ResponseBody
    public void testSpringBoot() {
        System.out.println("testSpringBoot");
    }
}
前后端联调(解决跨域问题)
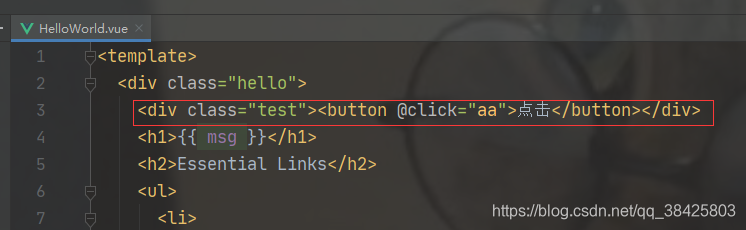
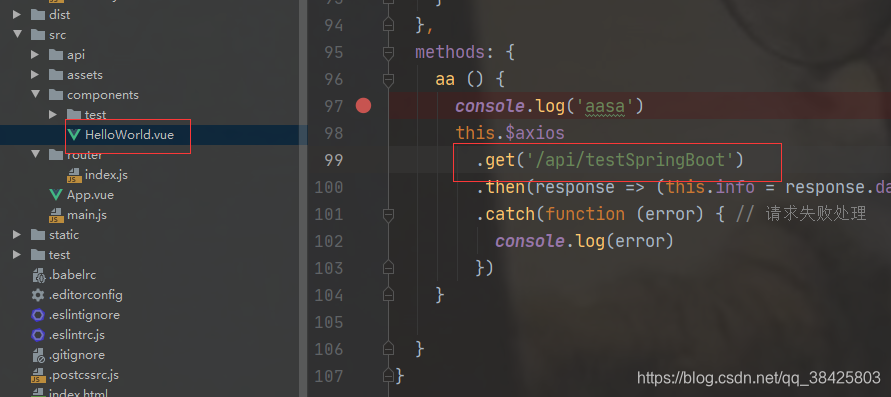
1.vue前端HelloWorld.vue写一个按钮,点击发送get请求。在export default 里面添加发送请求的方法
export default {
  name: 'HelloWorld',
  data () {
    return {
      msg: 'Welcome to Your Vue.js App'
    }
  },
  methods: {
    aa () {
      console.log('aasa')
      this.$axios
        .get('http://localhost:8080/testSpringBoot')
        .then(response => (this.info = response.data))
        .catch(function (error) { // 请求失败处理
          console.log(error)
        })
    }

  }
}
2.启动后端springboot项目,注意端口8080

3.启动前端vue项目,注意端口8081
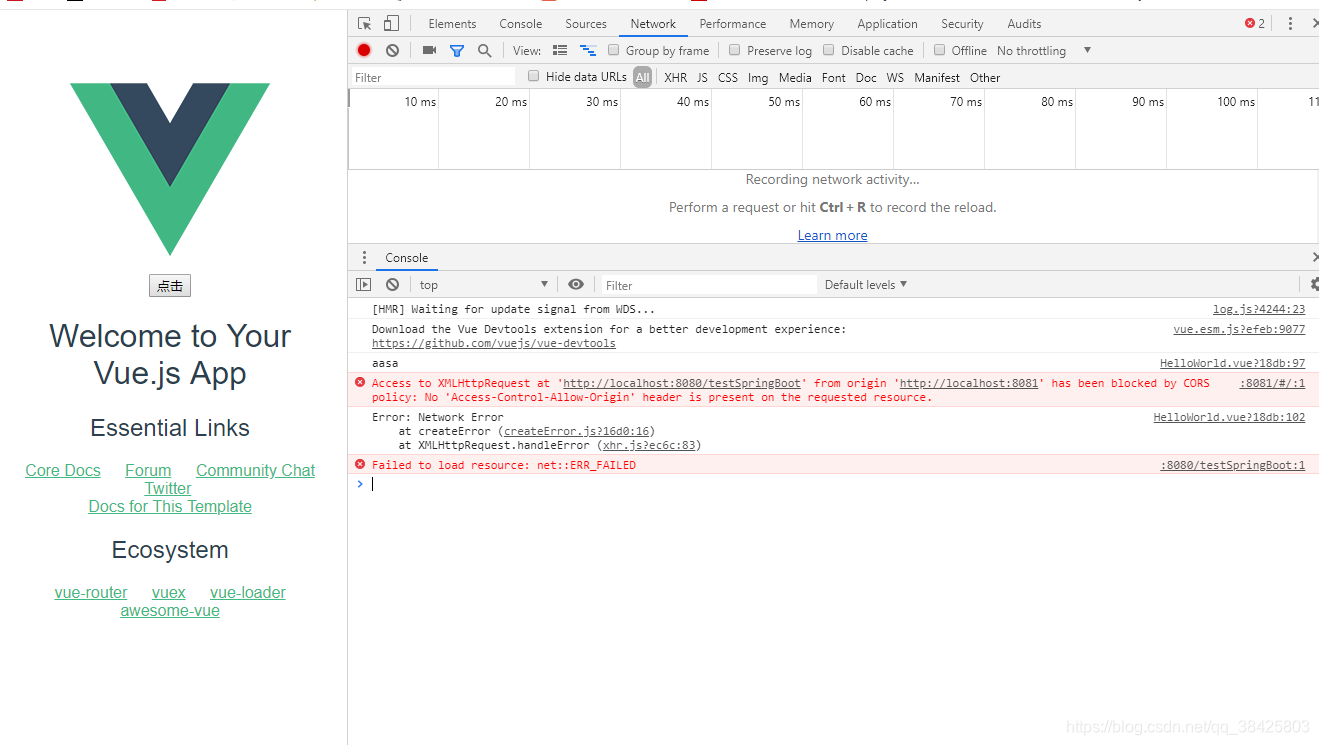
3.点击点击按钮,发送请求。我们发现这里报错了,意思是后端的端口8080,前端的端口8081,映射不匹配,这是跨域问题
4.跨域问题解决(vue 2.9版本,3.0版本在文末做处理):
(1)在config目录下index.js添加proxyTable代理
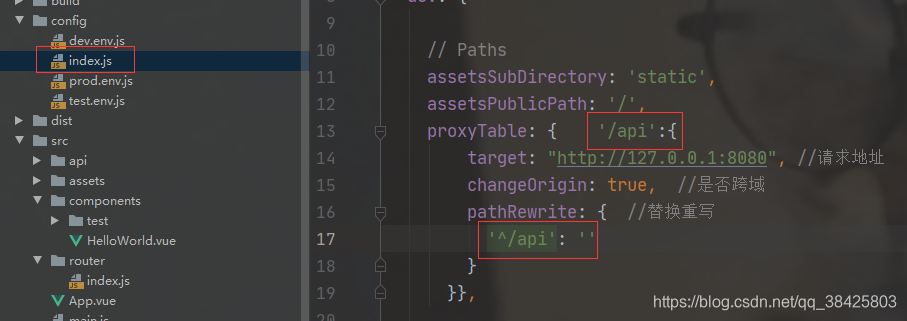
    proxyTable: {    '/api':{
        target: "http://127.0.0.1:8080", //请求地址
        changeOrigin: true,  //是否跨域
        pathRewrite: {  //替换重写
          '^/api': ''
        }
      }},
(2)修改HelloWorld.vue url路径
测试:
此时就正常了
前端页面:console打印了,无报错
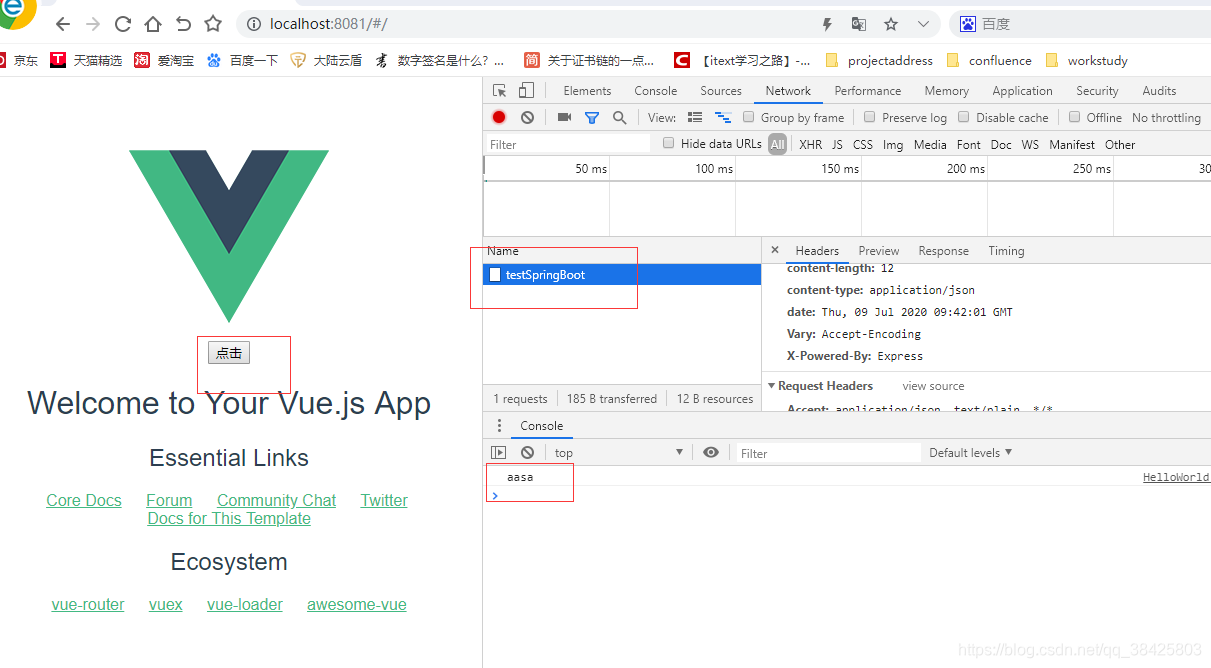
后端:testSpringBoot也打印了,说明进入了后端
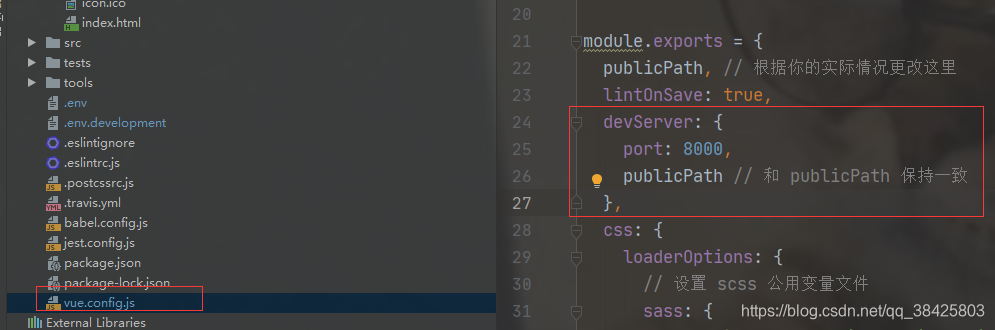
vue3.0版本解决跨域问题(vue2.9和3.0版本配置文件目录发生了变化):
在与package.json同目录下的vue.config.js文件
添加devServer配置:
或者这种配置proxy代理:
devServer: {
    proxy: {
      '/api': {
        target: 'http://127.0.0.1:8080/api',
        changeOrigin: true,
        ws: true,
        pathRewrite: {
          '^/api': ''
        }
      }
    }
  }
参考博文:https://blog.csdn.net/weixin_42603009/article/details/91477222
https://blog.csdn.net/qq_39081974/article/details/95977342