目录
1.简介
这两天一直看见各种客制化键盘的制作视频,搞得我也想做一个玩玩,芯片我有四种选择:
(1)Atmega32U4(USB)
(2)STM32F4(USB)
(3)ESP32(蓝牙)
(4)NRF51822(蓝牙)
现在乐鑫已经推出了 ESP32-S2,此款芯片支持了USB模拟功能,如果加上它的蓝牙键盘模拟功能,我们很容易只做一款蓝牙+USB+WIFI的客制化键盘,但这些都等待 ESP32-S2 开发环境的完善之后再玩吧~
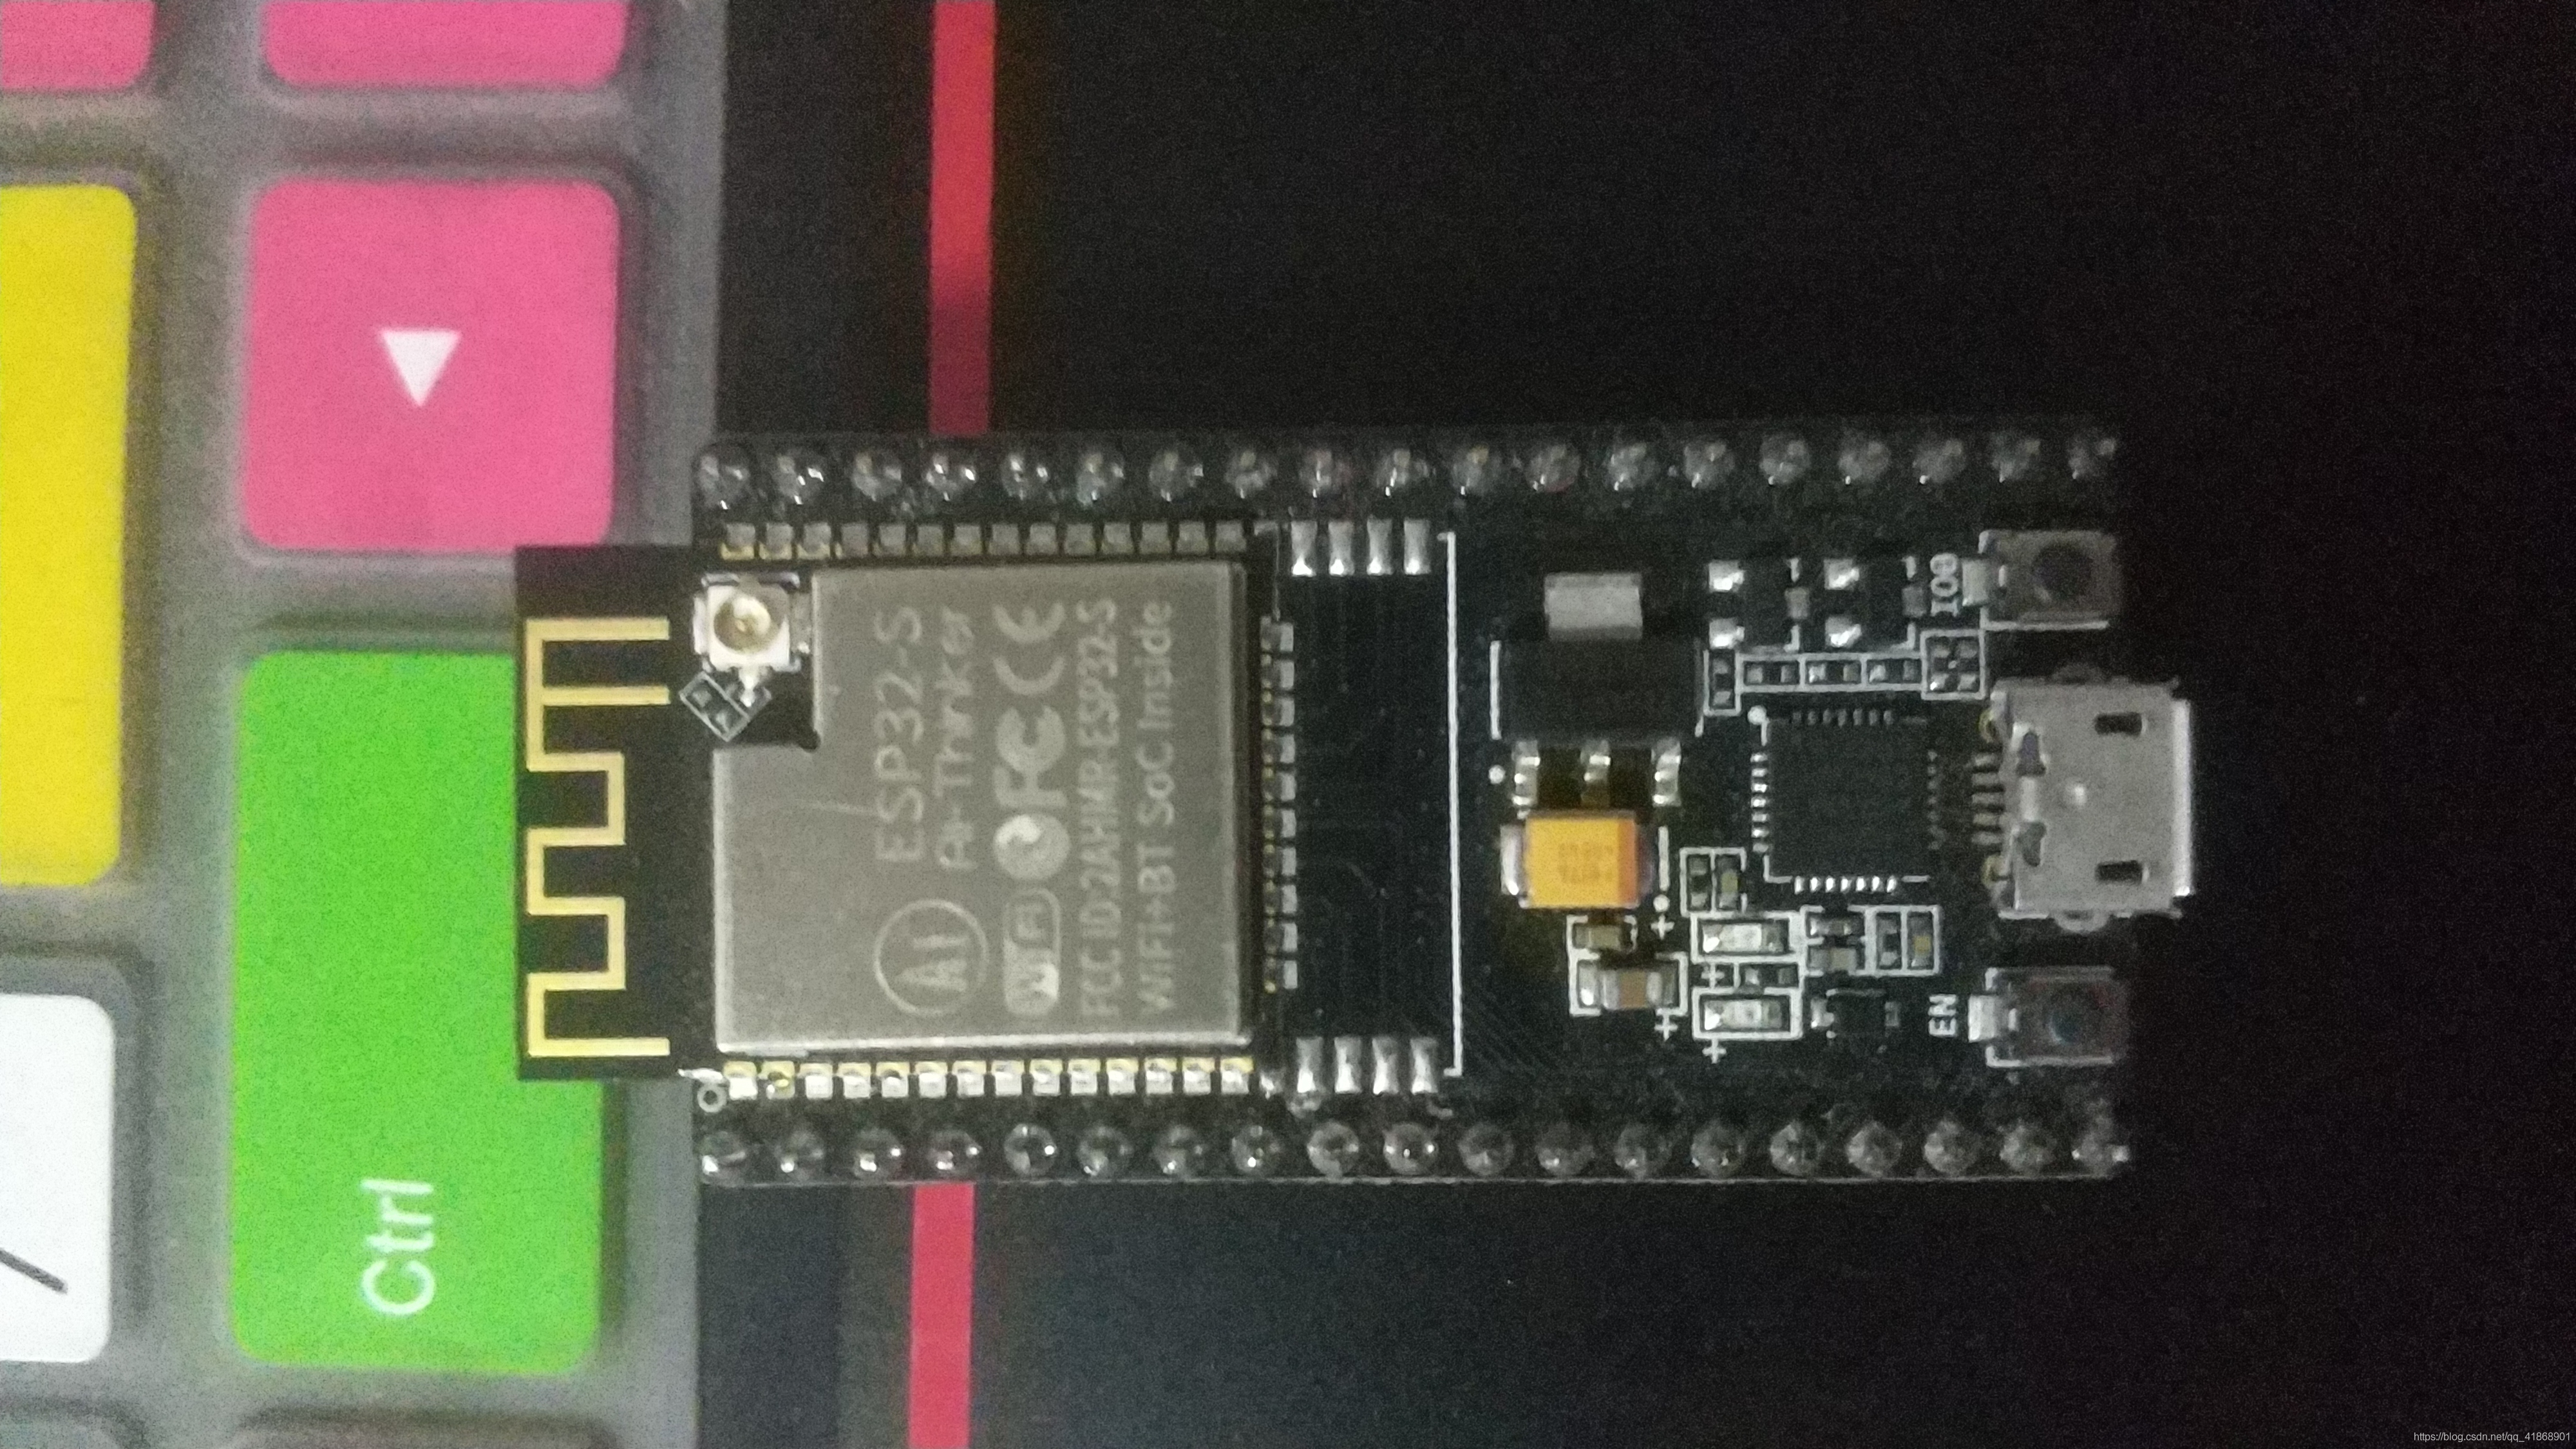
2.硬件平台
安信可 NODEMCU-32S 开发板:
3.软件平台
Arduino (1.8.10) 或 VScode 环境下 PlatformIO 插件
4.库文件
4.1 ESP32_BLE_Arduino
ESP蓝牙驱动库,地址:https://github.com/nkolban/ESP32_BLE_Arduino
4.2 ESP32-BLE-Keyboard
ESP32键盘模拟库,依赖于ESP32_BLE_Arduino这个库,地址:https://github.com/T-vK/ESP32-BLE-Keyboard
5.示例程序
代码:
/**
 * 时间:2020/5/18
 * 作者:刘泽文
 * 功能:使用ESP32的蓝牙功能模拟蓝牙键盘
 */
#include <BleKeyboard.h>
#include <WiFi.h>

BleKeyboard bleKeyboard("ESP32蓝牙键盘","Espressif",100);//其中“ESP32蓝牙键盘”为键盘名称;"Espressif"为制造商

void setup() {
  Serial.begin(115200);
  Serial.println("Starting BLE work!");
  bleKeyboard.begin();
}

void loop() {
  if(bleKeyboard.isConnected()) {
    //多媒体测试
    Serial.println("Sending Play/Pause media key...");
    bleKeyboard.write(KEY_MEDIA_PLAY_PAUSE);

    delay(1000);

    //Ctrl+Alt+Delete任务管理器,并进行锁屏操作
    Serial.println("Sending Ctrl+Alt+Delete...");
    bleKeyboard.press(KEY_LEFT_CTRL);
    bleKeyboard.press(KEY_LEFT_ALT);
    bleKeyboard.press(KEY_DELETE);
    delay(100);
    bleKeyboard.releaseAll();

    //输入密码并开机
    Serial.println("下面填入你的开机密码↓");
    bleKeyboard.print("--你的开机密码,注意大小写--");
    delay(100);
    Serial.println("Enter");
    bleKeyboard.write(KEY_RETURN);
  }
  Serial.println("Waiting 5 seconds...");
  delay(5000);
}
6.配对&测试
给你的ESP32开发板插上电,打开你的笔记本电脑->打开蓝牙->添加蓝牙或设备->鼠标、键盘类,你将会看到名为“ESP32蓝牙键盘”的设备,点击即可连接。然后打开你电脑上的音乐软件播放歌曲。
接下来,你的笔记本将会一直重复 停止播放音乐+锁屏+解锁+开始播放音乐 的操作~,如果想停下,请直接关闭笔记本的蓝牙,或拔掉开发板。
7.提升部分
使用旋转编码器控制电脑、手机、平板的音量

/**
 * This example turns the ESP32 into a Bluetooth LE keyboard that writes the words, presses Enter, presses a media key and then Ctrl+Alt+Delete
 */
#include <BleKeyboard.h>
#include <WiFi.h>
#include <math.h>

#define interruptPin_A 21     //A相
#define interruptPin_B 22     //B相
#define interruptPin_SW 23    //按键
#define LED 2                 //LED

#define VOLUME_UP    1
#define VOLUME_DOWN  2
#define BRIGHT_UP    3
#define BRIGHT_DOWN  4

const MediaKeyReport KEY_MEDIA_BRIGHT_UP = {32, 0};
const MediaKeyReport KEY_MEDIA_BRIGHT_DOWN = {64, 0};

BleKeyboard bleKeyboard;

bool mode = 1;
uint8_t type = 0;

void handleInterrupt_A() {
  if (digitalRead(interruptPin_A) == LOW){
    if (digitalRead(interruptPin_B) == LOW){//反转
      if(mode)
        type = VOLUME_DOWN;
      else
        type = BRIGHT_DOWN;
    }
    else if (digitalRead(interruptPin_B) == HIGH){//正转
      if(mode)
        type = VOLUME_UP;
      else
        type = BRIGHT_UP;
    }
    //while(!digitalRead(interruptPin_A));
  }
  else if(digitalRead(interruptPin_A) == HIGH){//正转
    if (digitalRead(interruptPin_B) == LOW){
      if(mode)
        type = VOLUME_UP;
      else
        type = BRIGHT_UP;
    }
    else if (digitalRead(interruptPin_B) == HIGH){//反转
      if(mode)
        type = VOLUME_DOWN;
      else
        type = BRIGHT_DOWN;
    }
    //while(digitalRead(interruptPin_A));
  }
}

void handleInterrupt_SW()
{
  mode = !mode;
  digitalWrite(LED,!digitalRead(LED));
  while(!digitalRead(interruptPin_SW));
}

void setup() {
  Serial.begin(115200);
  Serial.println("Starting BLE work!");
  pinMode(interruptPin_A, INPUT_PULLUP);
  pinMode(interruptPin_B, INPUT_PULLUP);
  pinMode(interruptPin_SW, INPUT_PULLUP);
  attachInterrupt(digitalPinToInterrupt(interruptPin_A), handleInterrupt_A, CHANGE);
  attachInterrupt(digitalPinToInterrupt(interruptPin_SW), handleInterrupt_SW, FALLING);
  pinMode(LED, OUTPUT);
  digitalWrite(LED,LOW);
  bleKeyboard.begin();
}

void loop() {
  if(bleKeyboard.isConnected()) {
    switch (type)
    {
    case VOLUME_UP:
      bleKeyboard.write(KEY_MEDIA_VOLUME_UP);
      bleKeyboard.write(KEY_MEDIA_VOLUME_UP);
      type = 0;
      break;
    case VOLUME_DOWN:
      bleKeyboard.write(KEY_MEDIA_VOLUME_DOWN);
      bleKeyboard.write(KEY_MEDIA_VOLUME_DOWN);
      type = 0;
      break;
    case BRIGHT_UP:
      bleKeyboard.write(KEY_MEDIA_BRIGHT_UP);
      bleKeyboard.write(KEY_MEDIA_BRIGHT_UP);
      type = 0;
      break;
    case BRIGHT_DOWN:
      bleKeyboard.write(KEY_MEDIA_BRIGHT_DOWN);
      bleKeyboard.write(KEY_MEDIA_BRIGHT_DOWN);
      type = 0;
      break;
    default:
      break;
    }
  }
  delay(50);
}