文章目录
- 零、学习目标
- 一、为什么需要加载自定义配置文件
- 二、使用@PropertySource加载自定义配置文件
- 1、创建Spring Boot Web项目ConfigDemo01
- 2、创建自定义配置文件
- 3、创建自定义配置类
- 4、编写测试方法
- 4、运行测试方法
- 5、修改测试方法代码
- 6、再次运行测试方法
- 课堂练习:在Web页面显示学生配置信息
- 三、使用@ImportResource加载XML配置文件
- 1、创建创建Spring Boot Web项目ConfigDemo02
- 2、创建Bean - 自定义服务类
- 3、创建自定义JavaBean配置文件
- 4、在启动类上添加注解,加载自定义JavaBean配置文件
- 5、打开测试类,编写测试方法
- 四、使用@Configuration编写自定义配置类
零、学习目标
1、熟悉使用@PropertySource加载配置文件
2、熟悉使用@ImportResource加载XML配置文件
3、掌握使用@Configuration编写自定义配置类
一、为什么需要加载自定义配置文件
- Spring Boot免除了项目中大部分的手动配置,对于一些特定情况,我们可以通过修改全局配置文件以适应具体生产环境,可以说,几乎所有的配置都可以写在
application.peroperties文件中,Spring Boot会自动加载全局配置文件从而免除我们手动加载的烦恼。但是,如果我们自定义配置文件,Spring Boot是无法识别这些配置文件的,此时就需要我们手动加载。
二、使用@PropertySource加载自定义配置文件
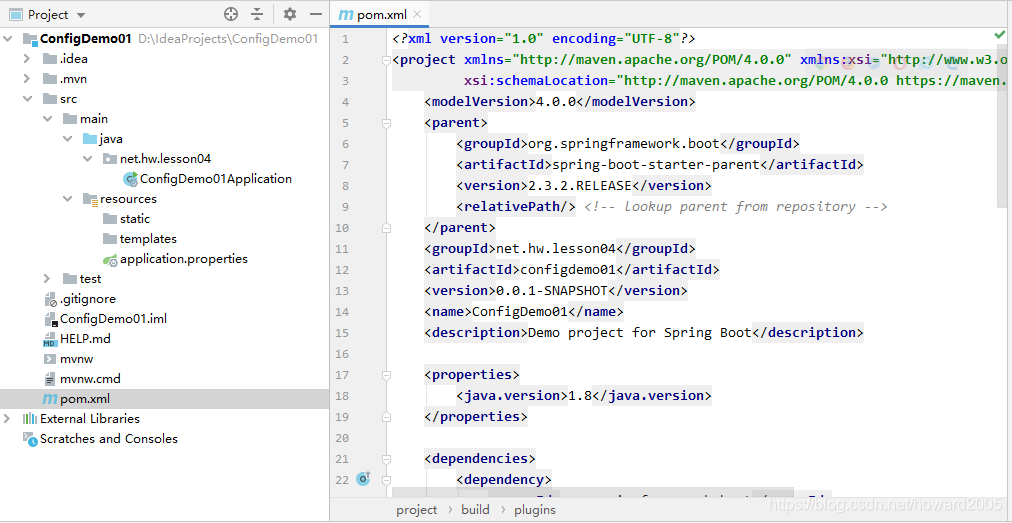
1、创建Spring Boot Web项目ConfigDemo01
- 设置项目元数据
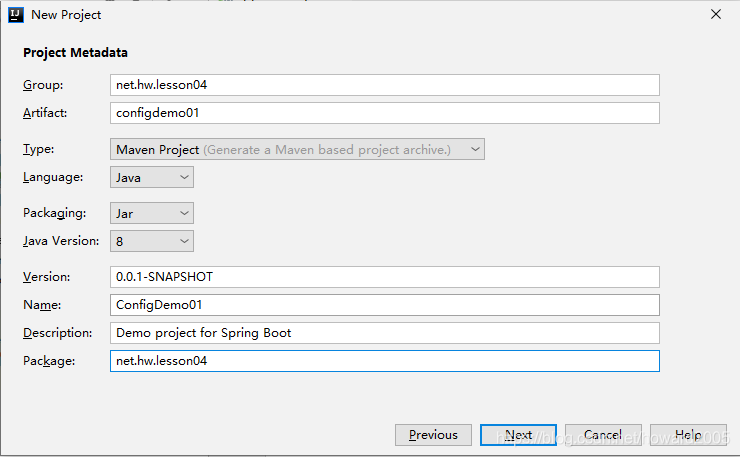
- 添加项目依赖

- 设置项目名称与保存位置
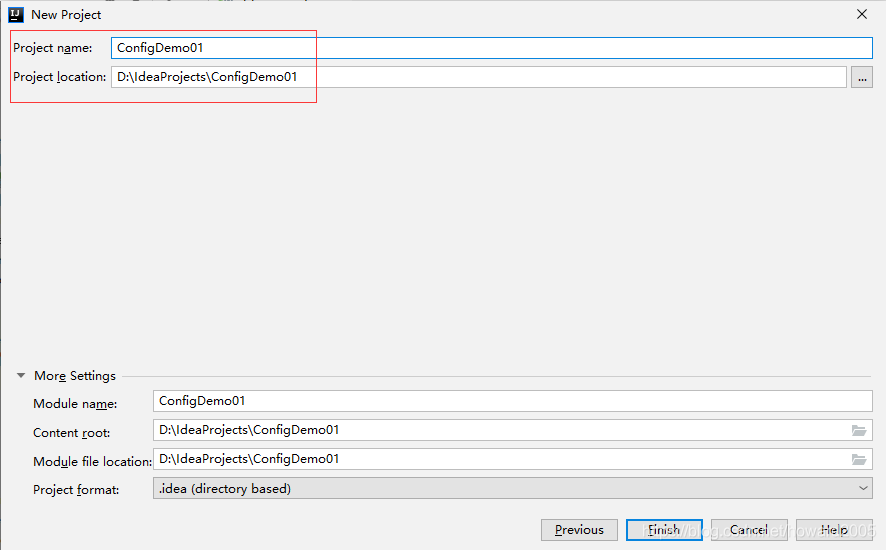
- 完成项目初始化工作
2、创建自定义配置文件
- 在resources下创建myconfig.properties文件

- 说明:如果在配置文件里使用
user.name,通过配置文件获取的值可能是操作系统中的用户名,因为操作系统中也是有user.name属性的。

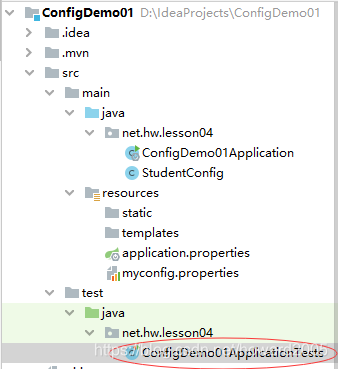
3、创建自定义配置类
- 在net.hw.lesson04包里创建配置类StudentConfig

package net.hw.lesson04;

import org.springframework.boot.context.properties.ConfigurationProperties;
import org.springframework.context.annotation.PropertySource;
import org.springframework.stereotype.Component;

/**
 * 功能:学生配置类
 * 作者:华卫
 * 日期:2020年08月10日
 */
@Component //让Spring容器来管理Bean
@PropertySource("classpath:myconfig.properties") //加载自定义配置文件
@ConfigurationProperties(prefix = "student") // 此注解必须要Component注解
public class StudentConfig {
    private String id;
    private String name;
    private int age;

    public String getId() {
        return id;
    }

    public void setId(String id) {
        this.id = id;
    }

    public String getName() {
        return name;
    }

    public void setName(String name) {
        this.name = name;
    }

    public int getAge() {
        return age;
    }

    public void setAge(int age) {
        this.age = age;
    }

    @Override
    public String toString() {
        return "StudentConfig{" +
                "id='" + id + '\'' +
                ", name='" + name + '\'' +
                ", age=" + age +
                '}';
    }
}
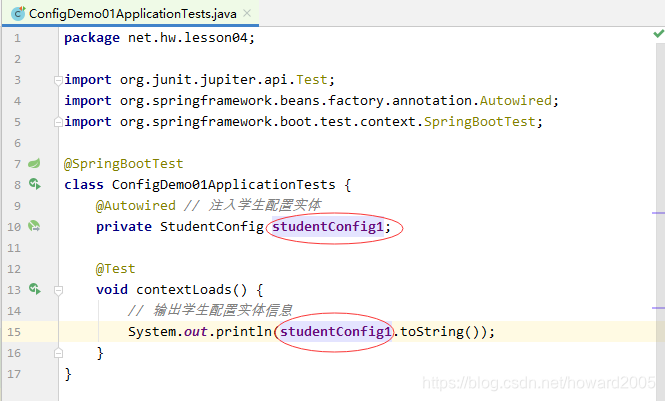
4、编写测试方法
- 点开测试类ConfigDemo01ApplicationTests
- 编写测试方法
- 注入学生配置实体
- 输出学生配置实体信息
package net.hw.lesson04;

import org.junit.jupiter.api.Test;
import org.springframework.beans.factory.annotation.Autowired;
import org.springframework.boot.test.context.SpringBootTest;

@SpringBootTest
class ConfigDemo01ApplicationTests {
    @Autowired // 注入学生配置实体
    private StudentConfig studentConfig;

    @Test
    void contextLoads() {
        // 输出学生配置实体信息
        System.out.println(studentConfig.toString());
    }
}
4、运行测试方法


5、修改测试方法代码
- 说明:注入的
StudentConfig名称不必是studentConfig,在Spring Boot 2.3.2里,StudentConfig的注解@Component默认是单例的,因此不会因为注入名称是studentConfig1而产生的两个StudentConfig实例。
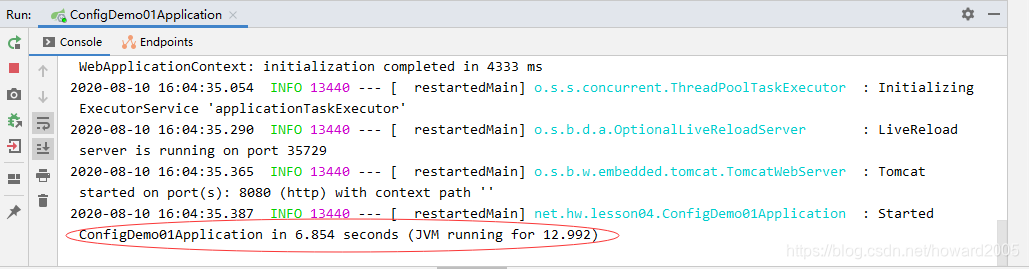
6、再次运行测试方法
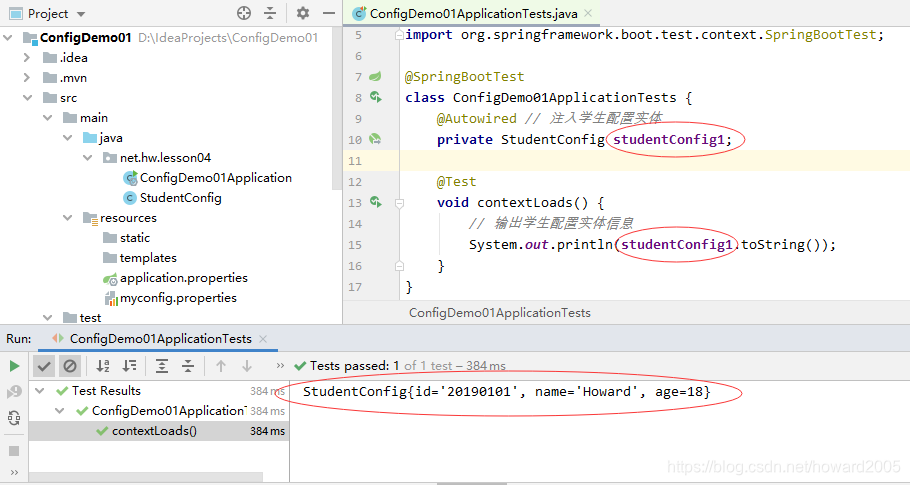 - 可以看到,
StudentConfig注入名称改成studentConfig1之后,测试结果依然相同,不受注入名称变化的任何影响。
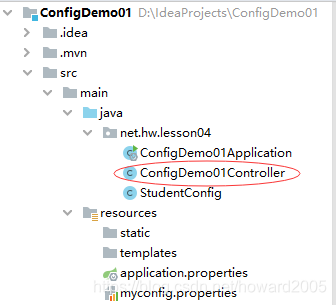
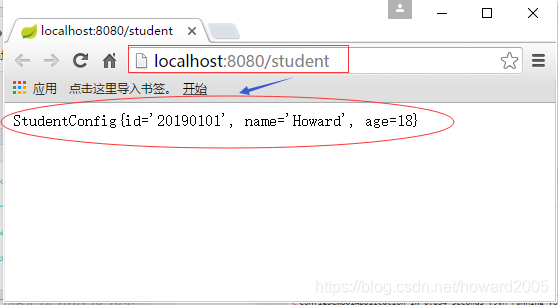
课堂练习:在Web页面显示学生配置信息
- 创建控制器ConfigDemo01Controller
- 运行启动类ConfigDemo01Application
- 在浏览器里访问
http://localhost:8080/student
三、使用@ImportResource加载XML配置文件
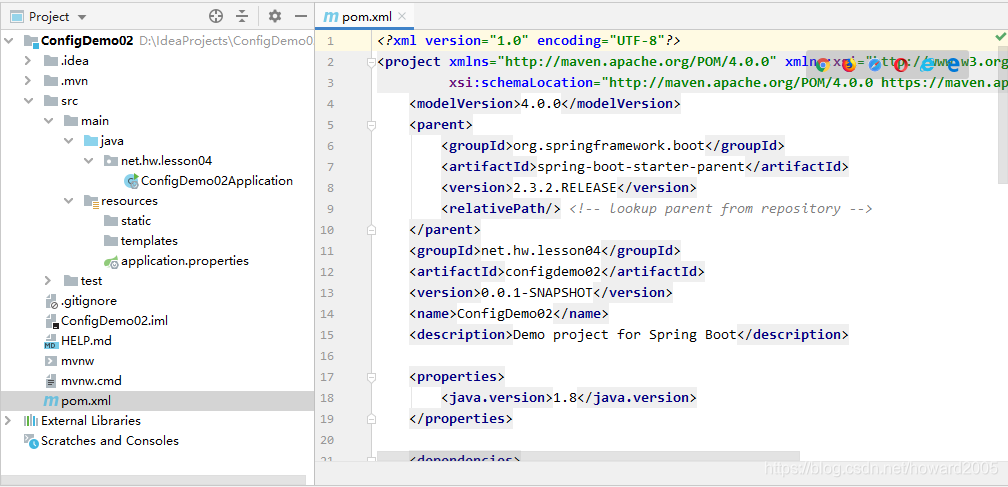
1、创建创建Spring Boot Web项目ConfigDemo02
- 设置项目元数据
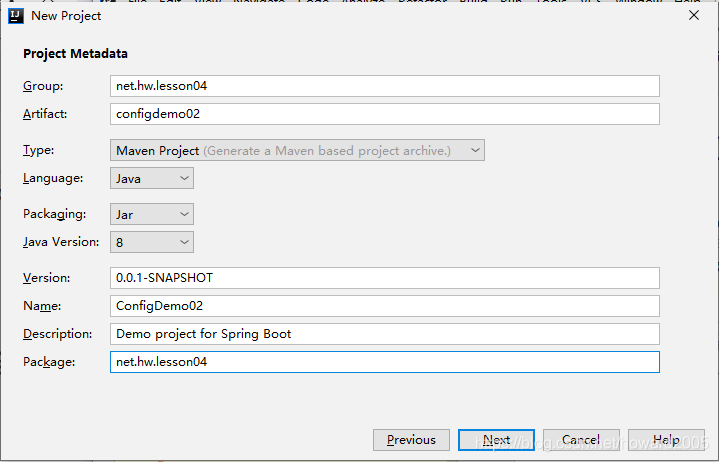
- 添加项目依赖

- 设置项目名称与保存位置

- 完成项目初始化工作
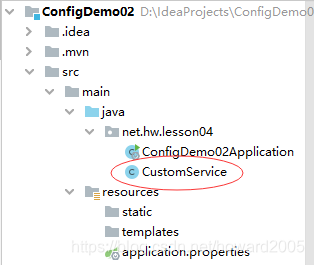
2、创建Bean - 自定义服务类
- 在net.hw.lesson04包里创建CustomService类
package net.hw.lesson04;

/**
 * 功能:自定义服务类
 * 作者:华卫
 * 日期:2020年08月10日
 */
public class CustomService {
    public void welcome() {
        System.out.println("欢迎您访问泸州职业技术学院");
    }
}
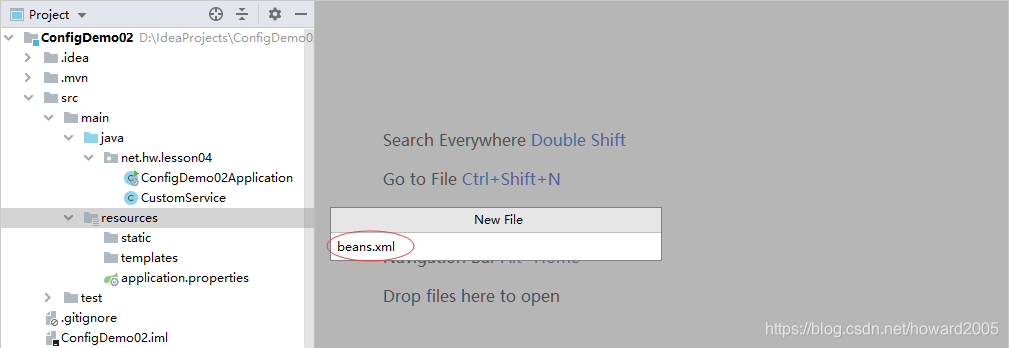
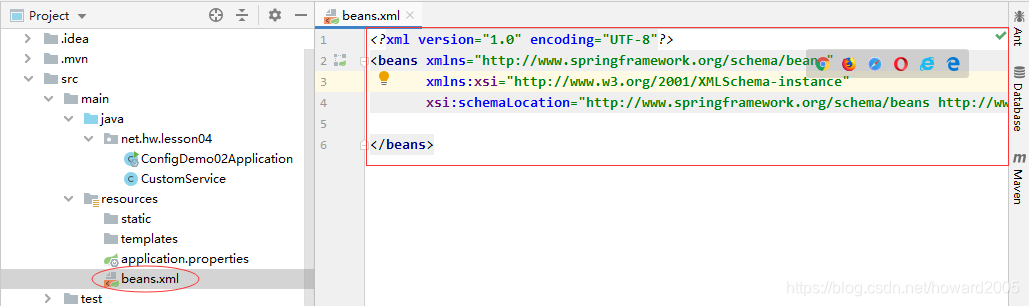
3、创建自定义JavaBean配置文件
- 在resources目录里创建配置文件beans.xml

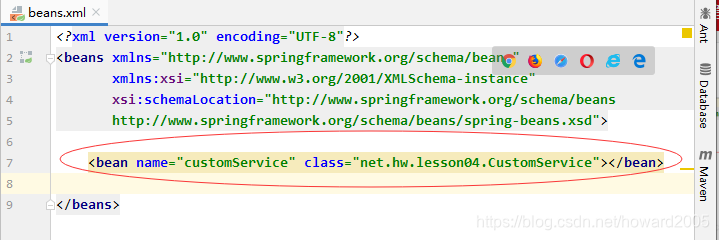
- 在
<beans>元素里添加子元素<bean>,定义自定义服务类的JavaBean
<bean name="customService" class="net.hw.lesson04.CustomService"></bean>
- 定义一个Bean,指定Bean的名称及类所在的路径
4、在启动类上添加注解,加载自定义JavaBean配置文件
- 在启动类上添加注解
@ImportResource("classpath:beans.xml")
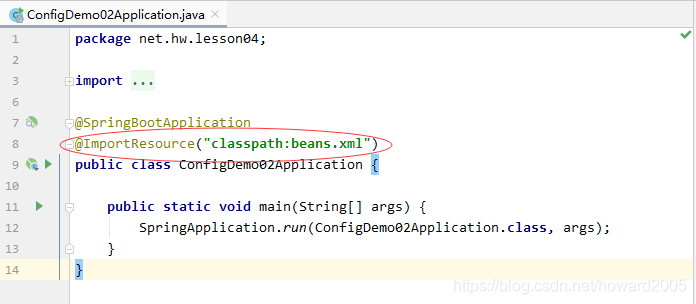
- 在Spring Boot启动后,Spring容器中就会自动实例化一个名为
customService的JavaBean
5、打开测试类,编写测试方法
- 点开测试类ConfigDemo02ApplicationTests
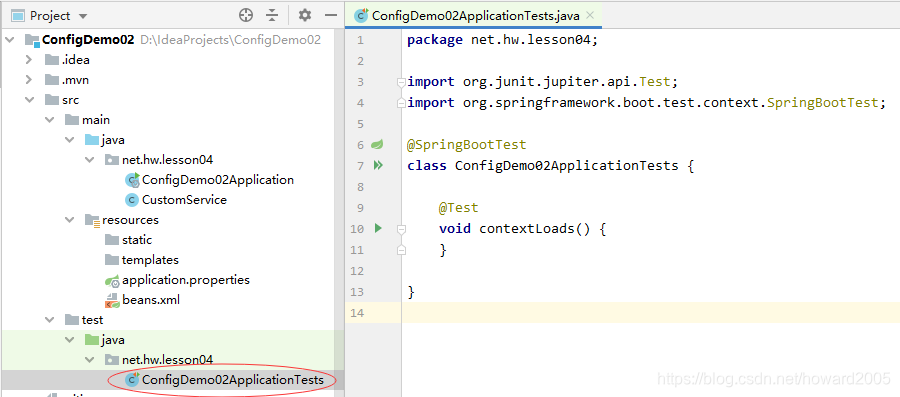
- 注入在JavaBean配置文件里定义的Bean,然后调用其方法
package net.hw.lesson04;

import org.junit.jupiter.api.Test;
import org.springframework.beans.factory.annotation.Autowired;
import org.springframework.boot.test.context.SpringBootTest;

@SpringBootTest
class ConfigDemo02ApplicationTests {
    // 注入自定义Bean
    @Autowired
    private CustomService customService;

    @Test
    void contextLoads() {
        // 调用自定义Bean的方法
        customService.welcome();
    }
}
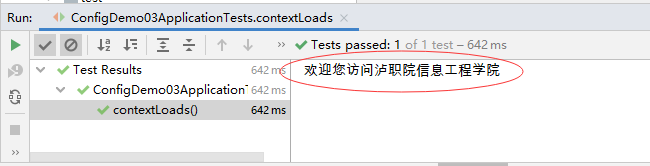
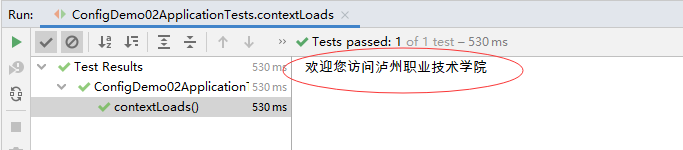
- 运行测试方法
contextLoads(),查看结果
四、使用@Configuration编写自定义配置类
- 使用@Configuration编写自定义配置类,这是Spring Bboot的推荐方式
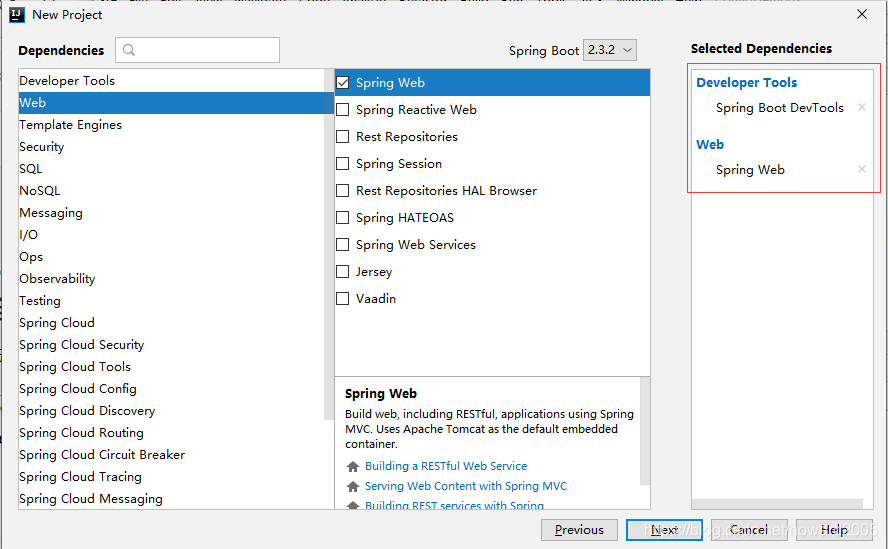
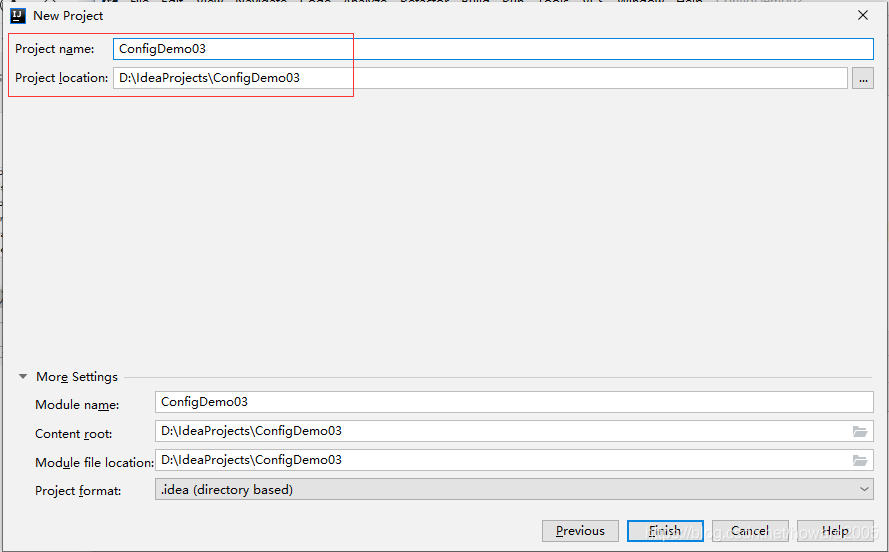
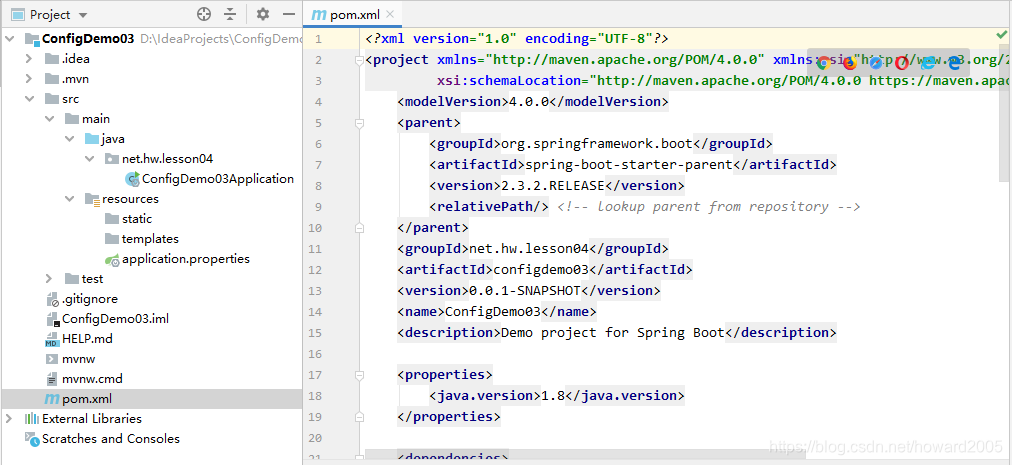
1、创建Spring Boot Web项目ConfigDemo03
- 设置项目元数据
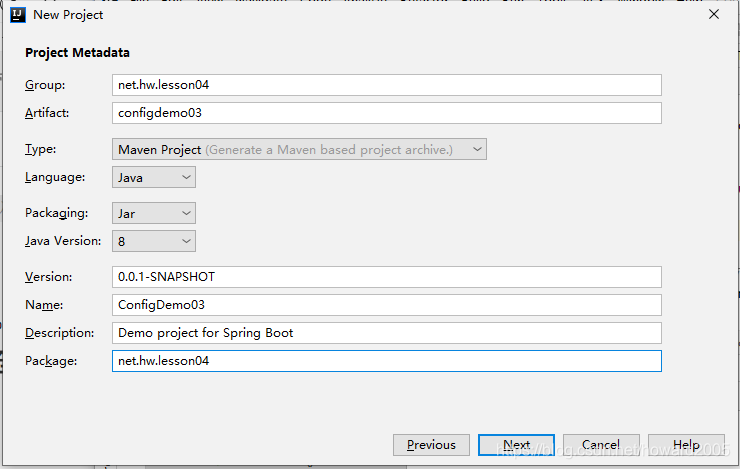
- 添加项目依赖
- 配置项目名称与保存位置
- 完成项目初始化工作
2、创建Bean - 自定义服务类
- 在net.hw.lesson04包里创建CustomService类

package net.hw.lesson04;

/**
 * 功能:自定义服务类
 * 作者:华卫
 * 日期:2020年08月10日
 */
public class CustomService {
    public void welcome() {
        System.out.println("欢迎您访问泸职院信息工程学院");
    }
}
3、创建自定义配置类MyConfig
- 在net.hw.lesson04包里创建自定义配置类MyConfig
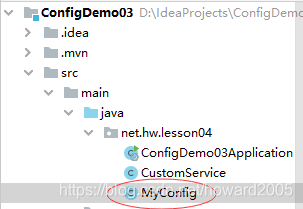
- 添加注解
@Configuration,指定配置类
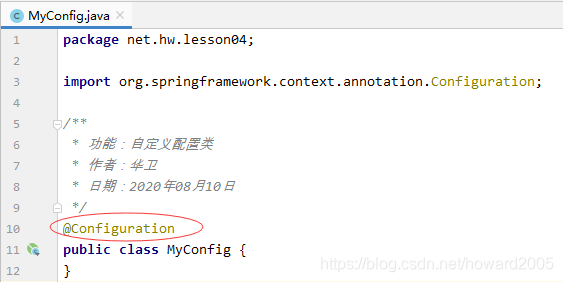
- 创建获取Bean的方法getCustomService()

4、打开测试类,编写测试方法
- 点开测试类ConfigDemo03ApplicationTests
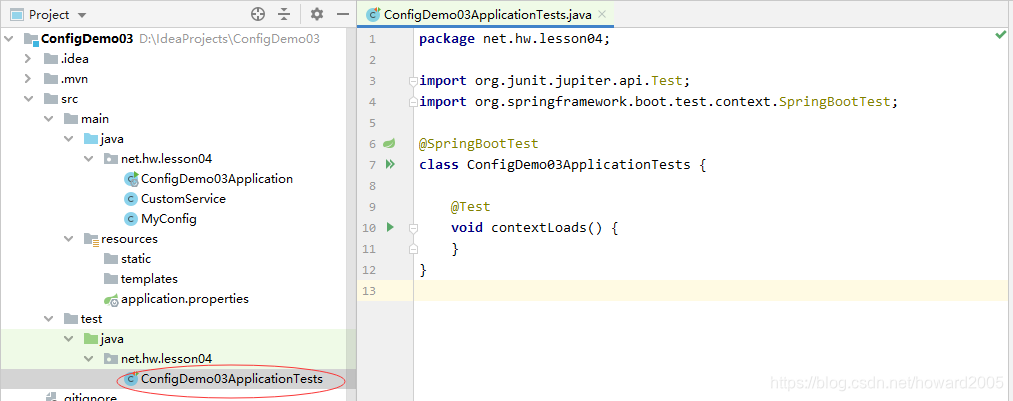
- 注入在MyConfig配置类里定义的Bean,然后调用其方法
package net.hw.lesson04;

import org.junit.jupiter.api.Test;
import org.springframework.beans.factory.annotation.Autowired;
import org.springframework.boot.test.context.SpringBootTest;

@SpringBootTest
class ConfigDemo03ApplicationTests {
    // 注入自定义Bean
    @Autowired
    private CustomService cs;

    @Test
    void contextLoads() {
        // 调用自定义Bean的方法
        cs.welcome();
    }
}
- 运行测试方法contextLoads(),查看结果