1.关于angular 路由
首先angular 路由分为两种
①.普通版路由
②.懒加载路由
路由详细请看https://www.angular.cn/guide/router
2.那如何在ionic 中使用angular 路由。路由又如何设计。
首先 我们创建 ,根路由模块 app-routing.module
app-routing.module.ts代码:
import { NgModule } from '@angular/core';
import { PreloadAllModules, RouterModule, Routes } from '@angular/router';
import {HashLocationStrategy, LocationStrategy} from '@angular/common';

const routes: Routes = [
  { path: '', loadChildren: './tabs/tabs.module#TabsPageModule' },
  { path: 'smart-clinic', loadChildren: './smart-clinic/smart-clinic.module#SmartClinicPageModule' },
  { path: 'information', loadChildren: './information/information.module#InformationPageModule' },
  { path: 'member-centre', loadChildren: './member-centre/member-centre.module#MemberCentrePageModule' },
  { path: 'login', loadChildren: './login/login.module#LoginPageModule' },
];
@NgModule({
  imports: [
    RouterModule.forRoot(routes, {preloadingStrategy: PreloadAllModules})
  ],
  exports: [RouterModule],
  providers: [
    {provide: LocationStrategy, useClass: HashLocationStrategy}
  ],
})
export class AppRoutingModule {}
将 tabs 设成空值。默认时 将路由到 tabs
app.module代码:
import { NgModule } from '@angular/core';
import { BrowserModule } from '@angular/platform-browser';
import { RouteReuseStrategy } from '@angular/router';

import { IonicModule, IonicRouteStrategy } from '@ionic/angular';
import { SplashScreen } from '@ionic-native/splash-screen/ngx';
import { StatusBar } from '@ionic-native/status-bar/ngx';

import { AppRoutingModule } from './app-routing.module';
import { AppComponent } from './app.component';
import {TabsService} from './core/tabs.service';
@NgModule({
  declarations: [AppComponent],
  entryComponents: [],
  imports: [ BrowserModule, IonicModule.forRoot({
      backButtonText: '',
      hardwareBackButton: true,
      mode: 'ios',
      backButtonIcon: 'ios-arrow-back',
  }), AppRoutingModule],
  providers: [
    StatusBar,
    SplashScreen,
    TabsService,
    { provide: RouteReuseStrategy, useClass: IonicRouteStrategy }
  ],
  bootstrap: [AppComponent]
})
export class AppModule {}
AppRoutingModule(路由根路由模块)导入到app.module中
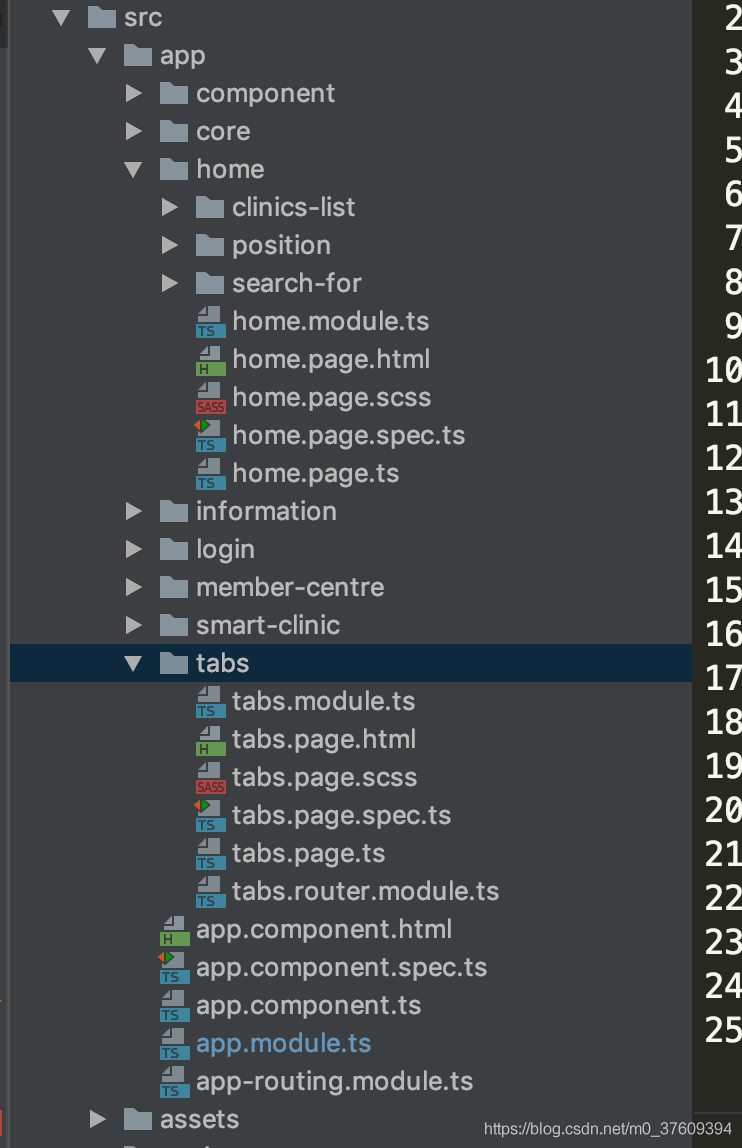
同理 我们来配置 tabs 的路由
tabs.router.module代码:
import { NgModule } from '@angular/core';
import { RouterModule, Routes } from '@angular/router';
import { TabsPage } from './tabs.page';

const routes: Routes = [
  {
    path: 'tabs',
    component: TabsPage,
    children: [
        {path: 'home', children: [{path: '', loadChildren: '../home/home.module#HomePageModule'}]},
        {path: 'smart-clinic', children: [{path: '', loadChildren: '../smart-clinic/smart-clinic.module#SmartClinicPageModule'}]
   },
   {
    path: 'information',
    children: [
          {path: '', loadChildren: '../information/information.module#InformationPageModule'}
        ]
   },
   {
    path: 'member-centre',
    children: [
          {path: '', loadChildren: '../member-centre/member-centre.module#MemberCentrePageModule'}
        ]
      },
      {
        path: '',
        redirectTo: '/tabs/home',
        pathMatch: 'full'
      }
    ]
  },
  {
    path: '',
    redirectTo: '/tabs/home',
    pathMatch: 'full'
  }
];

@NgModule({
  imports: [
    RouterModule.forChild(routes)
  ],
  exports: [RouterModule]
})
export class TabsPageRoutingModule {}
<ion-tabs >
  <ion-tab-bar >
    <ion-tab-button tab="home" >
      <ion-icon name="flash"></ion-icon>
      <ion-label>在线问诊</ion-label>
    </ion-tab-button>

    <ion-tab-button tab="smart-clinic">
      <ion-icon name="flash"></ion-icon>
      <ion-label>智能门诊</ion-label>
    </ion-tab-button>

    <ion-tab-button tab="information">
      <ion-icon name="apps"></ion-icon>
      <ion-label>资讯信息</ion-label>
    </ion-tab-button>

    <ion-tab-button tab="member-centre">
      <ion-icon name="send"></ion-icon>
      <ion-label>会员中心</ion-label>
    </ion-tab-button>
  </ion-tab-bar>

</ion-tabs>
同理 TabsPageRoutingModule需要导入 到tabs.module
import { IonicModule } from '@ionic/angular';
import { NgModule } from '@angular/core';
import { CommonModule } from '@angular/common';
import { FormsModule } from '@angular/forms';

import { TabsPageRoutingModule } from './tabs.router.module';

import { TabsPage } from './tabs.page';

@NgModule({
  imports: [
    IonicModule,
    CommonModule,
    FormsModule,
    TabsPageRoutingModule
  ],
  declarations: [TabsPage]
})
export class TabsPageModule {}
设置full时、我们默认访问tabs/home。如图

到了关键 时刻 怎么路由到子页面。这是ionic团队 对 angular 路由封装。具体看ionic 团队的文档
home.page.ts:
import {Component, OnInit} from '@angular/core';
import {NavController} from '@ionic/angular';
@Component({
selector: 'app-home',
templateUrl: 'home.page.html',
styleUrls: ['home.page.scss'],
})
export class HomePage implements OnInit {
slideOpts = {
init: 'true',
effect: 'flip',
initialSlide: '1'
};
constructor(private nav: NavController) { }
ngOnInit() {
}
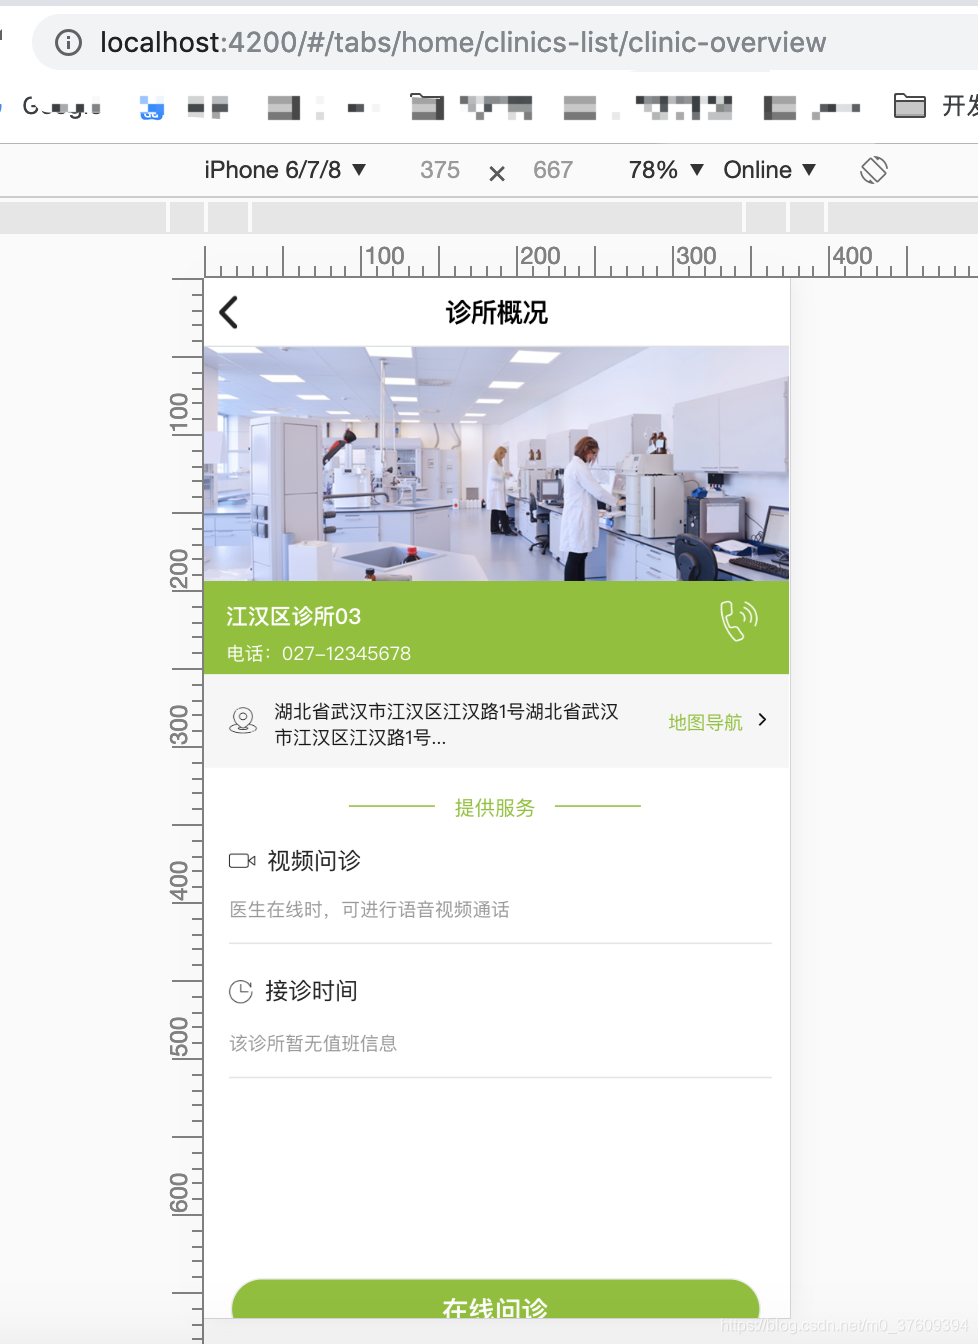
goOverview() {
this.nav.navigateForward('/tabs/home/clinics-list/clinic-overview');
}
goSearch() {
this.nav.navigateForward('/tabs/home/search-for');
}
goList() {
console.log('导航到list页');
this.nav.navigateForward('/tabs/home/clinics-list', { queryParams: {
page: '测试传参'
}});
}
}
home.module.ts
import {NgModule} from '@angular/core';
import {CommonModule} from '@angular/common';
import {IonicModule} from '@ionic/angular';
import {FormsModule} from '@angular/forms';
import {RouterModule} from '@angular/router';

import {HomePage} from './home.page';


@NgModule({
    imports: [
        CommonModule,
        FormsModule,
        IonicModule,
        RouterModule.forChild([
            {path: '', component: HomePage},
            {path: 'position', loadChildren: './position/position.module#PositionPageModule'},
            {path: 'clinics-list', loadChildren: './clinics-list/clinics-list.module#ClinicsListPageModule'},
            {path: 'search-for', loadChildren: './search-for/search-for.module#SearchForPageModule'},
        ])
    ],
    declarations: [HomePage]
})
export class HomePageModule {
}
页面写一个click事件调用goOverview这个事件就可以跳转到 指定页面。
这是ionic团队对angular 路由的简单封装, 路由的文档。
import { Location } from '@angular/common';
import { NavigationExtras, Router, UrlTree } from '@angular/router';
import { RouterDirection } from '@ionic/core';
import { IonRouterOutlet } from '../directives/navigation/ion-router-outlet';
import { Platform } from './platform';
export interface AnimationOptions {
    animated?: boolean;
    animationDirection?: 'forward' | 'back';
}
export interface NavigationOptions extends NavigationExtras, AnimationOptions {
}
export declare class NavController {
    private location;
    private router?;
    private topOutlet?;
    private direction;
    private animated?;
    private guessDirection;
    private guessAnimation?;
    private lastNavId;
    constructor(platform: Platform, location: Location, router?: Router | undefined);
    /**
     * This method uses Angular's [Router](https://angular.io/api/router/Router) under the hood,
     * it's equivalent to call `this.router.navigateByUrl()`, but it's explicit about the **direction** of the transition.
     *
     * Going **forward** means that a new page it's going to be pushed to the stack of the outlet (ion-router-outlet),
     * and that it will show a "forward" animation by default.
     *
     * Navigating forward can also be trigger in a declarative manner by using the `[routerDirection]` directive:
     *
     * ```html
     * <a routerLink="/path/to/page" routerDirection="forward">Link</a>
     * ```
     */
    navigateForward(url: string | UrlTree | any[], options?: NavigationOptions): Promise<boolean>;
    /**
     * This method uses Angular's [Router](https://angular.io/api/router/Router) under the hood,
     * it's equivalent to call:
     *
     * ```ts
     * this.navController.setDirection('back');
     * this.router.navigateByUrl(path);
     * ```
     *
     * Going **back** means that all the pages in the stack until the navigated page is found will be pop,
     * and that it will show a "back" animation by default.
     *
     * Navigating back can also be trigger in a declarative manner by using the `[routerDirection]` directive:
     *
     * ```html
     * <a routerLink="/path/to/page" routerDirection="back">Link</a>
     * ```
     */
    navigateBack(url: string | UrlTree | any[], options?: NavigationOptions): Promise<boolean>;
    /**
     * This method uses Angular's [Router](https://angular.io/api/router/Router) under the hood,
     * it's equivalent to call:
     *
     * ```ts
     * this.navController.setDirection('root');
     * this.router.navigateByUrl(path);
     * ```
     *
     * Going **root** means that all existing pages in the stack will be removed,
     * and the navigated page will become the single page in the stack.
     *
     * Navigating root can also be trigger in a declarative manner by using the `[routerDirection]` directive:
     *
     * ```html
     * <a routerLink="/path/to/page" routerDirection="root">Link</a>
     * ```
     */
    navigateRoot(url: string | UrlTree | any[], options?: NavigationOptions): Promise<boolean>;
    /**
     * Same as [Location](https://angular.io/api/common/Location)'s back() method.
     * It will use the standard `window.history.back()` under the hood, but featuring a `back` animation.
     */
    back(options?: AnimationOptions): void;
    /**
     * This methods goes back in the context of ionic's stack navigation.
     *
     * It recursivelly finds the top active `ion-router-outlet` and calls `pop()`.
     * This is the recommended way to go back when you are using `ion-router-outlet`.
     */
    pop(): Promise<void>;
    /**
     * This methods specifies the direction of the next navigation performed by the angular router.
     *
     * `setDirection()` does not trigger any transition, it just sets a set of flags to be consumed by `ion-router-outlet`.
     *
     * It's recommended to use `navigateForward()`, `navigateBack()` and `navigateBack()` instead of `setDirection()`.
     */
    setDirection(direction: RouterDirection, animated?: boolean, animationDirection?: 'forward' | 'back'): void;
    /**
     * @internal
     */
    setTopOutlet(outlet: IonRouterOutlet): void;
    /**
     * @internal
     */
    consumeTransition(): {
        direction: RouterDirection;
        animation: "forward" | "back" | undefined;
    };
    private navigate;
}
如果有疑问请加:
qq群:390736068