一切从业务需求出发,我们还是手把手完成一个实例了细解一下MyBatis;
业务需求我们需要对生产工艺制程表进行基本的增\删\改\查。
现在是这样的,我们一个生产工艺制程表
其结构如下
DROP TABLE IF EXISTS `s_apscode`;
CREATE TABLE `s_apscode` (
  `k_code` varchar(255) CHARACTER SET utf8mb4 COLLATE utf8mb4_0900_ai_ci NOT NULL COMMENT '制程代号',
  `k_name` varchar(255) DEFAULT NULL COMMENT '制程',
  `k_time` int(11) DEFAULT NULL COMMENT '最大产能',
  `ktype` int(255) DEFAULT NULL COMMENT '虚拟显示否',
  `dk_time` int(11) DEFAULT NULL COMMENT '单件排量',
  `remark` varchar(255) CHARACTER SET utf8mb4 COLLATE utf8mb4_0900_ai_ci DEFAULT NULL COMMENT '备注',
  `creater` varchar(255) CHARACTER SET utf8mb4 COLLATE utf8mb4_0900_ai_ci DEFAULT NULL COMMENT '创建者',
  `creater_id` int(11) DEFAULT NULL COMMENT '创建者ID',
  `create_time` datetime DEFAULT NULL COMMENT '创建时间',
  `modifier` varchar(255) CHARACTER SET utf8mb4 COLLATE utf8mb4_0900_ai_ci DEFAULT NULL COMMENT '更新者',
  `modifier_id` int(11) DEFAULT NULL COMMENT '更新者ID',
  `modify_time` datetime DEFAULT NULL COMMENT '更新时间',
  `is_deleted` tinyint(1) DEFAULT '0' COMMENT '是否删除',
  `id` int(11) NOT NULL AUTO_INCREMENT,
  PRIMARY KEY (`id`,`k_code`) USING BTREE
) ENGINE=InnoDB AUTO_INCREMENT=30 DEFAULT CHARSET=utf8mb4 COLLATE=utf8mb4_0900_ai_ci COMMENT='制程 信息';
创建后需要为了方便测试,还是向里面填充一些数据吧
INSERT INTO `s_apscode` VALUES ('CMM', '三次元                           ', 4800, 0, 1200, NULL, NULL, NULL, NULL, NULL, NULL, NULL, 0, 1);
INSERT INTO `s_apscode` VALUES ('EDM', '电火花                           ', 12000, 0, 1200, NULL, NULL, NULL, NULL, NULL, NULL, NULL, 0, 2);
INSERT INTO `s_apscode` VALUES ('EP', '穿孔                            ', 1200, 0, 1200, NULL, NULL, NULL, NULL, NULL, NULL, NULL, 0, 3);
INSERT INTO `s_apscode` VALUES ('G', '磨床                            ', 8700, 0, 1200, NULL, NULL, NULL, NULL, NULL, NULL, NULL, 0, 4);
INSERT INTO `s_apscode` VALUES ('GD', '枪钻                            ', 1200, 0, 1200, NULL, NULL, NULL, NULL, NULL, NULL, NULL, 0, 5);
INSERT INTO `s_apscode` VALUES ('L', '车床                            ', 1200, 0, 1200, NULL, NULL, NULL, NULL, NULL, NULL, NULL, 0, 6);
INSERT INTO `s_apscode` VALUES ('LM', '刻字                            ', 1200, 0, 1200, NULL, NULL, NULL, NULL, NULL, NULL, NULL, 0, 7);
INSERT INTO `s_apscode` VALUES ('LW', '烧焊                            ', 1440, 0, 1440, NULL, NULL, NULL, NULL, NULL, NULL, NULL, 0, 8);
INSERT INTO `s_apscode` VALUES ('M', '铣床                            ', 2400, 0, 1200, NULL, NULL, NULL, NULL, NULL, NULL, NULL, 0, 9);
INSERT INTO `s_apscode` VALUES ('MA', '组立                            ', 7920, 0, 480, NULL, NULL, NULL, NULL, NULL, NULL, NULL, 0, 10);
INSERT INTO `s_apscode` VALUES ('NCFM', 'NC 精加工                        ', 8400, 0, 1200, NULL, NULL, NULL, NULL, NULL, NULL, NULL, 0, 11);
INSERT INTO `s_apscode` VALUES ('NCRM', 'NC粗加工                         ', 7200, 0, 1200, NULL, NULL, NULL, NULL, NULL, NULL, NULL, 0, 12);
INSERT INTO `s_apscode` VALUES ('NG', '报废                            ', 1000000, 0, 2400, NULL, NULL, NULL, NULL, NULL, NULL, NULL, 0, 13);
INSERT INTO `s_apscode` VALUES ('OTHER', '其它                            ', 1000000, 0, 2400, NULL, NULL, NULL, NULL, NULL, NULL, NULL, 0, 14);
INSERT INTO `s_apscode` VALUES ('QC', '品检                            ', 2640, 0, 480, NULL, NULL, NULL, NULL, NULL, NULL, NULL, 0, 15);
INSERT INTO `s_apscode` VALUES ('SJ', '设计                            ', 100000, 1, 0, NULL, NULL, NULL, NULL, NULL, NULL, NULL, 0, 16);
INSERT INTO `s_apscode` VALUES ('SP', '抛光                            ', 5280, 0, 480, NULL, NULL, NULL, NULL, NULL, NULL, NULL, 0, 17);
INSERT INTO `s_apscode` VALUES ('STO', '仓库领料                          ', 432000000, 0, 1200, NULL, NULL, NULL, NULL, NULL, NULL, NULL, 0, 18);
INSERT INTO `s_apscode` VALUES ('string', '4444', 0, 0, 0, 'string', NULL, NULL, NULL, NULL, NULL, NULL, 0, 19);
INSERT INTO `s_apscode` VALUES ('test', 'test', 1, 0, 1, NULL, NULL, NULL, NULL, NULL, NULL, NULL, 0, 25);
INSERT INTO `s_apscode` VALUES ('WE', '线切割                           ', 12000, 0, 1200, NULL, NULL, NULL, NULL, NULL, NULL, NULL, 0, 26);
INSERT INTO `s_apscode` VALUES ('WS', '快丝                            ', 1200, 0, NULL, NULL, NULL, NULL, NULL, NULL, NULL, NULL, 0, 27);
INSERT INTO `s_apscode` VALUES ('WW', '委外加工                          ', 432000000, 0, 10000, NULL, NULL, NULL, NULL, NULL, NULL, NULL, 0, 28);
环境准备
1.关于创建Spring 项目不做说明了,请看我前面的教程
2.配置Maven pom.xml
<?xml version="1.0" encoding="UTF-8"?>
<project xmlns="http://maven.apache.org/POM/4.0.0" xmlns:xsi="http://www.w3.org/2001/XMLSchema-instance"
         xsi:schemaLocation="http://maven.apache.org/POM/4.0.0 https://maven.apache.org/xsd/maven-4.0.0.xsd">
    <modelVersion>4.0.0</modelVersion>
    <parent>
        <groupId>org.springframework.boot</groupId>
        <artifactId>spring-boot-starter-parent</artifactId>
        <version>2.3.1.RELEASE</version>
        <relativePath/> <!-- lookup parent from repository -->
    </parent>
    <groupId>com.cm</groupId>
    <artifactId>aps</artifactId>
    <version>0.0.1-SNAPSHOT</version>
    <name>aps</name>
    <description>Demo project for Spring Boot</description>

    <properties>
        <java.version>1.8</java.version>
        <swagger.version>2.9.2</swagger.version>
    </properties>

    <dependencies>
        <dependency>
            <groupId>org.springframework.boot</groupId>
            <artifactId>spring-boot-starter-web</artifactId>
        </dependency>

        <dependency>
            <groupId>org.springframework.boot</groupId>
            <artifactId>spring-boot-starter-test</artifactId>
            <scope>test</scope>
            <exclusions>
                <exclusion>
                    <groupId>org.junit.vintage</groupId>
                    <artifactId>junit-vintage-engine</artifactId>
                </exclusion>
            </exclusions>
        </dependency>

        <!-- swagger 接口工具 -->
        <dependency>
            <groupId>io.springfox</groupId>
            <artifactId>springfox-swagger2</artifactId>
            <version>${swagger.version}</version>
        </dependency>
        <dependency>
            <groupId>io.springfox</groupId>
            <artifactId>springfox-swagger-ui</artifactId>
            <version>${swagger.version}</version>
        </dependency>
        <!-- mysql 支持包-->
        <dependency>
            <groupId>mysql</groupId>
            <artifactId>mysql-connector-java</artifactId>
        </dependency>
        <!-- mybatis 数据库控制-->
        <dependency>
            <groupId>org.mybatis.spring.boot</groupId>
            <artifactId>mybatis-spring-boot-starter</artifactId>
            <version>2.0.0</version>
        </dependency>
        <!-- pagehelper 分页工具 -->
        <dependency>
            <groupId>com.github.pagehelper</groupId>
            <artifactId>pagehelper-spring-boot-starter</artifactId>
            <version>1.2.5</version>
        </dependency>

    </dependencies>

    <build>
        <plugins>
            <plugin>
                <groupId>org.springframework.boot</groupId>
                <artifactId>spring-boot-maven-plugin</artifactId>
            </plugin>
        </plugins>

        <!-- 打包时拷贝MyBatis的映射文件 -->
        <resources>
            <resource>
                <directory>src/main/java</directory>
                <includes>
                    <include>**/sqlmap/*.xml</include>
                </includes>
                <filtering>false</filtering>
            </resource>
            <resource>
                <directory>src/main/resources</directory>
                <includes>
                    <include>**/*.*</include>
                </includes>
                <filtering>true</filtering>
            </resource>
        </resources>

    </build>

</project>
3.配置 application.yml
#运行端口
server:
  port: 8080
#数据库配置
spring:
  datasource:
    driverClassName: com.mysql.cj.jdbc.Driver
    url: jdbc:mysql://localhost:3306/APSDB?useUnicode=true&zeroDateTimeBehavior=convertToNull&autoReconnect=true&characterEncoding=utf-8
    username: root
    password: 123456
# 打印sql  这个是目的是为了在运行时打印时输出SQL语句,方便调试
logging:
  level:
    com.cm.aps.dao : debug
# pagehelper  这个是分页
pagehelper:
  helperDialect: mysql
  reasonable: true
  supportMethodsArguments: true
  params: count=countSql
4.配置SwaggerConfig
package com.cm.aps.config;
import org.springframework.context.annotation.Bean;
import org.springframework.context.annotation.Configuration;
import springfox.documentation.builders.ApiInfoBuilder;
import springfox.documentation.builders.PathSelectors;
import springfox.documentation.builders.RequestHandlerSelectors;
import springfox.documentation.service.ApiInfo;
import springfox.documentation.spi.DocumentationType;
import springfox.documentation.spring.web.plugins.Docket;
import springfox.documentation.swagger2.annotations.EnableSwagger2;
@Configuration
@EnableSwagger2
public class SwaggerConfig {
@Bean
public Docket buildDocket() {
return new Docket(DocumentationType.SWAGGER_2)
.apiInfo(apiInfo())//调用下面apiInfo()方法
.select()
.apis(RequestHandlerSelectors.basePackage("com.cm.aps"))//注意这里的路径,新手容易在这里出错导致打不开。
.paths(PathSelectors.any())
.build();
}
public ApiInfo apiInfo() {
return new ApiInfoBuilder()
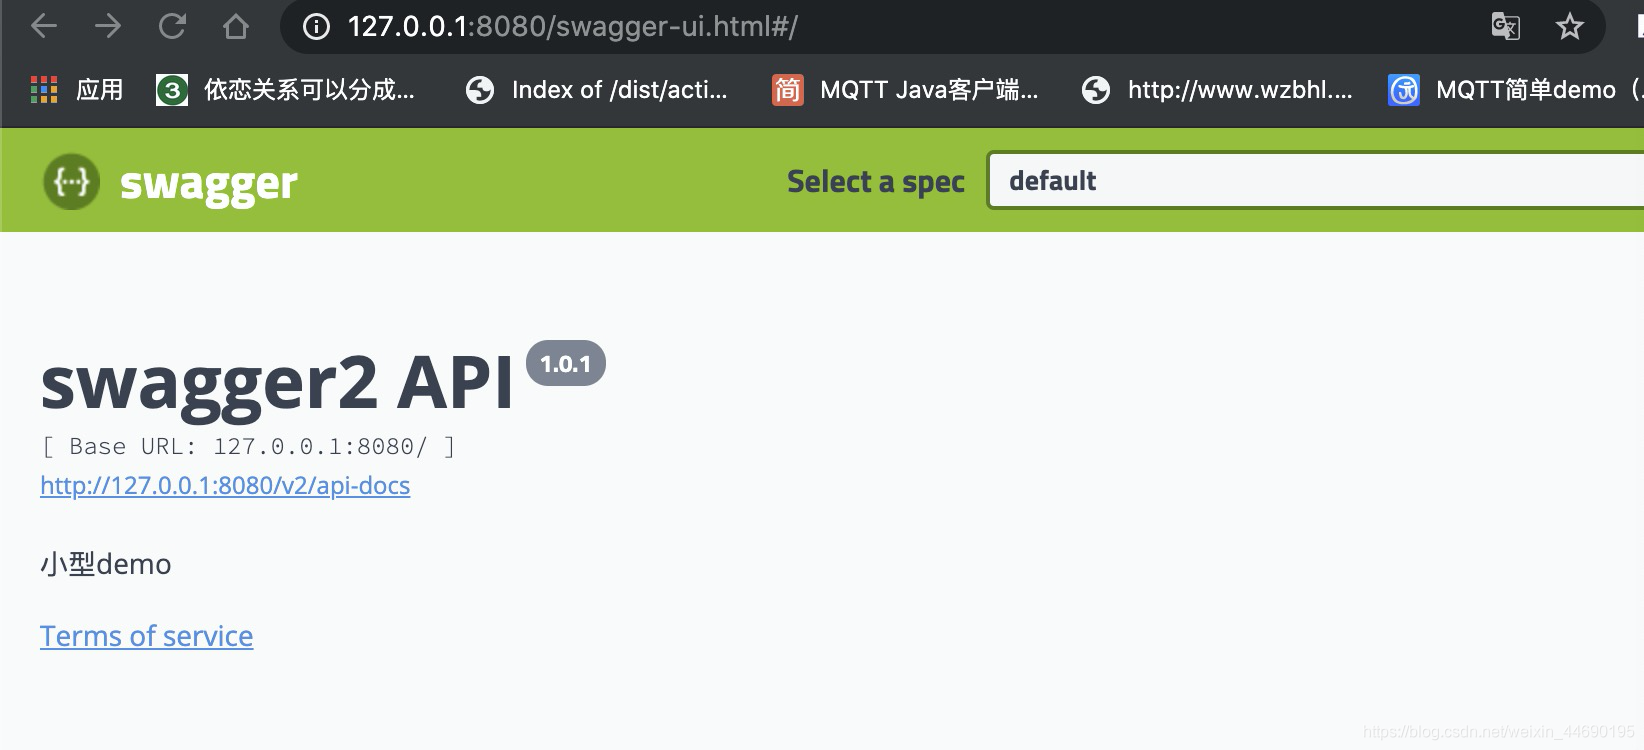
.title("swagger2 API")
.description("小型demo")
.termsOfServiceUrl("http://www.163.com")//这里可以是项目地址
.version("1.0.1")
.build();
}
}
5.配置MybatisConfig
package com.cm.aps.config;

import org.apache.ibatis.session.SqlSessionFactory;
import org.mybatis.spring.SqlSessionFactoryBean;
import org.mybatis.spring.annotation.MapperScan;
import org.springframework.beans.factory.annotation.Autowired;
import org.springframework.context.annotation.Bean;
import org.springframework.context.annotation.Configuration;
import org.springframework.core.io.support.PathMatchingResourcePatternResolver;

import javax.sql.DataSource;

@Configuration
@MapperScan("com.cm.aps.**.dao") //主要扫描的是mapper路径 注意不要搞错了
public class MybatisConfig {


    @Autowired
    private DataSource dataSource;

    @Bean
    public SqlSessionFactory sqlSessionFactory() throws Exception {


        SqlSessionFactoryBean sessionFactory = new SqlSessionFactoryBean();
        sessionFactory.setDataSource(dataSource);
        sessionFactory.setTypeAliasesPackage("com.cm.aps.**.model");    // 扫描Model 这里的路径也不要搞错了

        PathMatchingResourcePatternResolver resolver = new PathMatchingResourcePatternResolver();
        sessionFactory.setMapperLocations(resolver.getResources("classpath*:**/sqlmap/*.xml"));    // 扫描映射文件

        return sessionFactory.getObject();
    }
}
5.测试打开Swagger
打开 http://127.0.0.1:8080/swagger-ui.html#/