Material Design相关知识点(一)
AppTheme一些杂事
<?xml version="1.0" encoding="utf-8"?>
<resources>
<style name="AppTheme" parent="Theme.AppCompat.Light.DarkActionBar">
<!-- 无标题栏的窗口-->
<!-- <style name="AppTheme" parent="Theme.AppCompat.Light.NoActionBar"/>-->
<!-- Customize your theme here. -->
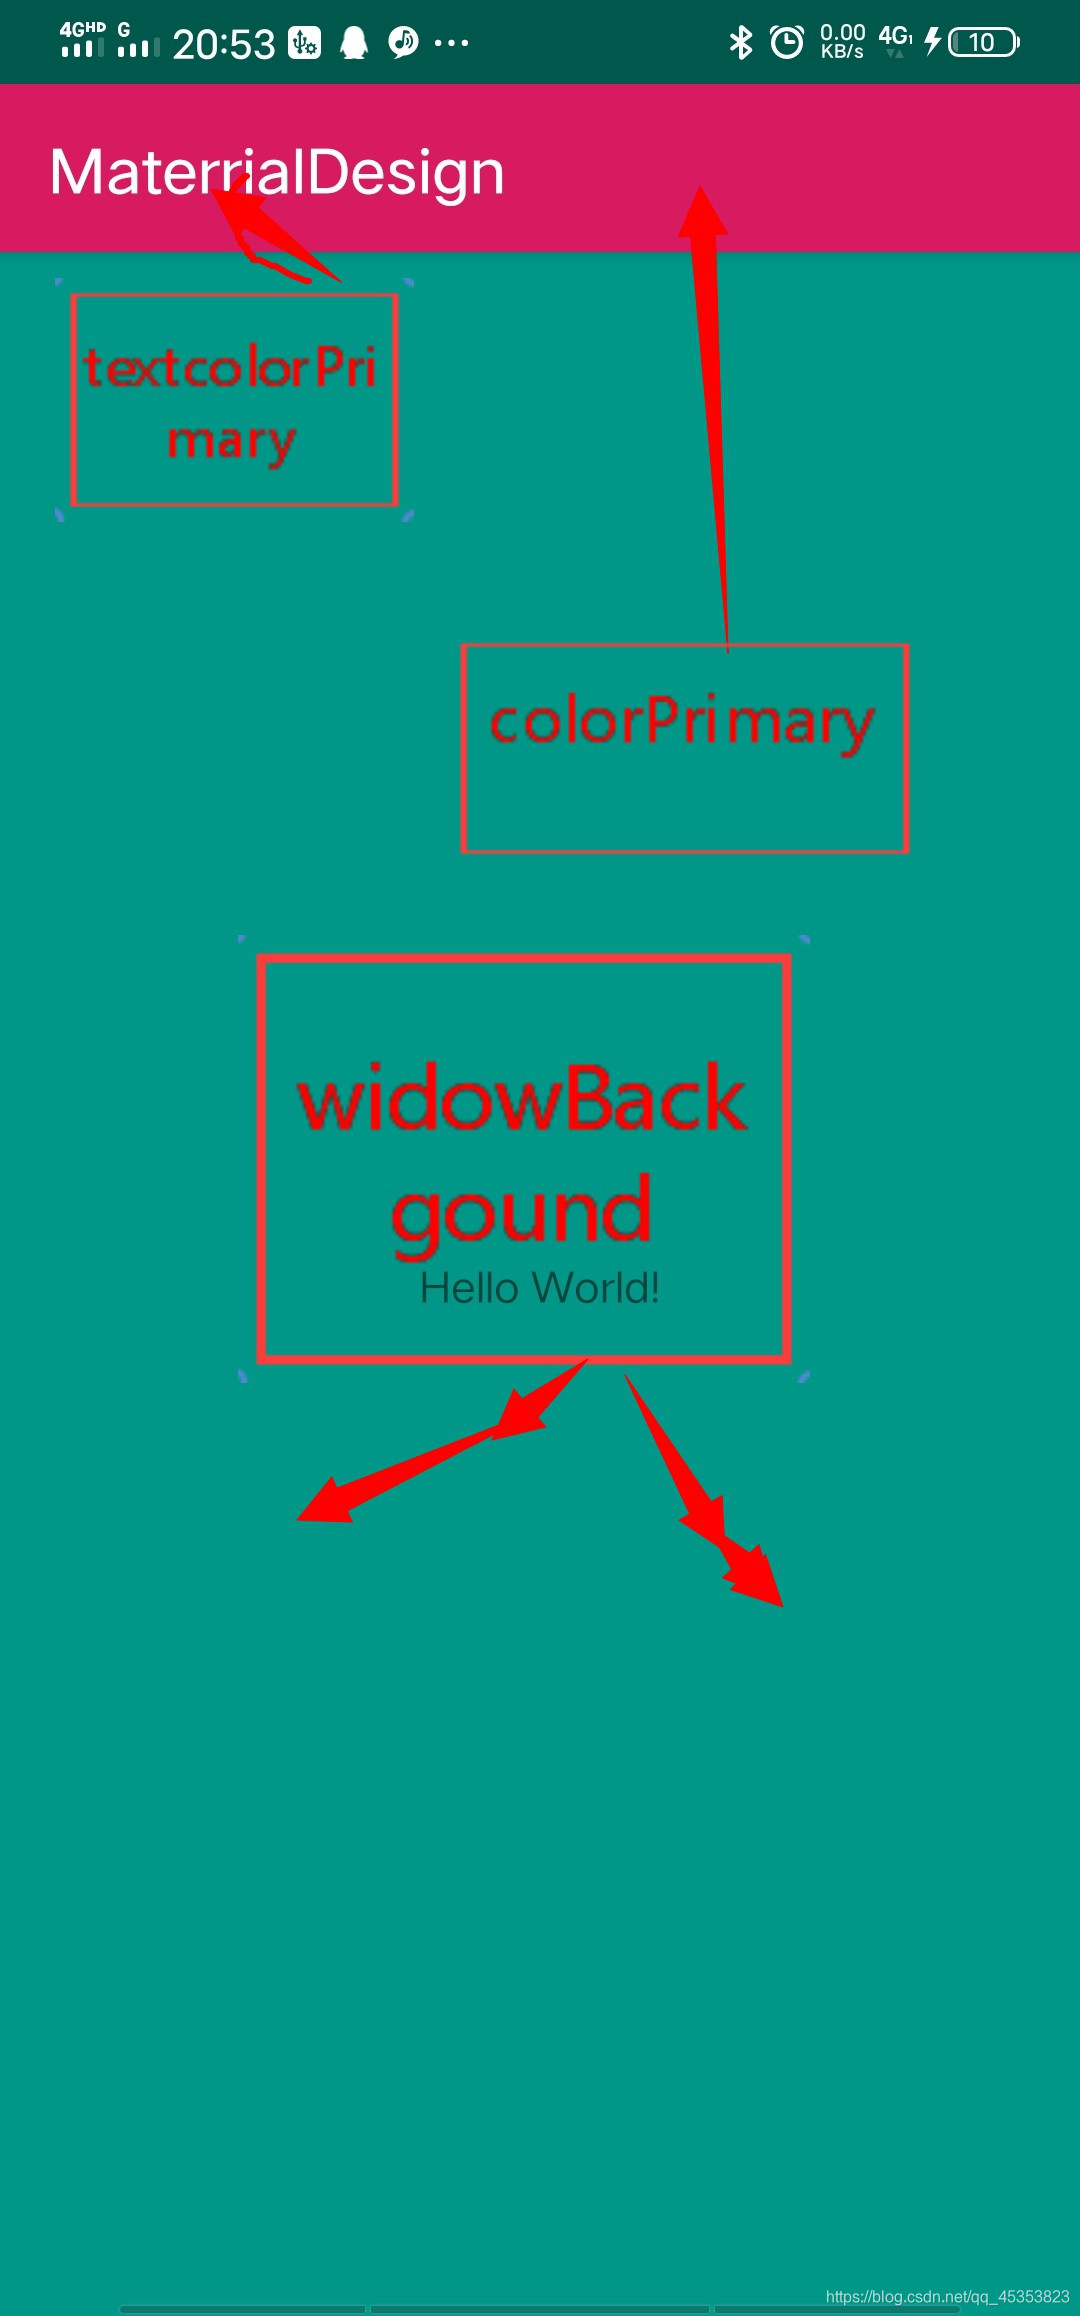
<item name="colorPrimary">@color/colorAccent</item>
<!--手机顶部显示时间的那一行颜色-->
<item name="colorPrimaryDark">@color/colorPrimaryDark</item>
<!-- 手机app内容的背景颜色-->
<item name="android:windowBackground">#009688</item>
<!--一些控件选中状态会使用-->
<item name="colorAccent">#ff00</item>
<!--目前的手机用不上-->
<!--<item name="android:navigationBarColor">#ff00</item>-->
<!--<item name="android:textColorPrimary">#FFEB3B</item>-->
</style>
</resources>
ToolBar的使用
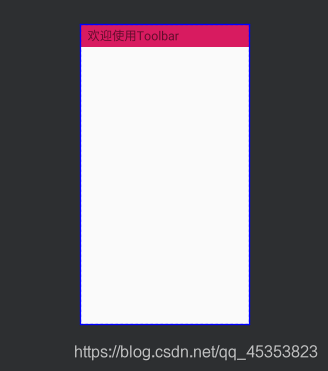
如果我们把主题设置成<style name="AppTheme" parent="Theme.AppCompat.Light.NoActionBar">
我们就可以使用ToolBar来实现同样的效果
<?xml version="1.0" encoding="utf-8"?>
<FrameLayout xmlns:android="http://schemas.android.com/apk/res/android"
    xmlns:app="http://schemas.android.com/apk/res-auto"
    xmlns:tools="http://schemas.android.com/tools"
    android:layout_width="match_parent"
    android:layout_height="match_parent"
    tools:context=".MainActivity">

    <androidx.appcompat.widget.Toolbar
        android:id="@+id/toolbar"
        android:layout_width="match_parent"
        android:layout_height="wrap_content"
        android:background="?attr/colorPrimary"
       >
<TextView
    android:layout_width="match_parent"
    android:layout_height="match_parent"
    android:textSize="30sp"
    android:text="欢迎使用Toolbar"/>
    </androidx.appcompat.widget.Toolbar>

</FrameLayout>
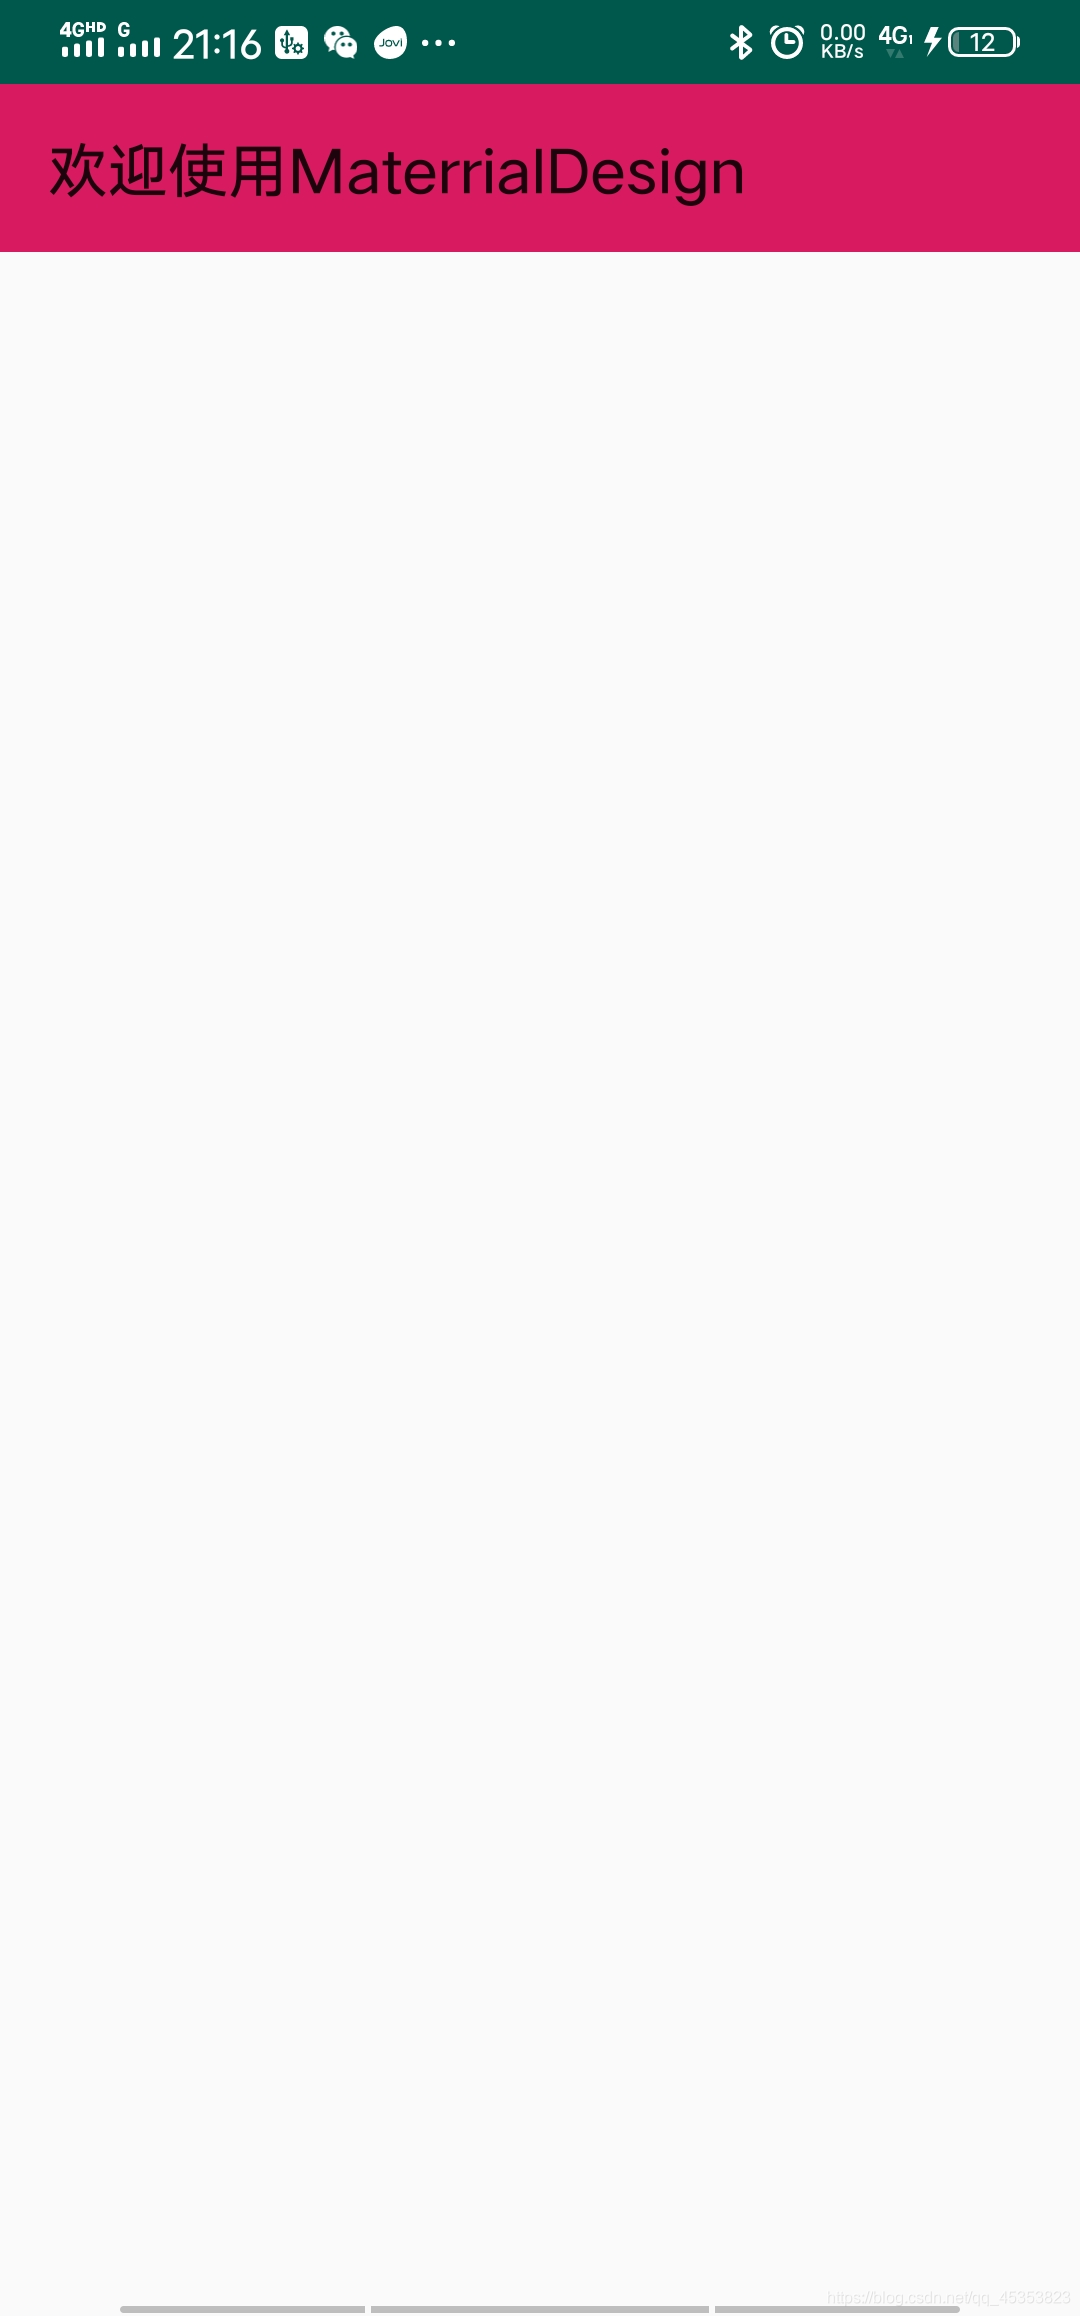
如果我们不想通过自己写文字控件,我们也可以通过对manifest中的label属性进行操作
   <activity android:name=".MainActivity"
            android:label="欢迎使用MaterrialDesign">
            <intent-filter>
                <action android:name="android.intent.action.MAIN" />

                <category android:name="android.intent.category.LAUNCHER" />
            </intent-filter>
        </activity>
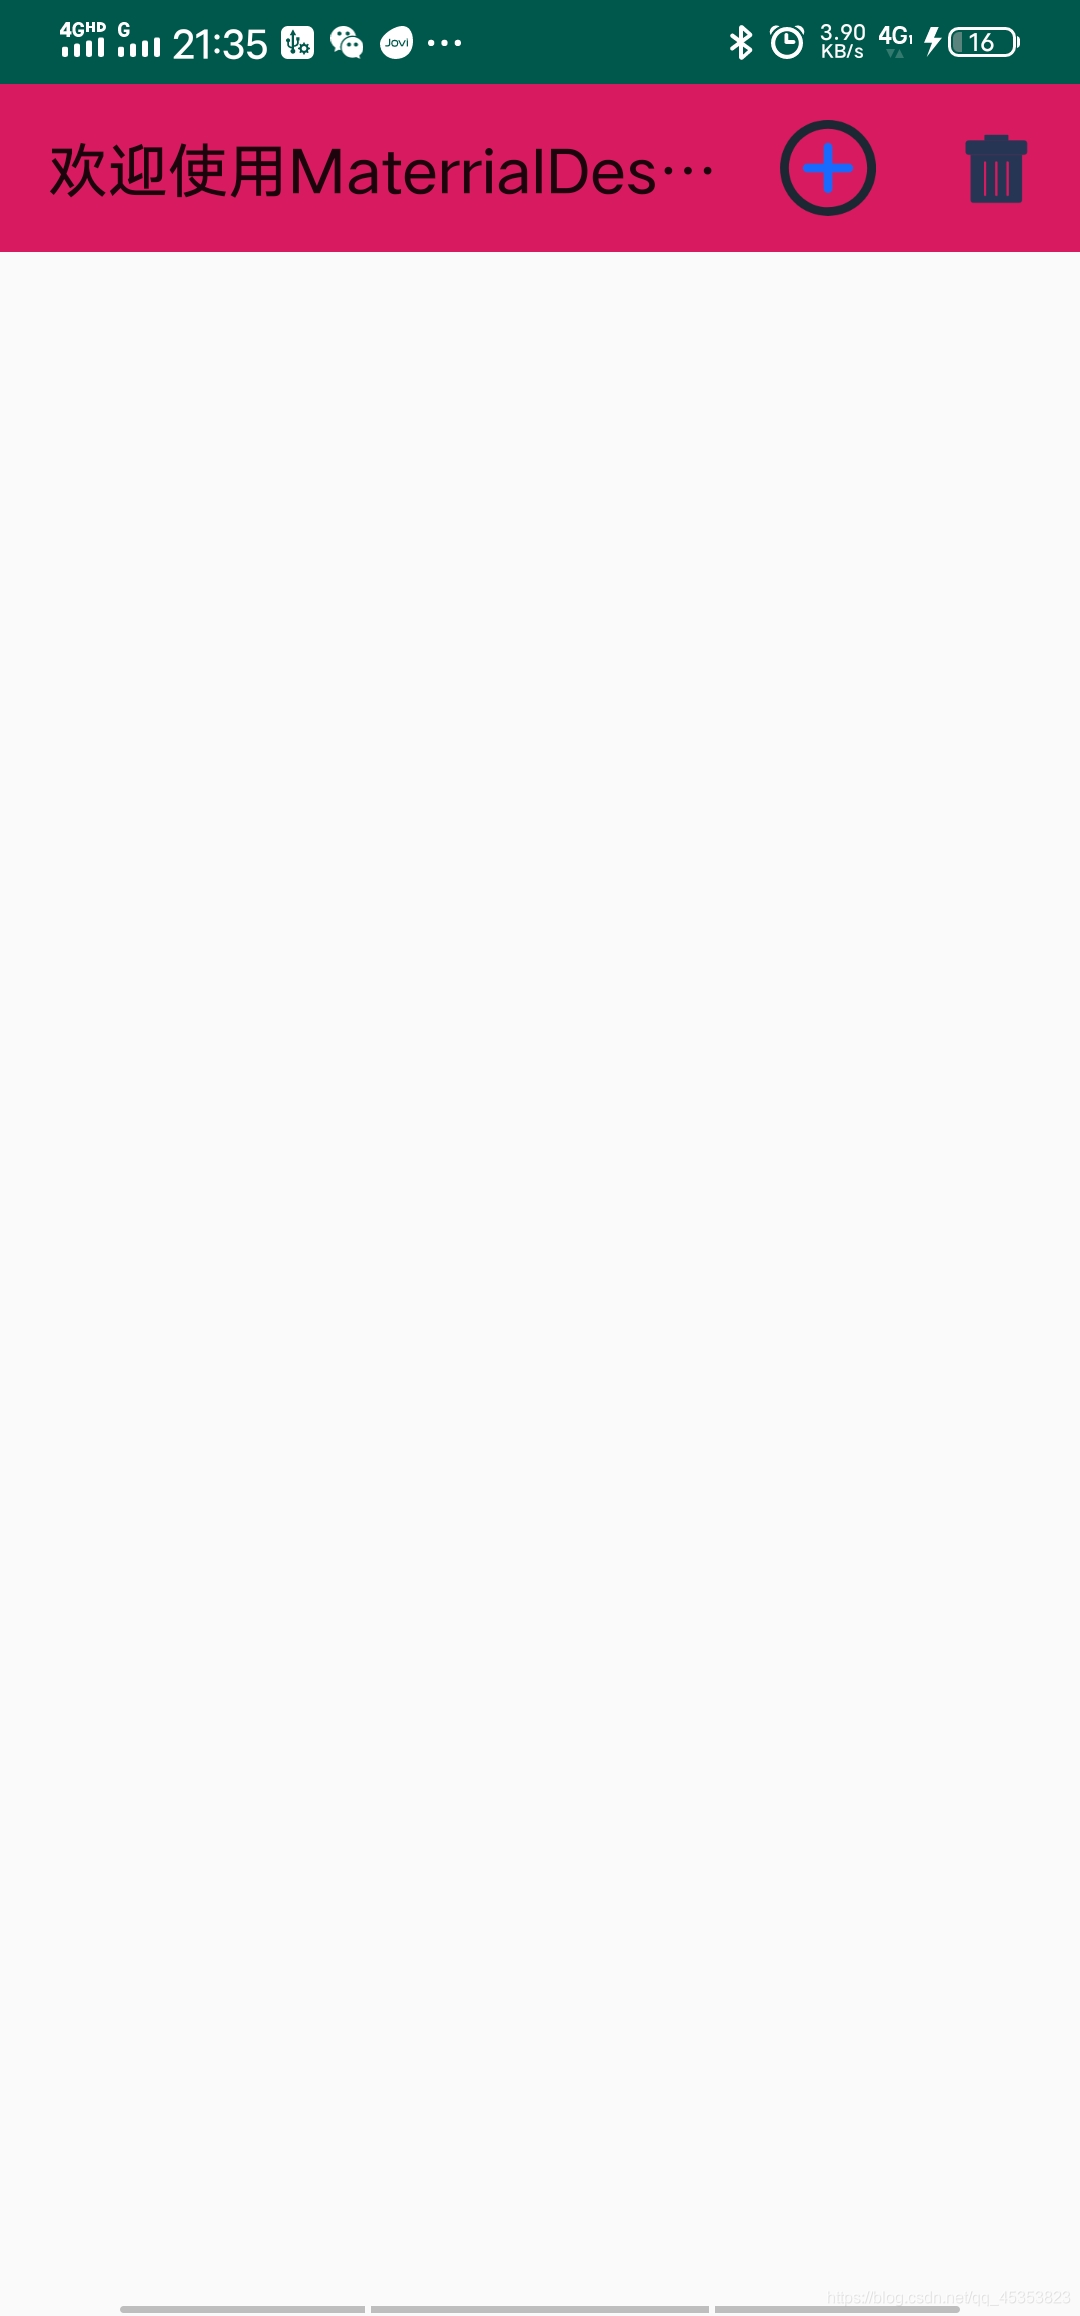
如上述,为当前activity设置了label属性,如果你现在允许程序的话,是不会给你显示标题的,此时,你需要在java代码中找到toolbar控件,并使用 setSupportActionBar();方法,才可以显示
效果图:
public class MainActivity extends AppCompatActivity {


    @TargetApi(Build.VERSION_CODES.LOLLIPOP)
    @Override
    protected void onCreate(Bundle savedInstanceState) {


        super.onCreate(savedInstanceState);
        setContentView(R.layout.activity_main);
        Toolbar toolbar  = findViewById(R.id.toolbar);
        setSupportActionBar(toolbar);
    }


}
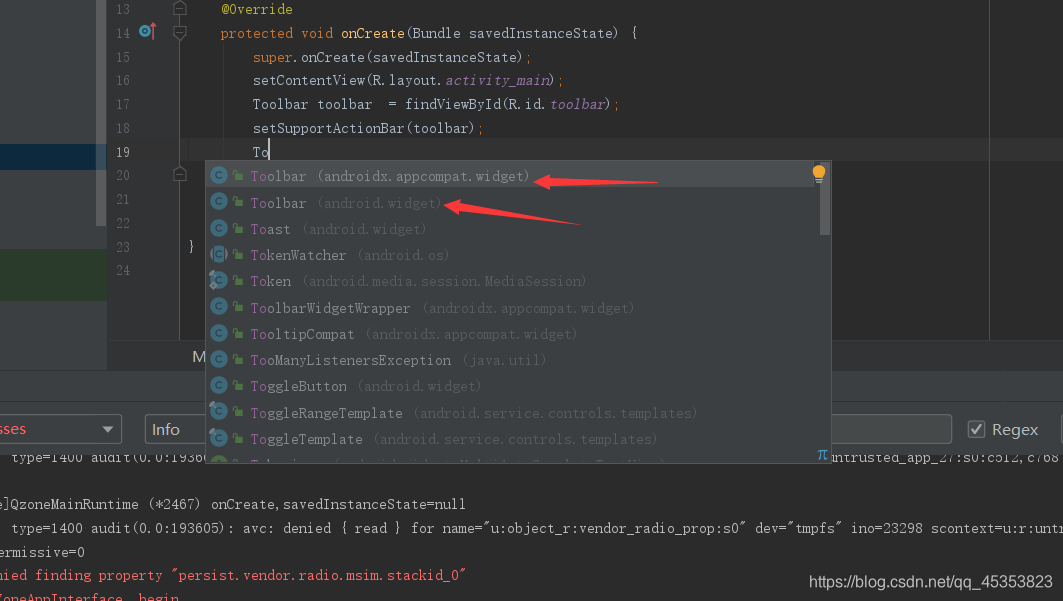
注意这里会有两个包里面的toolbar,我用到是Androidx的,具体跟你你使用的包来决定,如果一个包的内容setSupportActionBar显示报错,你就换一个包。
ToolBar+Menu菜单一起混合
在有些标题栏上我们还希望其有一些按钮,点击之后会出现相应的事件,
那么标题栏上的按钮,其实就是一个个菜单栏
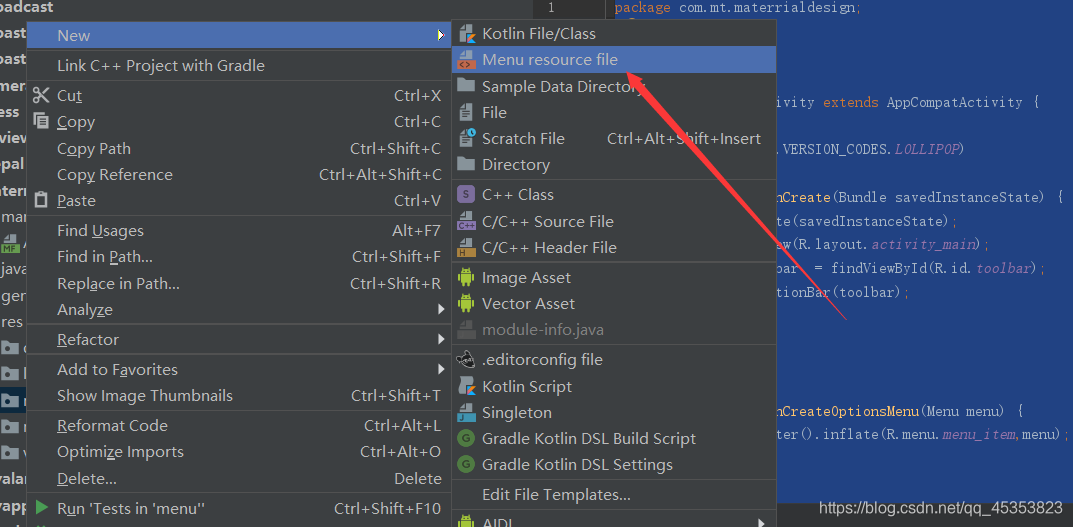
(1)首先创建menu文件夹,并在此文件夹建立menu,为里面设置每一个菜单栏的内容
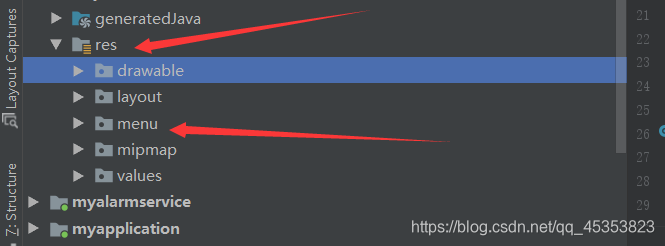
(2)在menu在标签里可以创建多个item,及每个菜单按钮,
可以设置id,方便后面为其设置点击事件,icon为图标的样子,title:标题
showAsAction可以有三个属性:always,never,ifRoom
always让菜单栏显示在标题栏上,
never用于显示在菜单当中,
ifRoom表示显示屏幕控件足够的情况下显示在Toolbar中,否则显示在菜单当中。
后面会展示具体效果
<?xml version="1.0" encoding="utf-8"?>
<menu xmlns:android="http://schemas.android.com/apk/res/android"
    xmlns:app="http://schemas.android.com/apk/res-auto">
<item
    android:id="@+id/backup"
    android:icon="@drawable/add"
    android:title="添加"
    app:showAsAction="always"/>
    <item
        android:id="@+id/delete"
        android:icon="@drawable/delete"
        android:title="删除"
        app:showAsAction="always"/>
</menu>
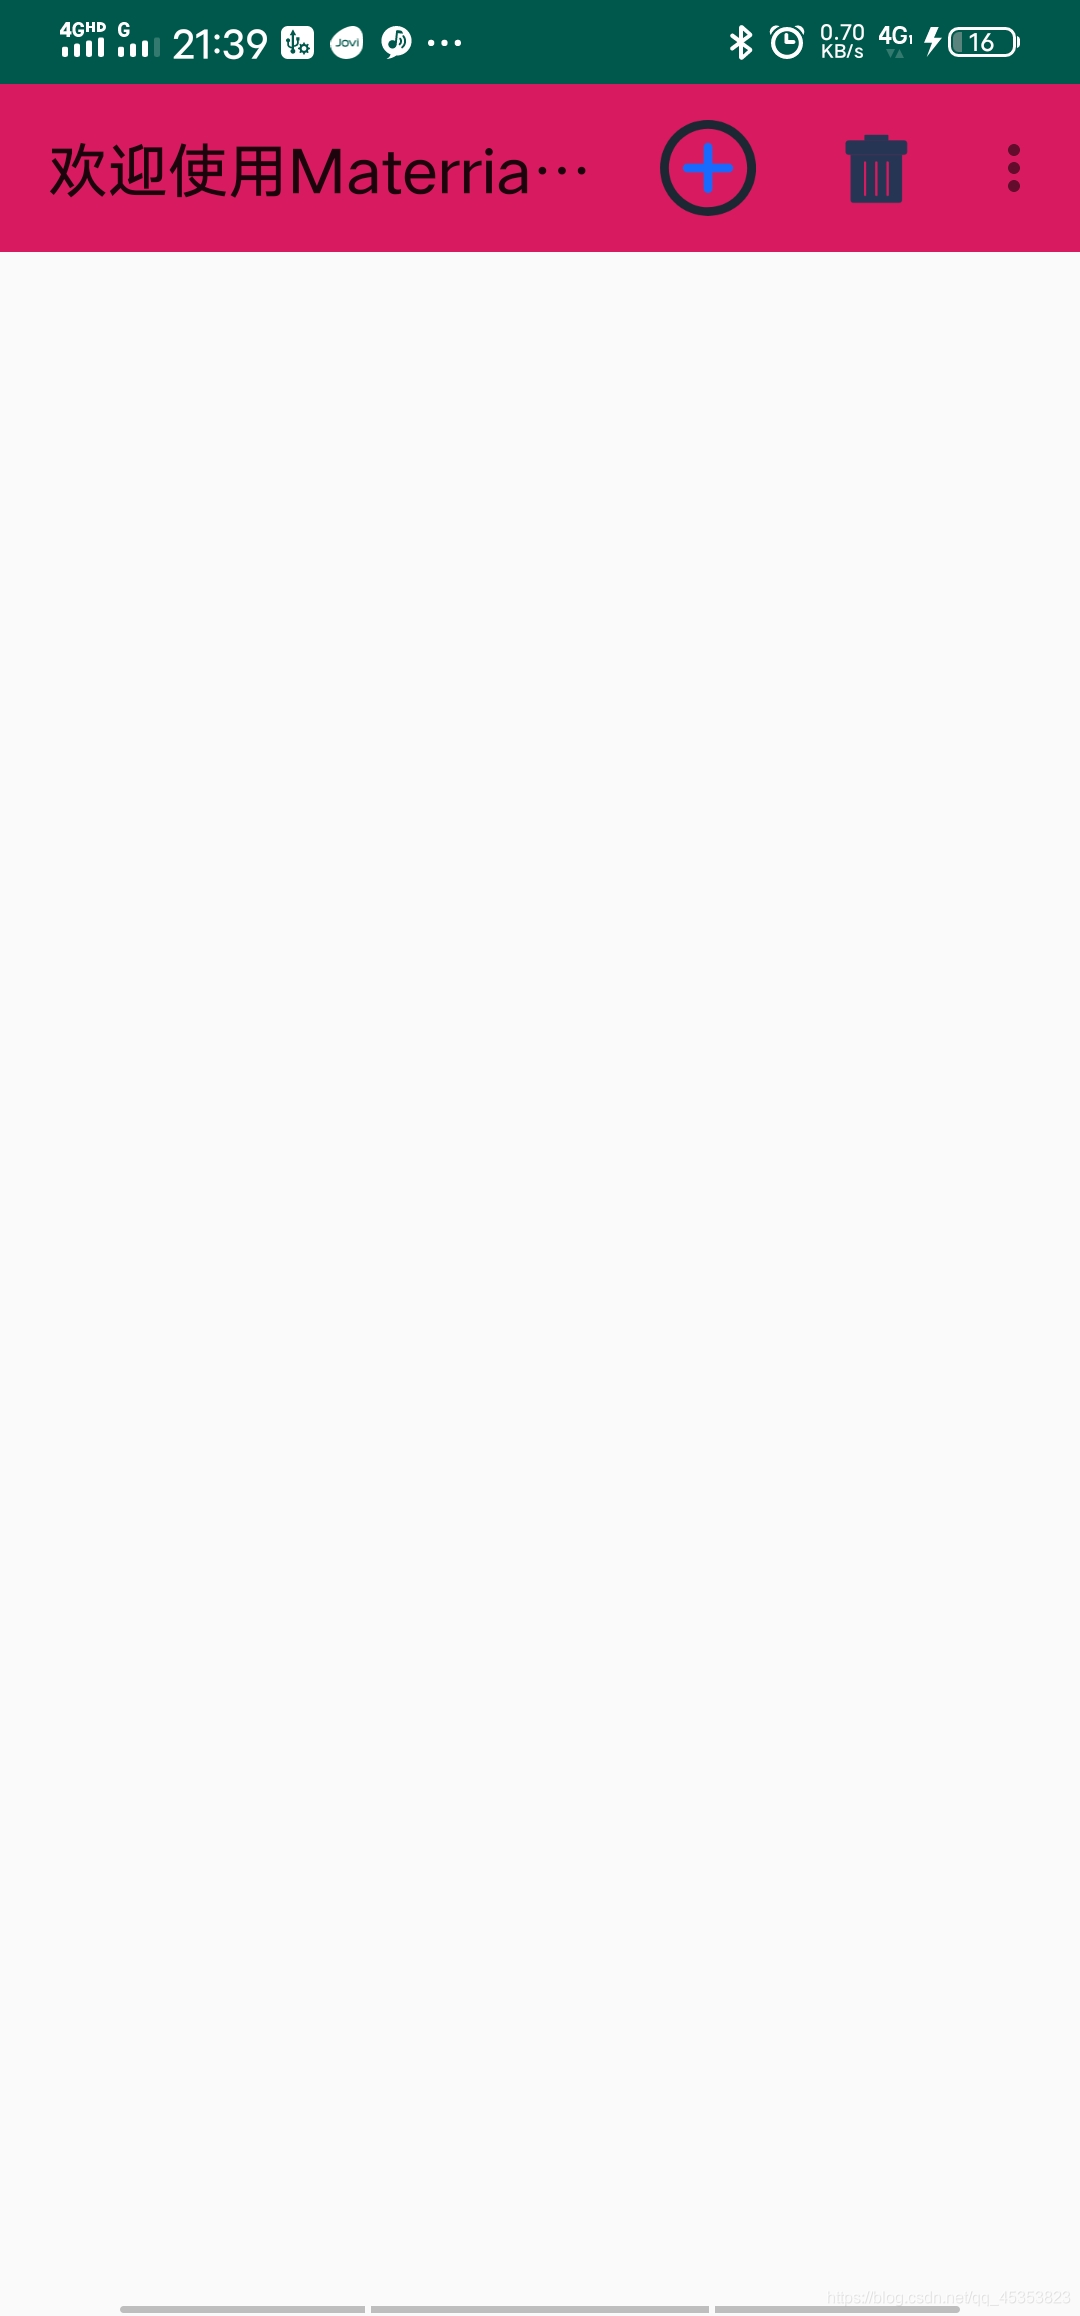
全部是always
全部是never

全部为ifRoom
为menu设置布局
    @Override
    public boolean onCreateOptionsMenu(Menu menu) {


        getMenuInflater().inflate(R.menu.menu_item,menu);
        return true;
    }
重写onCreateOptionsMenu,最后一定return true,不然没效果
设置点击事件
重写onOptionsItemSelected,并通过switch判断点击了哪一个菜单,最后也要reurn true
   @Override
    public boolean onOptionsItemSelected(MenuItem item) {


        switch (item.getItemId()){


            case  R.id.delete:
            Toast.makeText( MainActivity.this,"你点击了回收站",Toast.LENGTH_SHORT).show();
            break;
            case  R.id.backup:
                Toast.makeText( MainActivity.this,"你点击了添加按钮",Toast.LENGTH_SHORT).show();
                break;
        }
        return  true;
    }