制作自己的训练数据
1. 标记工具使用详情
使用VIA标注工具
-
remove示例图片
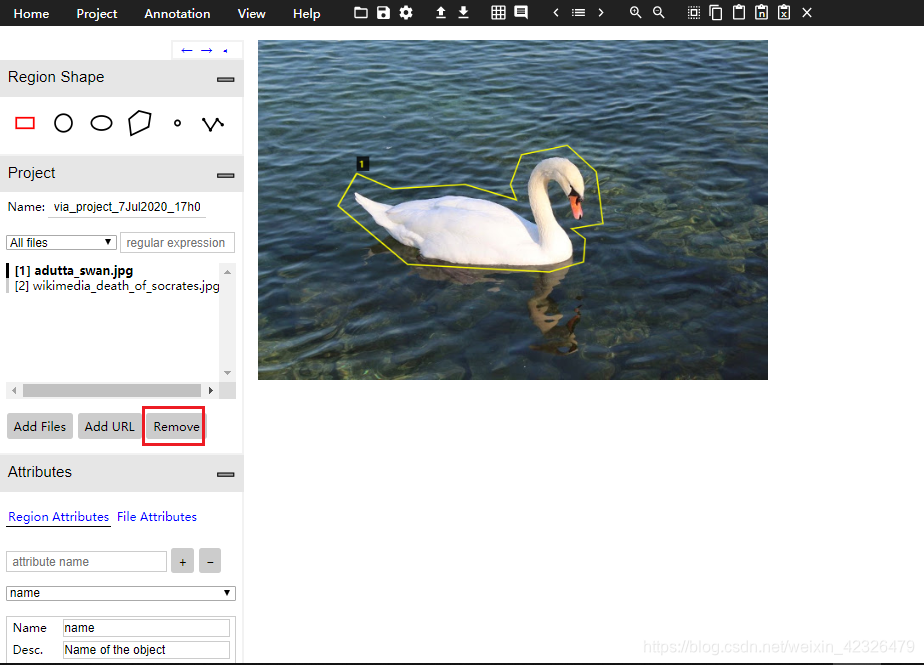
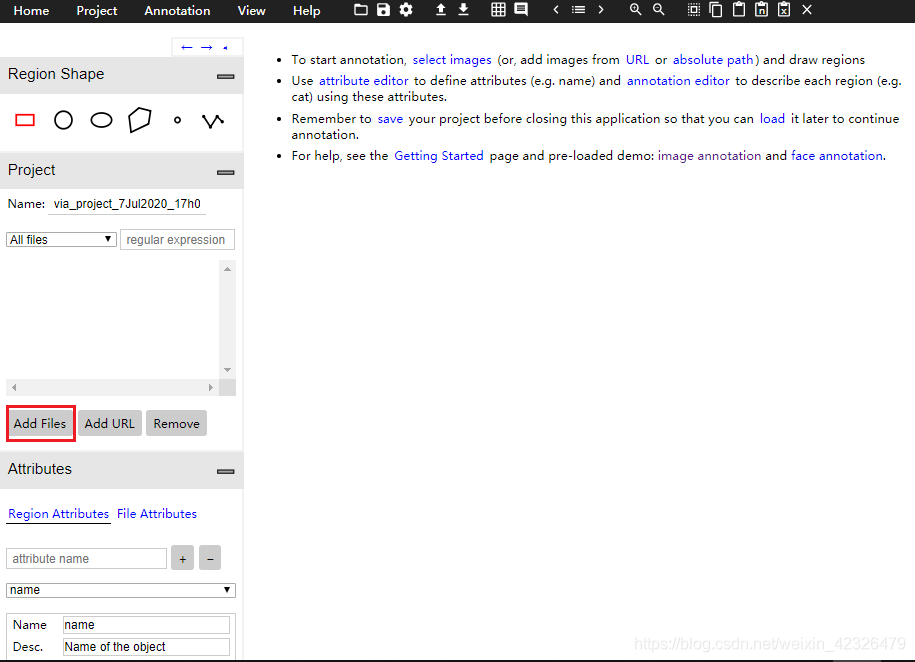
-
add自己的图片
-
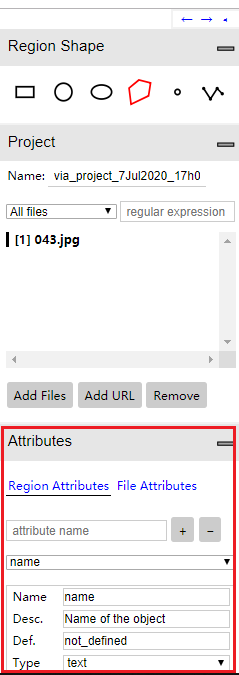
根据任务不同设置属性
纯分割一个物体不用管,如果分类多个物体请在另外查询。
-
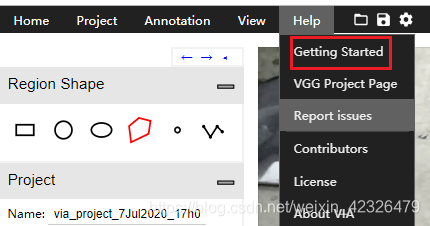
绘制轮廓
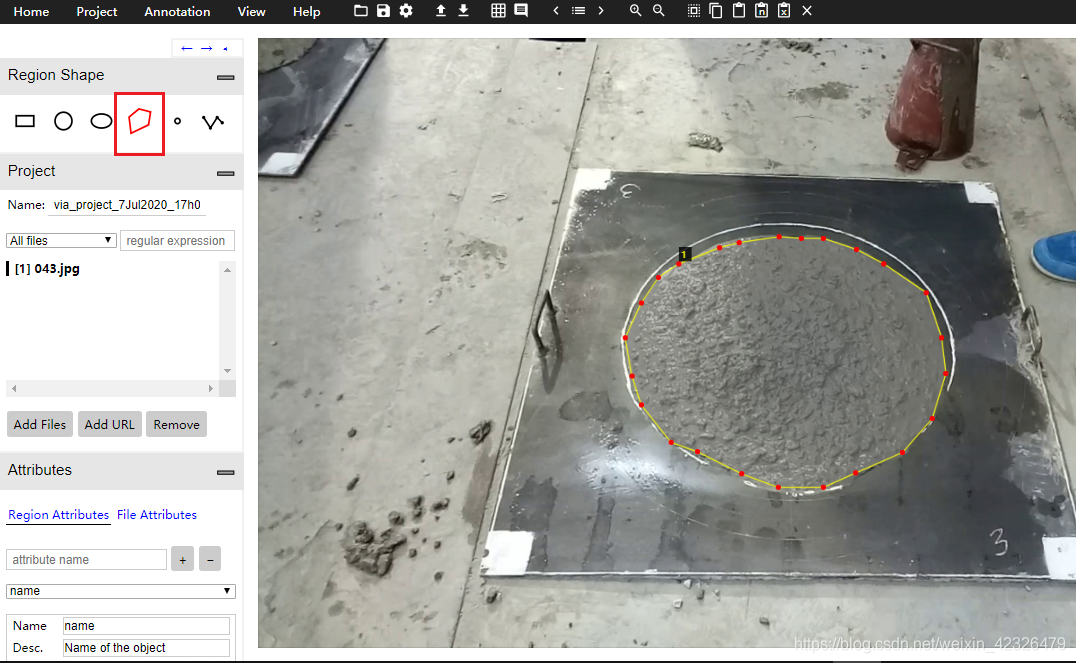
注意:在绘制中想要退出可以按esc键,结束绘制按enter键,单击选中轮廓可以再调节节点的位置。具体可以再参考Help-Gettong Started.
-
保存
save-ok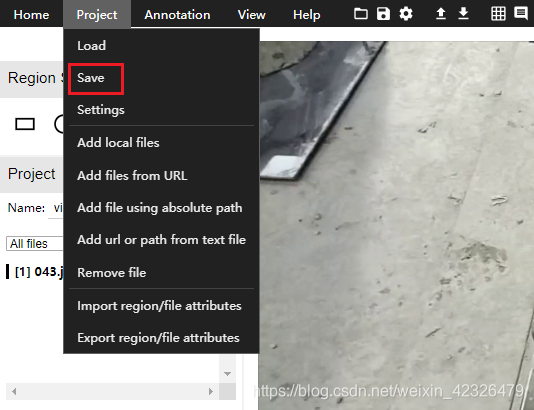
2. 转换成mask
运行以下代码:
import os
import json
import numpy as np
import skimage.draw
import cv2

IMAGE_FOLDER = "./train/"
MASK_FOLOER = "./mask/"
PATH_ANNOTATION_JSON = 'box.json'

# 加载VIA导出的json文件
annotations = json.load(open(PATH_ANNOTATION_JSON, 'r'))
imgs = annotations["_via_img_metadata"]

for imgId in imgs:
    filename = imgs[imgId]['filename']
    regions = imgs[imgId]['regions']
    if len(regions) <= 0:
        continue

    # 取出第一个标注的类别,本例只标注了一个物件
    polygons = regions[0]['shape_attributes']

    # 图片路径
    image_path = os.path.join(IMAGE_FOLDER, filename)
    # 读出图片,目的是获取到宽高信息
    image = cv2.imread(image_path)  # image = skimage.io.imread(image_path)
    height, width = image.shape[:2]

    # 创建空的mask
    maskImage = np.zeros((height,width), dtype=np.uint8)
    countOfPoints = len(polygons['all_points_x'])
    points = [None] * countOfPoints
    for i in range(countOfPoints):
        x = int(polygons['all_points_x'][i])
        y = int(polygons['all_points_y'][i])
        points[i] = (x, y)

    contours = np.array(points)

    # 遍历图片所有坐标
    for i in range(width):
        for j in range(height):
            if cv2.pointPolygonTest(contours, (i, j), False) > 0:
                maskImage[j,i] = 1

    savePath = MASK_FOLOER + filename
    # 保存mask
    cv2.imwrite(savePath, maskImage)