spring boot工程搭建见上篇文章环境搭建
Controller的使用
一、返回视图
二、thymeleaf依赖
在以前使用 Spring 开发项目,需要提供 json 接口时需要做哪些配置呢
1、添加 jackjson 等相关 jar 包
2、配置 Spring Controller 扫描
3、 对接的方法添加 @ResponseBody
就这样我们会经常由于配置错误,导致404错误等等
而springboot能很好的避免这些问题,只需导入一个thymeleaf依赖即可
<dependency>
	<groupId>org.springframework.boot</groupId>
	<artifactId>spring-boot-starter-thymeleaf</artifactId>
</dependency>
注意:
spring boot默认支持的是thymeleaf模板引擎
官网:由此去
话不多说,开干!
1、编写Controller
@Controller
@RequestMapping("/test")
public class TestController {


    @RequestMapping("/test01")
        public String demo1(Model model){


        model.addAttribute("sd","喜羊羊");
        System.out.println("=================");
        return "index" ;
    }
2、创建index.html页面
首先呢我们来了解一下这几个文件目录的作用

在resources的templates文件下创建index.html页面
<!DOCTYPE html>
<html lang="en" xmlns:th="http://www.thymeleaf.org">
<head>
    <meta charset="UTF-8">
    <title>Title</title>
</head>
<body>
<span th:text="${

    sd}"></span>
</body>
</html>
3、打开浏览器测试
地址栏输入 http://localhost:8080/test/test01(我这自己配端口是8083)

三、返回json数据
1、Controller代码
@Controller//可以更改为@RestController,此处更改后下面的ResponseBody就不用写了
@RequestMapping("test")
public class TestController1 {


    @ResponseBody//让返回值类型变为json格式
    @RequestMapping("test02")
    public String test02(){


        return "Hello SpringBoot!!!";
    }
}
2、打开浏览器访问 http://localhost:8080/test/test02
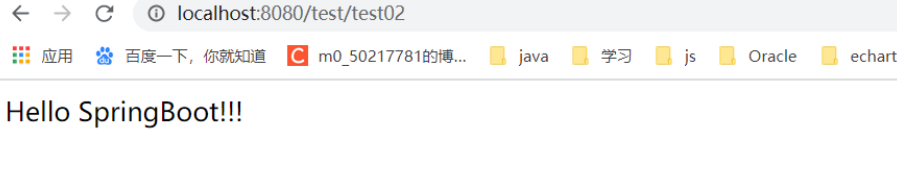
能显示即为成功
四、lombok插件使用
这个插件很好用,此处详细安装教程
1、加入依赖
    <dependency>
            <groupId>org.projectlombok</groupId>
            <artifactId>lombok</artifactId>
            <version>1.18.16</version>
  </dependency>
2、Controller代码
这个地方就使用了lombok注解,能帮我们自动生产get、set方法以及构造方法,极其的方便,当然还有很多注解,详细在安装教程里面有介绍
@Controller//可以更改为@RestController,此处更改后下面的ResponseBody就不用写了
@RequestMapping("test")
public class TestController1 {


    @Data
    @AllArgsConstructor
    class Person{


        private String name;
        private int age;
    }
    @RequestMapping("test03")
    @ResponseBody//让返回值类型变为json格式
    public Person test03(){


        return new Person("张三",18);
    }
}
3、打开浏览器测试
浏览器访问http://localhost:8080/test/test03

这样就是成功了
配置文件读取的使用
一、配置文件读取顺序
1)命令行
2)java:comp/env 里的 JNDI 属性
3)JVM 系统属性
4)操作系统环境变量
5)RandomValuePropertySource 属性类生成的 random.* 属性
6)应用以外的 application.properties(或 yml)文件
7)打包在应用内的 application.properties(或 yml)文件
8)在应用 @Configuration 配置类中,用 @PropertySource 注解声明的属性文件
9)SpringApplication.setDefaultProperties 声明的默认属性
二、application.propreties读取配置
1、官方的默认配置
由此进入
2、自定义属性配置
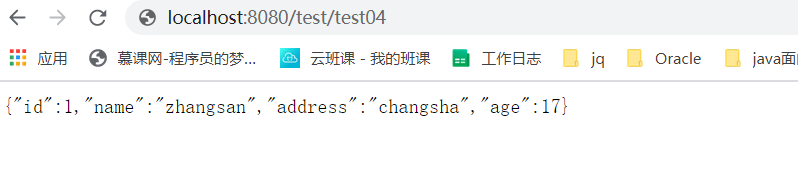
student.name=zhangsan
student.address=changsha
student.age=17

然后我们来使用文件里面的属性
@RestController
@RequestMapping("test")
@ConfigurationProperties(prefix = "student")
@Data
public class TestController1 {


    private String name;
    private int age;
    private String sex;

    @RequestMapping("test04")
    public String test04(){


        return "name="+name+" address="+address+" age="+age;
    }
}
此外,还需要在启动文件中加入配置文件扫描配置@SpringBootApplication,不然启动无效

然后去浏览器访问
三、application.propreties (yml文件)配置读取配置
在application.properties 文件中输入中文,数据传输到界面,会出现乱码的情况,但是yml文件不会产生这样的问题

student:
name: 张三
age: 15
sex: 男
address: 湖南长沙
des: 我叫student.name ,我今年{

    student.age}岁,来自${

    student.address}
Controller代码如下
@RestController
@RequestMapping("test")
@ConfigurationProperties(prefix = "student")
public class TestController1 {


    @Value("${

    student.des}")
    private String des;

    @RequestMapping("test05")
    public String test05(){


        return des;
    }
}
然后打开浏览器测试
http://localhost:8080/test/test05

然后我们来区别总结一下
    读取properties配置文件自定义的配置数据
        1)@Value("${key}") 单个注入自定已配置项
        2)@ConfigurationProperties(prefix = "student") 批量加载自定义配置项目
        3)中文配置有乱码
  读取yml配置文件自定义的配置数据(推荐)
        1)@Value("${key}") 单个注入自定已配置项
        2)@ConfigurationProperties(prefix = "student") 批量加载自定义配置项目
        3)中文配置没有乱码
以上仅供参考噢