一、安装与配置zabbix
需要设置如下网络源:
[zabbix]
name=Zabbix Official Repository - $basearch
baseurl=https://mirrors.aliyun.com/zabbix/zabbix/4.0/rhel/7/x86_64/
enabled=1
gpgcheck=0
gpgkey=file:///etc/pki/rpm-gpg/RPM-GPG-KEY-ZABBIX-A14FE591
[zabbix-non-supported]
name=Zabbix Official Repository non-supported - $basearch
baseurl=https://mirrors.aliyun.com/zabbix/non-supported/rhel/7/$basearch/
enabled=1
gpgkey=file:///etc/pki/rpm-gpg/RPM-GPG-KEY-ZABBIX
gpgcheck=0
yum install zabbix-server
zabbix-server : zabbix-server-mysql
yum install -y mariadb-server
systemctl enable --now mariadb

%建立数据库zabbix、建立数据库用户zabbix、授权
mysql> create database zabbix character set utf8 collate utf8_bin;
mysql>create user 'zabbix'@'localhost' identified by 'westos';
mysql> grant all privileges on zabbix.* to 'zabbix'@'localhost';

%将数据导入到zabbix库中
zcat /usr/share/doc/zabbix-server-mysql-4.0.27/create.sql.gz | mysql -uzabbix -pwestos zabbix

%编写配置文件
vim /etc/zabbix/zabbix_server.conf
DBHost=localhost
DBName=zabbix
DBUser=zabbix
DBPassword=westos

%设置zabbix-server开机自启(server端)
systemctl enable --now zabbix-server

yum install -y zabbix-agent
systemctl enable --now zabbix-agent    %agent负责节点数据采集
注意:主机的selinux和防火墙都要关闭
相关官方文档:
https://www.zabbix.com/documentation/4.0/zh/manual/appliance.
https://www.zabbix.com/documentation/4.0/manual/appendix/install/db_scripts.
二、登录与相关用户配置
server端:
yum install -y zabbix-web-mysql php-bcmath-5.4.16-46.el7.x86_64.rpm php-mbstring-5.4.16-46.el7.x86_64.rpm
vim /etc/httpd/conf.d/zabbix.conf
php_value date.timezone Asia/Shanghai 修改时区
systemctl enable --now httpd
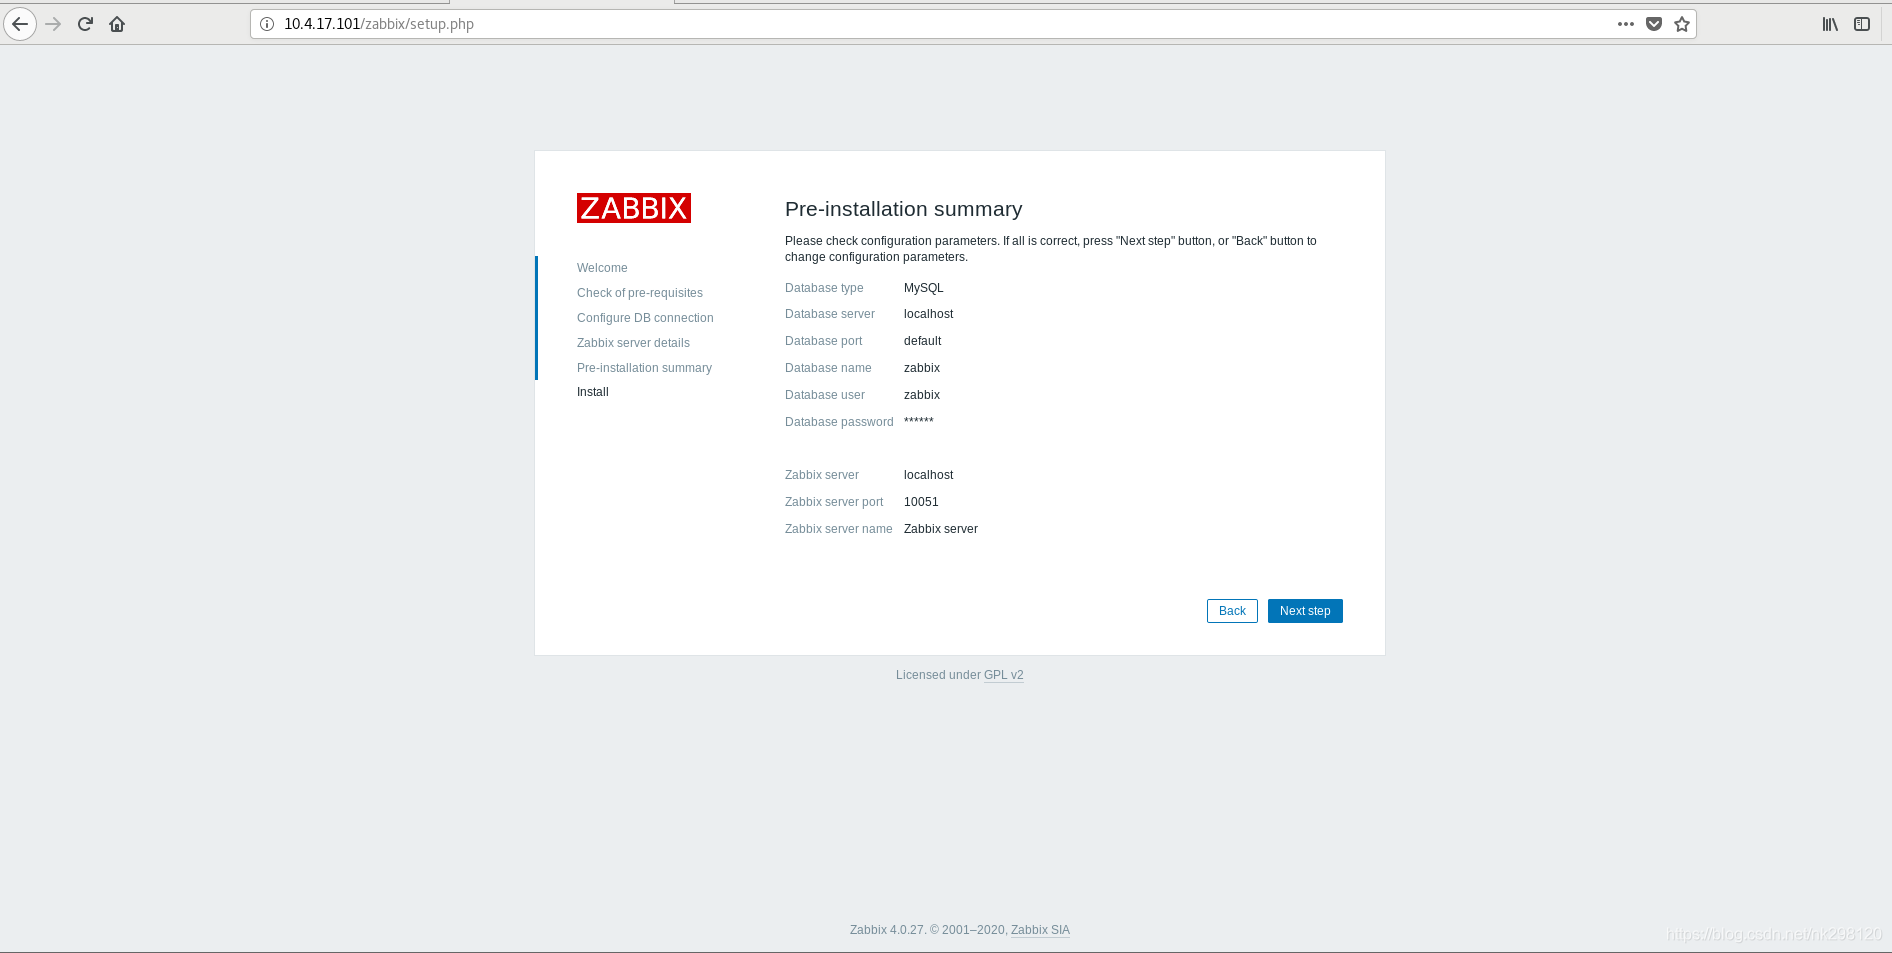
完成上述操作后就可访问到zabbix的web界面访问方式为:server端ip地址/zabbix
之后输入数据库用户密码(之前设置的),输入zabbix server:localhost zabbix server port:10051 zabbix server name:zabbix
之后再输入用户名 Admin 以及密码 zabbix 登陆zabbix管理界面,此时身份为管理员,可以进行任意配置

三、agent端配置
在另一台主机中:
yum install zabbix-agent
vim /etc/zabbix/zabbix_agentd.conf
Server=10.4.17.101
Hostname=server2 (本主机主机名)
systemctl restart zabbix-agent.service
注意:同样要关闭selinux和防火墙并且做好解析