Angular入门之环境搭建(VS code)
https://blog.csdn.net/srk950606/article/details/70990042
Angular4.x开发环境及项目创建(一)
https://blog.csdn.net/nearboter/article/details/78331861
angular2最详细的开发环境搭建过程
https://www.cnblogs.com/lingzhihua/p/6358857.html
windows 10 搭建angular开发环境
https://www.cnblogs.com/lilunpai/articles/7992538.html一.安装Node.js
官方网址:https://nodejs.org/en/download/
- 1
- 2
- 在命令行中输入:node -v 和 npm -v 验证版本
二.全局安装Angular CLI 脚手架工具
- 使用npm命令安装
npm install -g @angular/cli - 1
安装cnpm
国内直接装经常会出问题,所以设置为淘宝镜像地址会更好。
npm install -g cnpm --registry=https://registry.npm.taobao.org- 1
安装angular/cli失败的方法
npm uninstall -g @angular/cli //卸载angular/cli /- 1
npm cache clean //清除缓存- 1
cnpm install -g @angular/cli //重新安装- 1
- 检测 Angular CLI 是否安装成功
ng -v //查看版本能否正常显示- 1
三.创建项目
先到cmd里进入项目所在的目录,用cd命令进入。
- 新建项目名
ng new angular01 //- 1
- 进入所建目录启动服务
cd angular01- 1
cnpm install //安装依赖 - 1
ng serve --open //启动服务- 1
PS:除了用ngserve启动项目之外,也可以在命令提示符中直接输入:cnpm start开启。
四.项目的基本目录结构
.
├── README.md
├── e2e
│ ├── app.e2e-spec.ts
│ ├── app.po.ts
│ └── tsconfig.e2e.json
├── karma.conf.js
├── package.json
├── protractor.conf.js
├── src //主目录
│ ├── app
│ │ ├── app.component.css
│ │ ├── app.component.html
│ │ ├── app.component.spec.ts
│ │ ├── app.component.ts //组件
│ │ └── app.module.ts //根模块
│ ├── assets
│ ├── environments
│ │ ├── environment.prod.ts
│ │ └── environment.ts
│ ├── favicon.ico
│ ├── index.html
│ ├── main.ts
│ ├── polyfills.ts
│ ├── styles.css
│ ├── test.ts
│ ├── tsconfig.app.json
│ ├── tsconfig.spec.json
│ └── typings.d.ts
├── tsconfig.json
└── tslint.json
五.补充命令
Angualr CLI提供了许多常用命令供我们选择:
ng generate class my-new-class              // 新建 class
ng generate component my-new-component      // 新建组件
ng generate directive my-new-directive      // 新建指令
ng generate enum my-new-enum                // 新建枚举
ng generate module my-new-module            // 新建模块
ng generate pipe my-new-pipe                // 新建管道
ng generate service my-new-service // 新建服务- 1
- 2
- 3
- 4
- 5
- 6
- 7
ng g cl my-new-class        // 新建 class
ng g c my-new-component     // 新建组件
ng g d my-new-directive     // 新建指令
ng g e my-new-enum          // 新建枚举
ng g m my-new-module        // 新建模块
ng g p my-new-pipe          // 新建管道
ng g s my-new-service // 新建服务- 1
- 2
- 3
- 4
- 5
- 6
- 7
============================================================================
windows 10 搭建angular开发环境
一、环境介绍
1、开发环境:Windows10
2、开发ide工具:VS code https://code.visualstudio.com/
二、准备环境
1、下载并安装nodejs(建议下载LTS版本),安装过程中会默认添加path,不要不小心取消掉了。
2、Nodejs安装完成之后,先使用下面两个命令检查安装是否正常,如果正常话应该会显示相应的版本号。
|
1
2
|
node -v 查看node版本
npm -v 查看npm版本
|
3、安装Typescript和Angular CLI
安装之前我们先设置一下淘宝镜像,这样npm下载速度会快一些
|
1
|
npm config set registry https://registry.npm.taobao.org
|
接下来,我们就可以真正的安装Typescript了。
|
1
|
npm install -g typescript typings
|
之后安装Angular CLI,此处注意不要使用angular-cli
|
1
|
npm install -g @angular/cli
|
三、安装失败以及解决办法
1、Angular CLI安装失败,使用下面命令卸载,然后重新安装
npm uninstall @angular/cli
npm cache clean
npm cache verify --force
执行上面命令之后,找到C盘-->用户-->你登录的账户-->AppData-->Roaming-->npm目录并且删除
2、缺少Python环境
a、下载并安装Python,官方下载
b、安装时,最好直接安装到C盘根目录,比如C:\Python27\python.exe
c、检查配置环境变量path路径,电脑->属性->高级配置->环境变量->把安装的Python路径复制到path里面就可以了
四、配置VS code
1、点击菜单中的【调试】按钮,选择【安装其他调试器】,然后搜索 Debugger for Chrome 并安装
2、找到launch.json文件,并修改一下内容

 1 {
 2     // 使用 IntelliSense 了解相关属性。
 3     // 悬停以查看现有属性的描述。
 4     // 欲了解更多信息,请访问: https://go.microsoft.com/fwlink/?linkid=830387
 5     "version": "0.2.0",
 6     "configurations": [
 7         {
 8             "type": "Chrome",
 9             "request": "launch",
10             "name": "Launch Chrome with ng serve",
11             "sourceMaps": true,
12             "url": "http://localhost:4200",
13             "webRoot": "${workspaceRoot}"
14         }
15     ]
16 }
3、在VS code 中的终端里面输入 ng serve,项目就会启动
最后就可以直接F5启动并且任意debug调试了
============================================================================
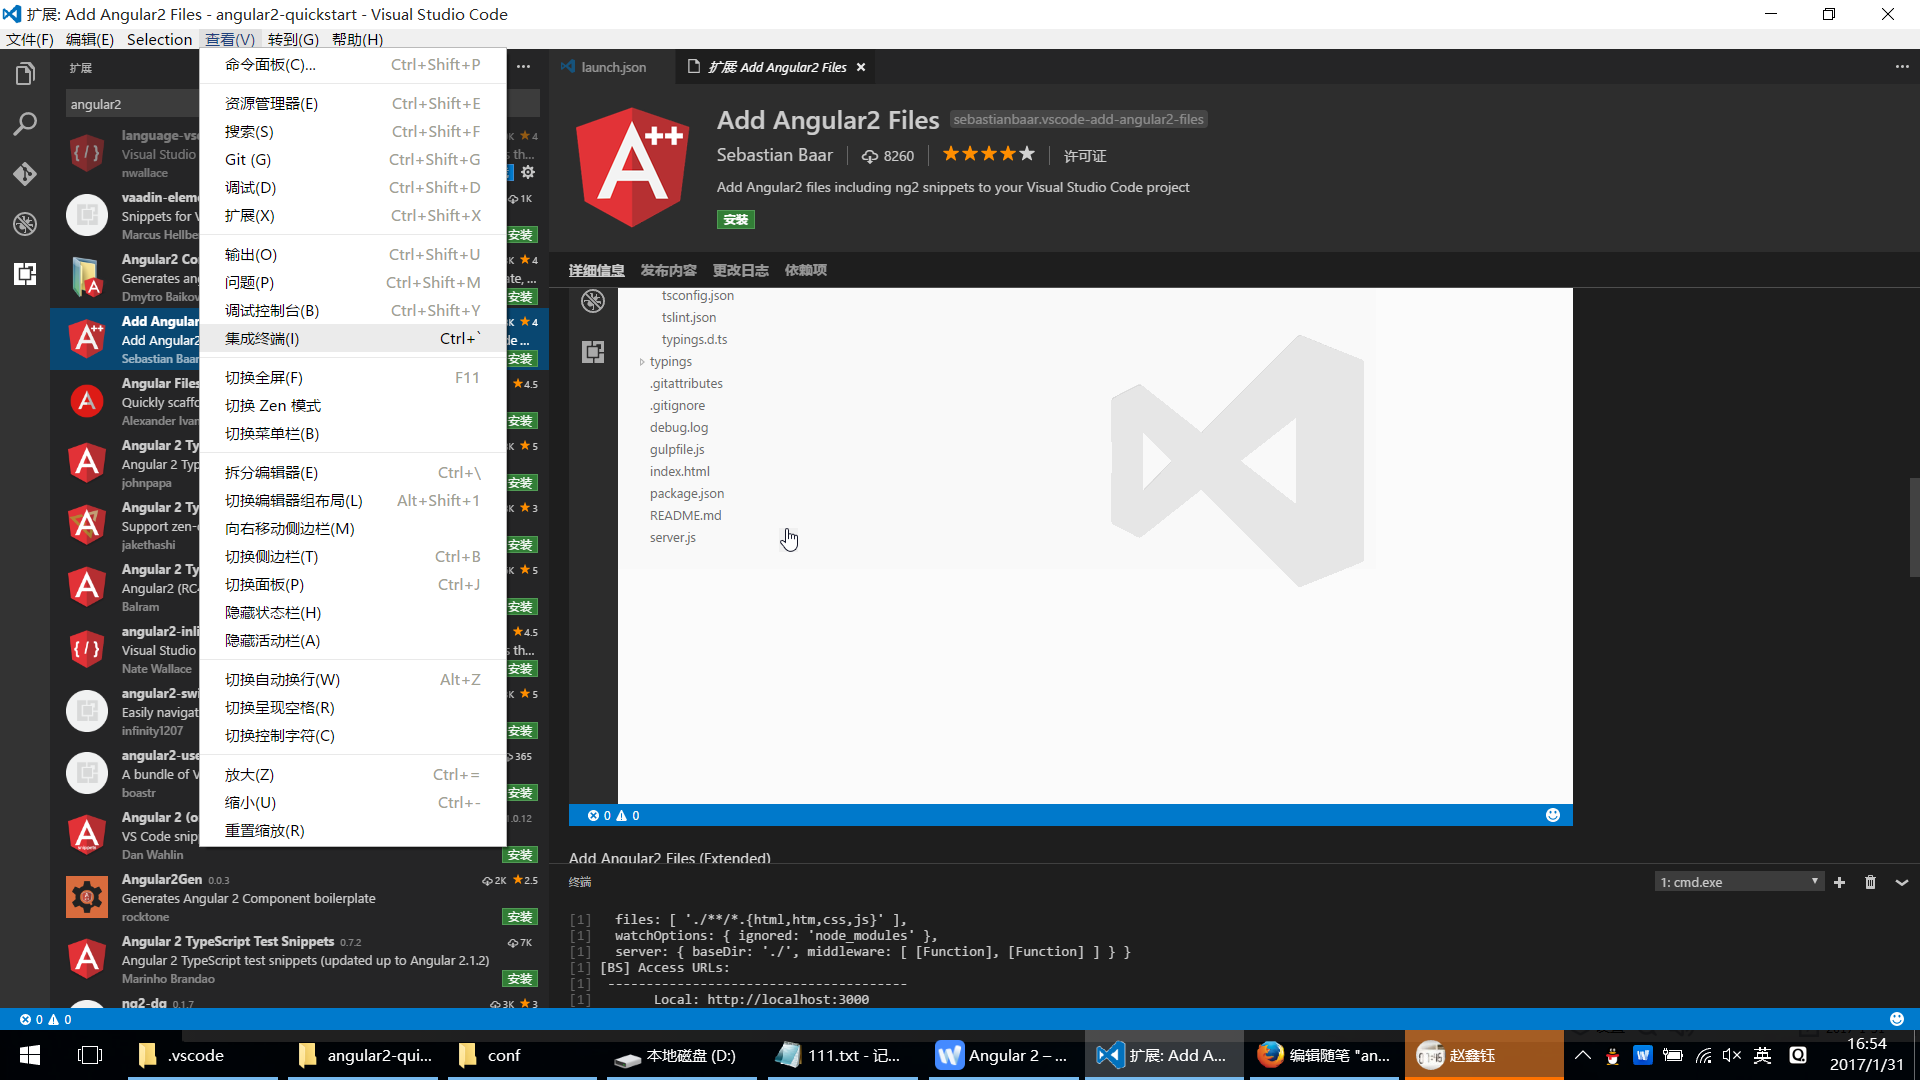
在vcode安装debugger for chrome插件。
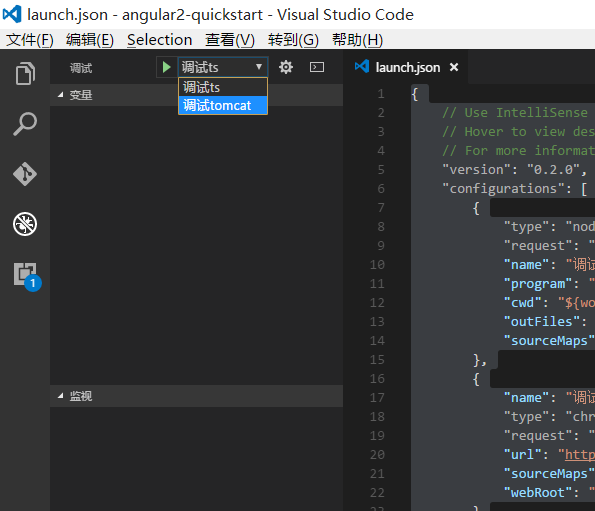
launch.json:
{
// Use IntelliSense to learn about possible Node.js debug attributes.
// Hover to view descriptions of existing attributes.
// For more information, visit: https://go.microsoft.com/fwlink/?linkid=830387
"version": "0.2.0",
"configurations": [
{
"type": "node",
"request": "launch",
"name": "调试ts",
"program": "${workspaceRoot}\\index.js",
"cwd": "${workspaceRoot}",
"outFiles": [],
"sourceMaps": true
},
{
"name": "调试tomcat",
"type": "chrome",
"request": "launch",
"url": "http://127.0.0.1:8080/angular2/index.html",
"sourceMaps": true,
"webRoot": "D:\\ts\\angular2-quickstart"
}
]
}
关闭所有的谷歌chrome浏览器。
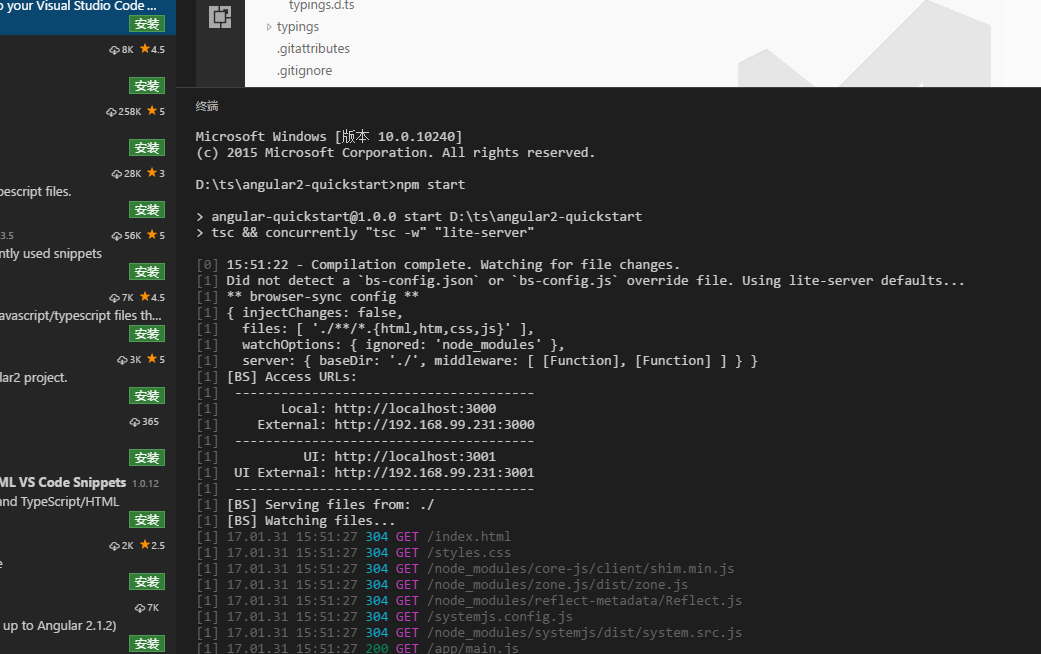
点击vscode的集成终端,输入npm start
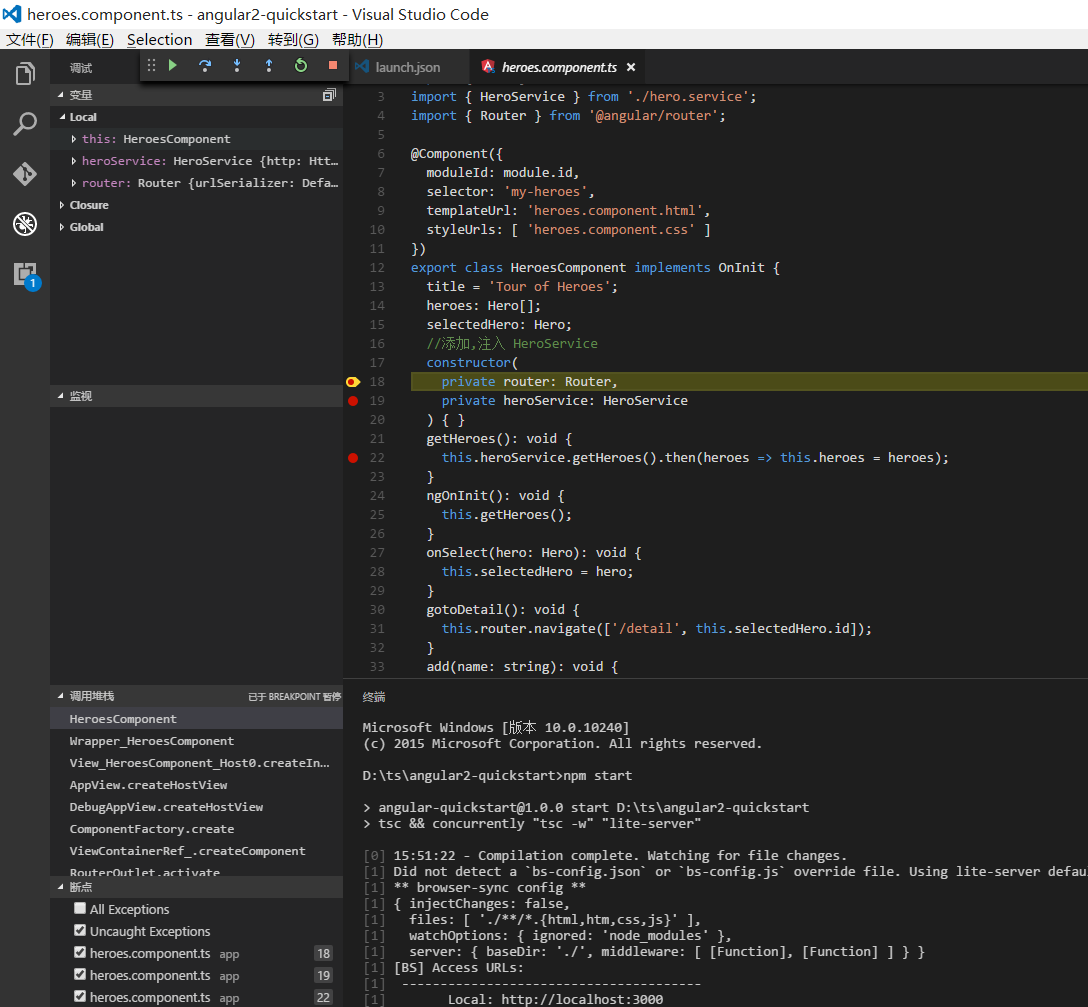
找到任意的typescript文件,打断点,点击vscode的调试,debug运行即可
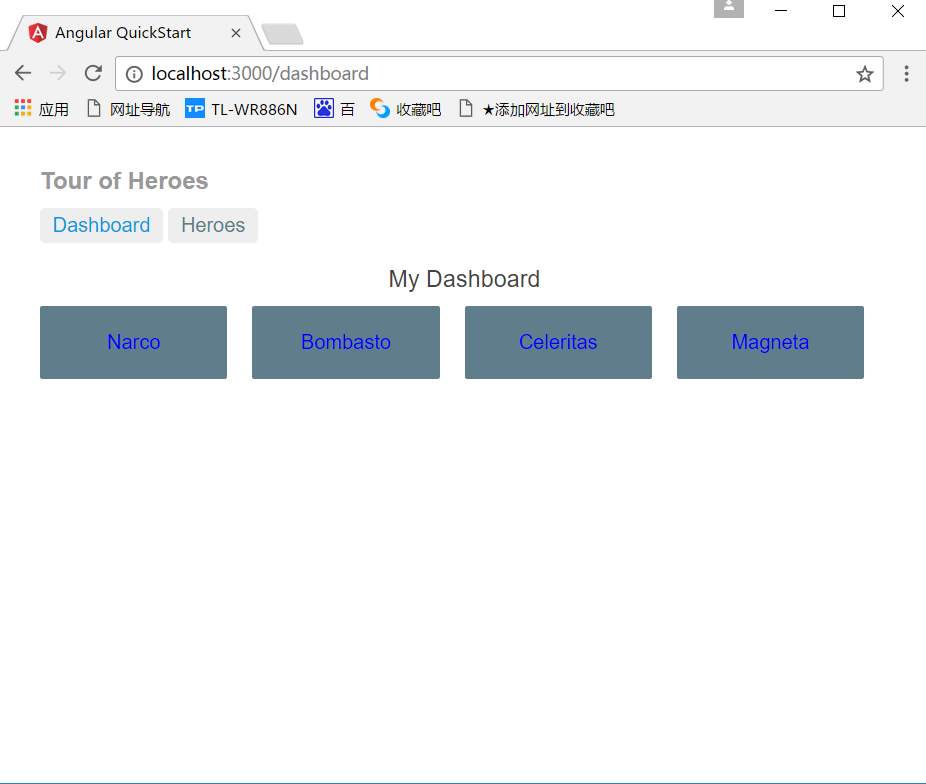
运行出现下面的界面:
在下面打断点:
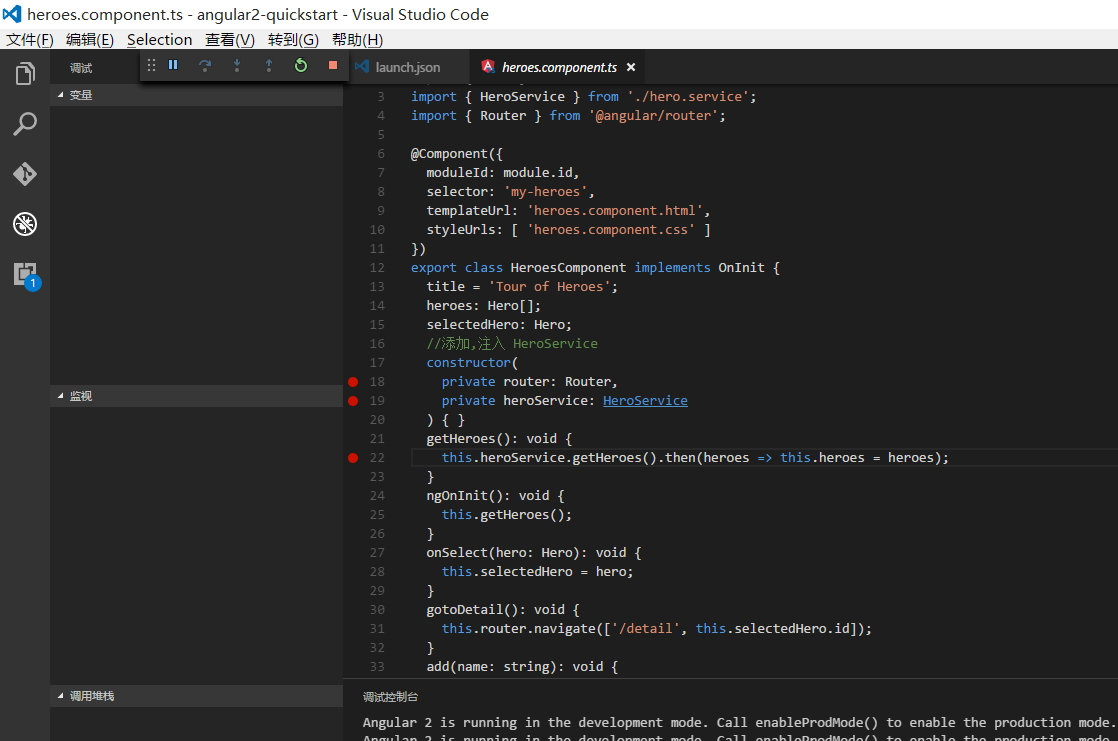
点击 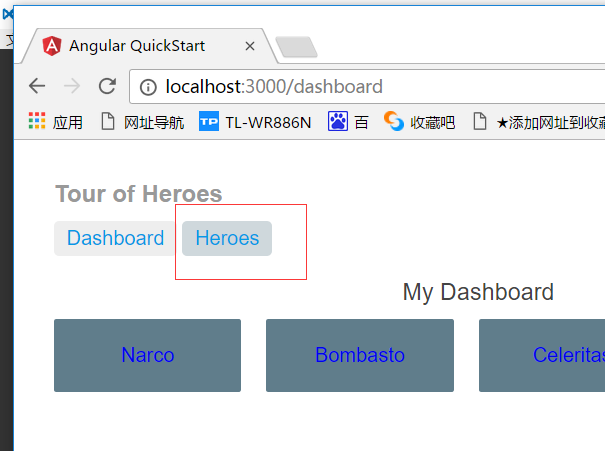
vscode自动进入中断: