目录
五、使用Spring Initializer快速创建SpringBoot项目
一、SpringBoot的好处
SpringBoot是简化应用开发的一个框架:
1.快速创建项目,并与主流框架集成
2.无需打成war包
3.starters自动依赖与版本控制
4.大量自动配置,无xml
5.与云计算天然集成
二、环境配置
1.maven
maven的setting里的<profiles>标签里面设置如下:

<?xml version="1.0" encoding="UTF-8"?>


<settings xmlns="http://maven.apache.org/SETTINGS/1.0.0"
          xmlns:xsi="http://www.w3.org/2001/XMLSchema-instance"
          xsi:schemaLocation="http://maven.apache.org/SETTINGS/1.0.0 http://maven.apache.org/xsd/settings-1.0.0.xsd">

  <localRepository>D:/mavenSource/xupeng_springBoot/resource</localRepository>

  <pluginGroups>
  </pluginGroups>


  <proxies>
  </proxies>


  <servers>
  </servers>

  <mirrors>
	<mirror>
      <id>mirrorId</id>
      <mirrorOf>repositoryId</mirrorOf>
      <name>Human Readable Name for this Mirror.</name>
      <url>http://my.repository.com/repo/path</url>
    </mirror>
	<mirror>
          <id>oschina-repo</id>
          <name>openSourceChina</name>
          <mirrorOf>central</mirrorOf>
          <url>http://maven.aliyun.com/nexus/content/groups/public/</url>
      </mirror>

  </mirrors>

  <profiles>
	<id>jdk-1.8</id>
	<activation>
		<activeByDefault>true</activeByDefault>
		<jdk>1.8</jdk>
	</activation>
	<properties>
		<maven.compiler.source>1.8</maven.compiler.source>
		<maven.compiler.target>1.8</maven.compiler.target>
		<maven.compiler.compilerVersion>1.8</maven.compiler.compilerVersion>
	</properties>
  </profiles>
</settings>
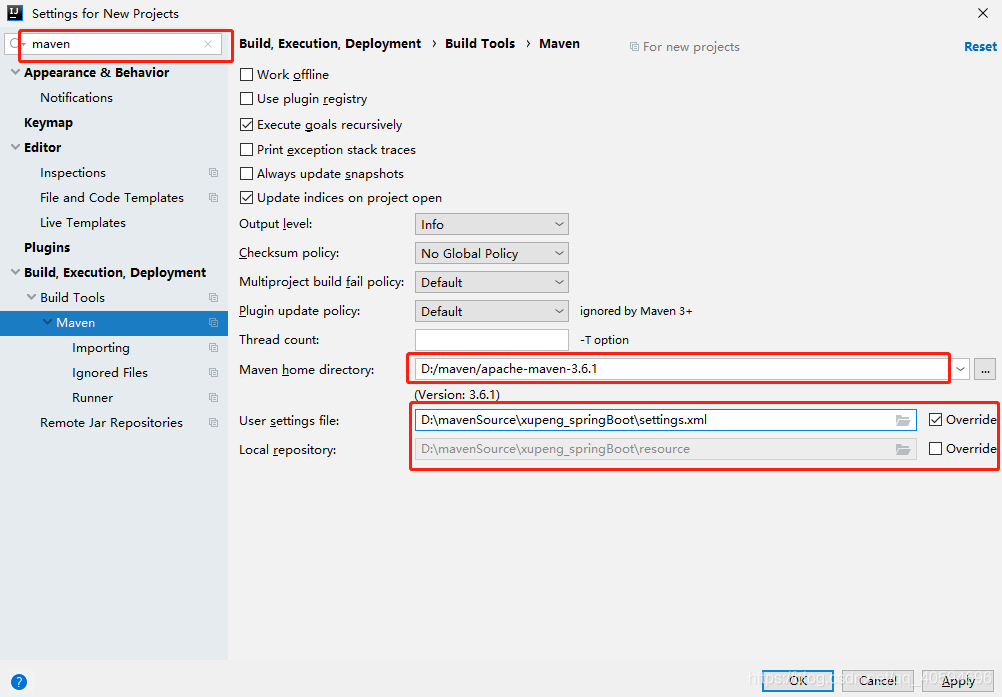
2.idea
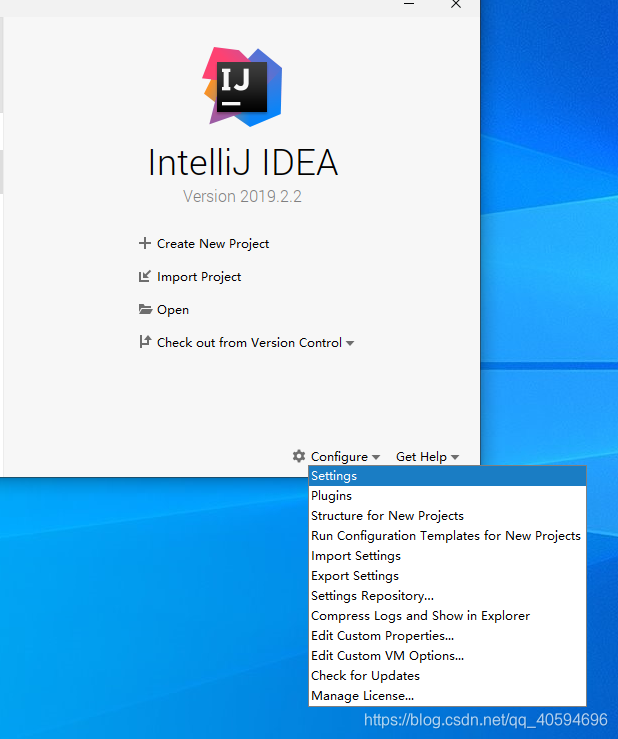
左上角输入"maven",选择对应的maven和配置文件
三、HelloWorld
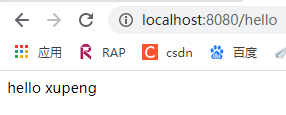
实现功能:浏览器发送hello,服务器接收请求并处理,响应HelloWorld字符串。
1.创建maven工程


2.导入spring boot相关的依赖
pom.xml

 <parent>
        <groupId>org.springframework.boot</groupId>
        <artifactId>spring-boot-starter-parent</artifactId>
        <version>1.5.9.RELEASE</version>
    </parent>
    <dependencies>
        <dependency>
            <groupId>org.springframework.boot</groupId>
            <artifactId>spring-boot-starter-web</artifactId>
        </dependency>
    </dependencies>
3.编写主程序类
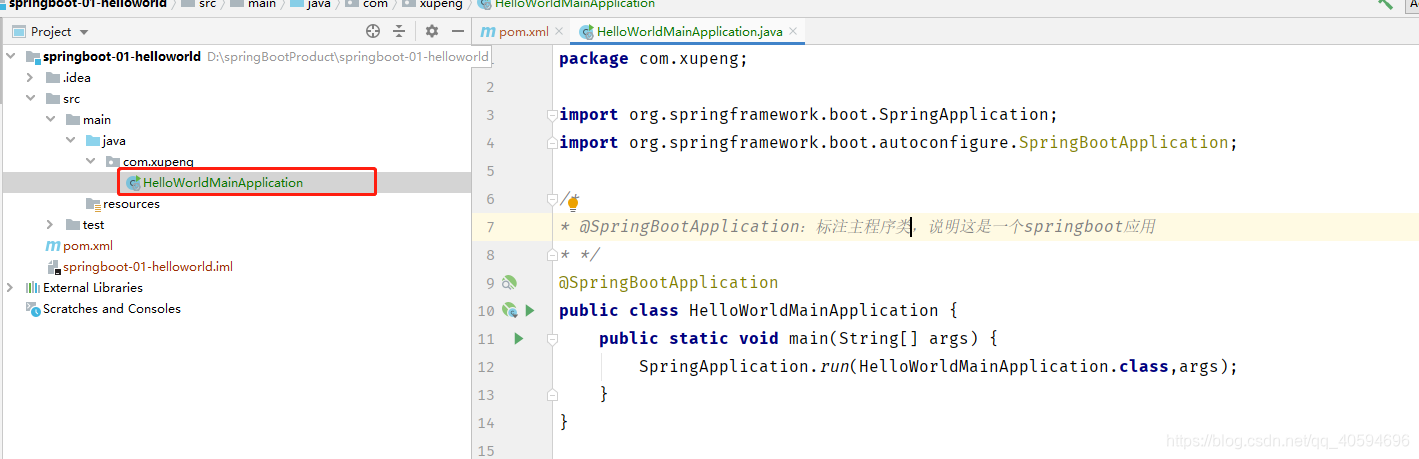
HelloWorldMainApplication:
/*
* @SpringBootApplication:标注主程序类,说明这是一个springboot应用
* */
@SpringBootApplication
public class HelloWorldMainApplication {
    public static void main(String[] args) {
        SpringApplication.run(HelloWorldMainApplication.class,args);
    }
}
4.编写相关controller

HelloController:
@Controller
public class HelloController {
    @ResponseBody
    @RequestMapping("/hello")
    public String hello(){
        return "hello xupeng";
    }
}
5.运行
点击启动类前面的绿色按钮

6.部署

在pom.xml中加入如下配置:
    <!--这个插件可以将应用打包成一个可执行的jar包-->
    <build>
        <plugins>
            <plugin>
                <groupId>org.springframework.boot</groupId>
                <artifactId>spring-boot-maven-plugin</artifactId>
            </plugin>
        </plugins>
    </build>
依次点击clean,install,package。会看到生成一个jar包。将这个jar包复制到桌面上。
右击打开这个jar包,复制他的路径。然后进入cmd运行:
java -jar

四、分析HelloWorld(本章涉及源码,可以跳过)
如果你上面走完了,是不是只有一个字:爽?那么我们来分析分析,springboot是怎么运作的:
1.spring-boot-starter-parent
我们在<parent>里面点进去,再点进<parent>里,最后来到spring-boot-dependencies里面,这里是版本仲裁中心,它帮我们导入了很多jar包以及对应的版本,因此后面很多jar包我们导入不需要依赖。
当然如果版本仲裁中心没有的依赖,我们需要手动添加版本


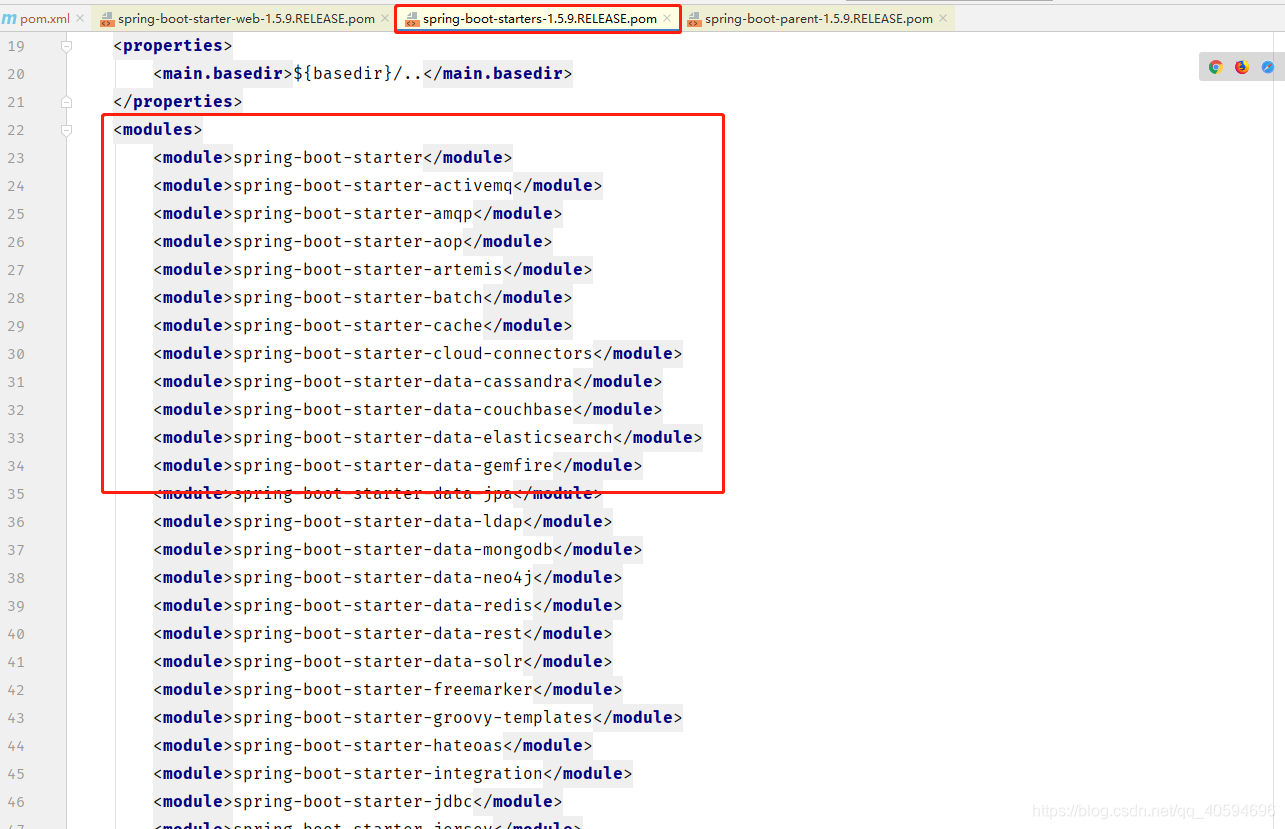
2.spring-boot-starter-web
spring-boot-starter-web的父亲是spring-boot-starter
spring-boot-starter:spring-boot场景启动器,帮我们导入正常运行所依赖的组件。
spring-boot-starter-web:spring-boot-starter-web帮我们导入web模块正常运行所依赖的组件。
(看着这些依赖,确实想到了之前学习mvc时候的日子。。。)

springboot将所有场景都抽取出来,做成一个个starters(启动器),只需要在项目中引入这些starter,相关场景的所有依赖都会导入进来
3.启动类
@SpringBootApplication:标注主配置类,SpringBoot运行这个类的main方法来启动SpringBoot应用

@SpringBootApplication是由一系列注解组成:

(1)@SpringBootConfiguration:表示这是一个SpringBoot的配置类- @Configuration:这个注解表示注解的类是一个配置类。其中一个配置类对应以前的一个配置文件。
- @Configuration配置类也是容器中的一个组件@Component,也就是说,会被spring容器IOC,DI
(2)@EnableAutoConfiguration:开启自动配置功能自动配置功能免去我们手动编写配置注入功能组件等的工作。
-
@AutoConfigurationPackage:自动配置包。我们点进去这个注解,看到有一个@Import({Registrar.class})。进入到Registrar里,看到registerBeanDefinitions方法,我们以断点的方式打开,然后计算getPackageName,会发现得到的是配置类的路径名。也就是说,这个注解将主配置类(@SpringBootApplication)的所在包及厦门所有子包的所有组件扫描进spring容器 -
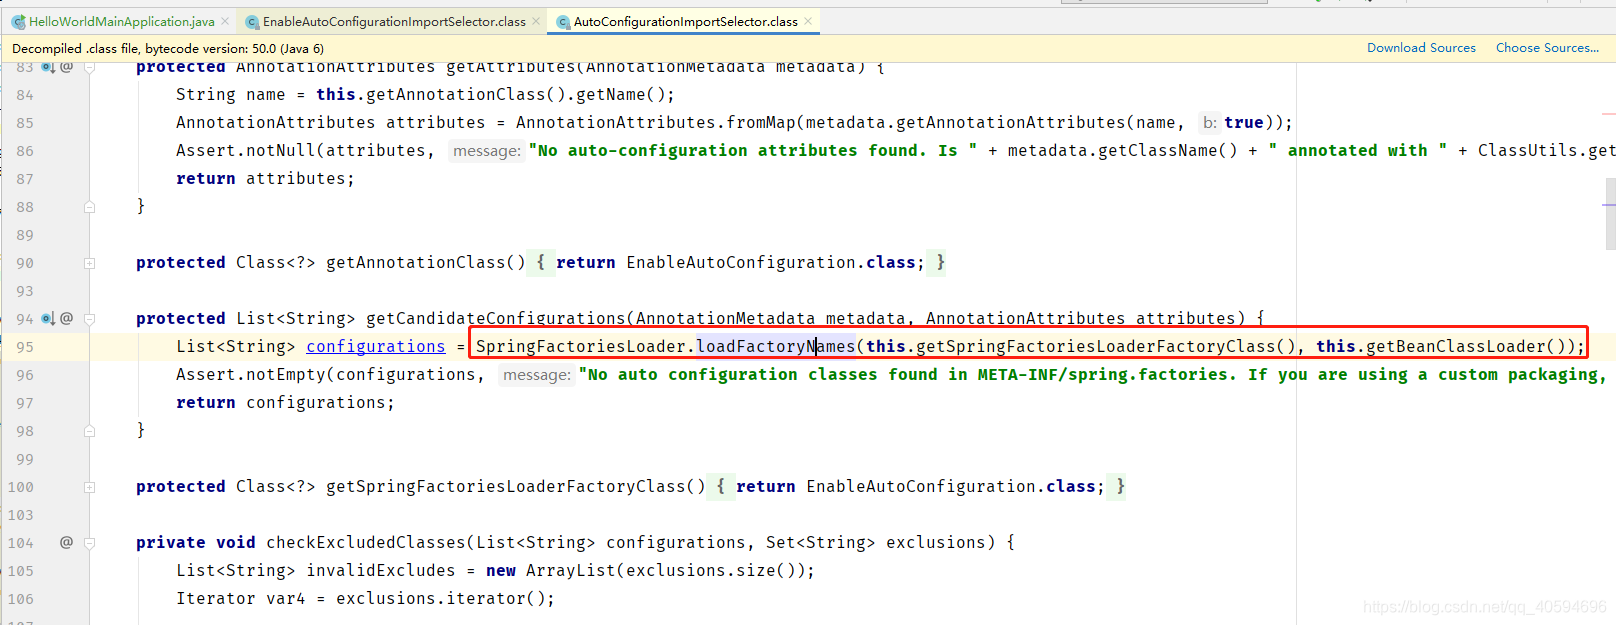
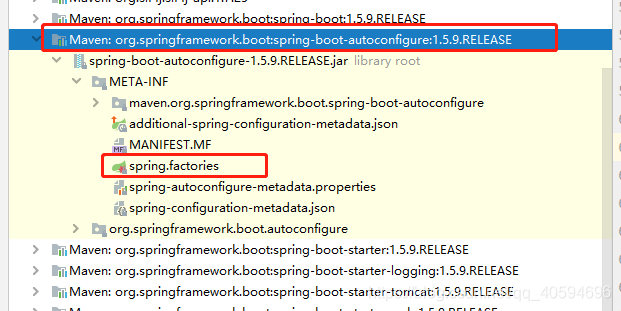
- @EnableAutoConfiguration下面还有一个EnableAutoConfigurationImportSelector类:将所有需要导入的组件以全类名的方式返回,这些组件被添加到容器中,给容器导入非常多的自动配置类。其中selectImports里的getCandidateConfigurations下面的有一个SpringFactoriesLoader.loadFactoryNames方法,该方法指定了需要加载的组件的来源:META-INF/spring.factories。我们然后进到spring-boot-autoconfigure.jar里面的spring.factories,这里指定了我们需要导入的组件。


五、使用Spring Initializer快速创建SpringBoot项目
1.选择Spring Initializr创建spring项目
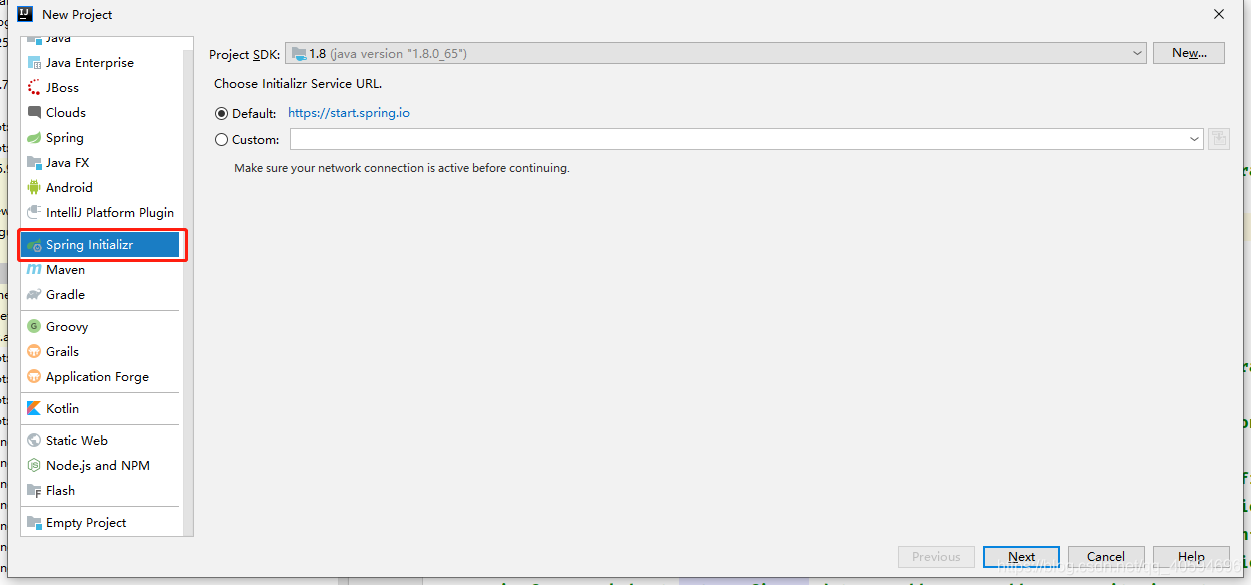

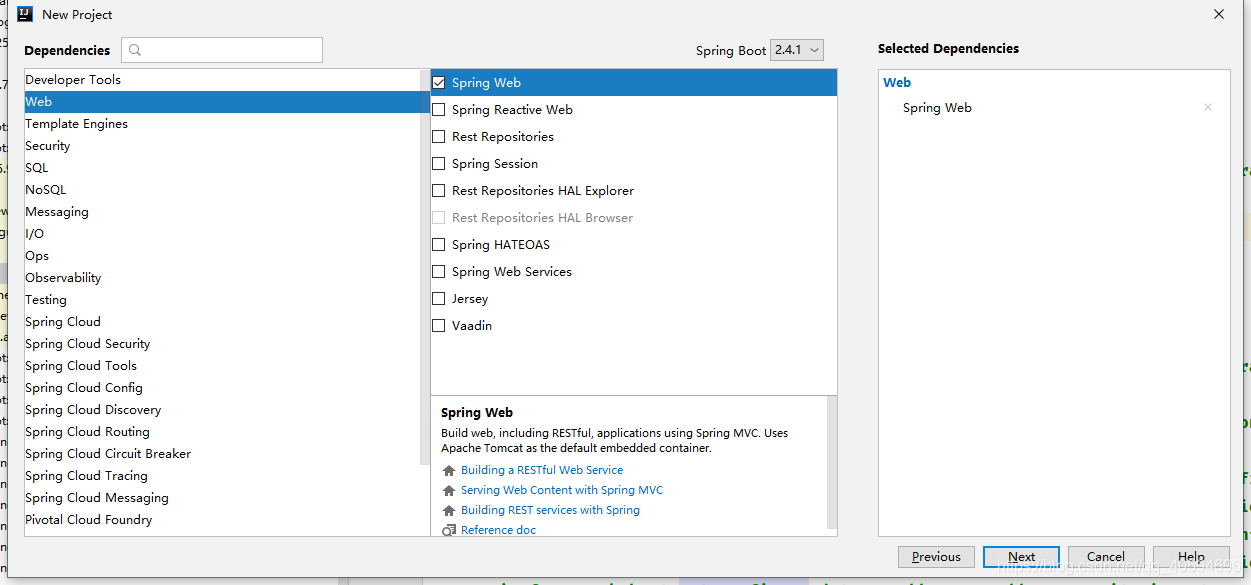
这就创建好了

2.创建controller
HelloController:
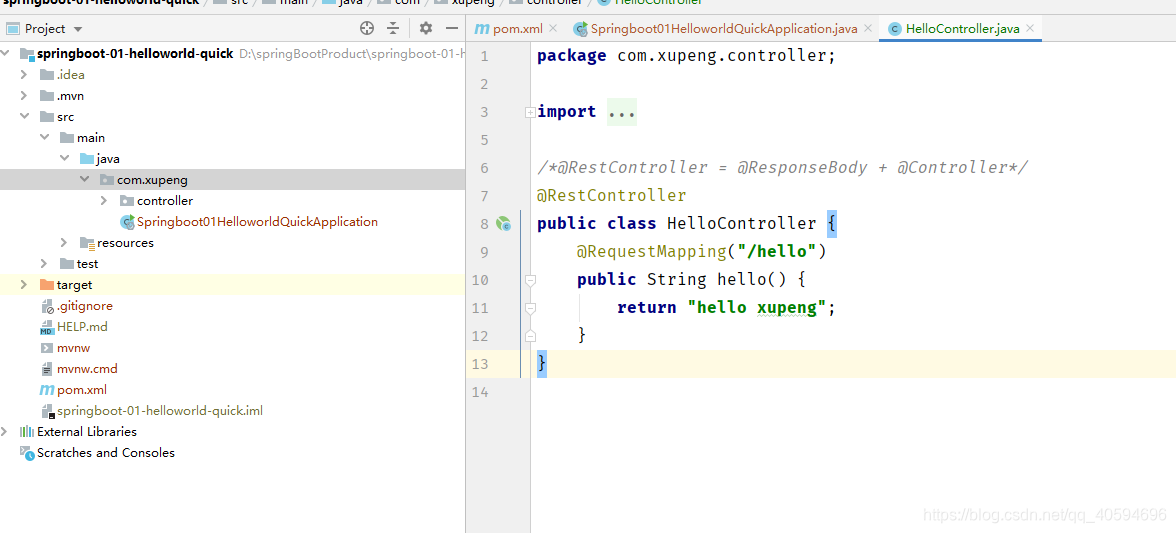
/*@RestController = @ResponseBody + @Controller*/
@RestController
public class HelloController {
    @RequestMapping("/hello")
    public String hello() {
        return "hello xupeng";
    }
}
3.目录
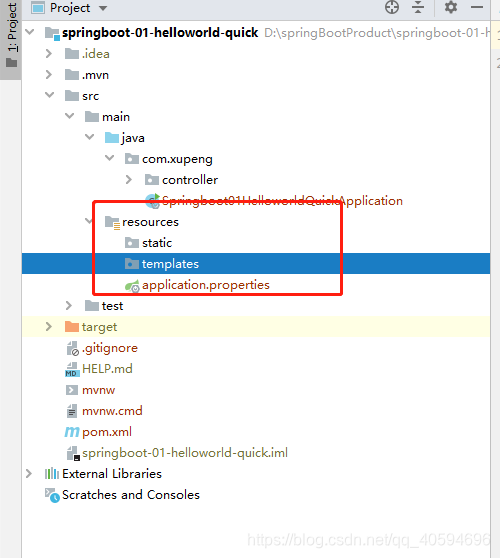
static:保存所有静态资源:js,css image
templates:保存所有模板页面(springboot不支持jsp),可以使用模板引擎(freemarker,thymeleaf)
application.properties:springboot应用的配置文件,可以修改一些默认属性