pom
<dependency>
            <groupId>org.springframework.cloud</groupId>
            <artifactId>spring-cloud-starter-netflix-hystrix-dashboard</artifactId>
        </dependency>
        <dependency>
            <groupId>org.springframework.boot</groupId>
            <artifactId>spring-boot-starter-actuator</artifactId>
        </dependency>

        <dependency>
            <groupId>org.springframework.boot</groupId>
            <artifactId>spring-boot-devtools</artifactId>
            <scope>runtime</scope>
            <optional>true</optional>
        </dependency>
        <dependency>
            <groupId>org.projectlombok</groupId>
            <artifactId>lombok</artifactId>
            <optional>true</optional>
        </dependency>
        <dependency>
            <groupId>org.springframework.boot</groupId>
            <artifactId>spring-boot-starter-test</artifactId>
            <scope>test</scope>
        </dependency>
2.启动类加上@EnableHystrixDashboard
3.在被监控的启动类下面加上配置
/**
     *此配置是为了服务监控而配置,与服务容错本身无关,springcloud升级后的坑
     *ServletRegistrationBean因为springboot的默认路径不是"/hystrix.stream",
     *只要在自己的项目里配置上下面的servlet就可以了
     */
    @Bean
    public ServletRegistrationBean getServlet() {


        HystrixMetricsStreamServlet streamServlet = new HystrixMetricsStreamServlet();
        ServletRegistrationBean registrationBean = new ServletRegistrationBean(streamServlet);
        registrationBean.setLoadOnStartup(1);
        registrationBean.addUrlMappings("/hystrix.stream");
        registrationBean.setName("HystrixMetricsStreamServlet");
        return registrationBean;
    }
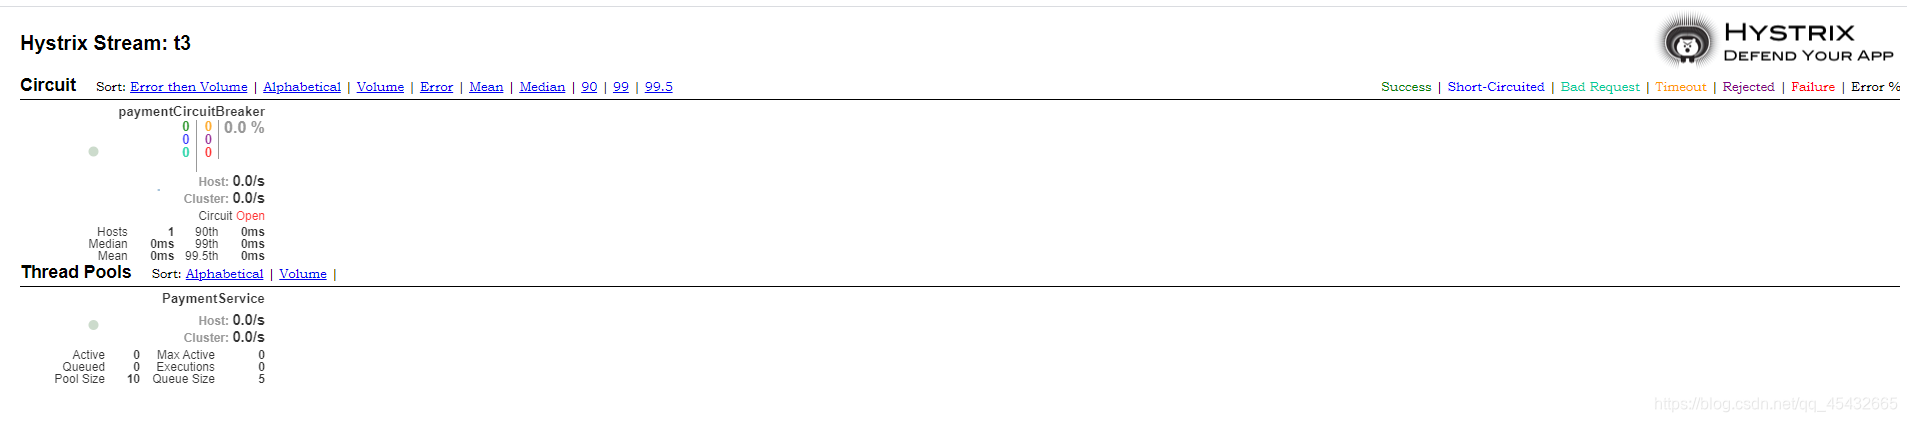
访问监控服务的端口 如:http://localhost:9001/hystrix
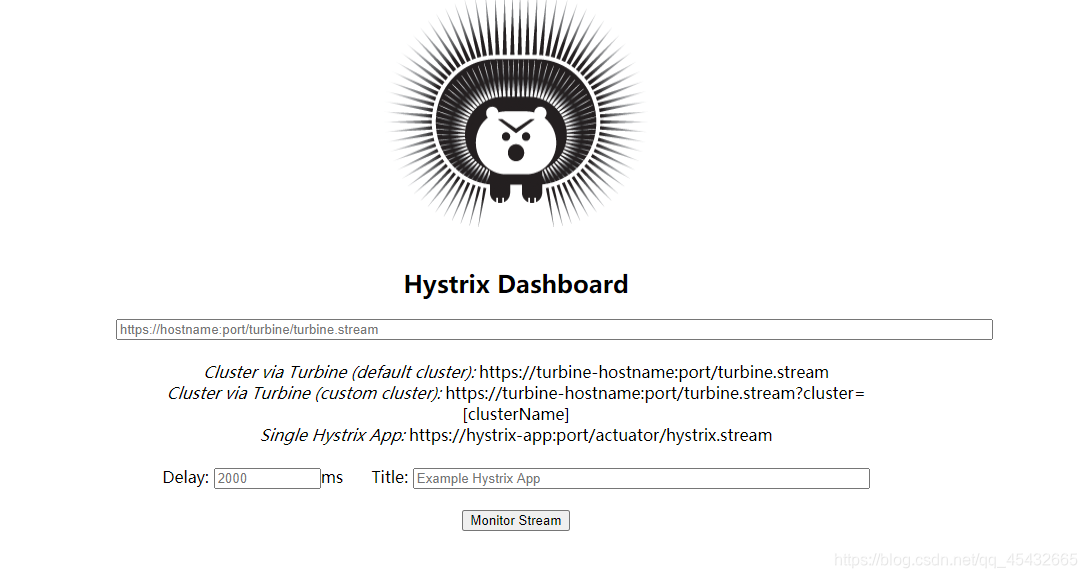
输入需要监控的端口如:http://localhost:8001/hystrix.stream,就可以进入监控界面