上一篇介绍了JWT的构成以及JWT作为请求令牌的实战应用,包括令牌的创建,令牌的解析等等。本篇就来讨论另一个JWT的应用场景,基于JWT实现SSO单点登录。
什么是SSO单点登录?
场景演示
- 首先可以打开淘宝(域名:
https://www.taobao.com/),如下,然后点击淘宝页面的天猫按钮打开天猫页面(域名:https://www.tmall.com/),此时都是未登录状态,选择登录跳到登录页面,会发现域名又是另一个:https://login.taobao.com/ - 登录后自动跳回到淘宝首页,重新打开天猫(或者刷新天猫页面)发现天猫也已经登录了。

- 一次登录,多个不同域名下的服务器资源都可以访问,这就是单点登录。
流程图解
- 首先需要有多个应用服务器(这里用两个来演示),还需要一个认证服务器。
- 图解说明:
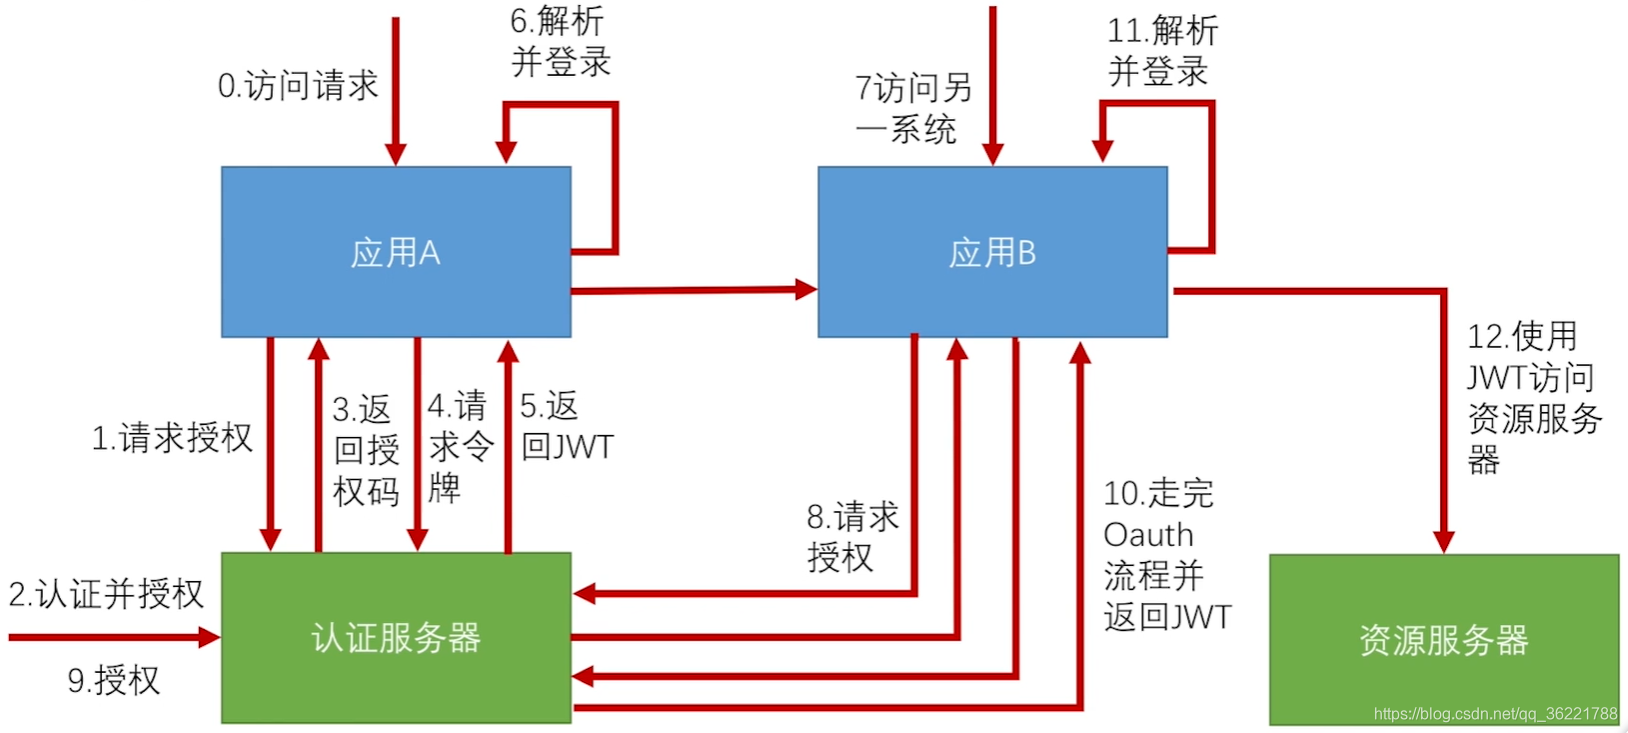
流程说明
- 如上图所示,应用A就相当于淘宝,应用B相当于天猫,认证服务器就相当于跳转登录页面所在的服务器。
- 当请求访问应用A时,应用A会向认证服务器请求授权,用户会在认证服务器进行认证授权。
- 授权成功后会返回授权码给到应用A,应用A再请求访问令牌,认证服务器验证授权码成功后生成并返回JWT令牌给应用A。
- 应用A就能够拿着JWT令牌进行资源访问了(截至目前,以上从第0步到第6步都是
标准的OAuth2.0授权码模式的登录流程)。 - 对于应用A跳到应用B或者直接打开应用B的新页面这种情况,对应用B来说还是个未授权的状态,它也一样会请求认证服务器进行授权。
- 因为应用A已经授权登录过,认证服务器能识别应用B(认证服务器已配置),所以不再需要应用B重新登录,认证服务器会走完OAth流程,然后返回一个新的JWT给到应用B,这时候应用B就能访问服务器资源了。
实现
- 首先注意上面的流程是
基于Http调度的,不局限于使用什么技术栈实现,甚至不局限于语言,Java或是PHP或是其他语言都能实现。接下来我们将用Spring Security OAuth这套技术栈对单点登录进行简单实现。
创建认证服务器
- 模块名称:
sso-server - 引入的包
	<dependencies>
		<dependency>
			<groupId>org.springframework.boot</groupId>
			<artifactId>spring-boot-starter-security</artifactId>
		</dependency>
		<dependency>
			<groupId>org.springframework.boot</groupId>
			<artifactId>spring-boot-starter-web</artifactId>
		</dependency>
		<dependency>
			<groupId>org.springframework.security.oauth</groupId>
			<artifactId>spring-security-oauth2</artifactId>
		</dependency>
		<dependency>
			<groupId>org.springframework.security</groupId>
			<artifactId>spring-security-jwt</artifactId>
		</dependency>
	</dependencies>
- 创建OAuth认证服务器的配置,继承AuthorizationServerConfigurerAdapter
@Configuration
@EnableAuthorizationServer
public class SsoAuthorizationServerConfig extends AuthorizationServerConfigurerAdapter {


	@Override
	public void configure(ClientDetailsServiceConfigurer clients) throws Exception {


		clients.inMemory()
				// 配置将会给到 meicloud1 应用发令牌
				.withClient("meicloud1")
				.secret("meicloudsecrect1")
				// 授权类型和授权码
				.authorizedGrantTypes("authorization_code", "refresh_token")
				.scopes("all")
				.and()
				// 配置将会给到 meicloud2 应用发令牌
				.withClient("meicloud2")
				.secret("meicloudsecrect2")
				.authorizedGrantTypes("authorization_code", "refresh_token")
				.scopes("all");
	}

	@Override
	public void configure(AuthorizationServerEndpointsConfigurer endpoints) throws Exception {


		endpoints.tokenStore(jwtTokenStore()).accessTokenConverter(jwtAccessTokenConverter());
	}

	@Override
	public void configure(AuthorizationServerSecurityConfigurer security) throws Exception {


		// Spring Security的授权表达式,意思是要访问认证服务器的tokenKey的时候需要经过身份认证,这里即下面给JWT签名用的秘钥
		security.tokenKeyAccess("isAuthenticated()");
	}

	@Bean
	public TokenStore jwtTokenStore() {


		return new JwtTokenStore(jwtAccessTokenConverter());
	}

	@Bean
	public JwtAccessTokenConverter jwtAccessTokenConverter(){


		JwtAccessTokenConverter converter = new JwtAccessTokenConverter();
		// 给JWT签名用的秘钥
        converter.setSigningKey("meicloud");
        return converter;
	}
}
- application.properties文件
# 端口
server.port = 9999
# context-path
server.context-path = /server
# 配置user用户,密码是123456,用户A跳到认证服务器的时候需要输入用户名密码登录
security.user.password = 123456
创建应用A
- 模块名称:
sso-client1 - 依赖包和认证服务器一致。
- 启动类
@SpringBootApplication
@RestController
// 让SSO可以生效的注解
@EnableOAuth2Sso
public class SsoClient1Application {


	@GetMapping("/user")
	public Authentication user(Authentication user) {


		return user;
	}

	public static void main(String[] args) {


		SpringApplication.run(SsoClient1Application.class, args);
	}

}
- 添加application.properties配置文件
# 应用A,对应认证服务器配置的应用1
security.oauth2.client.clientId = meicloud1
security.oauth2.client.clientSecret = meicloudsecrect1
# 当请求需要认证时,要跳转到认证服务器的地址
security.oauth2.client.user-authorization-uri = http://127.0.0.1:9999/server/oauth/authorize
# 配置向哪个地址去请求令牌
security.oauth2.client.access-token-uri = http://127.0.0.1:9999/server/oauth/token
# 获取认证服务器JWT秘钥的接口,应用服务器需要获取秘钥解析令牌的正确性
security.oauth2.resource.jwt.key-uri = http://127.0.0.1:9999/server/oauth/token_key

server.port = 8080
server.context-path = /client1
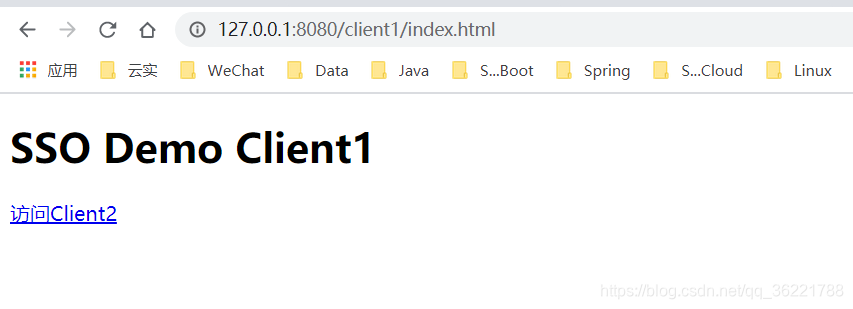
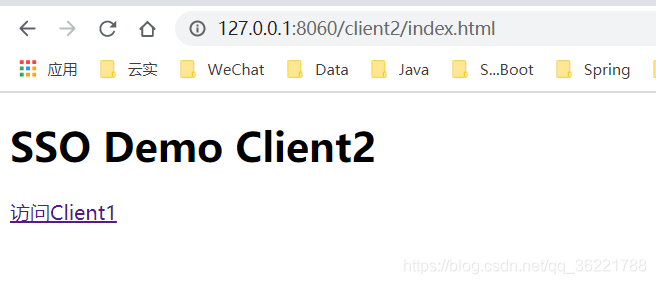
- 创建一个访问页面index.html
<!DOCTYPE html>
<html>
<head>
<meta charset="UTF-8">
<title>SSO Client1</title>
</head>
<body>
	<h1>SSO Demo Client1</h1>
	<a href="http://127.0.0.1:8060/client2/index.html">访问Client2</a>
</body>
</html>
创建应用B
- 总体和应用A都一样,注意配置文件修改一下
# 应用B,对应认证服务器配置的应用2
security.oauth2.client.clientId = meicloud2
security.oauth2.client.clientSecret = meicloudsecrect2
# 当请求需要认证时,要跳转到认证服务器的地址
security.oauth2.client.user-authorization-uri = http://127.0.0.1:9999/server/oauth/authorize
# 配置向哪个地址去请求令牌
security.oauth2.client.access-token-uri = http://127.0.0.1:9999/server/oauth/token
# 获取认证服务器JWT秘钥的接口,应用服务器需要获取秘钥解析令牌的正确性
security.oauth2.resource.jwt.key-uri = http://127.0.0.1:9999/server/oauth/token_key

server.port = 8060
server.context-path = /client2
单点登录效果演示
- 首先启动Server,然后启动Client1和Client2
- 访问Client1的index.html(http://127.0.0.1:8080/client1/index.html),会自动跳到配置的认证服务器去认证授权
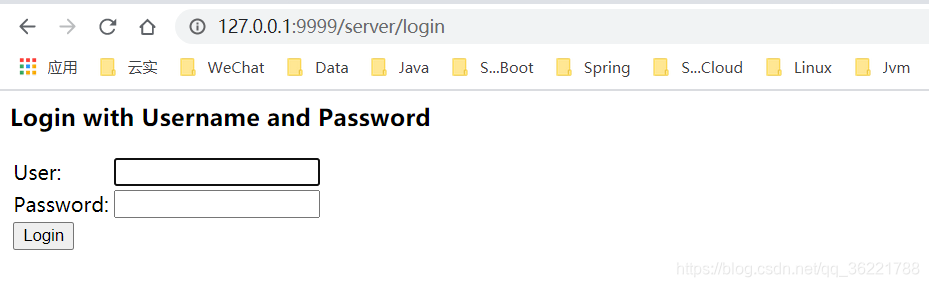
- 使用用户名密码(认证服务器已配置:user,123456)登录,这时候就已经登录并且跳回到Client1
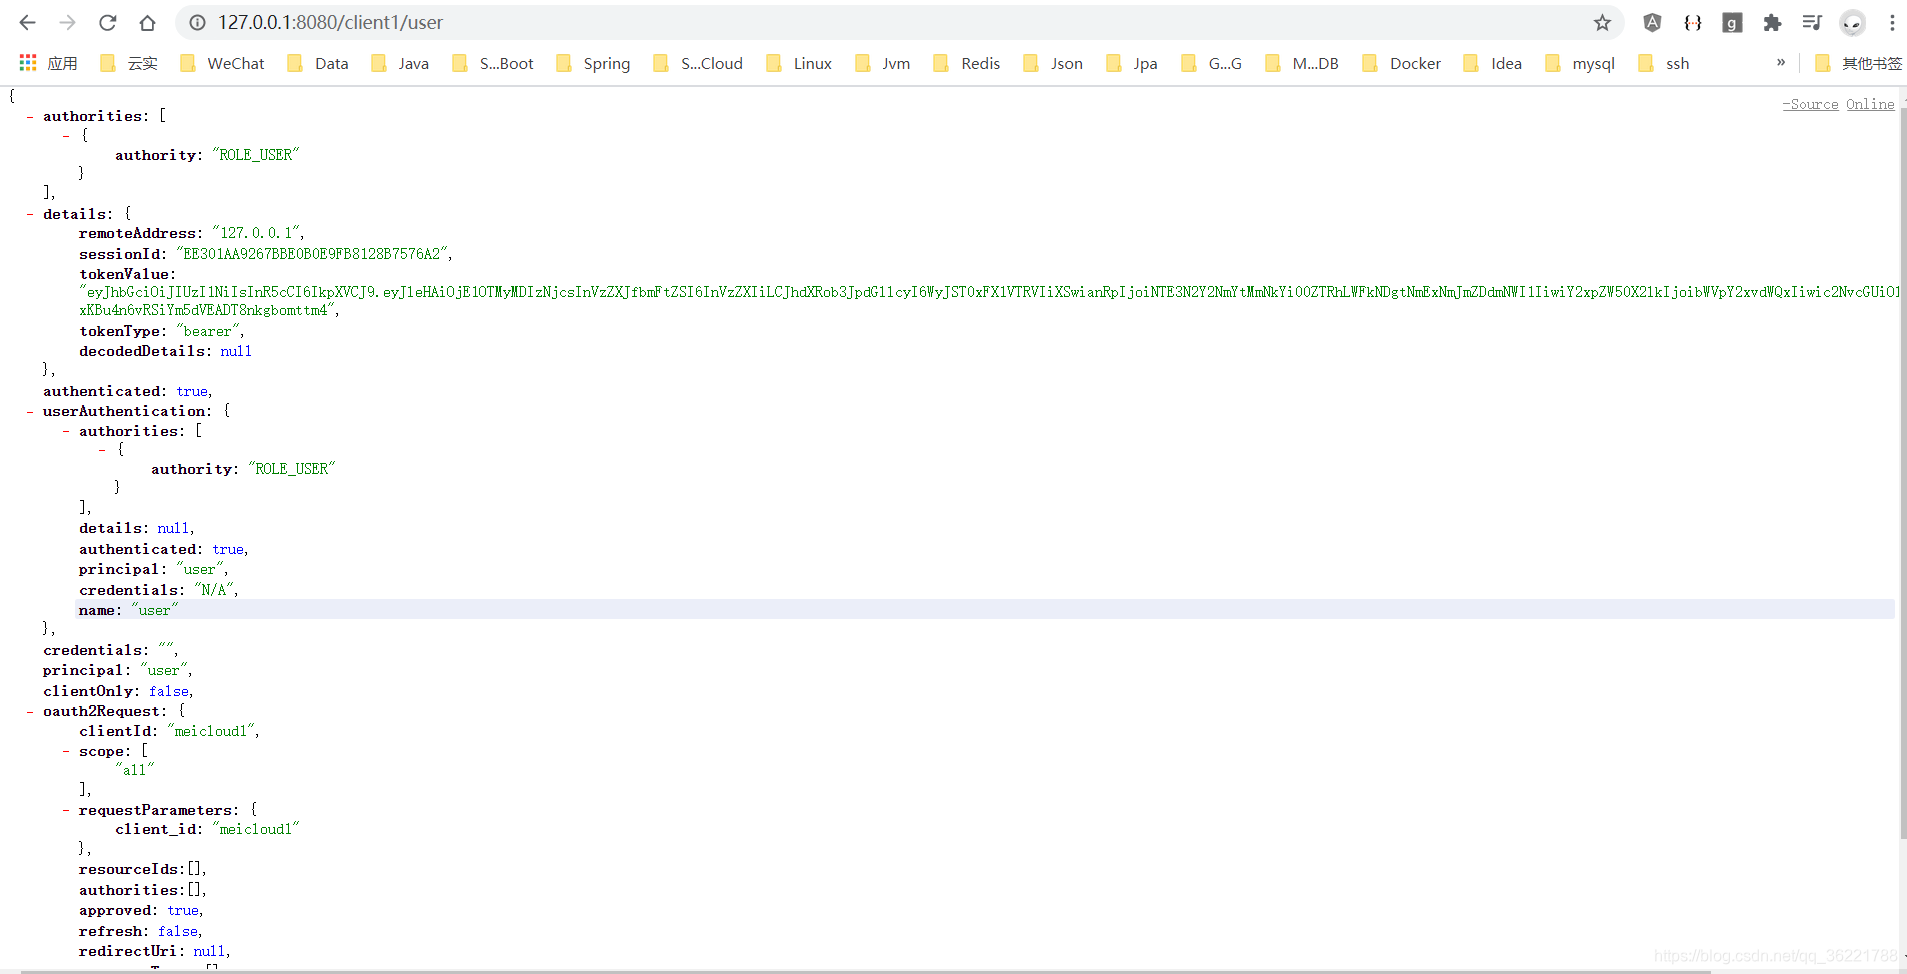
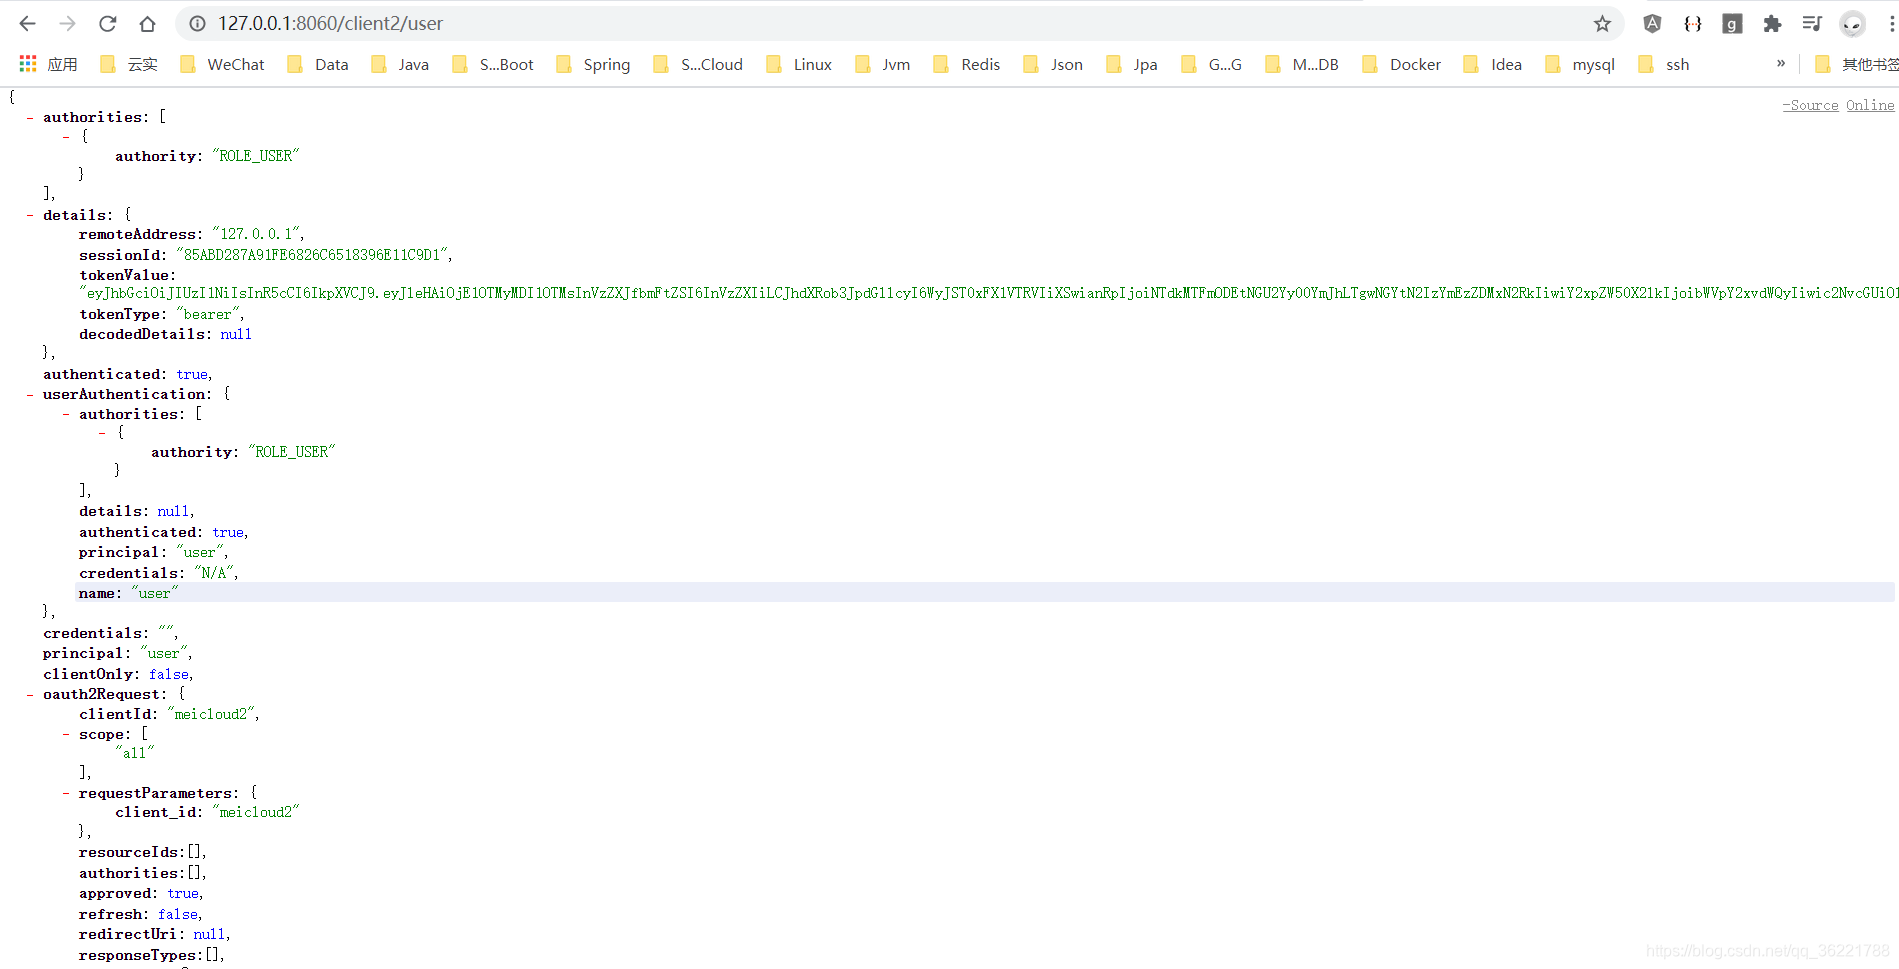
- 可以查看一下当前登录的用户(http://127.0.0.1:8080/client1/user),会发现当前用户就是user
- 可以点击Client1页面中的 访问Client2,这时候就会直接跳到Client2页面,而不再需要登录。
- 一样可以查看当前用户,也是user,不过JWT的令牌串却不一样了。
总结
- 以上就是SSO单点登录的简单演示了。
- 一些细节的思考方面,比如说应用访问资源服务器的时候,资源服务器是如何知道他的JWT令牌是对的,其实判断JWT令牌是否有效主要就是
获取到认证服务器对JWT进行签名的秘钥,然后通过秘钥再对JWT进行校验。 - 其实会发现一整套
Spring Security OAuth单点登录实现下来,也没有写几行代码,配置也是很简单,当然在我们项目中也要灵活运用,切不可思维固化。