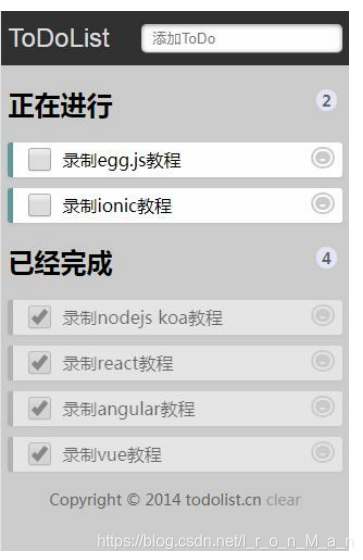
ToDoList
ToDoList是一款非常优秀的 任务管理 软件,用户可以用它方便地组织和安排计划。
该 软件短小精悍,仅有一个 数百 KB 的 可执行文件就能完成所有功能,并且 界面设计优秀,
初级用户也能够快速上手。
具体功能:
- ToDoList 帮你把要做的事情列出来,一项一项,类似 思维导图。
- 最明显的好处是强迫自己整理出任务的每个部分,理顺后按部就班的完成, 提高效率。
- 当然了习惯是需要慢慢养成了,开始使用 ToDoList 这样的 软件会觉得很费劲,但坚持下来你就能体会到管理软件带来的便捷了。所以需要坚持。
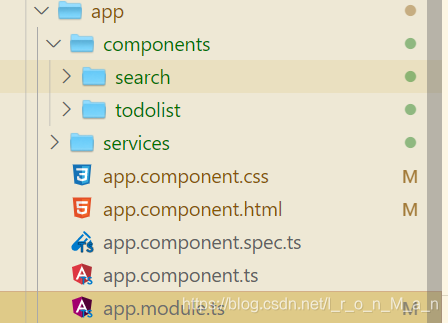
Angular实现ToDoList(事件清单)
1. 导入双向数据绑定的模块
app.module.ts
import {
NgModule } from '@angular/core';
import {
BrowserModule } from '@angular/platform-browser';
import {
FormsModule } from '@angular/forms'; // 导入模块
import {
AppComponent } from './app.component';
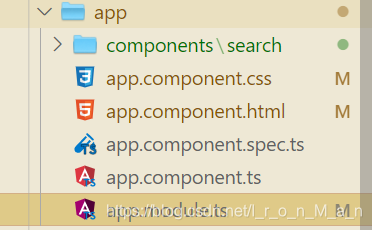
import {
SearchComponent } from './components/search/search.component';
@NgModule({
declarations: [AppComponent, SearchComponent],
imports: [BrowserModule, FormsModule], // 声明模块
providers: [],
bootstrap: [AppComponent],
})
export class AppModule {
}
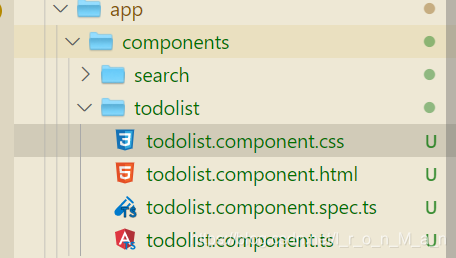
2. 绘制页面
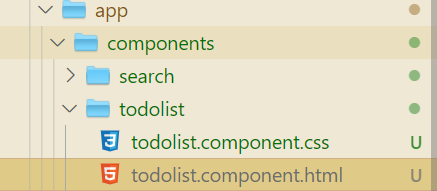
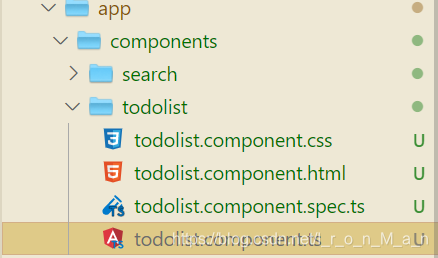
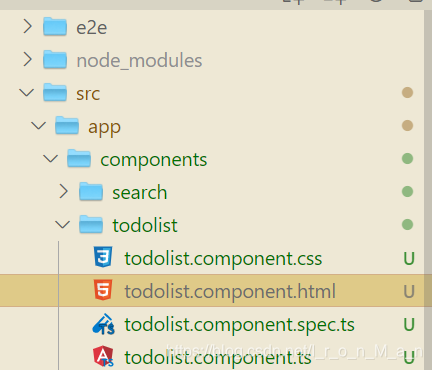
todolist.component.html
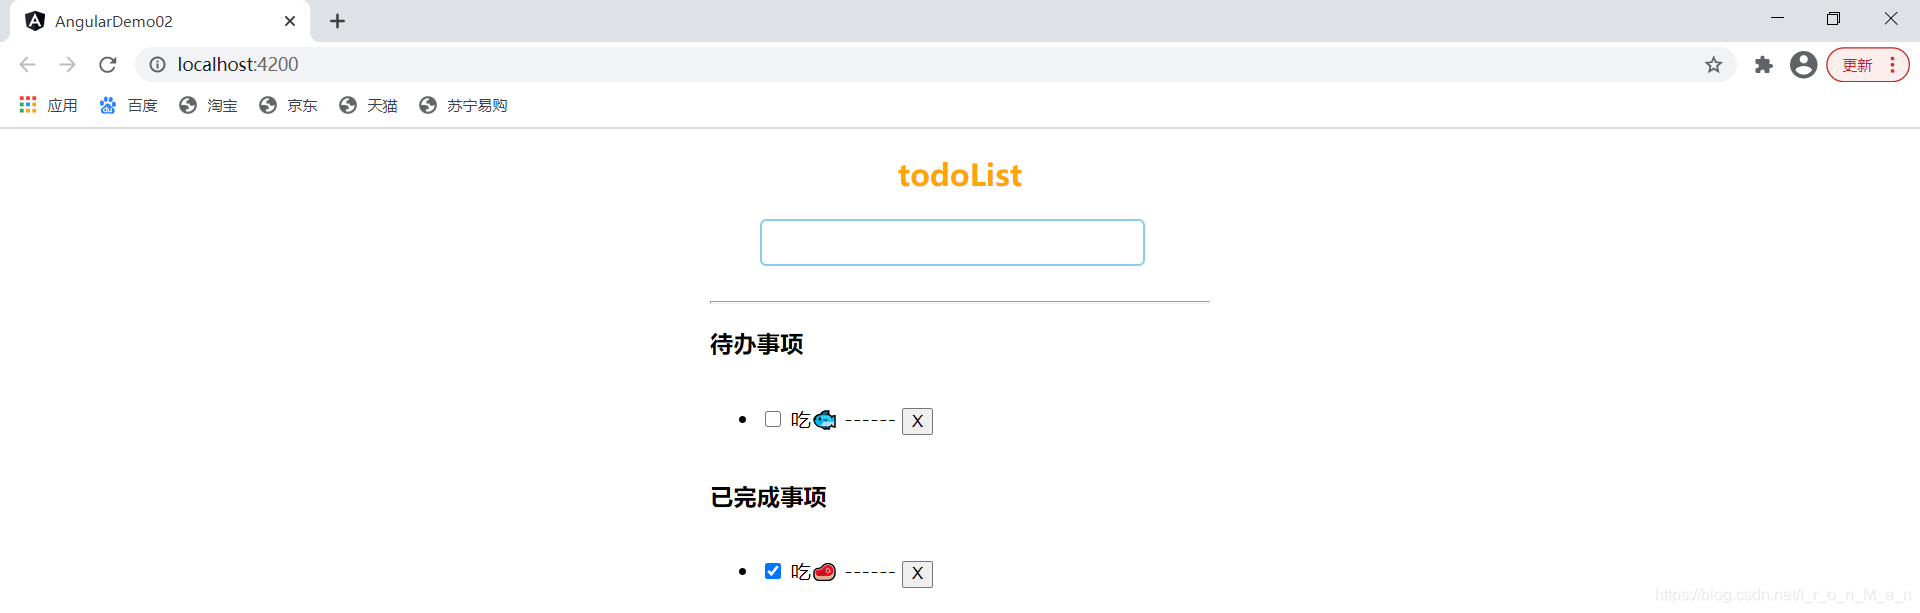
<h2>todoList</h2>
<div class="todolist">
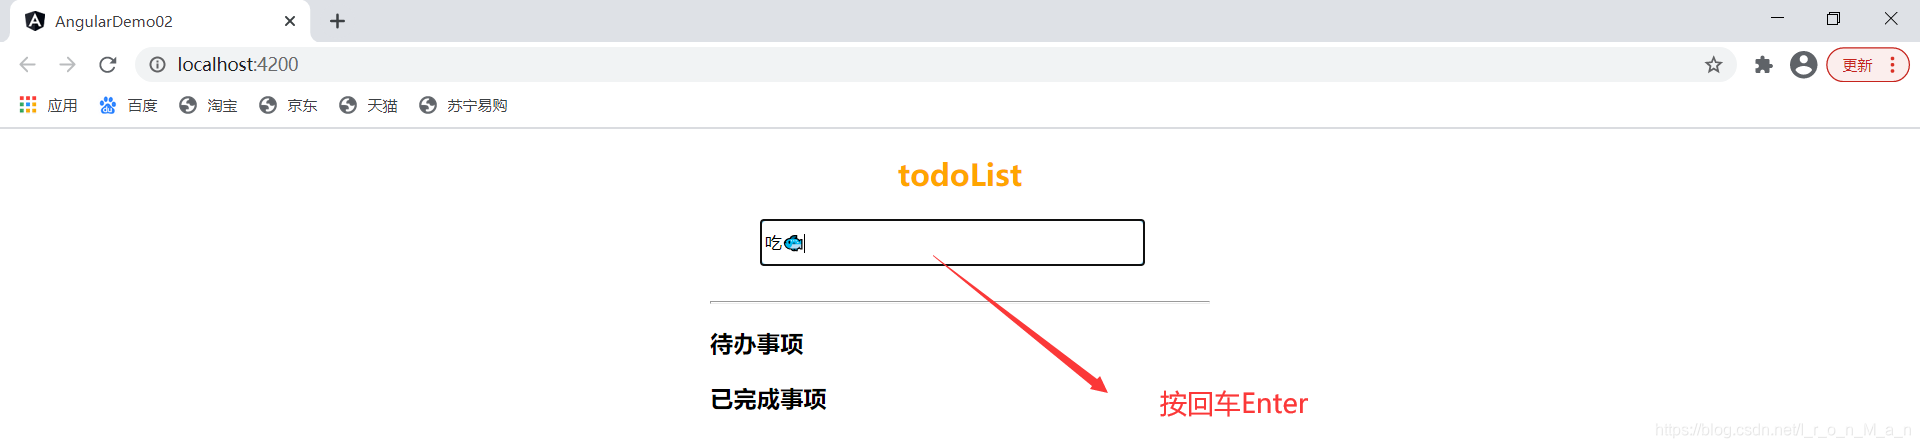
<input class="form_input" type="text" [(ngModel)]="keyword" (keyup)="doAdd($event)" />
<hr>
<h3>待办事项</h3>
<ul>
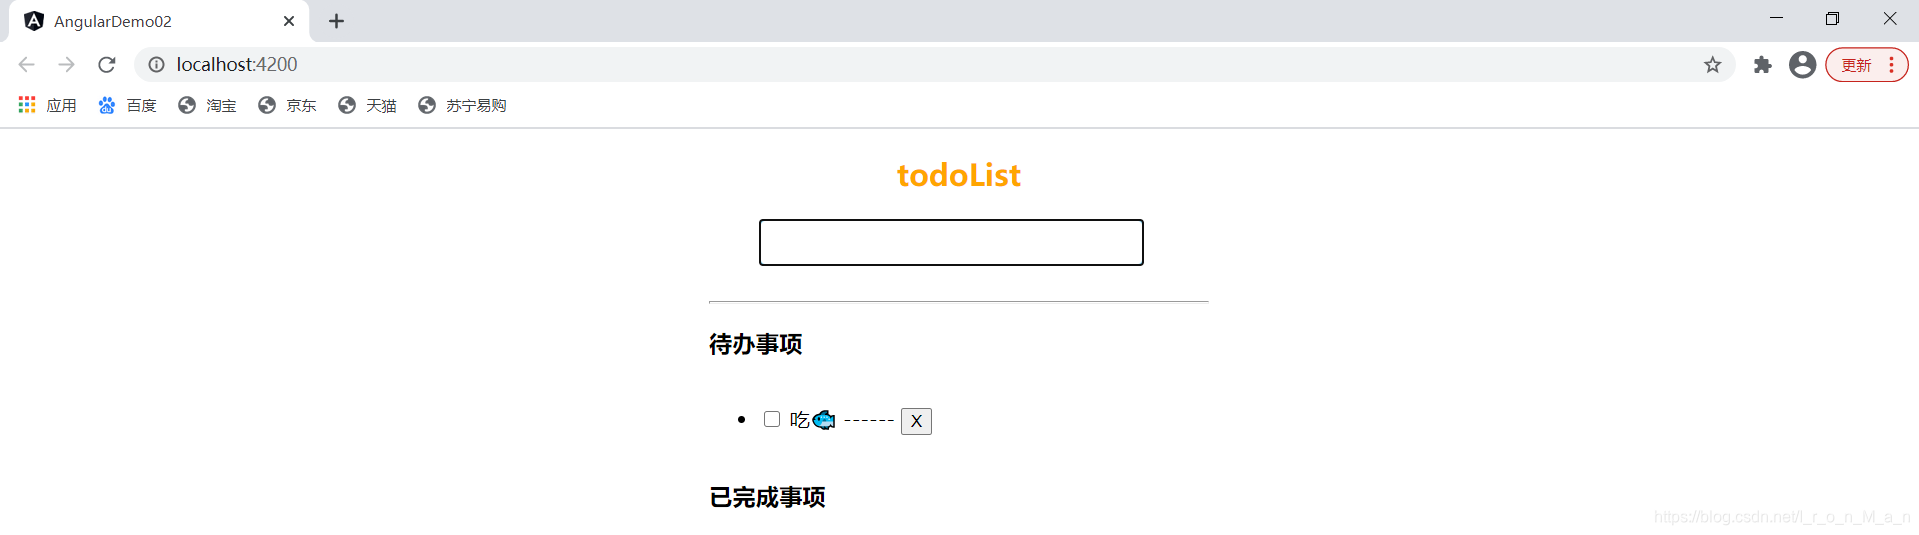
<li *ngFor="let item of todolist;let key=index;" [hidden]="item.status==1">
<input type="checkbox" [(ngModel)]="item.status" /> {
{
item.title}} ------
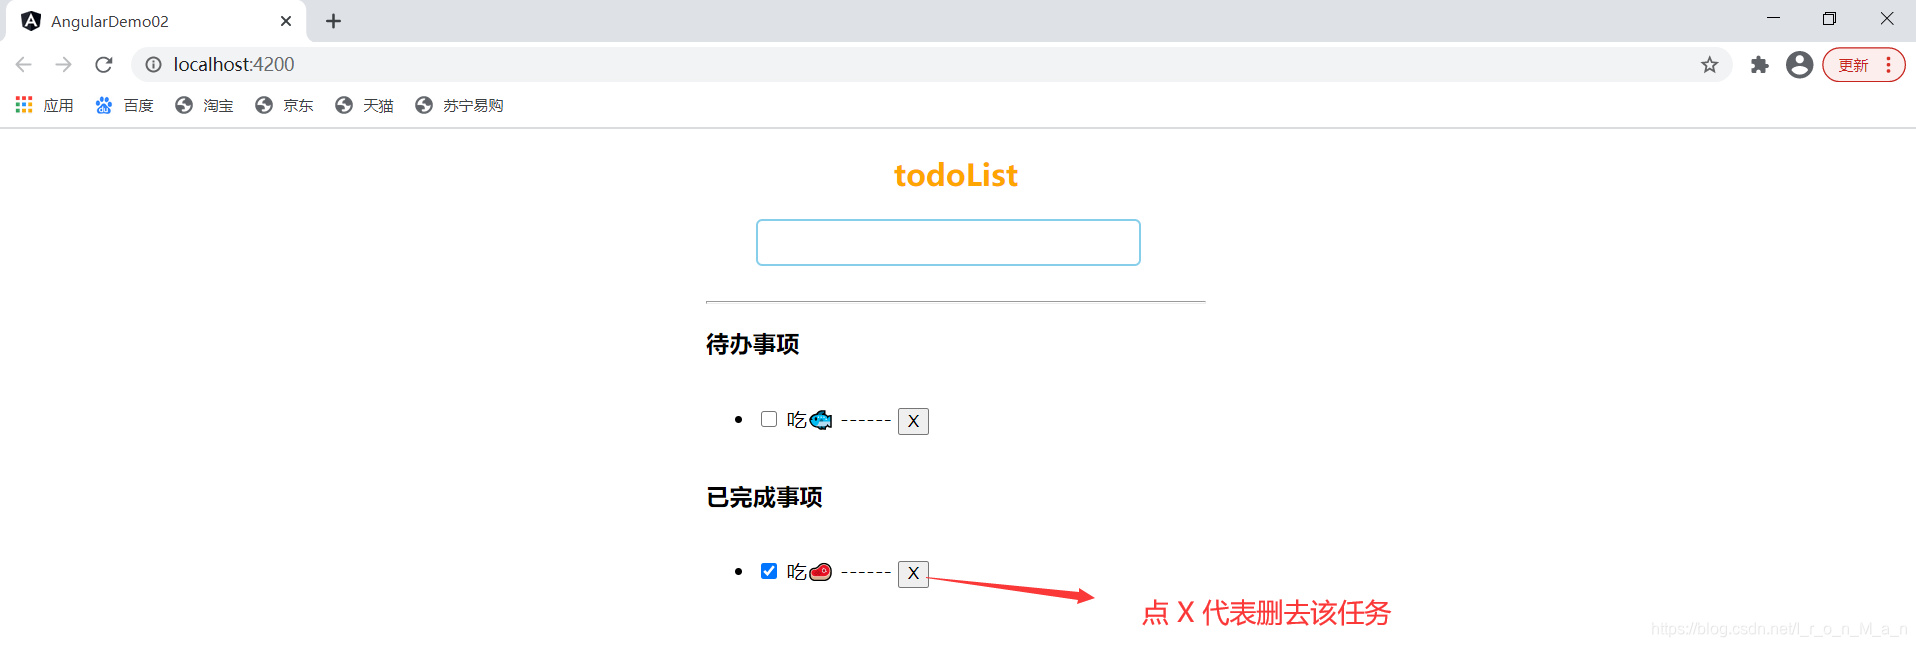
<button (click)="deleteData(key)">X</button>
</li>
</ul>
<h3>已完成事项</h3>
<ul>
<li *ngFor="let item of todolist;let key=index;" [hidden]="item.status==0">
<input type="checkbox" [(ngModel)]="item.status" /> {
{
item.title}} ------
<button (click)="deleteData(key)">X</button>
</li>
</ul>
</div>
3. 美化页面
todolist.component.css
h2 {


  text-align: center;
  color: orange;
}
.todolist {


  width: 400px;
  margin: 20px auto;
}
.form_input {


  margin-bottom: 20px;

  width: 300px;
  height: 32px;
  margin-left: 40px;
  border: 2px solid skyblue;
  border-radius: 5px;
}
li {


  line-height: 60px;
}
4. 声明数据和定义方法

todolist.component.ts
import {

     Component, OnInit } from '@angular/core';

@Component({


  selector: 'app-todolist',
  templateUrl: './todolist.component.html',
  styleUrls: ['./todolist.component.css'],
})
export class TodolistComponent implements OnInit {


  public keyword: string;

  public todolist: any[] = [];

  constructor() {

    }

  ngOnInit() {

    }

  doAdd(e) {


    if (e.keyCode == 13) {


      if (!this.todolistHasKeyword(this.todolist, this.keyword)) {


        this.todolist.push({


          title: this.keyword,
          status: 0, //0表示代办事项  1表示已完成事项
        });
        this.keyword = '';
      } else {


        alert('数据已经存在');
        this.keyword = '';
      }
    }
  }

  deleteData(key) {


    this.todolist.splice(key, 1);
  }

  //如果数组里面有是否含有重复数据返回true  否则返回false
  todolistHasKeyword(todolist: any, keyword: any) {


    //异步  会存在问题
    // todolist.forEach(value => {


    //   if(value.title==keyword){


    //       return true;
    //   }
    // });

    // 如果keyword为空,则返回false
    if (!keyword) return false;

    for (var i = 0; i < todolist.length; i++) {


      if (todolist[i].title == keyword) {


        return true;
      }
    }
    return false;
  }
}
5. 引入刚刚写的组件

app.component.html
<app-todolist></app-todolist>
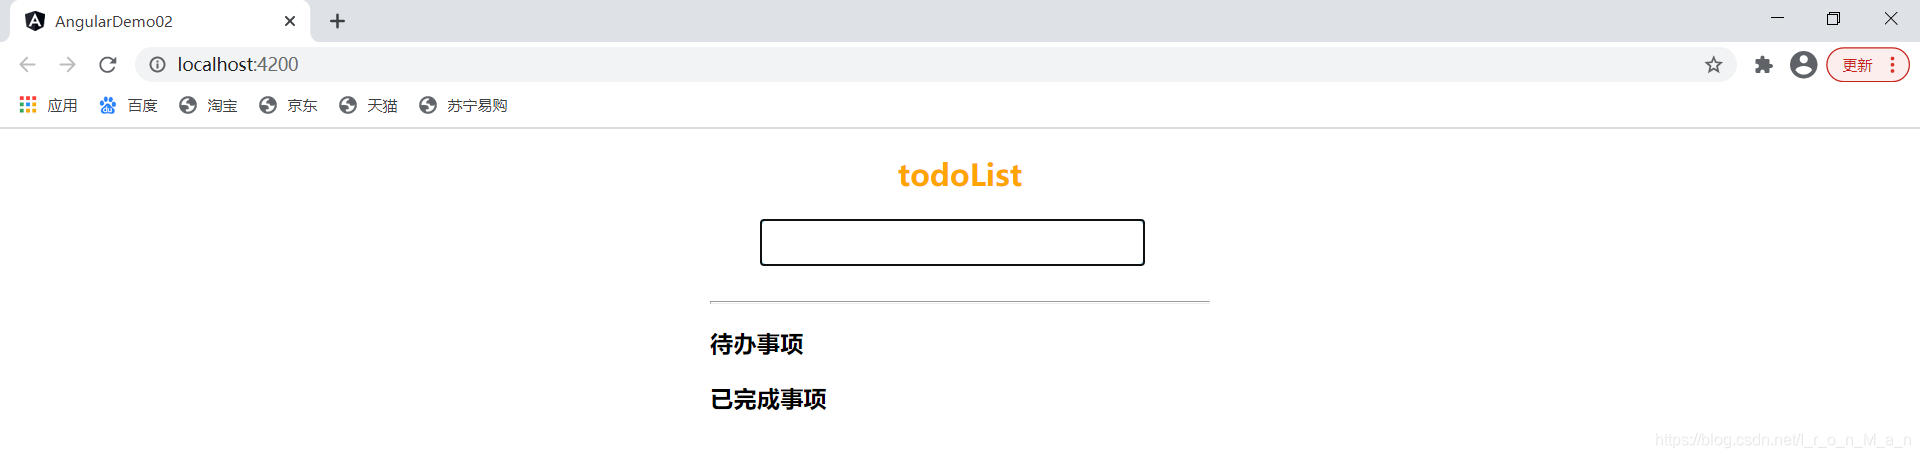
6. 启动程序
控制台输入在当前项目目录输入:
ng serve --open

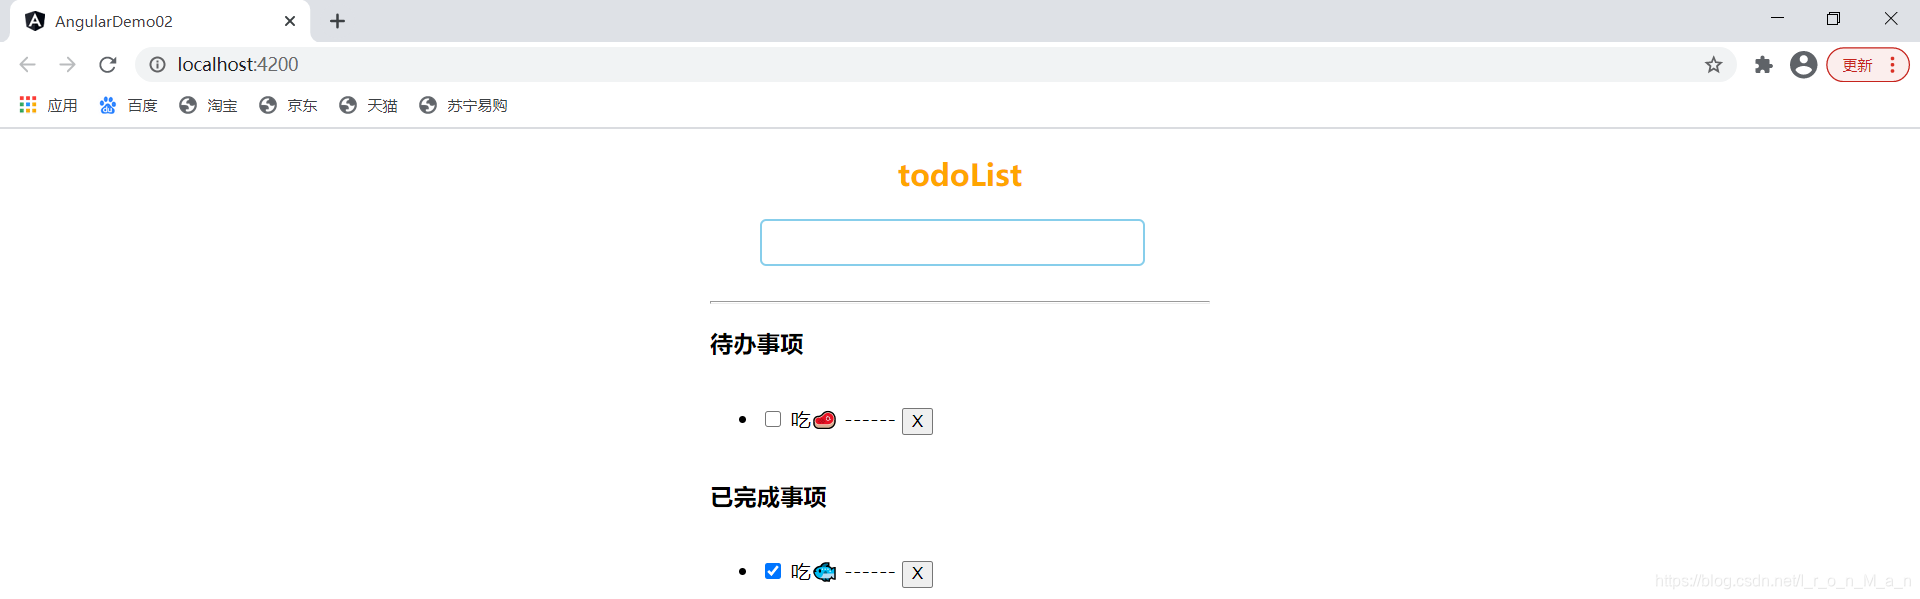
运行结果:

服务实现数据的持久化
刚刚的页面虽然看起来功能实现了,但是这时候如果我们刷新了页面那么所有的数据都会消失,如果我们想要数据在刷新后依旧存在。这时候我们就需要用到服务了。
如果你还不清楚什么是服务,那么请看 Angular服务
1. 创建服务
命令行在当前项目目录输入:
ng g service my-new-service

创建到指定目录下面
ng g service services/storage

2. 配置服务
app.moudule.ts
import {

     NgModule } from '@angular/core';
import {

     BrowserModule } from '@angular/platform-browser';
import {

     FormsModule } from '@angular/forms';
import {

     AppComponent } from './app.component';
import {

     SearchComponent } from './components/search/search.component';
import {

     TodolistComponent } from './components/todolist/todolist.component';

import {

     StorageService } from './services/storage.service'; // 引入服务
@NgModule({


  declarations: [AppComponent, SearchComponent, TodolistComponent],
  imports: [BrowserModule, FormsModule],
  providers: [StorageService], // 配置服务
  bootstrap: [AppComponent],
})
export class AppModule {

    }
3.在服务当中定义方法
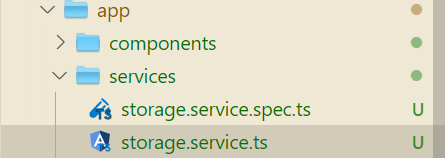
storage.service.ts
import {

     Injectable } from '@angular/core';

@Injectable({


  providedIn: 'root',
})
export class StorageService {


  constructor() {

    }
	// 设置数据
  set(key: string, value: any) {


    localStorage.setItem(key, JSON.stringify(value));
  }
  get(key: string) {


    // return 'this is a service';
    return JSON.parse(localStorage.getItem(key));
  }
    // 删除数据
  remove(key: string) {


    localStorage.removeItem(key);
  }
}
4. 在组件当中使用方法
用到this一定要注意this指向,尤其是在foreach和定时器里面,this指向的是window,如果要指向当前实例,一种方法是箭头函数,另外一种方法是set()函数。
todolist.component.ts
import {

     Component, OnInit } from '@angular/core';
//引入服务
import {

     StorageService } from '../../services/storage.service';
@Component({


  selector: 'app-todolist',
  templateUrl: './todolist.component.html',
  styleUrls: ['./todolist.component.css'],
})
export class TodolistComponent implements OnInit {


  public keyword: string;

  public todolist: any[] = [];

  constructor(public storage: StorageService) {

    }

  ngOnInit() {


    var todolist: any = this.storage.get('todolist');

    if (todolist) {


      this.todolist = todolist;
    }
  }

  doAdd(e) {


    if (e.keyCode == 13) {


      if (!this.todolistHasKeyword(this.todolist, this.keyword)) {


        this.todolist.push({


          title: this.keyword,
          status: 0, //0表示代办事项  1表示已完成事项
        });

        this.keyword = '';

        this.storage.set('todolist', this.todolist); //用到this一定要注意this指向
      } else {


        alert('数据已经存在');
        this.keyword = '';
      }
    }
  }

  deleteData(key) {


    this.todolist.splice(key, 1);

    this.storage.set('todolist', this.todolist);
  }

  //如果数组里面有keyword返回true  否则返回false
  todolistHasKeyword(todolist: any, keyword: any) {


    //异步  会存在问题
    // todolist.forEach(value => {


    //   if(value.title==keyword){


    //       return true;
    //   }
    // });

    if (!keyword) return false;

    for (var i = 0; i < todolist.length; i++) {


      if (todolist[i].title == keyword) {


        return true;
      }
    }
    return false;
  }

  checkboxChage() {


    console.log('事件触发了');

    this.storage.set('todolist', this.todolist);
  }
}
todolist.component.html
<h2>todoList</h2>
<div class="todolist">
    <input class="form_input" type="text" [(ngModel)]="keyword" (keyup)="doAdd($event)" />
    <hr>
    <h3>待办事项</h3>
    <ul>
        <li *ngFor="let item of todolist;let key=index;" [hidden]="item.status==1">
            <input type="checkbox" [(ngModel)]="item.status" (change)="checkboxChage()" /> {

    {

    item.title}} ------
            <button (click)="deleteData(key)">X</button>
        </li>
    </ul>

    <h3>已完成事项</h3>

    <ul>
        <li *ngFor="let item of todolist;let key=index;" [hidden]="item.status==0">
            <input type="checkbox" [(ngModel)]="item.status" (change)="checkboxChage()" /> {

    {

    item.title}} ------
            <button (click)="deleteData(key)">X</button>
        </li>
    </ul>

</div>
运行结果: