consul部署以及配置template
一,consul部署
- 创建文件
mkdir /root/consul

cp consul_0.9.2_linux_amd64.zip /root/consul

- 解压文件
cd /root/consul/

unzip consul_0.9.2_linux_amd64.zip

mv consul /usr/bin

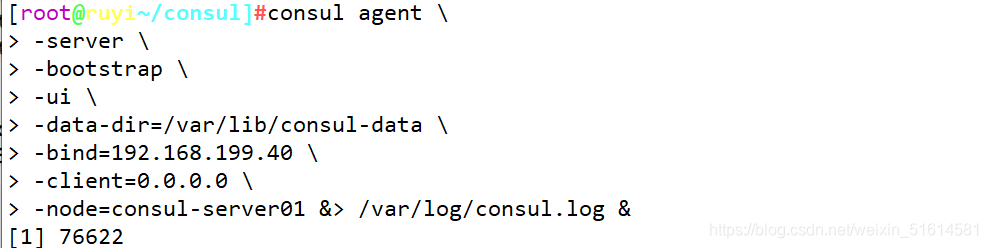
consul agent \
 -server \
 -bootstrap \
 -ui \
 -data-dir=/var/lib/consul-data \
 -bind=192.168.199.40 \
 -client=0.0.0.0 \
 -node=consul-server01 &> /var/log/consul.log &
查看集群信息
[root@ruyi~/consul]#consul members
Node             Address              Status  Type    Build  Protocol  DC
consul-server01  192.168.199.40:8301  alive   server  0.9.2  2         dc1

[root@ruyi~/consul]#consul info | grep leader
	leader = true
	leader_addr = 192.168.199.40:8300

- 通过httpd api 获取集群信息
curl 127.0.0.1:8500/v1/status/peers   //查看集群server成员
curl 127.0.0.1:8500/v1/status/leader  //集群Raf leader
curl 127.0.0.1:8500/v1/catalog/services //注册的所有服务
curl 127.0.0.1:8500/v1/catalog/nginx  //查看nginx服务信息
[root@ruyi~/consul]#curl 127.0.0.1:8500/v1/catalog/nodes //集群节点详细信息
[{"ID":"da221c7b-eb7c-609a-031e-c46a662a87db","Node":"consul-server01","Address":"192.168.199.40","Datacenter":"dc1","TaggedAddresses":{"lan":"192.168.199.40","wan":"192.168.199.40"},"Meta":{},"CreateIndex":5,"ModifyIndex":6}]


容器服务自动加入nginx集群
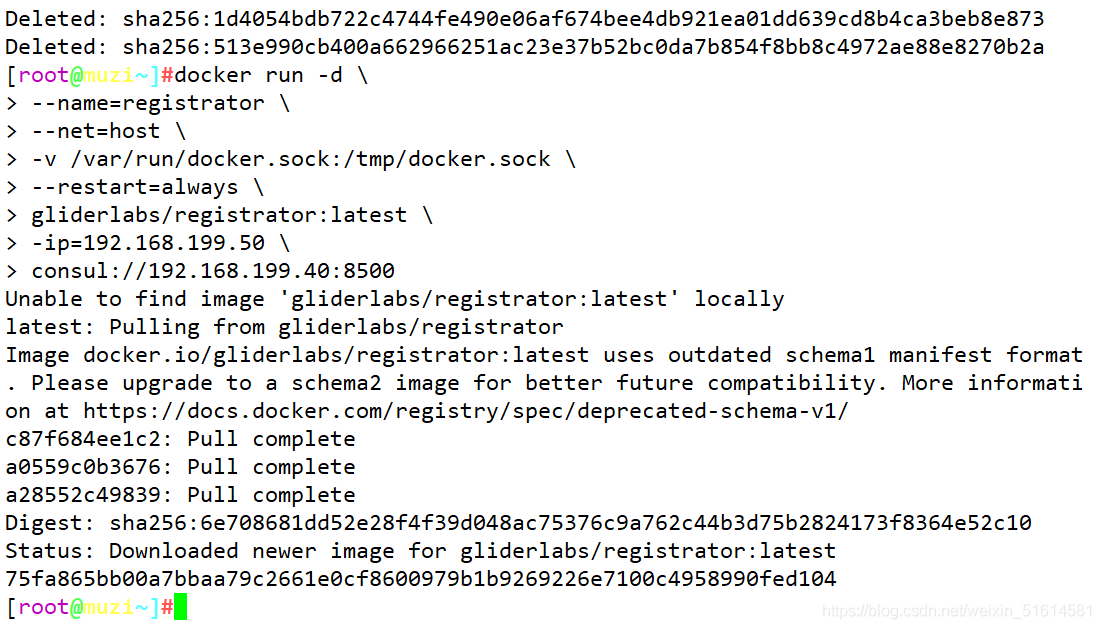
1.安装 Gliderlabs/Registrator Gliderlabs/Registrator
- 可检查容器运行状态自动注册,还可注销docker容器的服务到服务配置中心。
目前支持Consul、Etcd和SkyDNS2。
在192.168.199.50节点,执行以下操作:
docker run -d \
--name=registrator \
--net=host \
-v /var/run/docker.sock:/tmp/docker.sock \
--restart=always \
gliderlabs/registrator:latest \
-ip=192.168.199.50 \
consul://192.168.199.40:8500
2,测试服务发现功能是否正常
docker run -itd -p:83:80 --name test-01 -h test01 nginx
docker run -itd -p:84:80 --name test-02 -h test02 nginx
docker run -itd -p:85:80 --name test-03 -h test03 httpd
docker run -itd -p:86:80 --name test-04 -h test04 httpd

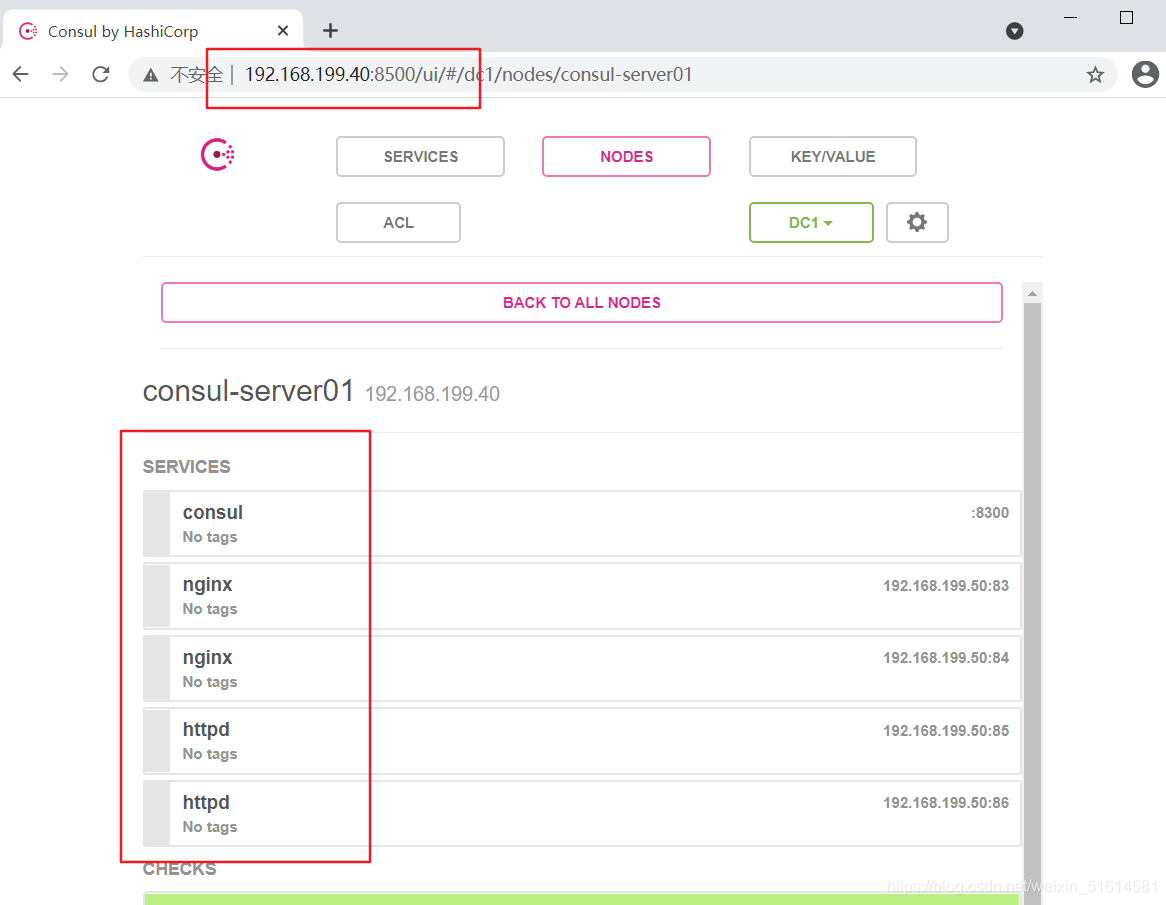
3,验证 http 和 nginx 服务是否注册到 consul
浏览器输入 http://192.168.199.60:8500, “单击 NODES”,然后单击"consurl-derver01",会出现5个服务。
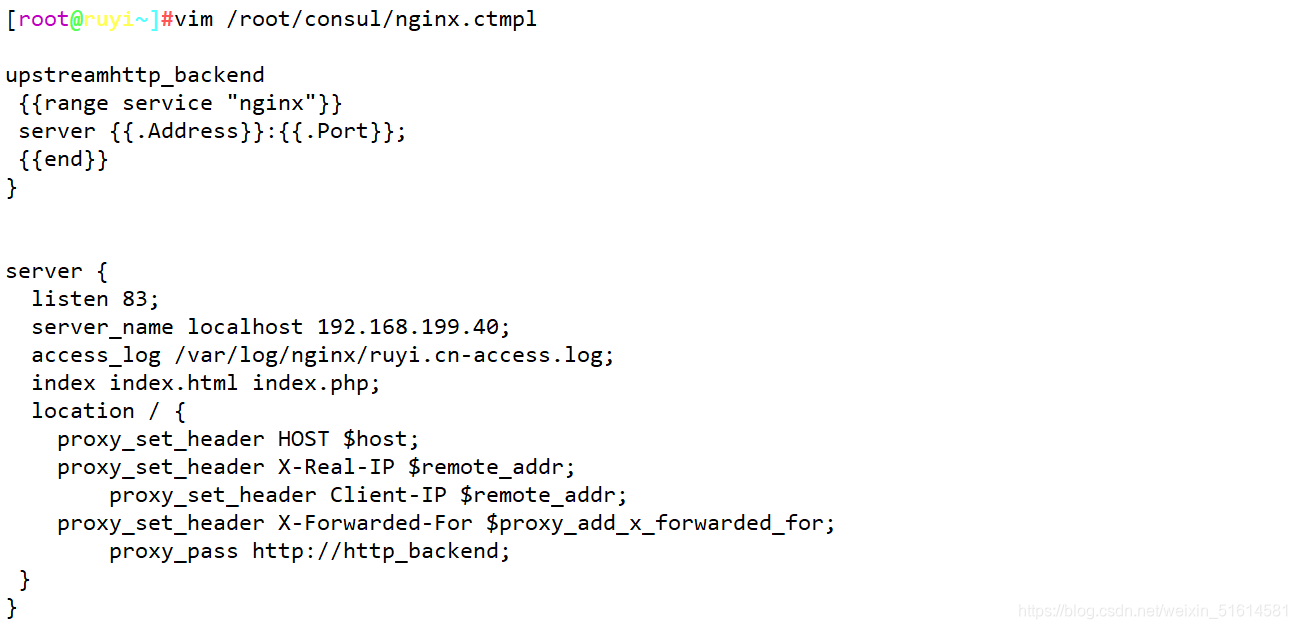
4,准备template nginx 模板文件
vim /root/consul/nginx.ctmpl

upstream http_backend {
 {

   {range service "nginx"}}
 server {

   {.Address}}:{

   {.Port}};
 {

   {end}}
}


server {
  listen 83;
  server_name localhost 192.168.199.50;
  access_log /var/log/nginx/ruyi.cn-access.log;
  index index.html index.php;
  location / {
    proxy_set_header HOST $host;
    proxy_set_header X-Real-IP $remote_addr;
	proxy_set_header Client-IP $remote_addr;
    proxy_set_header X-Forwarded-For $proxy_add_x_forwarded_for;
	proxy_pass http://http_backend;
 }
}
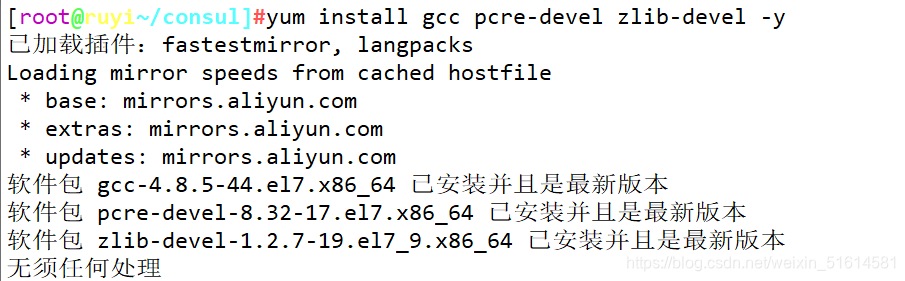
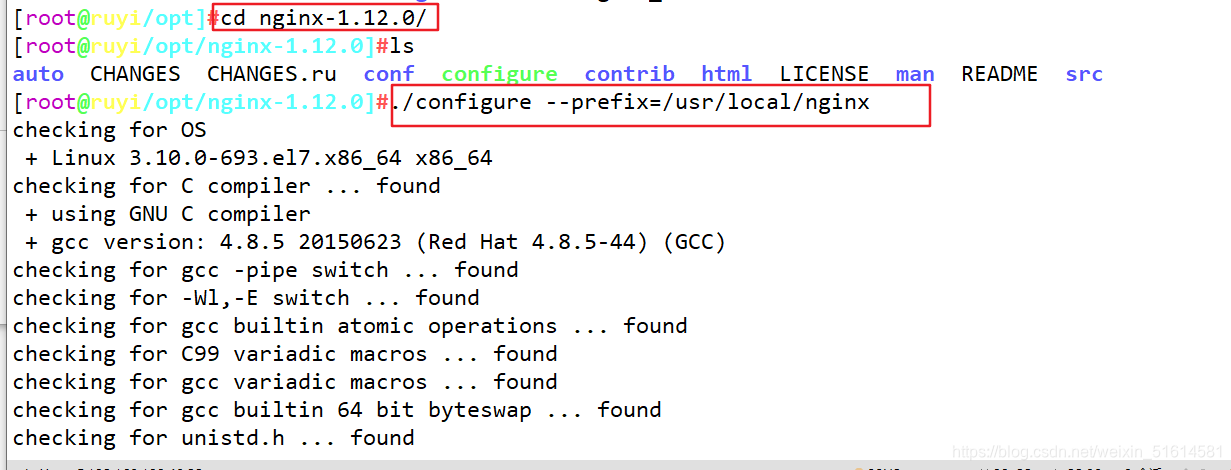
5,编译安装nginx
yum install gcc pcre-devel zlib-devel -y
tar zxvf nginx-1.12.0.tar.gz -C /opt

./configure --prefix=/usr/local/nginx

make && make install
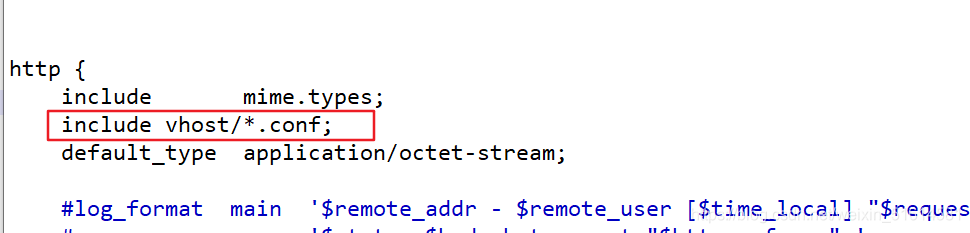
6,配置nginx
vim /usr/local/nginx/conf/nginx.conf

http {
    include       mime.types;
    include vhost/*.conf;    //添加虚拟主机目录
    default_type  application/octet-stream;
- 创建虚拟主机目录
mkdir /usr/local/nginx/conf/vhost
- 创建日志文件目录
mkdir /var/log/nginx
- 启动nginx
/usr/local/nginx/sbin/nginx
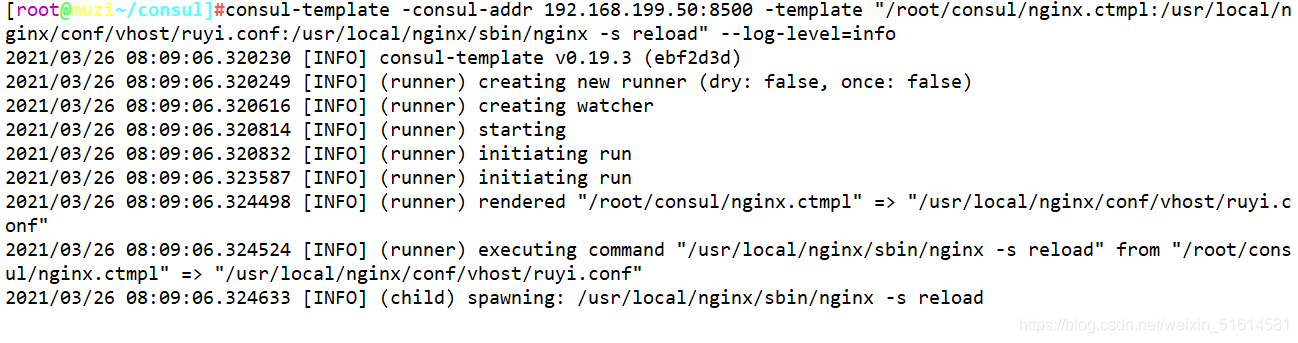
7,配置并启动 template
- 上传 consul-template_0.19.3_linux_amd64.zip 包到/root 目录下
cp consul-template_0.19.3_linux_amd64.zip /root/

unzip consul-template_0.19.3_linux_amd64.zip

mv consul-template /usr/bin/
consul-template -consul-addr 192.168.199.50:8500 \
-template "/root/consul/nginx.ctmpl:/usr/local/nginx/conf/vhost/ruyi.conf:/usr/local/nginx/sbin/nginx -s relo
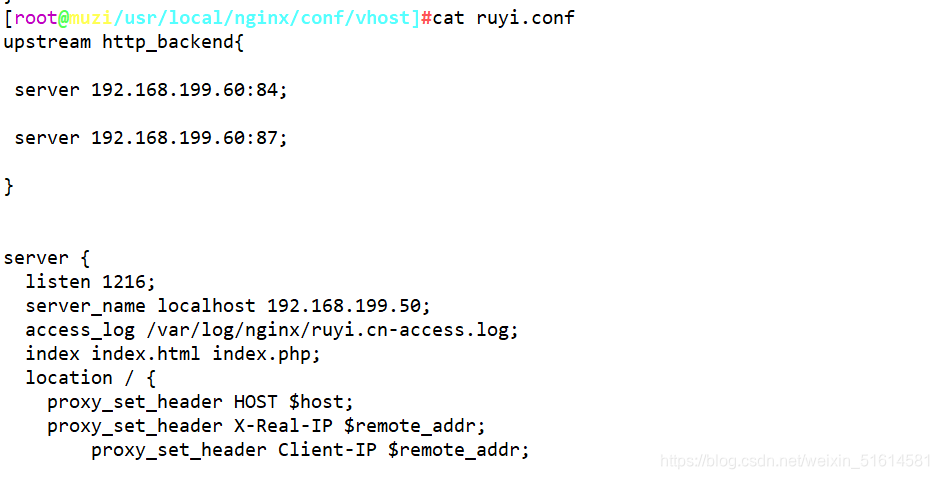
- 另外打开一个终端查看生成配置文件
[root@ruyi~]#cd /usr/local/nginx/conf/vhost/
[root@ruyi/usr/local/nginx/conf/vhost]#ls
ruyi.conf
[root@ruyi/usr/local/nginx/conf/vhost]#cat ruyi.conf
upstreamhttp_backend

 server 192.168.199.60:83;

 server 192.168.199.60:84;

}


server {
  listen 83;
  server_name localhost 192.168.199.40;
  access_log /var/log/nginx/ruyi.cn-access.log;
  index index.html index.php;
  location / {
    proxy_set_header HOST $host;
    proxy_set_header X-Real-IP $remote_addr;
	proxy_set_header Client-IP $remote_addr;
    proxy_set_header X-Forwarded-For $proxy_add_x_forwarded_for;
	proxy_pass http://http_backend;
 }
}