文章目录
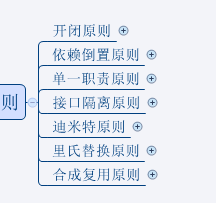
架构设计原则
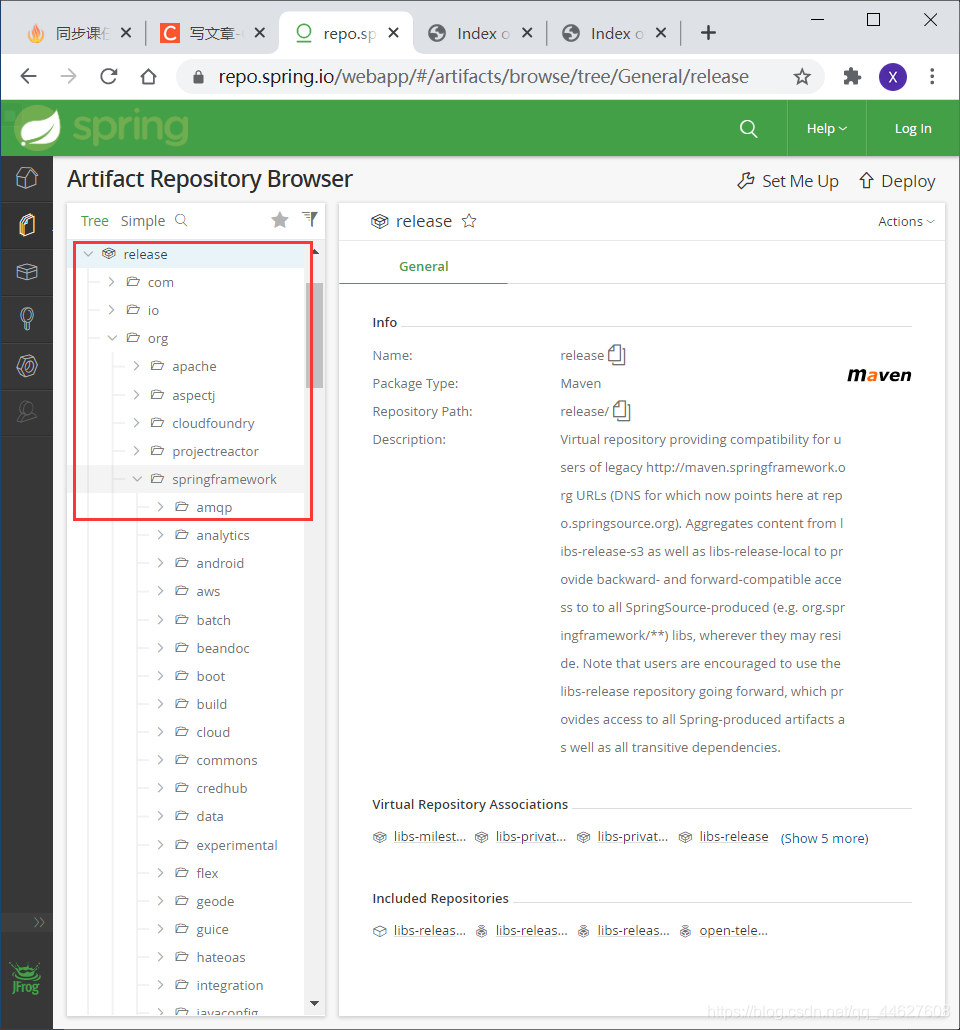
Spring包下载的网址
打开Spring的官网 https://spring.io/
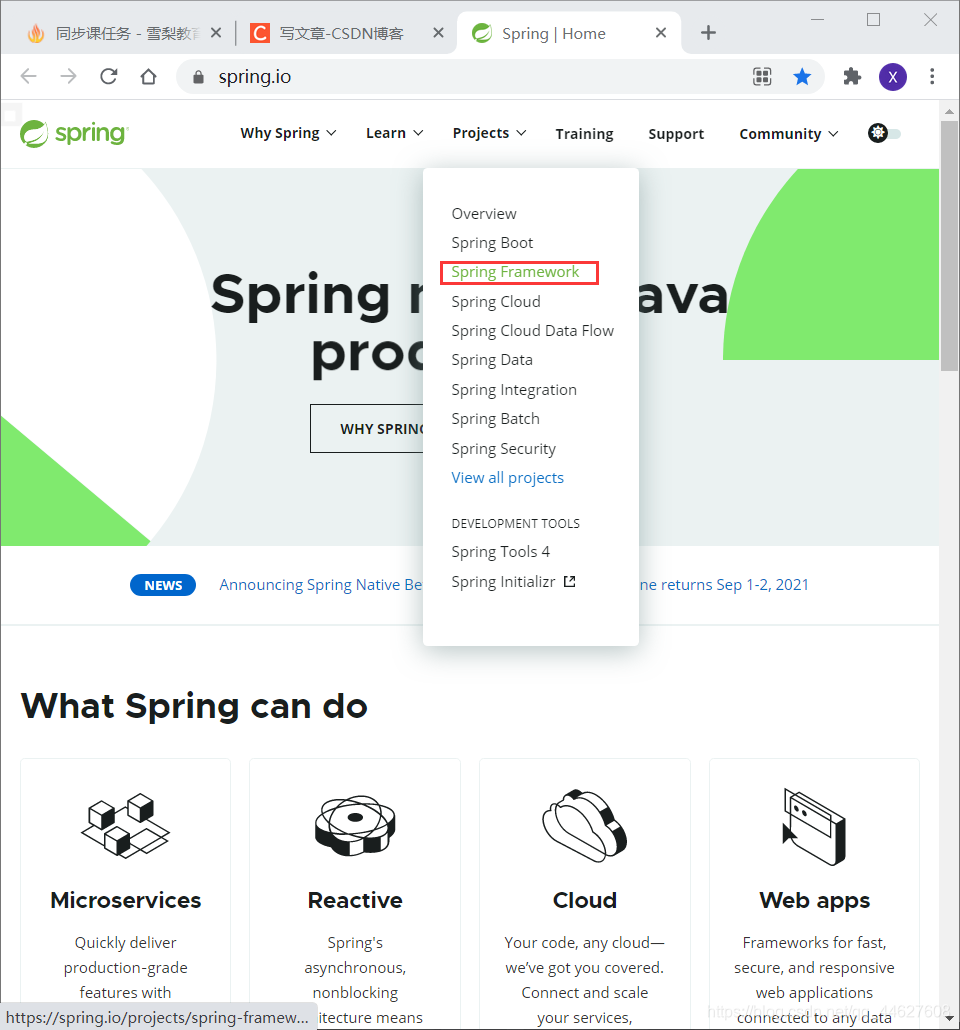
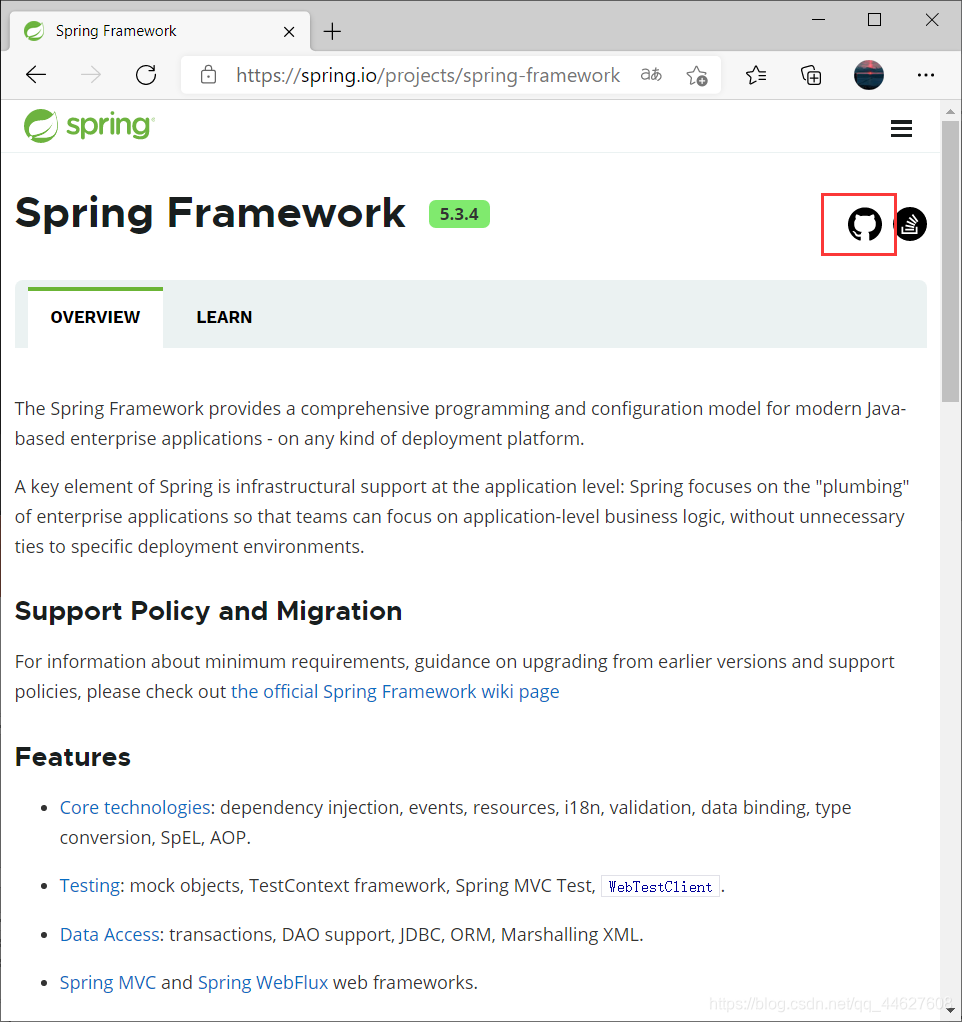
没有右侧GitHub标志的可能是你浏览器的广告屏蔽插件给屏蔽掉了,换一个浏览器打开就行了。
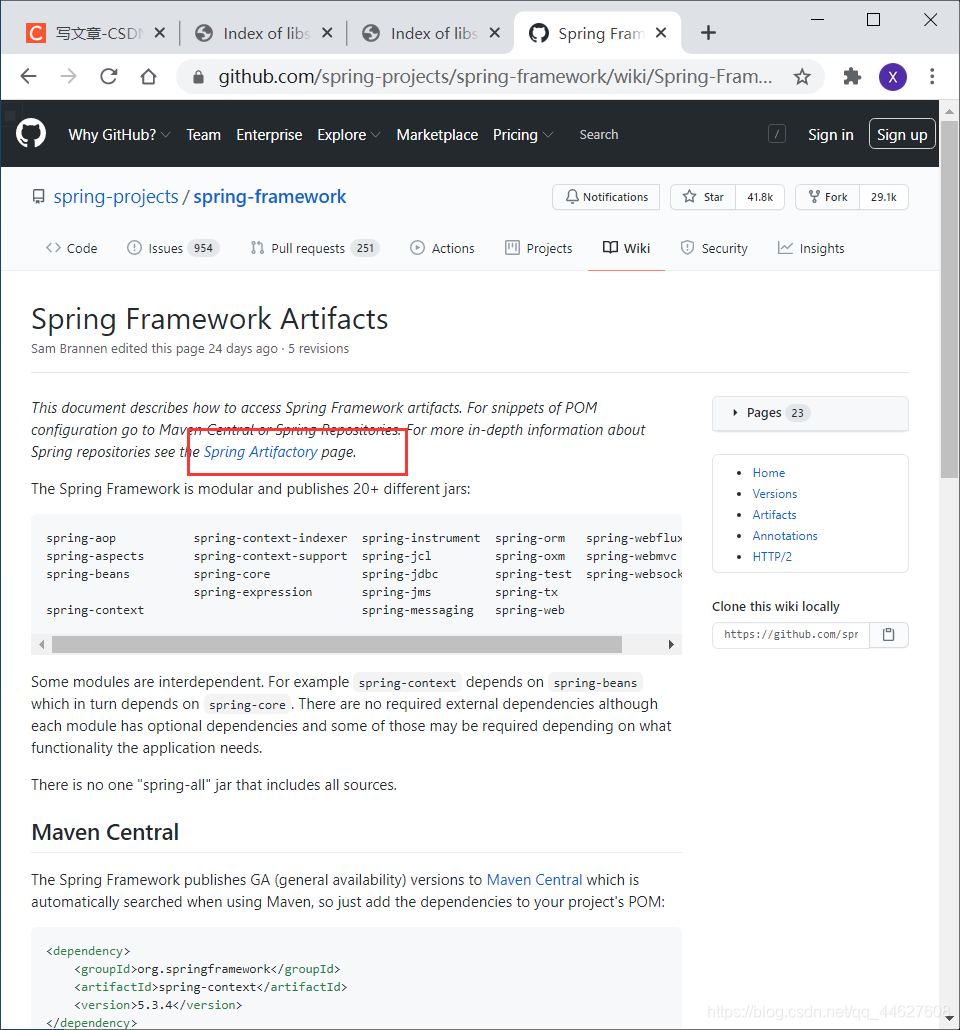
或者直接打开下面的网址
https://github.com/spring-projects/spring-framework

方法1

扫描二维码关注公众号,回复:
13070229 查看本文章

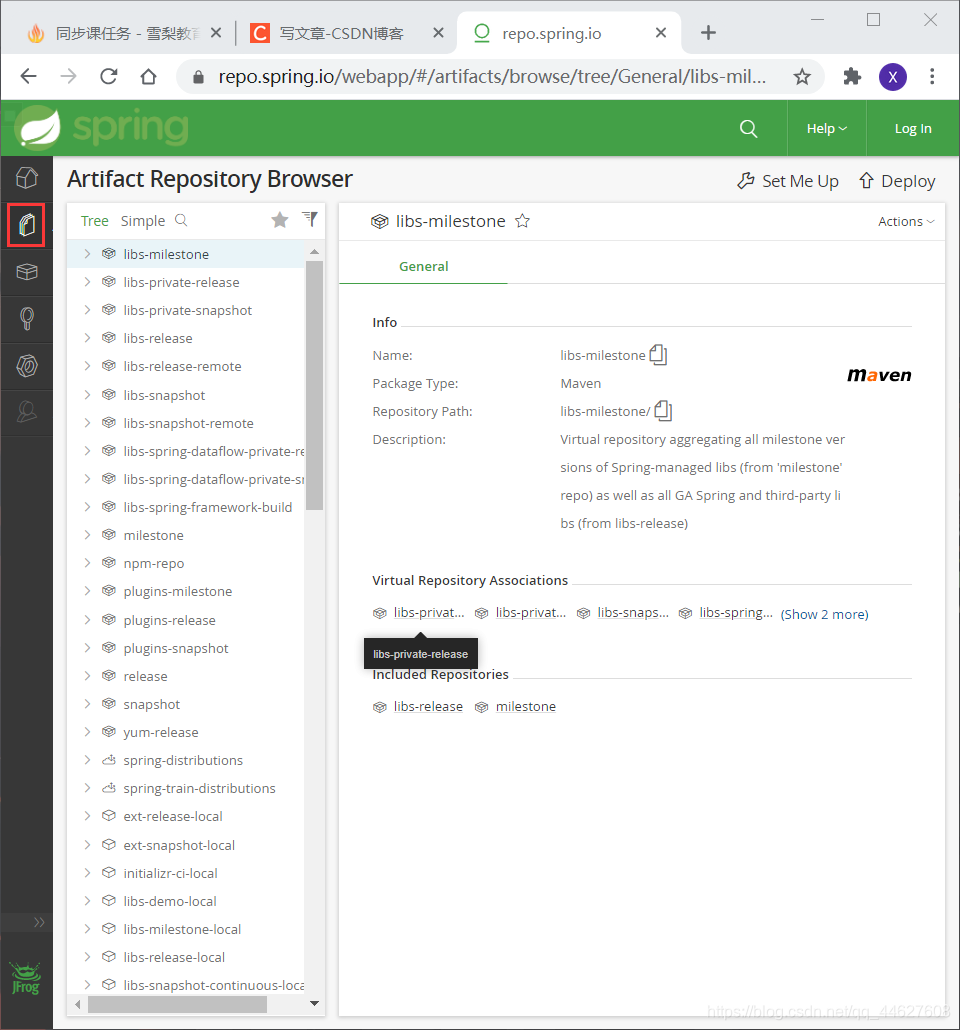
方法2
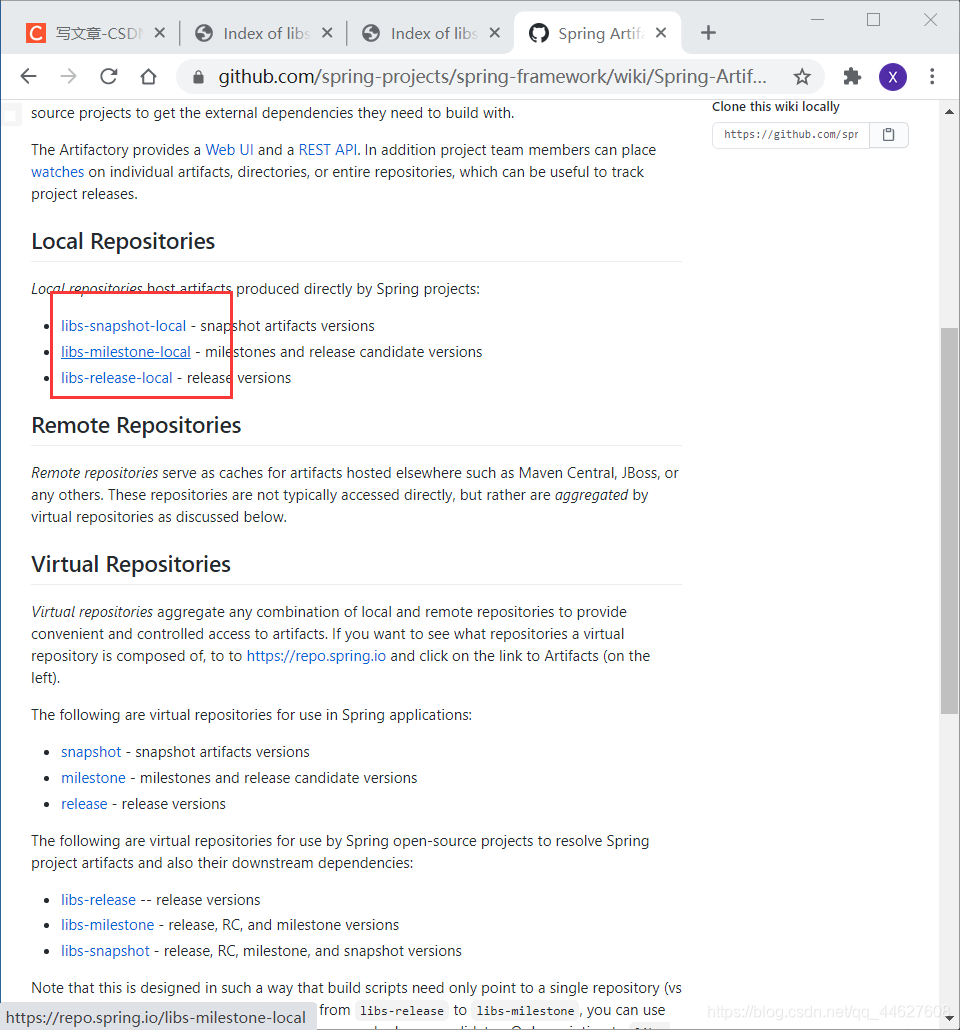
选择中间那个
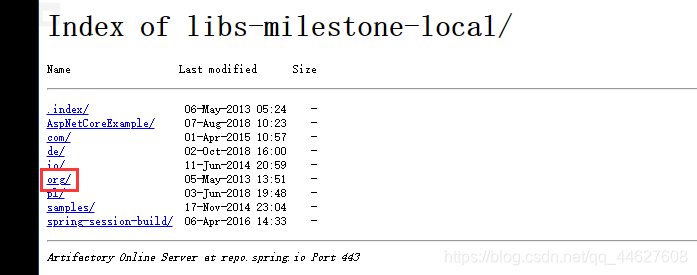
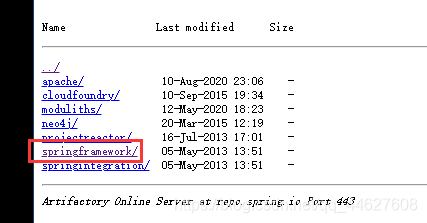
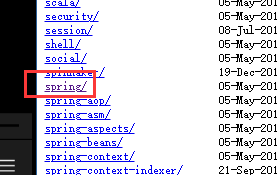
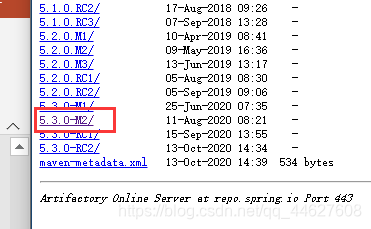
https://repo.spring.io/libs-milestone-local/org/springframework/spring/5.3.0-M2/
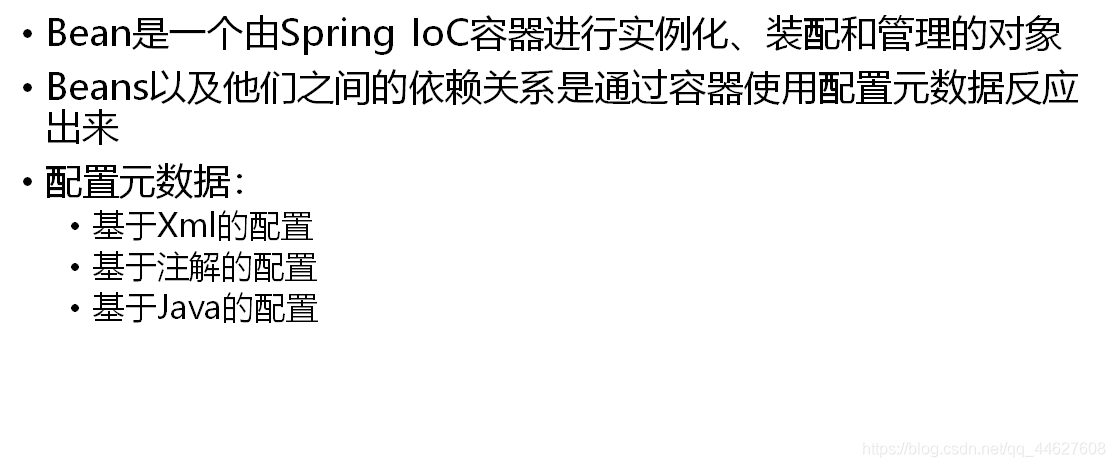
Bean
实现简单Demo
创建Java项目
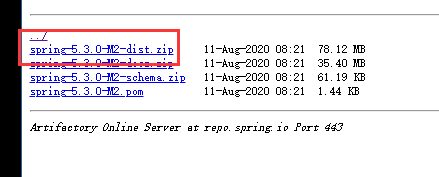
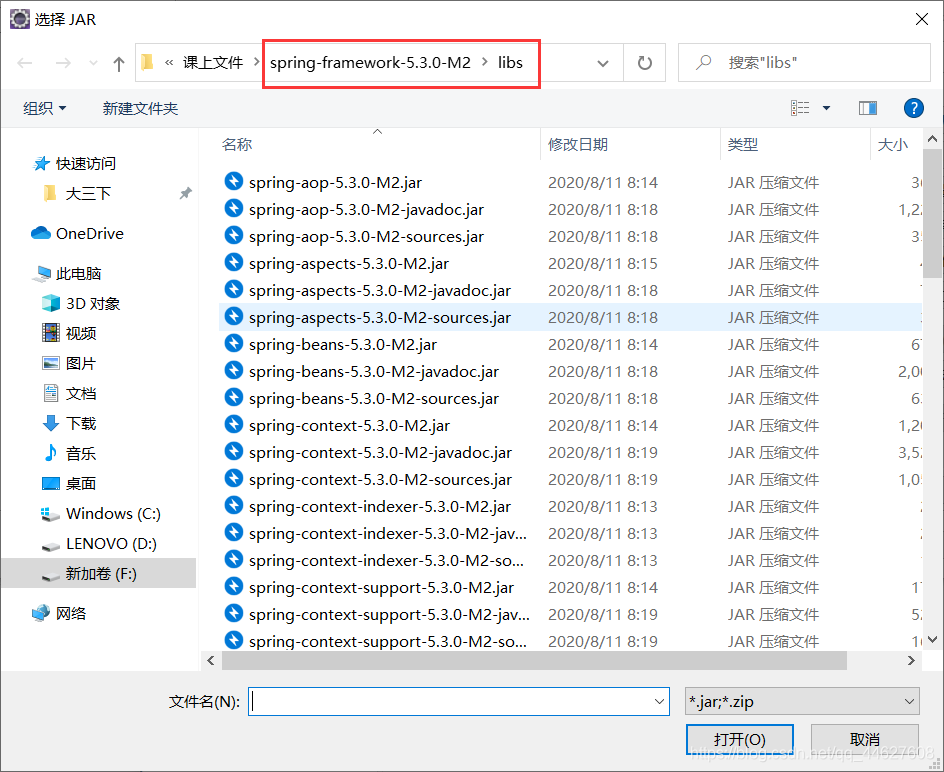
- 开始导包
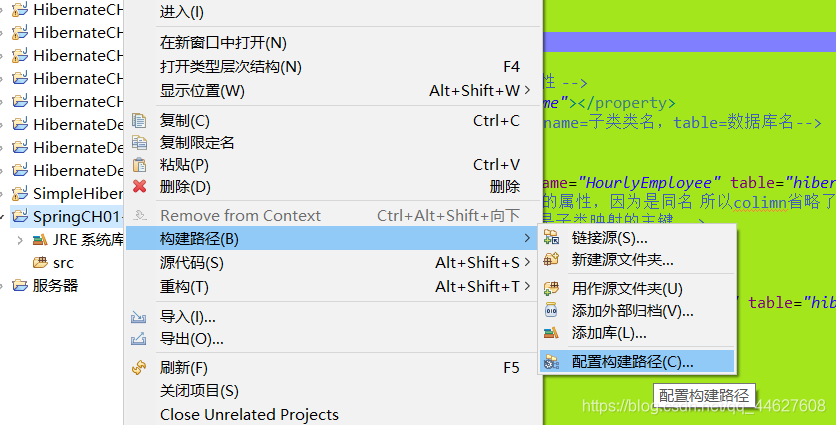
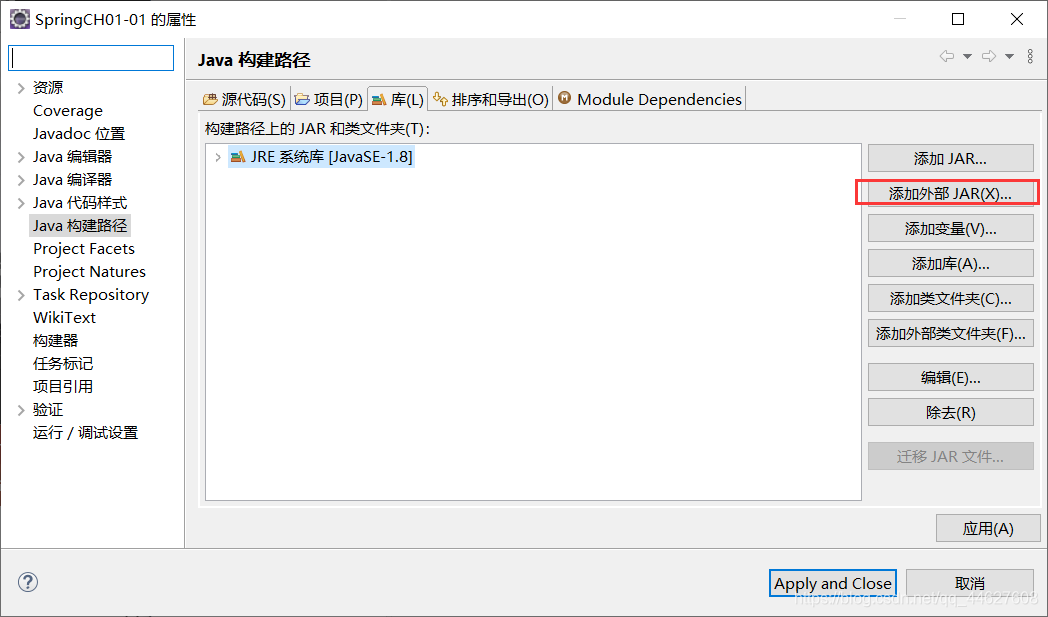
找到上面下载的压缩文件,解压,选择libs文件夹里面的所有包
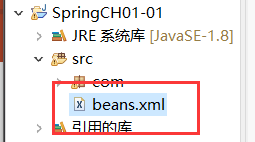
需要一个绑定数据源的文件,名字一般叫做:beans.xml 或者 applicationContext.xml
基于XML文件的方式
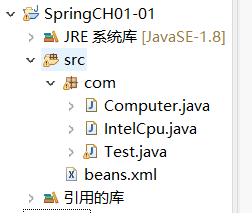
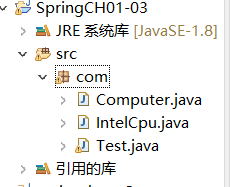
工程结构图
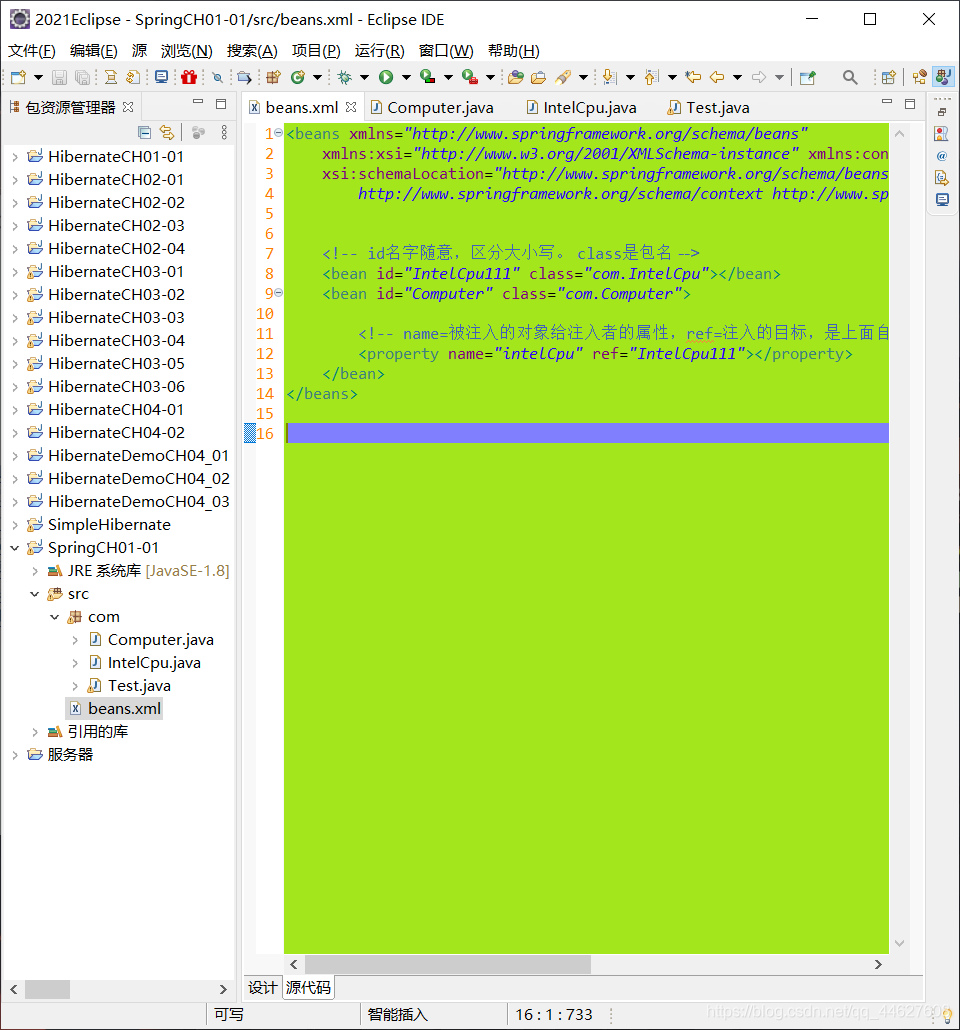
beans.xml
<beans xmlns="http://www.springframework.org/schema/beans"
	xmlns:xsi="http://www.w3.org/2001/XMLSchema-instance" xmlns:context="http://www.springframework.org/schema/context"
	xsi:schemaLocation="http://www.springframework.org/schema/beans http://www.springframework.org/schema/beans/spring-beans-4.0.xsd
		http://www.springframework.org/schema/context http://www.springframework.org/schema/context/spring-context-4.0.xsd">


    <!-- id名字随意,区分大小写。 class是包名 -->
    <bean id="IntelCpu111" class="com.IntelCpu"></bean>
    <bean id="Computer" class="com.Computer">

    	<!-- name=被注入的对象给注入者的属性,ref=注入的目标,是上面自定义的ID -->
        <property name="intelCpu" ref="IntelCpu111"></property>
    </bean>
</beans>
Computer.java
package com;

public class Computer {


	//Computer类依赖CPU类。

	private IntelCpu intelCpu;


	//通过Set方法实现注入
	public void setIntelCpu(IntelCpu intelCpu) {


		this.intelCpu = intelCpu;
	}

	public void play() {


		intelCpu.run();
		System.out.println("pc is running");
	}

}
IntelCpu.java
package com;

public class IntelCpu {


	public void run() {


		System.out.println("intel cpu is running");
	}
}
Test.java
package com;

import org.springframework.context.ApplicationContext;
import org.springframework.context.support.ClassPathXmlApplicationContext;

public class Test {


	public static void main(String[] args) {


		//1. 启动Spring容器,参数是数据配置的文件名,
		ApplicationContext ctx = new ClassPathXmlApplicationContext("beans.xml");
		//2. 从容器中拿到对象
		Computer pc = (Computer)ctx.getBean("Computer");
		pc.play();
	}

}
基于注解的方式
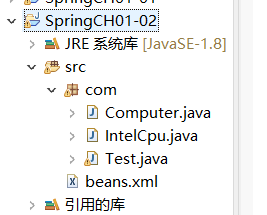
项目结构
Beans.xml
<beans xmlns="http://www.springframework.org/schema/beans"
	xmlns:xsi="http://www.w3.org/2001/XMLSchema-instance" xmlns:context="http://www.springframework.org/schema/context"
	xsi:schemaLocation="http://www.springframework.org/schema/beans http://www.springframework.org/schema/beans/spring-beans-4.0.xsd
		http://www.springframework.org/schema/context http://www.springframework.org/schema/context/spring-context-4.0.xsd">


<!-- 这是注解方式配置 -->
    <context:annotation-config />
    	<!-- 提示扫描那个包的注解 -->
    	<context:component-scan base-package="com">
    </context:component-scan>


</beans>
Computer.java
package com;

import javax.annotation.Resource;

import org.springframework.stereotype.Component;

//@Component表示是Spring当中类的容器的组件
//括号代表着给此对象加上了Id,
//因为不加的话默认会认为此类的名字开头是小写,而实际是大写开头
@Component("Computer")
public class Computer {


	//Computer类依赖CPU类。


	//表明是一种资源,有了此注释可以省略相应的Set方法
	@Resource
	private IntelCpu intelCpu;


//	//通过Set方法实现注入
//	public void setIntelCpu(IntelCpu intelCpu) {


//		this.intelCpu = intelCpu;
//	}

	public void play() {


		intelCpu.run();
		System.out.println("pc is running");
	}

}
IntelCpu.java
package com;

import org.springframework.stereotype.Component;

@Component
public class IntelCpu {


	public void run() {


		System.out.println("intel cpu is running");
	}
}
Test.java
package com;

import org.springframework.context.ApplicationContext;
import org.springframework.context.support.ClassPathXmlApplicationContext;

public class Test {


	public static void main(String[] args) {


		//1. 启动Spring容器,参数是数据配置的文件名,
		ApplicationContext ctx = new ClassPathXmlApplicationContext("beans.xml");
		//2. 从容器中拿到对象
		Computer pc = (Computer)ctx.getBean("Computer");
		pc.play();
	}

}
基于Java形式配置
注意事项
- 在上面的注解配置基础上,少了XML文件。把本该由Xml文件配置的信息放到了Test测试类中。
- 与上面的注解配置的区别是,删去xml配置文件,在Test类中加上了注解
- 注意:Test的获得Spring容器的方法不一样了
项目结构
Test.java
package com;

import org.springframework.context.ApplicationContext;
import org.springframework.context.annotation.AnnotationConfigApplicationContext;
import org.springframework.context.annotation.ComponentScan;
import org.springframework.context.annotation.Configuration;


@Configuration
@ComponentScan("com")
public class Test {


	public static void main(String[] args) {


		//1. 启动Spring容器,参数当前这个类
		ApplicationContext ctx = new AnnotationConfigApplicationContext(Test.class);
		//2. 从容器中拿到对象
		Computer pc = (Computer)ctx.getBean("Computer");
		pc.play();
	}

}