4.1、基于自定义配置文件的虚拟主机
[root@client etc]# vim /etc/httpd/conf.d/host.conf
<directory /www> allowoverride none
require all granted
</directory>
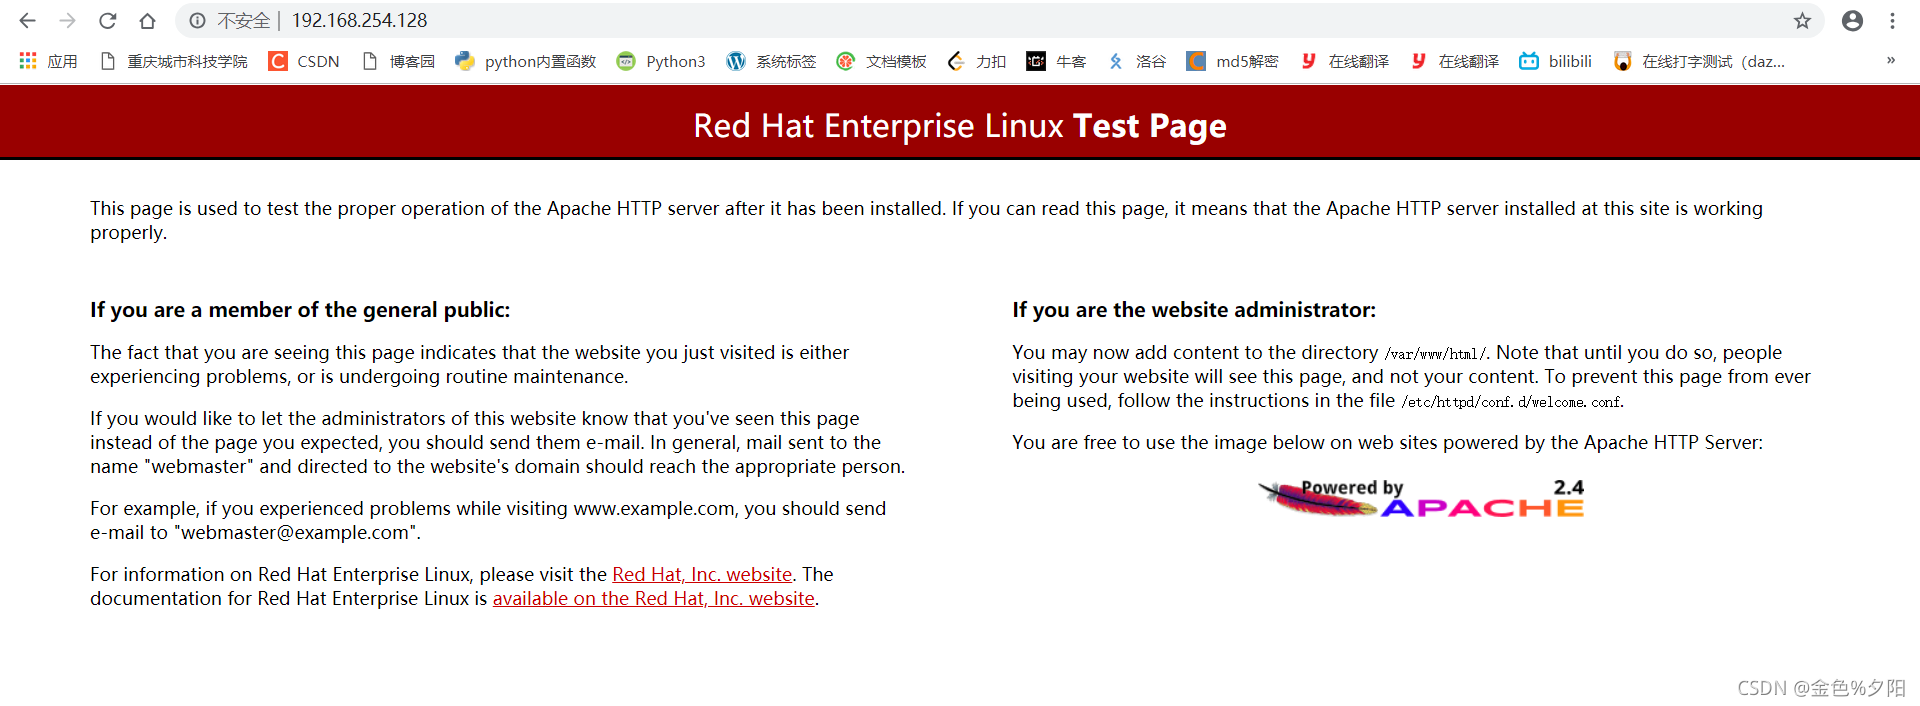
<virtualhost 192.168.254.128 :80>
servername 192.168.254.128
documentroot /www/128
</virtualhost>
[root@client conf.d]# systemctl restart httpd
[root@client conf.d]# systemctl stop firewalld
通过浏览器访问测试:
4.2、基于ip的多虚拟主机
给主机增加一个ip用来测试web服务器
[root@client conf.d]# pwd
/etc/httpd/conf.d
[root@client conf.d]# nmcli connection modify ens160 +ipv4.addresses 192.168.254.129/24
[root@client conf.d]# nmcli connection up ens160
[root@client conf.d]# vim host.conf
<directory /www>
allowoverride none
require all granted
</directory>
<virtualhost 192.168.254.128:80>
servername 192.168.254.128
documentroot /www/128
</virtualhost>
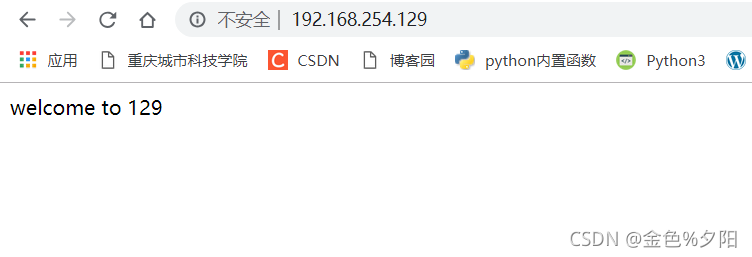
<virtualhost 192.168.254.129:80>
servername 192.168.254.129
documentroot /www/129
</virtualhost>
[root@client conf.d]# mkdir /www/129 -p
[root@client conf.d]# echo welcome to 129 > /www/129/index.html
通过浏览器测试:
4.3、基于端口的多虚拟主机
[root@client conf.d]# mkdir /www/8080
[root@client conf.d]# mkdir /www/9090
[root@client conf.d]# echo welcome to 8080 > /www/8080/index.html
[root@client conf.d]# echo welcome to 9090 > /www/9090/index.html
[root@client conf.d]# vim host.conf
<directory /www>
allowoverride none
require all granted
</directory>
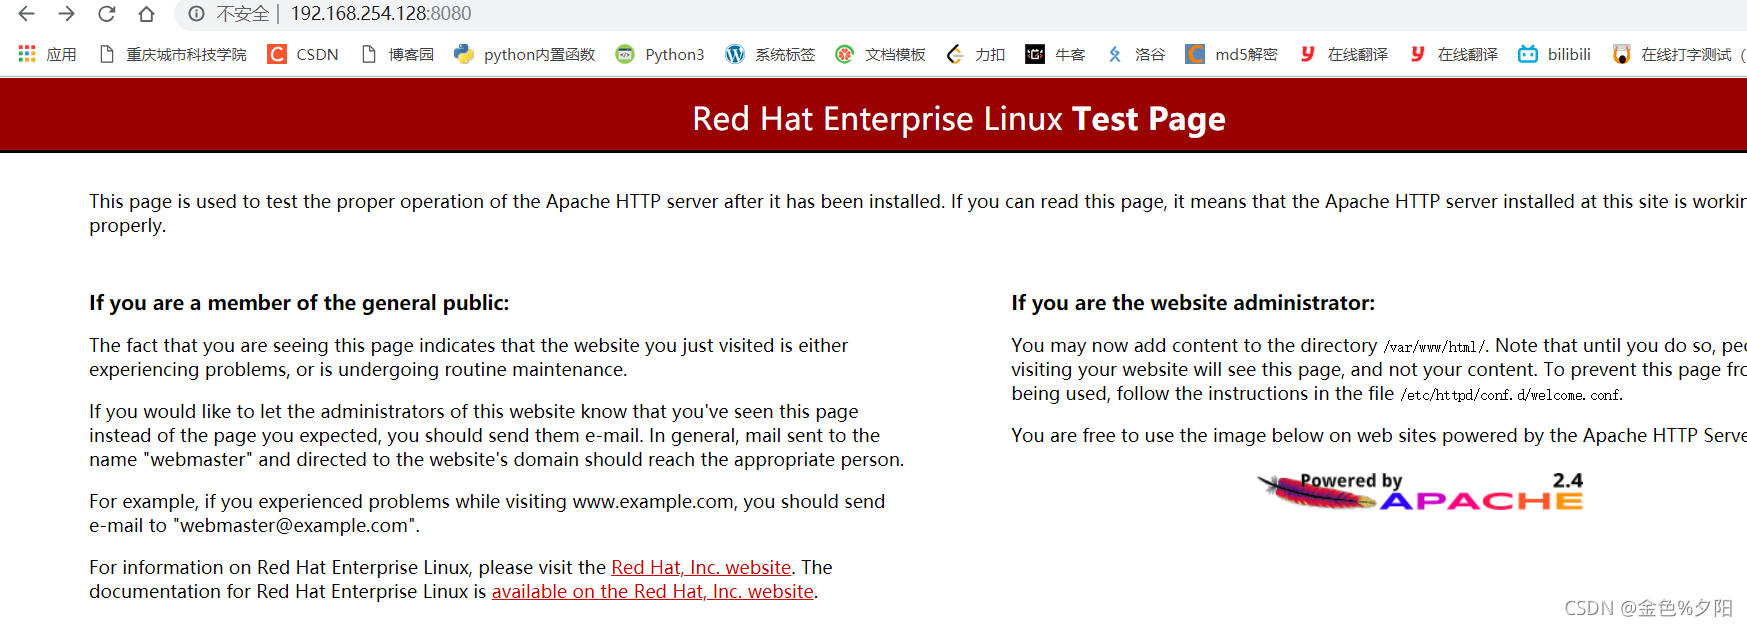
<virtualhost 192.168.254.128:8080>
servername 192.168.254.128
documentroot /www/128
</virtualhost>
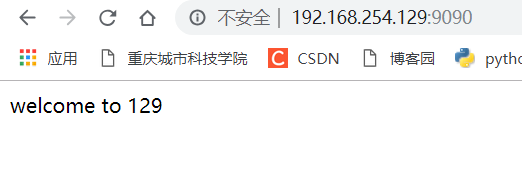
<virtualhost 192.168.254.129:9090>
servername 192.168.254.129
documentroot /www/129
</virtualhost>
listen 8080
listen 9090
通过浏览器测试:
4.4、基于主机名的多虚拟主机
[root@client conf.d]# mkdir /www/{haha,xixi}
[root@client conf.d]# echo welcome to haha! > /www/haha/index.html
[root@client conf.d]# echo welcome to xixi! > /www/xixi/index.html
[root@client conf.d]# systemctl restart httpd.service

[root@client conf.d]# vim host.conf
<directory /www>
allowoverride none
require all granted
</directory>

<virtualhost 192.168.254.128:80>
servername www.xixi.com
documentroot /www/xixi
</virtualhost>

<virtualhost 192.168.254.128:80>
servername www.haha.com
documentroot /www/haha
</virtualhost>


[root@client conf.d]# vim /etc/hosts
127.0.0.1   localhost localhost.localdomain localhost4 localhost4.localdomain4
::1         localhost localhost.localdomain localhost6 localhost6.localdomain6
192.168.254.128 www.haha.com
192.168.254.129 www.xixi.com


[ root@kittod conf.d]# systemctl restart httpd
[root@kittod conf.d]# curl www.haha.com
welcome to haha!
[root@kittod conf.d]# curl www.xixi.com
welcome to xixi!

进入windows的C:\Windows\System32\drivers\etc
编辑hosts文件(用Edit with PyCharmCommunity Edition软件打开)

4.5、基于https协议的加密虚拟主机
# 先创建自签证书和密钥
[root@kittod certs]# pwd
/etc/pki/tls/certs
[root@kittod certs]# make haha.crt

# 如果制作证书的提示如下错误:
make: *** No rule to make target 'xixi.crt'. Stop.

# 是因为在新版rhel里,最小化安装默认没有Makefile导致,使用以下命令下载即可
[root@kittod conf.d]# wget http://www.kittod.com/Makefile

# 在Windows上用Xftp软件将Makefile 复制到/etc/pki/tls/certs/目录下

# 如果提示没有make命令,安装即可
[root@kittod conf.d]# dnf install make -y

# 把钥匙放到默认路径
[root@kittod certs]# mv haha.key ../private/

# 安装https模块
[root@kittod certs]# dnf install mod_ssl -y

# 参照以下文件编写配置文件
[root@kittod conf.d]# pwd /etc/httpd/conf.d
[root@kittod conf.d]# ll ssl.conf
-rw-r--r--. 1 root root 8720 Jun 15 2020 ssl.conf

[root@kittod conf.d]# vim host.conf
<directory /www>
allowoverride none
require all granted
</directory>

<virtualhost 192.168.254.128:443>
servername www.haha.com
documentroot /www/haha
SSLEngine on
SSLCertificateFile /etc/pki/tls/certs/haha.crt
SSLCertificateKeyFile /etc/pki/tls/private/haha.key
</virtualhost>

# 重启服务
[root@kittod conf.d]# systemctl restart httpd
Enter TLS private key passphrase for www.haha.com:443 (RSA) : ******

# 测试访问
[root@kittod conf.d]# curl -k https://www.haha.com
welcome to haha!
4.6、基于用户认证的虚拟主机
[root@client certs]# cd /etc/httpd/conf.d
[root@client conf.d]# htpasswd -c /etc/httpd/jjj abc
New password:
Re-type new password:
Adding password for user abc
[root@client conf.d]# htpasswd -c /etc/httpd/jjj tom
New password:
Re-type new password:
Adding password for user tom

[root@client conf.d]# mkdir /usr/local/mysecret
[root@client conf.d]# echo This is mysecret > /usr/local/mysecret/index.html


[root@client conf.d]# vim host.conf
<directory /www>
allowoverride none
require all granted
</directory>

<directory /usr/local/mysecret> authtype basic authname "This is a private directory,Please Login: " authuserfile /etc/httpd/zhanghao
require user abc tom
</directory>

<virtualhost 192.168.254.128:80> servername www.haha.com alias /mysecret /usr/local/mysecret
documentroot /www/haha
</virtualhost>

# 重启httpd服务
[root@kittod conf.d]# systemctl restart httpd

4.7、基于python 的动态虚拟主机
# 安装python模块
[root@kittod conf.d]# dnf install python3-mod_wsgi -y

# 脚本内容
[root@kittod conf.d]# vim /var/www/cgi-bin/helloworld.wsgi
def application(environ, start_response):
	status = '200 OK'
	output = b'Hello World'
	response_headers = [('Content-type', 'text/plain'),
			('Content-Length', str(len(output)))]
	start_response(status, response_headers)
	return [output]


# 配置文件内容
[root@kittod conf.d]# cat host.conf
<directory /www>
allowoverride none
require all granted
</directory>

<virtualhost 192.168.226.130:80>
servername www.haha.com
WSGIScriptAlias / /var/www/cgi-bin/helloworld.wsgi
</virtualhost>


# 重启服务
[root@kittod conf.d]# systemctl restart httpd

# 查看页面
[root@kittod conf.d]# curl http://www.haha.com
Hello World