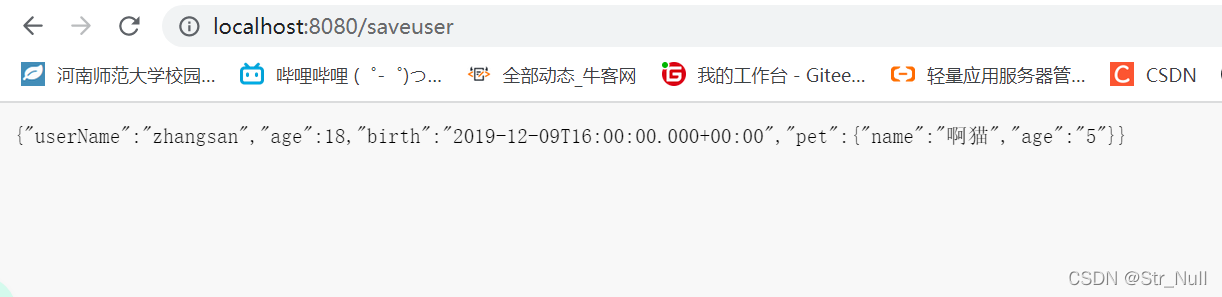
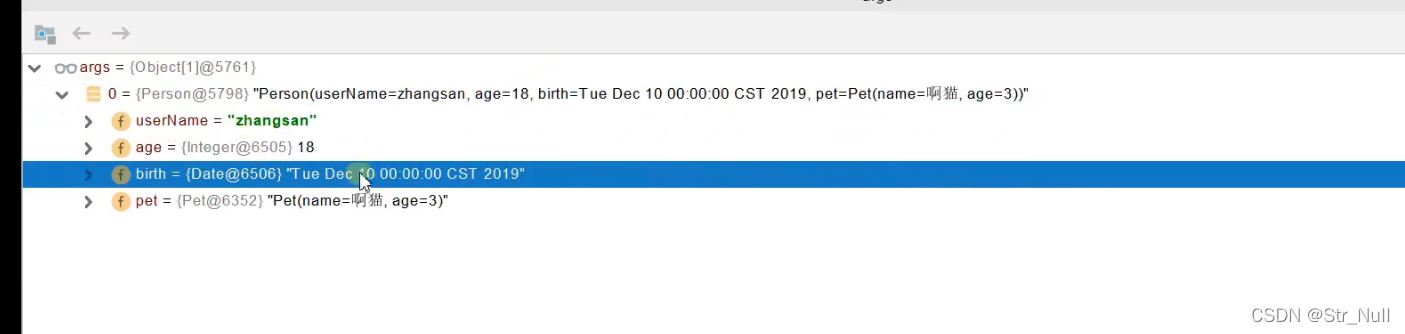
自定义封装的对象
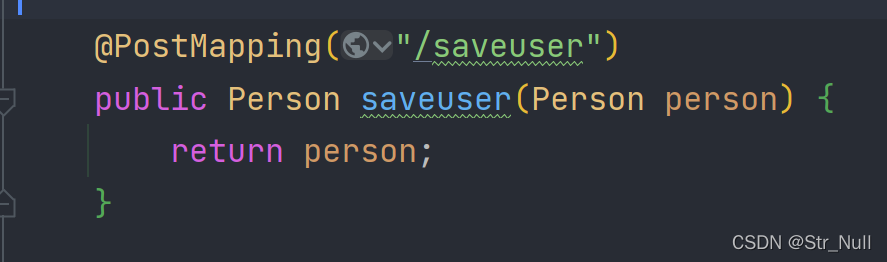
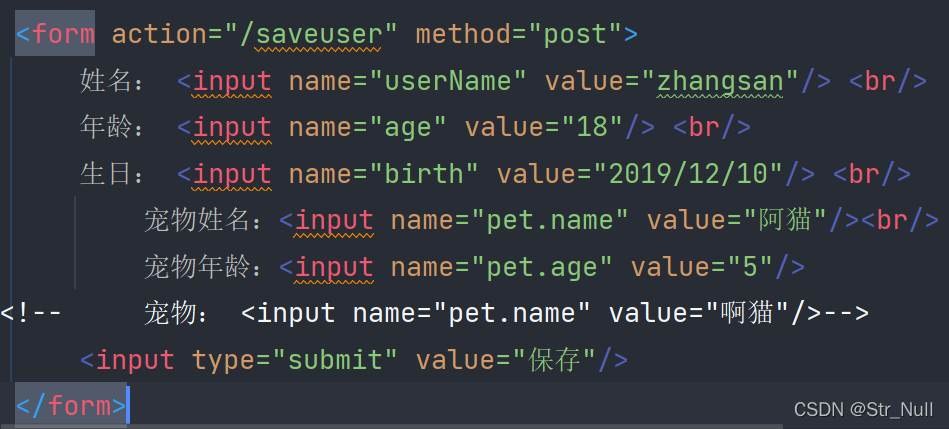
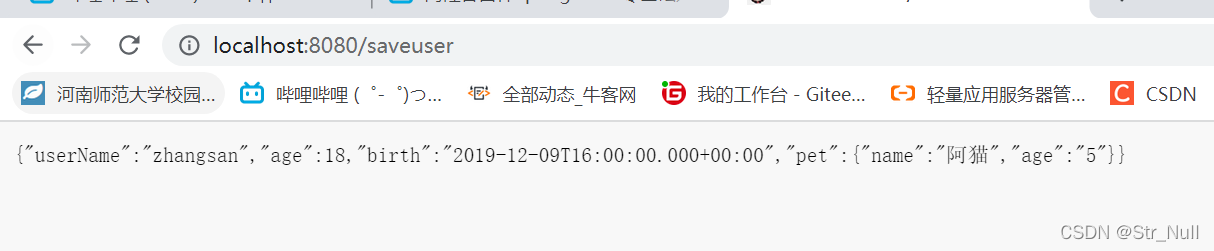
为什么页面提交的请求数据会被封装到我们的自定义对象里面?
我们的自定义对象是被这个处理的
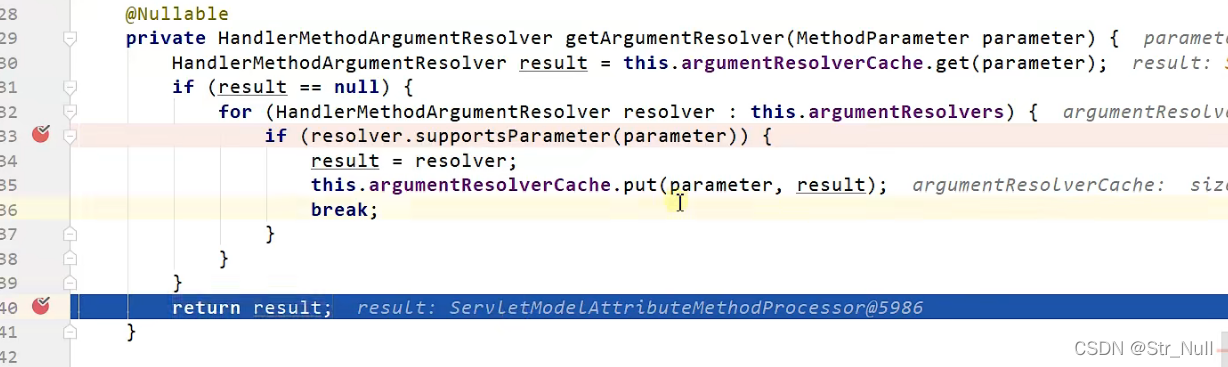

我们的自定义对象就是用它来封装的

这里面会判断是不是简单的数据类型
public static boolean isSimpleValueType(Class<?> type) {


		return (Void.class != type && void.class != type &&
				(ClassUtils.isPrimitiveOrWrapper(type) ||
				Enum.class.isAssignableFrom(type) ||
				CharSequence.class.isAssignableFrom(type) ||
				Number.class.isAssignableFrom(type) ||
				Date.class.isAssignableFrom(type) ||
				Temporal.class.isAssignableFrom(type) ||
				URI.class == type ||
				URL.class == type ||
				Locale.class == type ||
				Class.class == type));
	}
自定义类型封装的核心在这里
@Override
	@Nullable
	public final Object resolveArgument(MethodParameter parameter, @Nullable ModelAndViewContainer mavContainer,
			NativeWebRequest webRequest, @Nullable WebDataBinderFactory binderFactory) throws Exception {


		Assert.state(mavContainer != null, "ModelAttributeMethodProcessor requires ModelAndViewContainer");
		Assert.state(binderFactory != null, "ModelAttributeMethodProcessor requires WebDataBinderFactory");

		String name = ModelFactory.getNameForParameter(parameter);
		ModelAttribute ann = parameter.getParameterAnnotation(ModelAttribute.class);
		if (ann != null) {


			mavContainer.setBinding(name, ann.binding());
		}

		Object attribute = null;
		BindingResult bindingResult = null;

		if (mavContainer.containsAttribute(name)) {


			attribute = mavContainer.getModel().get(name);
		}
		else {


			// Create attribute instance
			try {


				attribute = createAttribute(name, parameter, binderFactory, webRequest);
			}
			catch (BindException ex) {


				if (isBindExceptionRequired(parameter)) {


					// No BindingResult parameter -> fail with BindException
					throw ex;
				}
				// Otherwise, expose null/empty value and associated BindingResult
				if (parameter.getParameterType() == Optional.class) {


					attribute = Optional.empty();
				}
				bindingResult = ex.getBindingResult();
			}
		}

		if (bindingResult == null) {


			// Bean property binding and validation;
			// skipped in case of binding failure on construction.
			WebDataBinder binder = binderFactory.createBinder(webRequest, attribute, name);
			if (binder.getTarget() != null) {


				if (!mavContainer.isBindingDisabled(name)) {


					bindRequestParameters(binder, webRequest);
				}
				validateIfApplicable(binder, parameter);
				if (binder.getBindingResult().hasErrors() && isBindExceptionRequired(binder, parameter)) {


					throw new BindException(binder.getBindingResult());
				}
			}
			// Value type adaptation, also covering java.util.Optional
			if (!parameter.getParameterType().isInstance(attribute)) {


				attribute = binder.convertIfNecessary(binder.getTarget(), parameter.getParameterType(), parameter);
			}
			bindingResult = binder.getBindingResult();
		}

		// Add resolved attribute and BindingResult at the end of the model
		Map<String, Object> bindingResultModel = bindingResult.getModel();
		mavContainer.removeAttributes(bindingResultModel);
		mavContainer.addAllAttributes(bindingResultModel);

		return attribute;
	}
这是我们的核心

WebDataBinder binder = binderFactory.createBinder(webRequest, attribute, name);
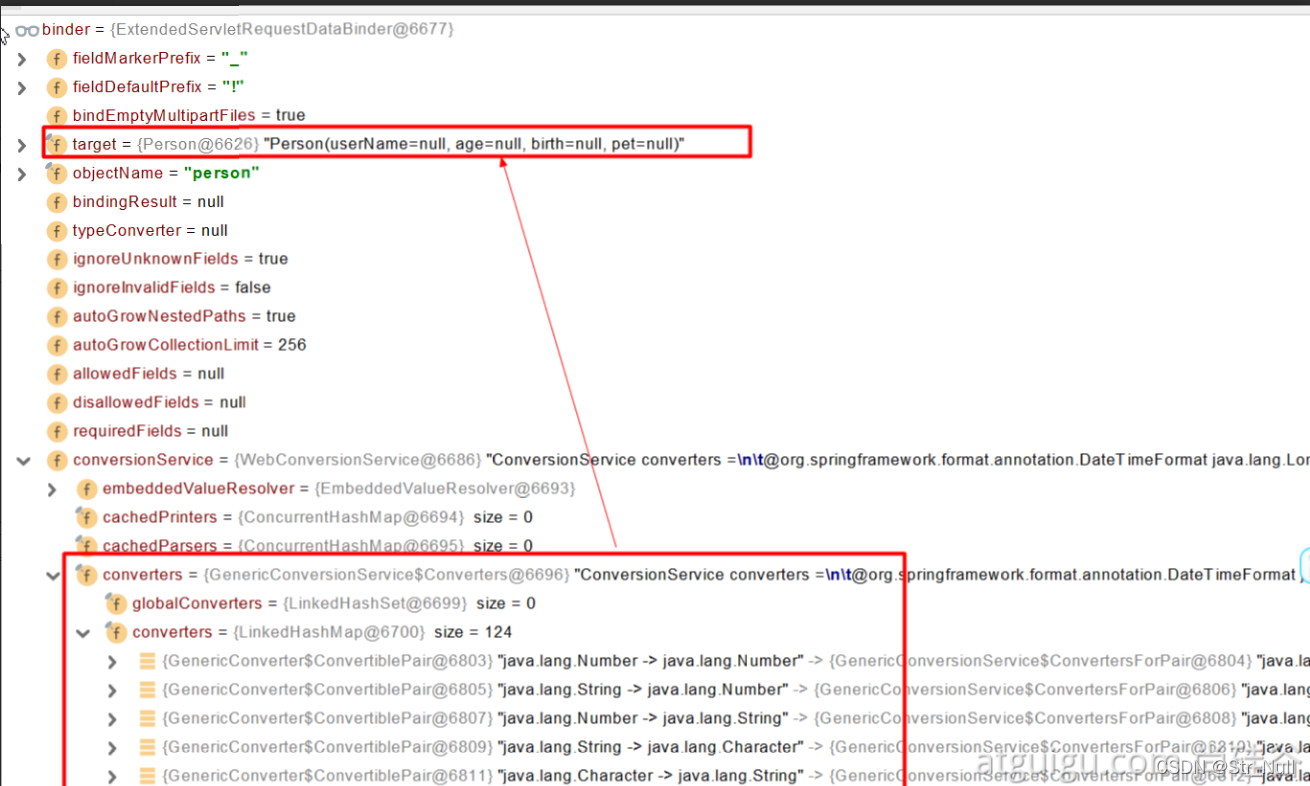
我们看一下这个 binder

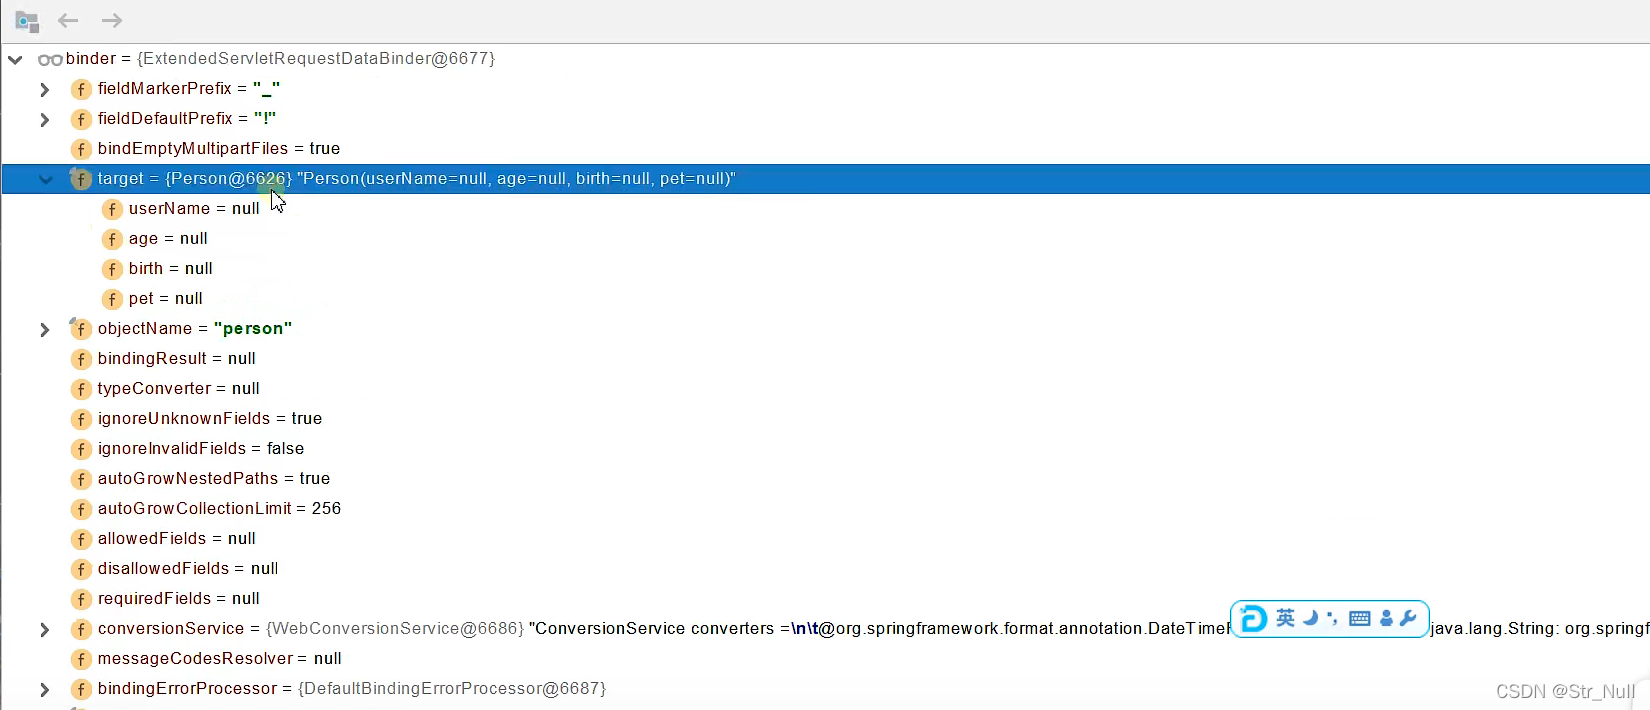
这里就是创建的用来放数据的对象

我们传过来的都是http传过来的 也就是传来的都是String类型的
这个就是我们的转换器


我们看这里有124个转换器 比如我们选定的这个就是把 String给转换成Enum的
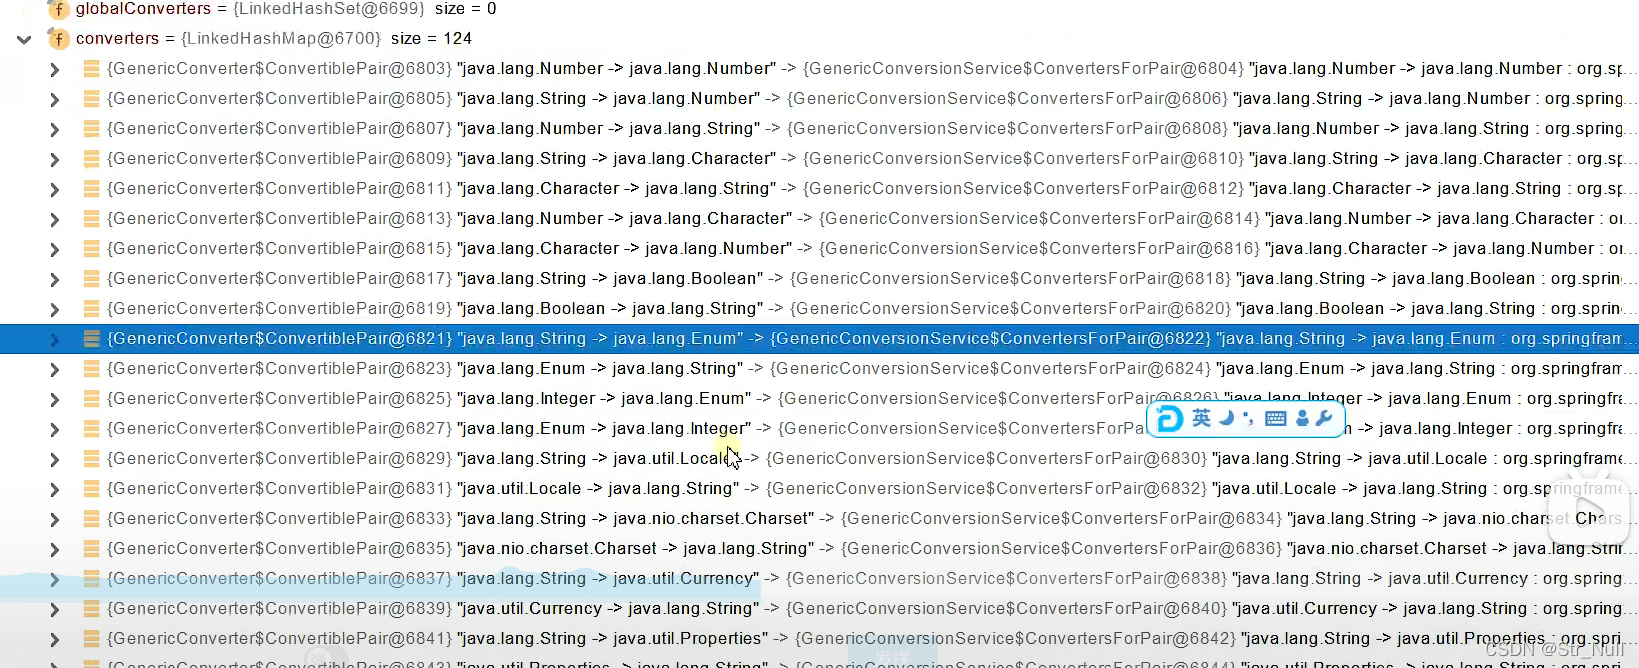
这还有String转成Object的

下面的框是负责把接收到的request字符串数据转换成我们指定的对象里面的数据的类型
比如 String 转换成 Integer
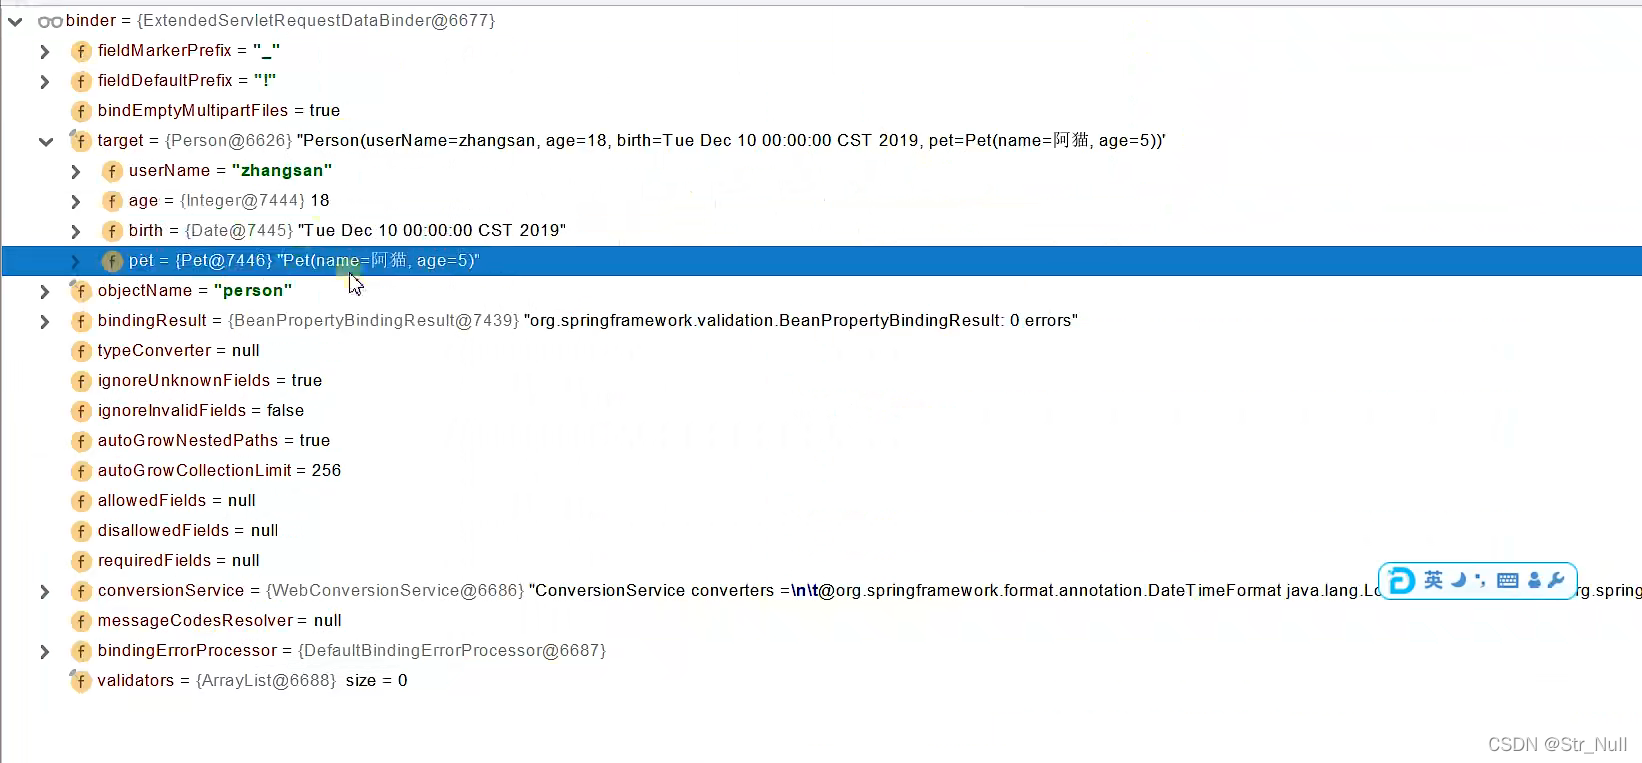
这一步 这里面的 binder 是我们创建好的放我们对象 还有原生的请求

我们经过了这一步 我们就绑定好了数据
里面就是通过反射调用方法 绑定我们数据里面带的值
封装过程用到ServletModelAttributeMethodProcessor
public class ServletModelAttributeMethodProcessor extends ModelAttributeMethodProcessor {


    @Override//本方法在ModelAttributeMethodProcessor类,
	public boolean supportsParameter(MethodParameter parameter) {


		return (parameter.hasParameterAnnotation(ModelAttribute.class) ||
				(this.annotationNotRequired && !BeanUtils.isSimpleProperty(parameter.getParameterType())));
	}

	@Override
	@Nullable//本方法在ModelAttributeMethodProcessor类,
	public final Object resolveArgument(MethodParameter parameter, @Nullable ModelAndViewContainer mavContainer,
			NativeWebRequest webRequest, @Nullable WebDataBinderFactory binderFactory) throws Exception {


		...

		String name = ModelFactory.getNameForParameter(parameter);
		ModelAttribute ann = parameter.getParameterAnnotation(ModelAttribute.class);
		if (ann != null) {


			mavContainer.setBinding(name, ann.binding());
		}

		Object attribute = null;
		BindingResult bindingResult = null;

		if (mavContainer.containsAttribute(name)) {


			attribute = mavContainer.getModel().get(name);
		}
		else {


			// Create attribute instance
			try {


				attribute = createAttribute(name, parameter, binderFactory, webRequest);
			}
			catch (BindException ex) {


				...
			}
		}

		if (bindingResult == null) {


			// Bean property binding and validation;
			// skipped in case of binding failure on construction.
			WebDataBinder binder = binderFactory.createBinder(webRequest, attribute, name);
			if (binder.getTarget() != null) {


				if (!mavContainer.isBindingDisabled(name)) {


                    //web数据绑定器,将请求参数的值绑定到指定的JavaBean里面**
					bindRequestParameters(binder, webRequest);
				}
				validateIfApplicable(binder, parameter);
				if (binder.getBindingResult().hasErrors() && isBindExceptionRequired(binder, parameter)) {


					throw new BindException(binder.getBindingResult());
				}
			}
			// Value type adaptation, also covering java.util.Optional
			if (!parameter.getParameterType().isInstance(attribute)) {


				attribute = binder.convertIfNecessary(binder.getTarget(), parameter.getParameterType(), parameter);
			}
			bindingResult = binder.getBindingResult();
		}

		// Add resolved attribute and BindingResult at the end of the model
		Map<String, Object> bindingResultModel = bindingResult.getModel();
		mavContainer.removeAttributes(bindingResultModel);
		mavContainer.addAllAttributes(bindingResultModel);

		return attribute;
	}
}
总结
WebDataBinder :web数据绑定器,将请求参数的值绑定到指定的JavaBean里面
WebDataBinder 利用它里面的 Converters 将请求数据转成指定的数据类型。再次封装到JavaBean中
GenericConversionService:在设置每一个值的时候,找它里面的所有converter那个可以将这个数据类型(request带来参数的字符串)转换到指定的类型(JavaBean – Integer)
自定义Converter原理

我们用 , 来间隔
我们自定义一个解析器
 @Bean
    public WebMvcConfigurer webMvcConfigurer(){


        return new WebMvcConfigurer() {


            @Override
            public void addFormatters(FormatterRegistry registry) {


                registry.addConverter(new Converter<String, Pet>() {


                    @Override
                    public Pet convert(String source) {


                        if(!StringUtils.isEmpty(source)){


                            Pet pat = new Pet();
                            String [] split = source.split(",");
                            pat.setName(split[0]);
                            pat.setAge(String.valueOf(Integer.valueOf(split[1])));
                            return pat;
                        }
                        return null;
                    }
                });
            }
        };
    }
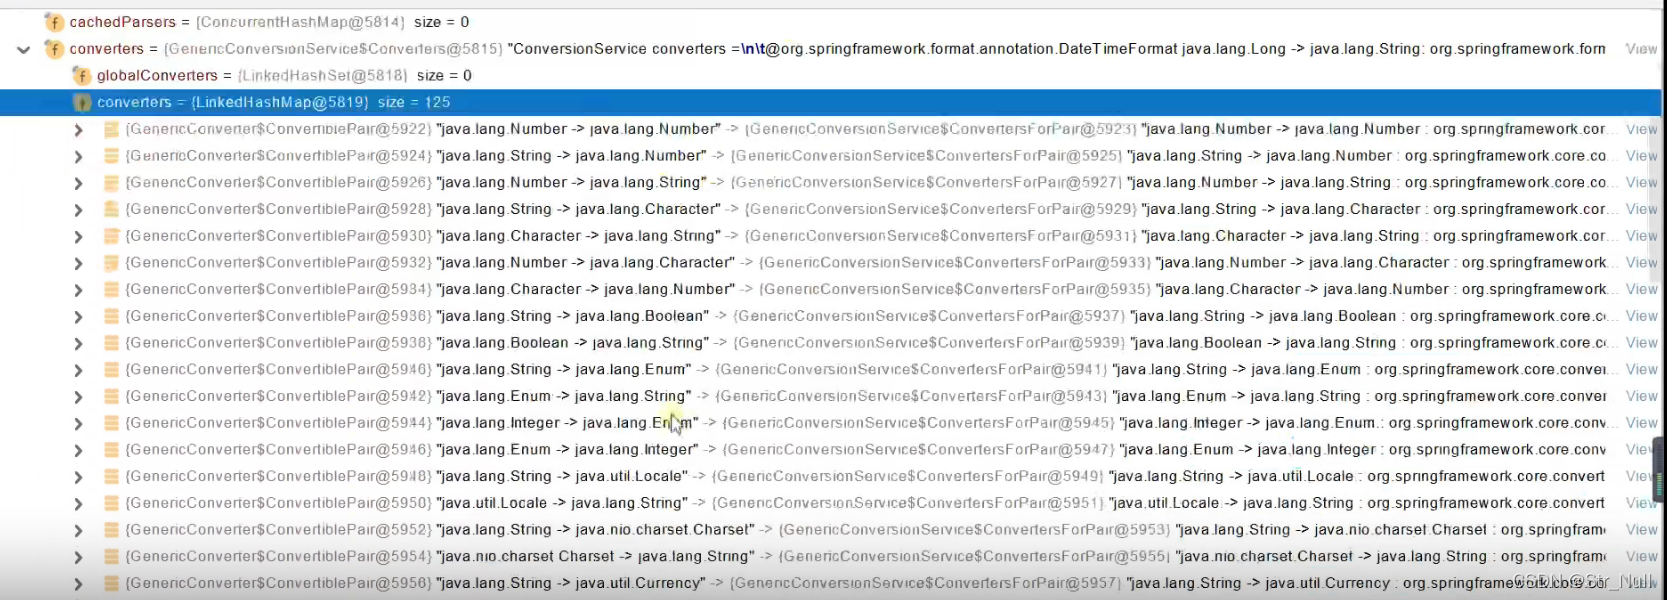
我们看解析器 发现是125个 原来是124个 我们自定义的解析器放到这里面了
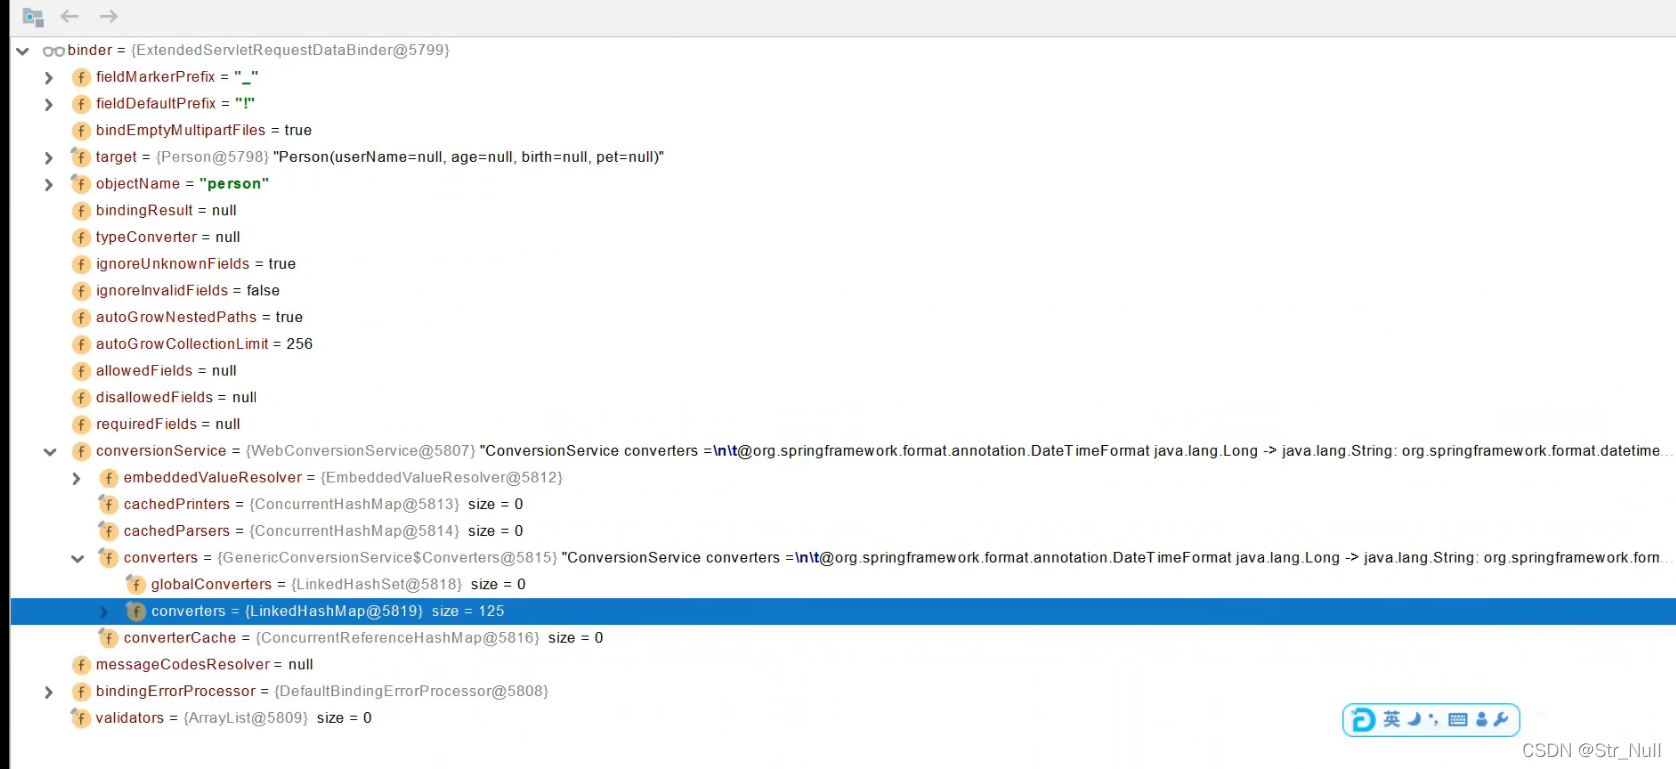
这里我们就转好了
发过去了