目录
前言
nginx高可用在生产环境中的使用比较常见,如果一个系统能够一直提供服务,那么这个可用性则是百分之百,但是天有不测风云。所以我们只能尽可能的去减少服务的故障,如果一个系统能够一直提供服务,那么这个可用性则是百分之百,但是天有不测风云。所以我们只能尽可能的去减少服务的故障,本次实验采用keepalived来实现Nginx的高可用,这种方案在国内企业中是一种比较常见的高可用方案,采用双机热备,一台服务器提供服务,另一台处于待机状态,当主服务器宕机后就接替它继续运行。
一、keepalived原理
1.1 什么是keepalived
Keepalived 是一个基于VRRP协议来实现的LVS服务高可用方案,可以解决单点故障问题
1.2 keepalived工作过程
Keepalived首先做初始化先检查state状态,master为主服务器,backup为备服务器。
然后再对比所有服务器的priority,谁的优先级高谁是最终的主服务器。
优先级高的服务器会通过ip命令为自己的电脑配置一个提前定义好的浮动IP地址。
二、部署过程
nginx高可用主 7-4 192.168.109.134
nginx高可用备 7-5 192.168.109.135
客户端 w7 192.168.109.200
VIP 192.168.109.100
#先将两台服务器和客户端w7防火墙关掉
systemctl stop firewalld
systemctl disable firewalld
setenforce 0
2.1 nginx配置(主备相同)
#yum安装 nginx
vim /etc/yum.repos.d/nginx.repo
[nginx-stable]
name=nginx stable repo
baseurl=http://nginx.org/packages/centos/7/$basearch/
gpgcheck=0
enabled=1
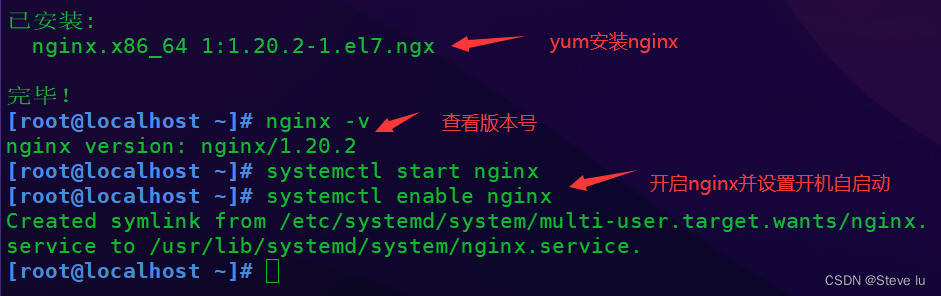
yum install nginx -y
systemctl start nginx
systemctl enable nginx
#主备写入不同的网页内容以便测试的时候区分服务器
#主服务器
[root@localhost ~]# cd /usr/share/nginx/html/
[root@localhost html]# ls
50x.html index.html
[root@localhost html]# echo "<h1>nginx test1</h1>" >index.html
#备服务器
[root@localhost ~]# cd /usr/share/nginx/html/
[root@localhost html]# ls
50x.html index.html
[root@localhost html]# echo "<h1>nginx test2</h1>" >index.html 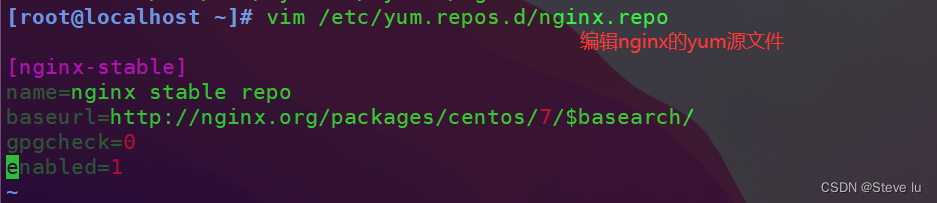


2.2 keepalived配置(主备相同)
#下载软件包
yum -y install keepalived
#修改配置文件(直接将我下面改好的复制到自己的配置文件)
[root@localhost ~]# cd /etc/keepalived/
[root@localhost keepalived]# cp keepalived.conf keepalived.conf.bak
[root@localhost keepalived]# vim keepalived.conf
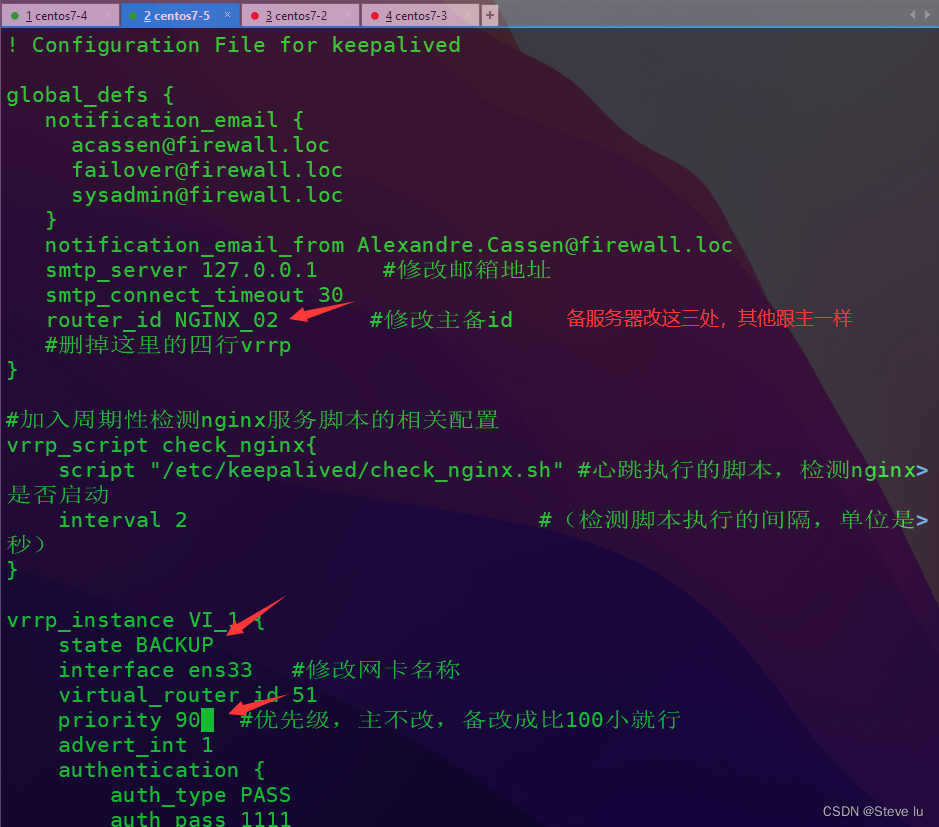
! Configuration File for keepalived
global_defs {
notification_email {
[email protected]
[email protected]
[email protected]
}
notification_email_from [email protected]
smtp_server 127.0.0.1 #修改邮箱地址
smtp_connect_timeout 30
router_id NGINX_01 #修改主备id
#删掉这里的四行vrrp
}
#加入周期性检测nginx服务脚本的相关配置
vrrp_script check_nginx{
script "/etc/keepalived/check_nginx.sh" #心跳执行的脚本,检测nginx是否启动
interval 2 #(检测脚本执行的间隔,单位是秒)
}
vrrp_instance VI_1 {
state MASTER
interface ens33 #修改网卡名称
virtual_router_id 51
priority 100 #优先级,主不改,备改成比100小就行
advert_int 1
authentication {
auth_type PASS
auth_pass 1111
}
virtual_ipaddress {
192.168.109.100 #修改VIP地址
}
#添加跟踪(执行脚本)
track_script{
check_nginx
}
}
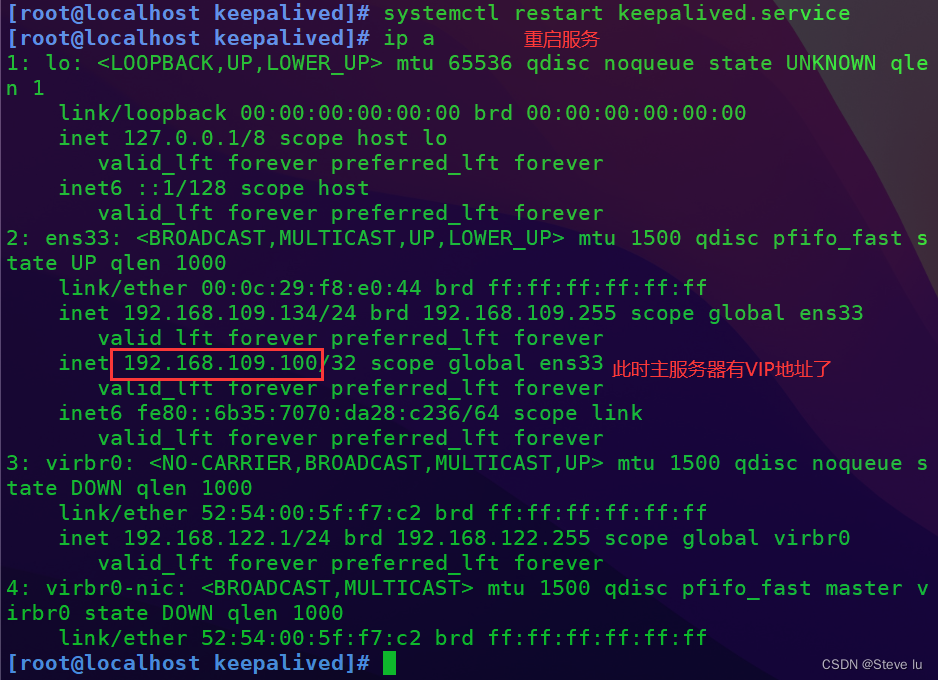
#重启服务
[root@localhost keepalived]# systemctl restart keepalived.service
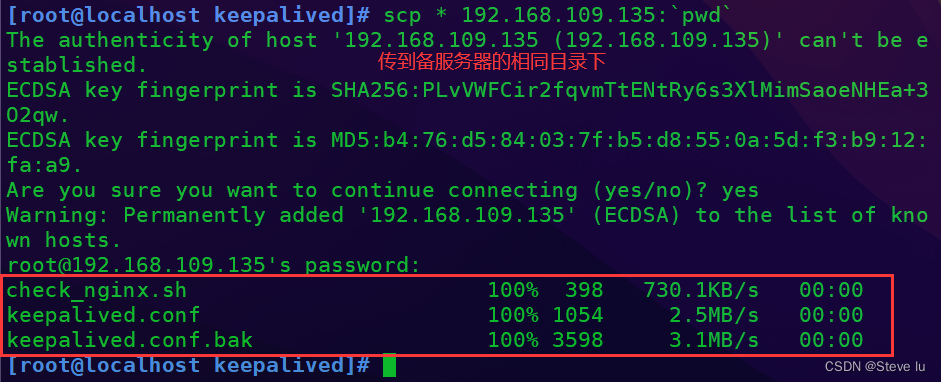
#备服务器下载好keepalived后,在主服务器上将脚本和keepalived配置文件传过去
[root@localhost keepalived]# scp * 192.168.109.135:`pwd`
The authenticity of host '192.168.109.135 (192.168.109.135)' can't be established.
ECDSA key fingerprint is SHA256:PLvVWFCir2fqvmTtENtRy6s3XlMimSaoeNHEa+3O2qw.
ECDSA key fingerprint is MD5:b4:76:d5:84:03:7f:b5:d8:55:0a:5d:f3:b9:12:fa:a9.
Are you sure you want to continue connecting (yes/no)? yes
Warning: Permanently added '192.168.109.135' (ECDSA) to the list of known hosts.
[email protected]'s password:
check_nginx.sh 100% 398 730.1KB/s 00:00
keepalived.conf 100% 1054 2.5MB/s 00:00
keepalived.conf.bak 100% 3598 3.1MB/s 00:00
[root@localhost keepalived]#
#传过去后修改三处
router_id NGINX_02
state BACKUP
priority 90
#然后重启服务
[root@localhost keepalived]# systemctl restart keepalived.service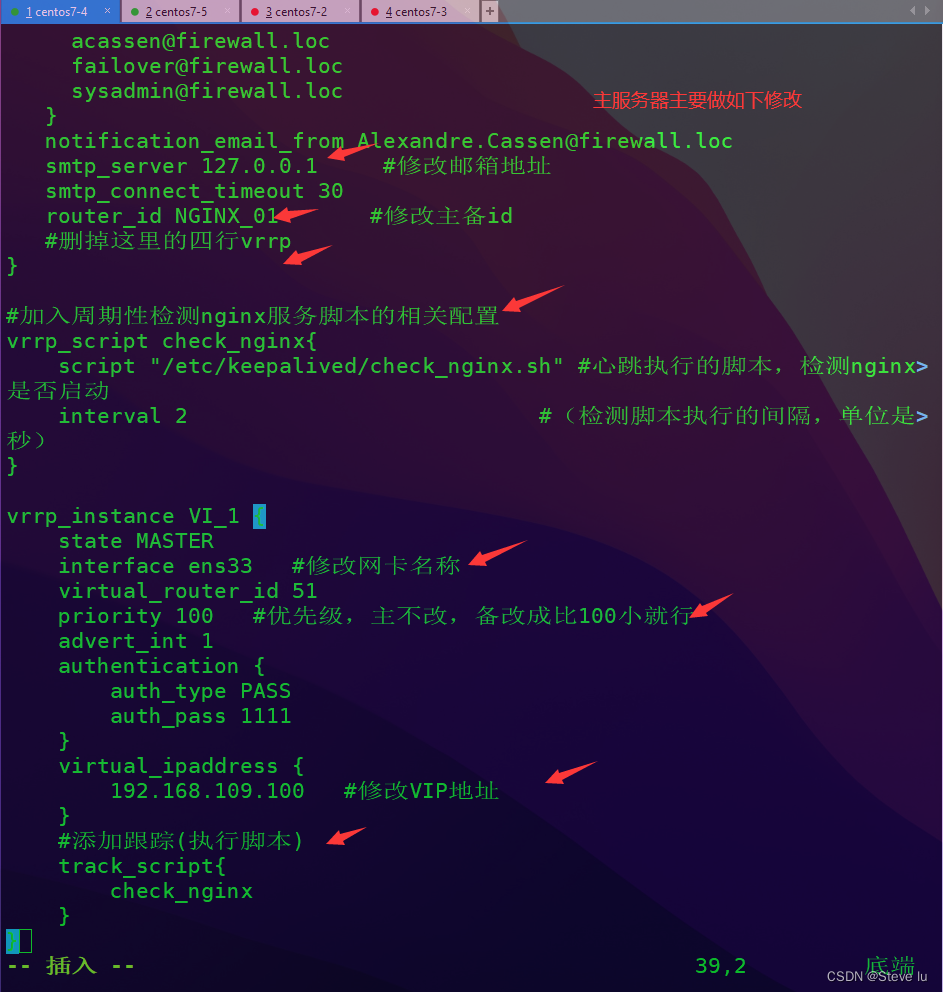
2.3 检测nginx脚本
由于keepalived是通过内核转发请求判断主备服务器是否在线,而nginx是应用程序,它有进程意外退出的可能性,不涉及内核,所以nginx挂了keepalived并不能作出相应的判断来切换备服务器,这时需要使用一个脚本来实时监控nginx进程是否存在,如果不存在则重启开启,重启开启不了杀掉当前主机中的keepalived服务来实现故障切换。开启keepalived后脚本自动执行
#在/etc/keepalived目录下创建nginx检测脚本
[root@localhost keepalived]# vim check_nginx.sh
#!/bin/bash
#检测nginx是否启动了
A=`ps -C nginx --no-header |wc -l`
if [ $A -eq 0 ];then    #如果nginx没有启动就启动nginx
      systemctl start nginx                #重启nginx
      if [ `ps -C nginx --no-header |wc -l` -eq 0 ];then    #nginx重启失败,则停掉keepalived服务,进行VIP转移
              killall keepalived
      fi
fi

#给脚本执行权限
[root@localhost keepalived]# chmod +x check_nginx.sh 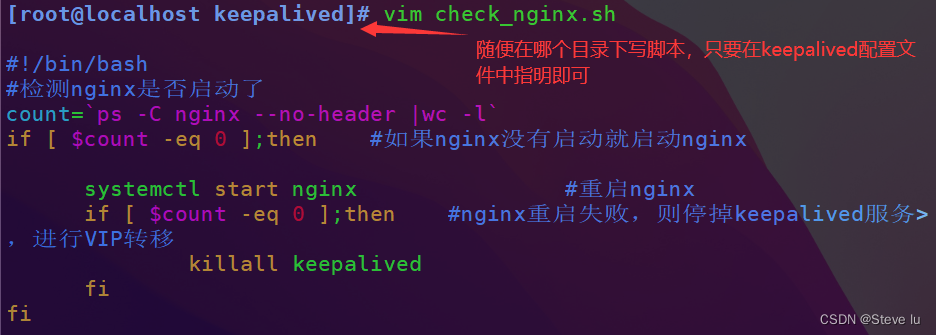

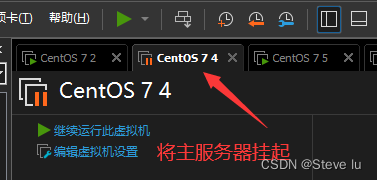
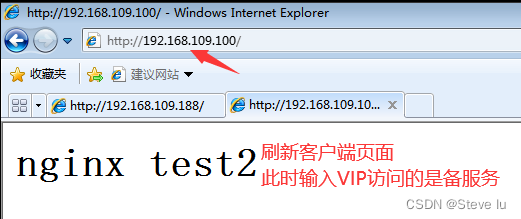
2.4 客户端测试
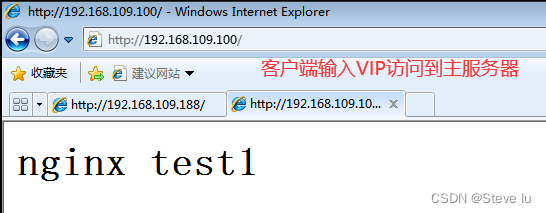
因为我这个监控脚本里面会自动启动挂断的nginx,所以我们直接将192.168.109.134服务器关掉,模拟宕机,这个时候keepalived就自动故障转移了,VIP飘到备服务器了

一套企业级生产环境的高可用方案就搭建好了
总结
本篇博客仅搭建了简单的nginx高可用方案,后期可以搭建nginx负载均衡、动静分离等等的高可用方案