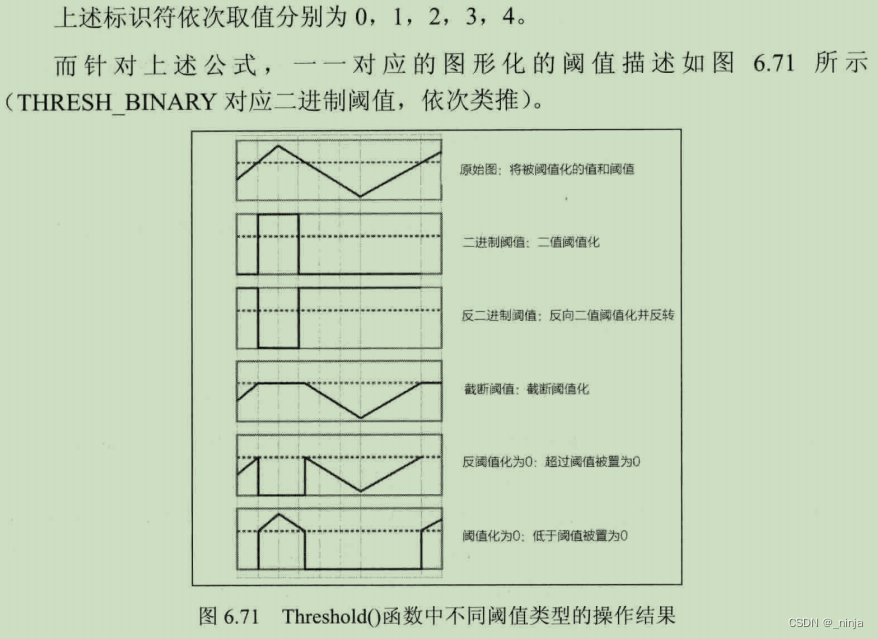
阈值化
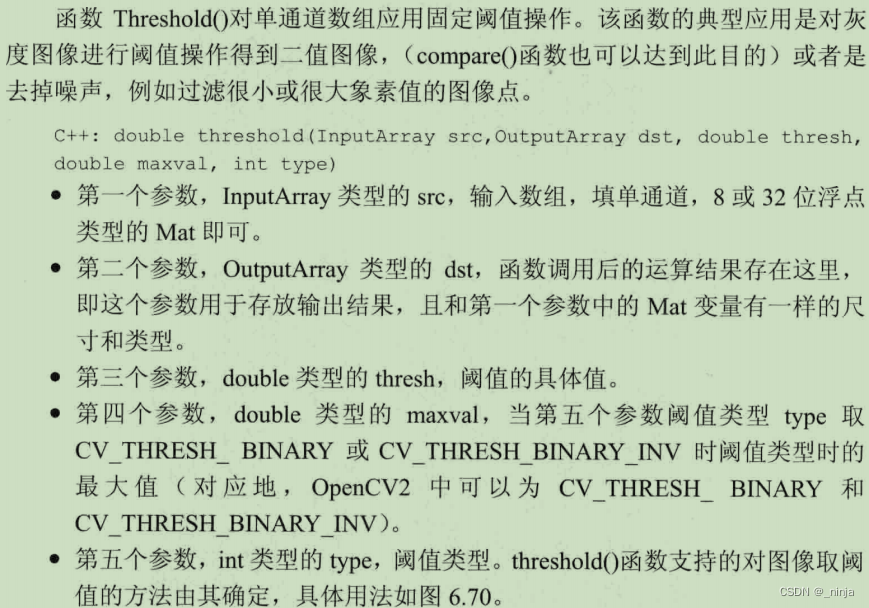
固定阈值操作: Threshold() 函数

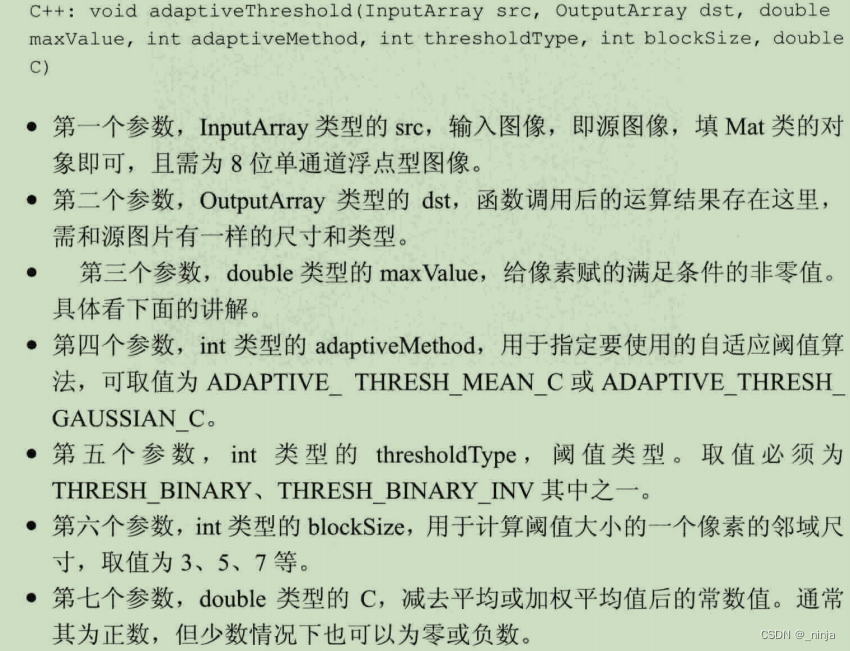
自适应阈值操作: adaptiveThreshold() 函数

基本阈值操作例程(代码)
#include <iostream>
#include <opencv2/core.hpp>
#include <opencv2/highgui.hpp>
#include <opencv2/imgproc.hpp>
#include <opencv2/videoio.hpp>
#include <opencv2/video.hpp>
using namespace cv;
using namespace std;
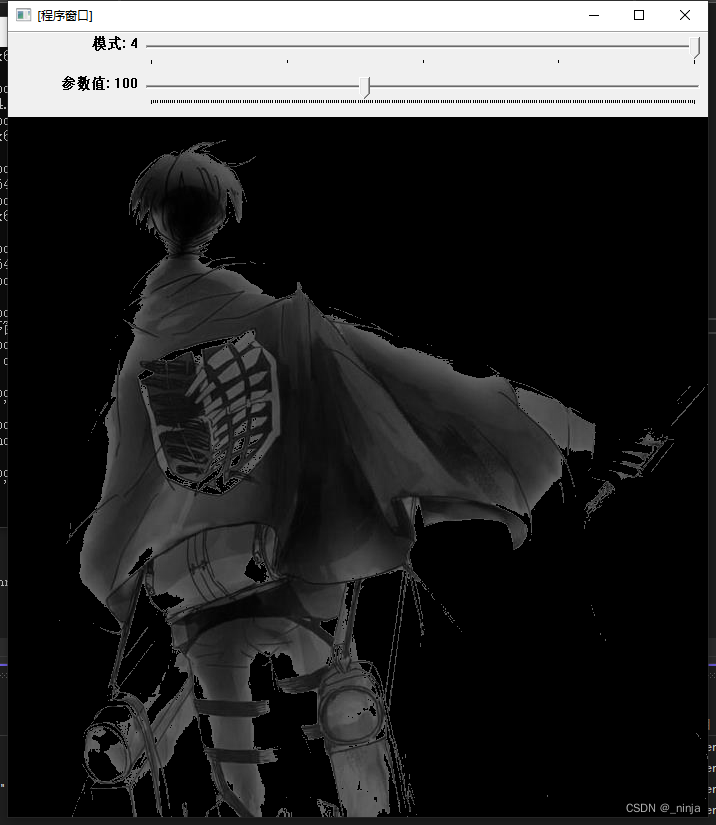
#define WINDOW_NAME "[程序窗口]" // 窗口标题定义的宏
//全局变量
int g_nThresholdValue = 100;
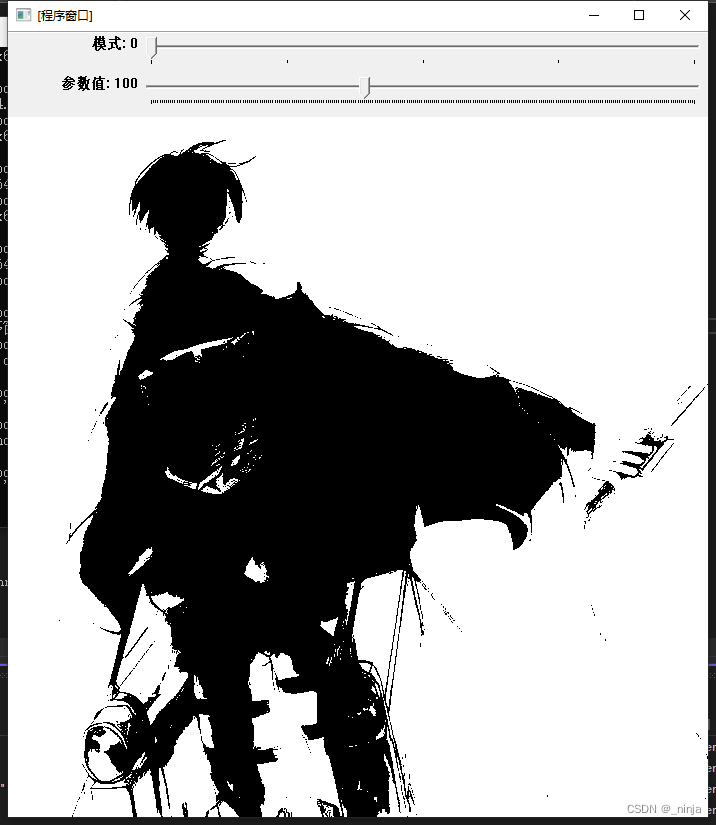
int g_nThresholdType = 3;
Mat g_srcImage, g_grayImage, g_dstImage;
//全局函数
void on_Threshold(int, void*); //回调函数
int main(int argc, char** argv)
{
//1.读入源图片
g_srcImage = imread("700levi.jpg");
//2.存留一份原图的灰度图
cvtColor(g_srcImage, g_grayImage, COLOR_RGB2GRAY);
//3.创建窗口并显示原图
namedWindow(WINDOW_NAME, WINDOW_AUTOSIZE);
//4.创建滑动条来控制阈值
createTrackbar("模式", WINDOW_NAME, &g_nThresholdType, 4, on_Threshold);
createTrackbar("参数值", WINDOW_NAME, &g_nThresholdValue, 255, on_Threshold);
//5.初始化自定义的阈值回调函数
on_Threshold(0, 0);
//6.轮询等待用户按键, 如果esc按下, 则退出程序
while (1)
{
int key;
key = waitKey(20);
if ((char)key == 27) { break; }
}
waitKey(0);
return 0;
}
void on_Threshold(int, void*) {
//调用回调函数
threshold(g_grayImage, g_dstImage, g_nThresholdValue, 255, g_nThresholdType);
//更新效果图
imshow(WINDOW_NAME, g_dstImage);
}效果