一、安装环境
这里使用的SA2影像数据,鉴于该数据的L1C格式存在未大气校正等问题,因此需要手动将其转换为L2A数据格式,因此需要安装sen2cor进行转换,软件安装及教程如:https://www.jianshu.com/p/200bc5d6f890。
界面如下:
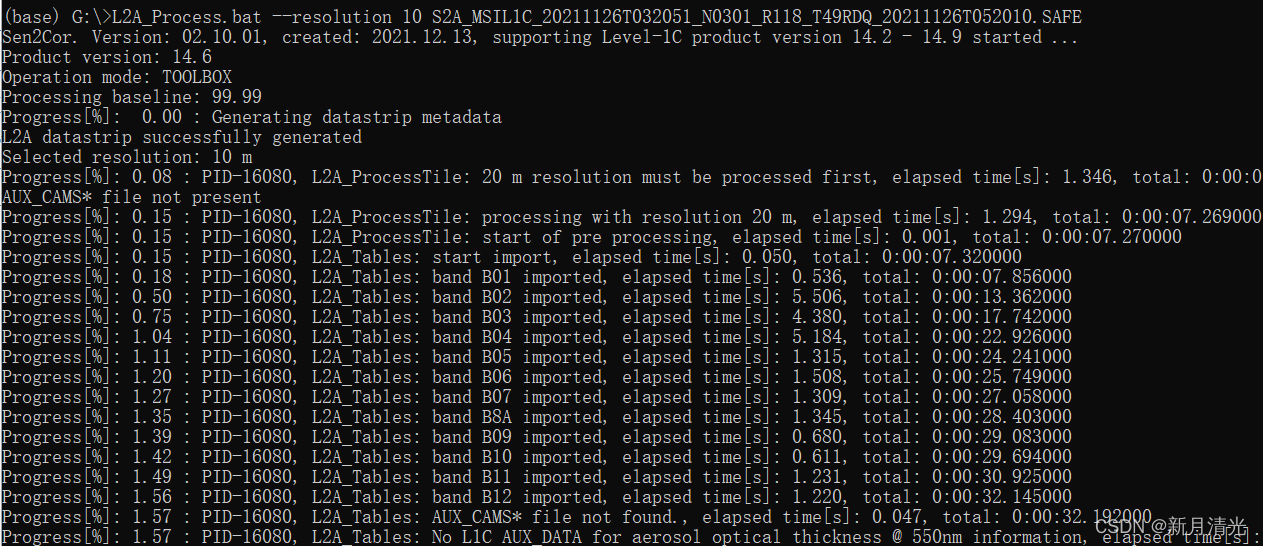
处理完成后,在原始数据所在文件夹生成一个类似的文件夹,只是文件名从原文件中的L1C变成L2A。
接下来安装环境WaterDetect,github代码及安装教程如:https://github.com/cordmaur/WaterDetect。需要注意的是,在windows下安装会报错,建议linux环境下安装,执行命令:
git clone https://github.com/cordmaur/WaterDetect.git
cd WaterDetect
pip install .
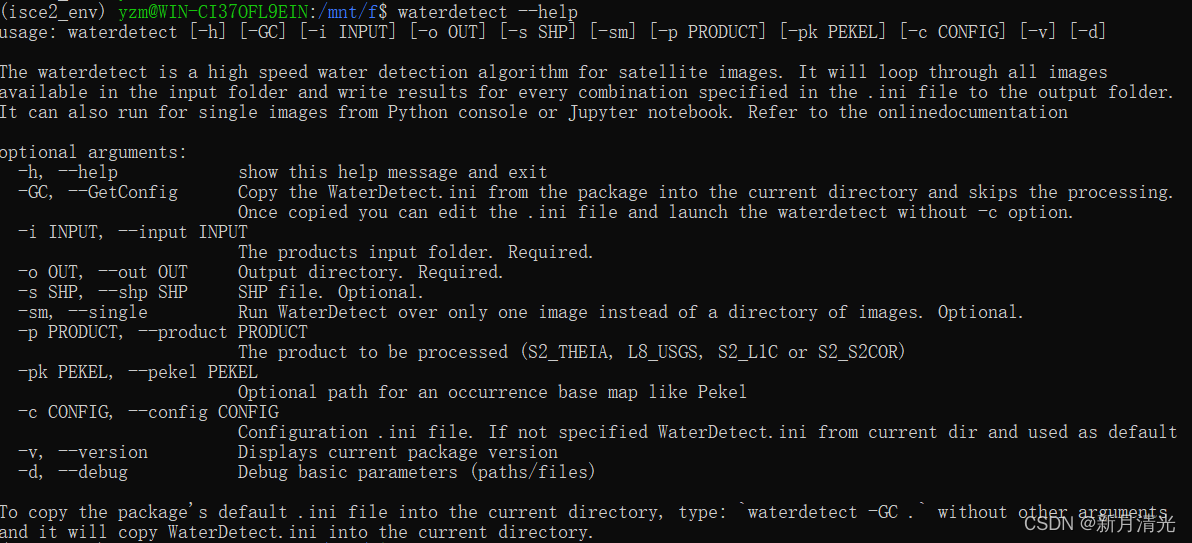
安装后,测试环境:
waterdetect --help
如出现下图界面,说明安装成功。
二、执行处理命令
usage: waterdetect [-h] [-GC] [-i INPUT] [-o OUT] [-s SHP] [-p PRODUCT]
                   [-c CONFIG]

The waterdetect is a high speed water detection algorithm for satellite
images. It will loop through all images available in the input folder and
write results for every combination specified in the .ini file to the output
folder. It can also run for single images from Python console or Jupyter
notebook. Refer to the onlinedocumentation

optional arguments:
  -h, --help            show this help message and exit
  -GC, --GetConfig      Copy the WaterDetect.ini from the package into the
                        specifieddirectory and skips the processing. Once
                        copied you can edit the .ini file and launch the
                        waterdetect without -c option.
  -i INPUT, --input INPUT
                        The products input folder. Required.
  -o OUT, --out OUT     Output directory. Required.
  -s SHP, --shp SHP     SHP file. Optional.
  -p PRODUCT, --product PRODUCT
                        The product to be processed (S2_THEIA, L8_USGS, S2_L1C
                        or S2_S2COR)
  -c CONFIG, --config CONFIG
                        Configuration .ini file. If not specified
                        WaterDetect.ini from current dir and used as default

To copy the package's default .ini file into the current directory, type:
`waterdetect -GC .` without other arguments and it will copy WaterDetect.ini
into the current directory.
这个是代码功能,如果使用的数据是L1C格式,则使用 -p S2_L1C,如果使用sen2cor软件转换后的L2A格式,则使用-p S2_L1C。
我的命令行如下:
waterdetect -i TJ/S3 -o TJ/output -p S2_S2COR
其中TJ/S3为输入文件夹,TJ/output为输出文件夹,生成的结果目录如下:
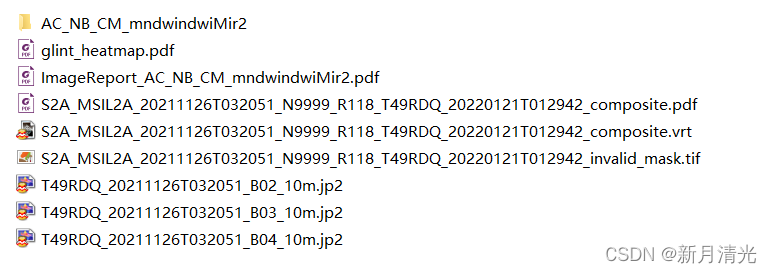
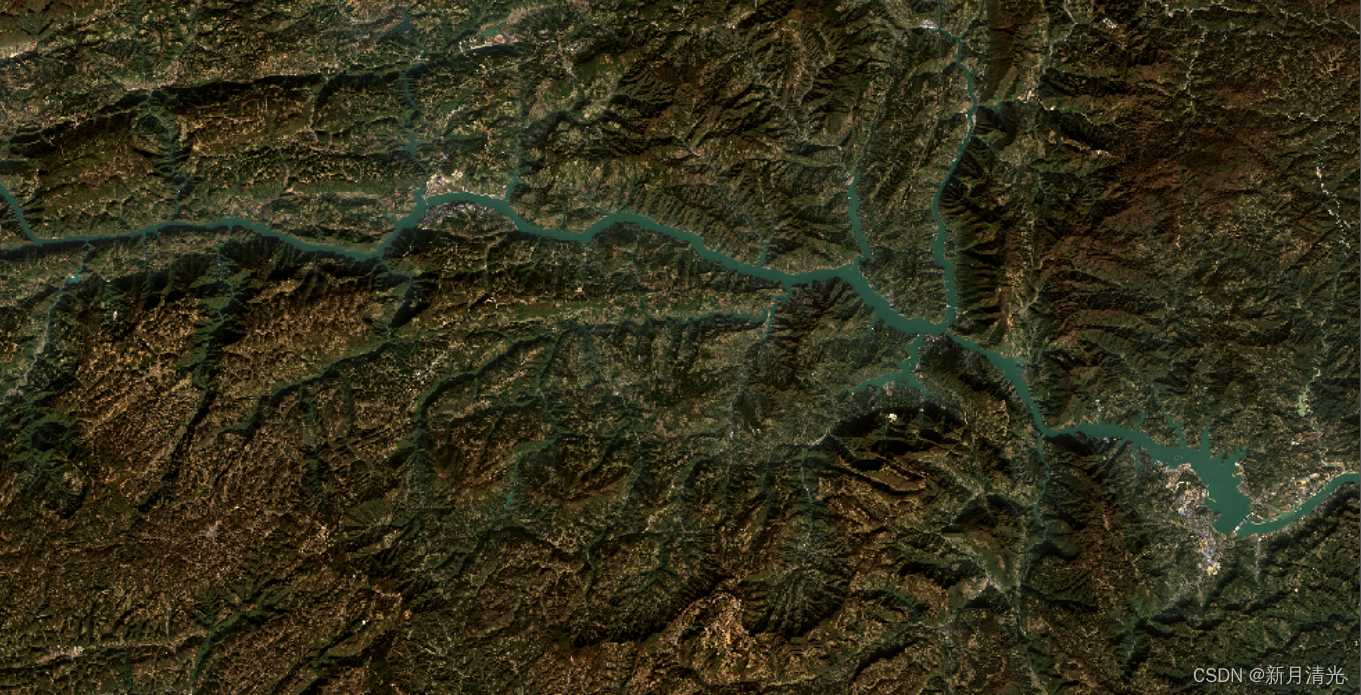
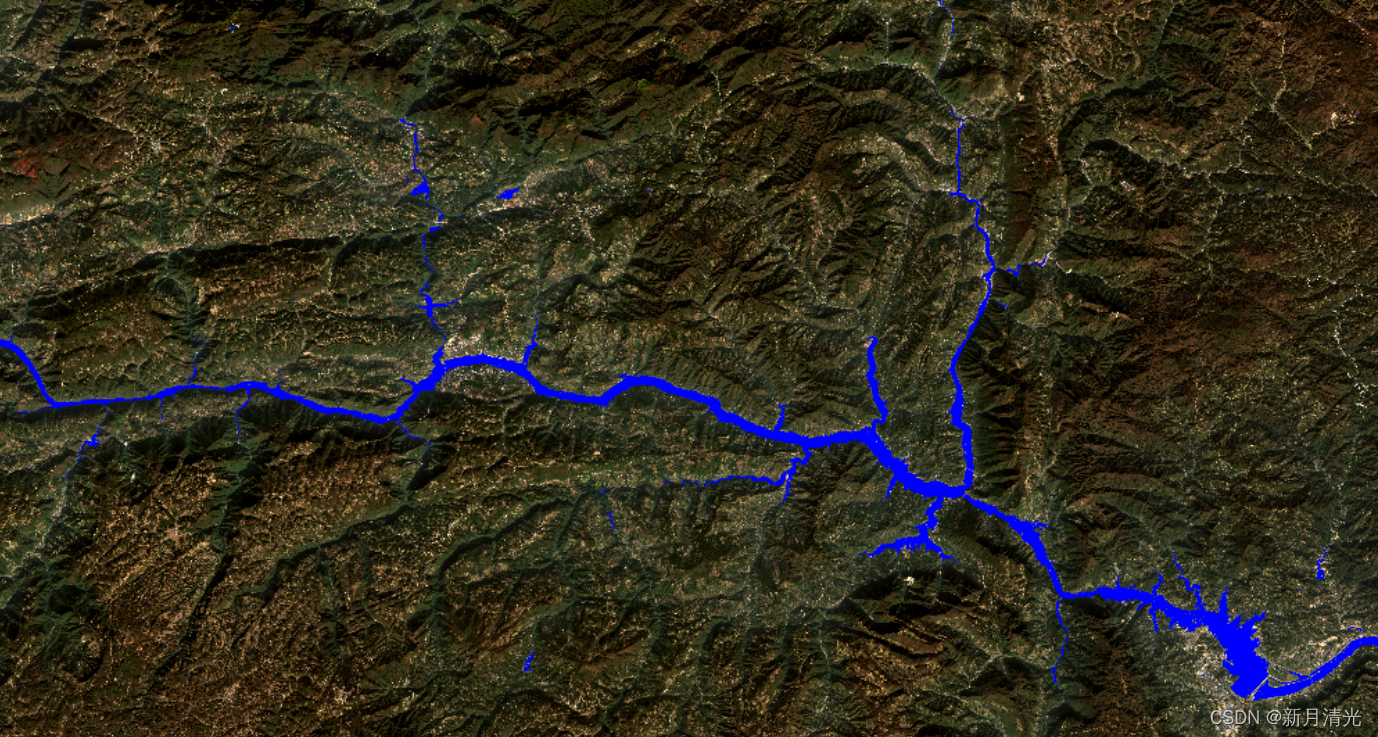
打开如下所示:
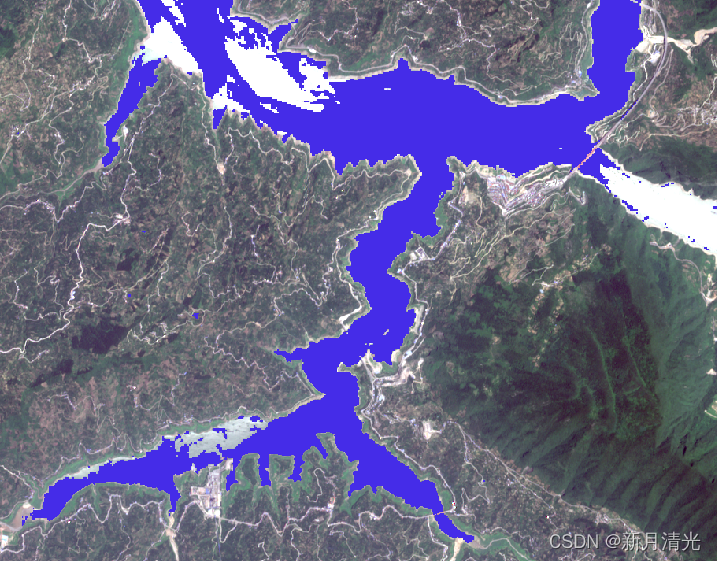
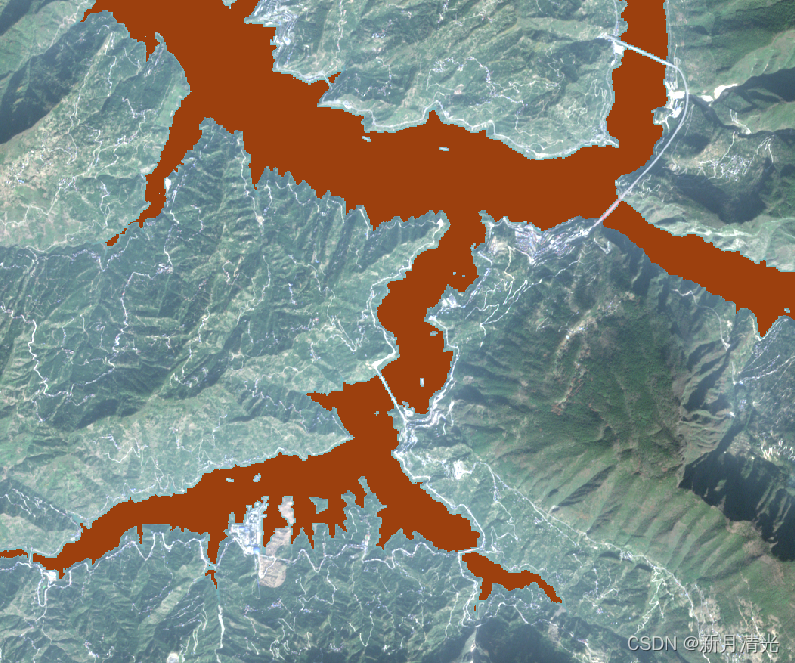
三、对比2021.11.26日与2021.6.24日的某处水面变化。
这里因为下载的数据间隔时间短,只用于做实验,后续可以延长时间段。
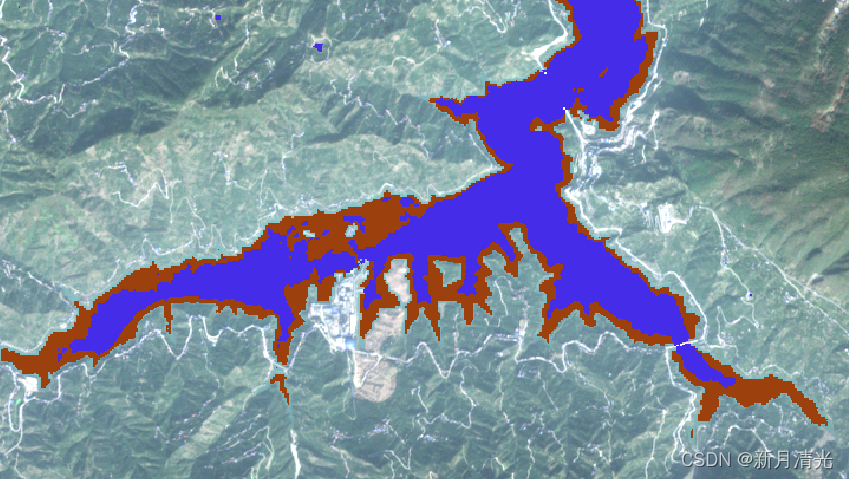
其中蓝色部分为6月份的水面,红色部分为11月份的水面。