一、添加unity工程
unity工程师会提供一个前端可使用的包,将其放在vue项目的public下,我这里以unity文件夹命名

二、在项目中创建iframe标签并引入index.html文件
<iframe id="iframe" ref="iframe" src="/unity/index.html" width="100%" height="100%" frameborder="0" scrolling="auto" />
三、修改public > unity > index.html文件,制定发送到web端事件
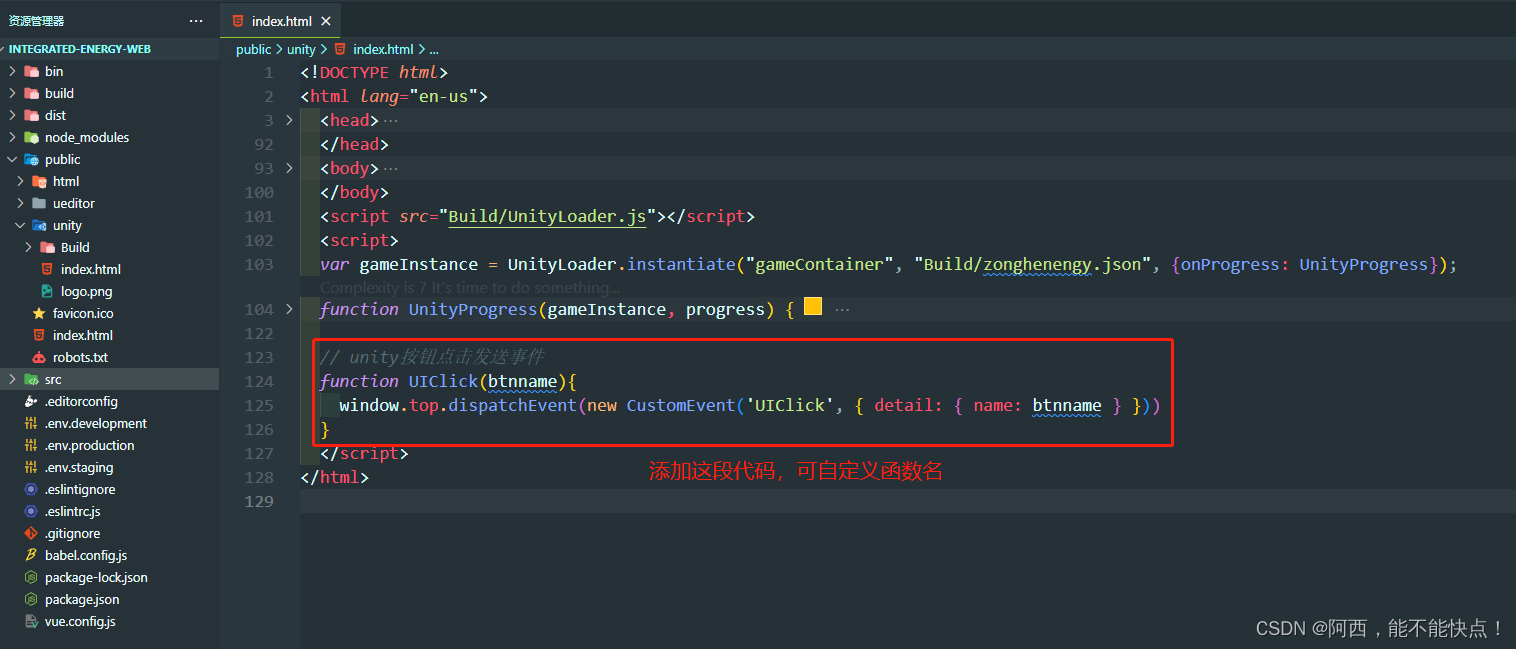
function UIClick(btnname){
window.top.dispatchEvent(new CustomEvent('UIClick', {
detail: {
name: btnname } }))
}
四、在引入unity的vue文件中监听接收unity发送事件, 因为我使用了页面缓存所以在activated()生命周期中监听,根据业务需要也可以在mounted()生命周期中监听
activated() {
window.addEventListener('UIClick', this.unityWatch)
},
mounted() {
window.addEventListener('UIClick', this.unityWatch)
},
methods: {
unityWatch(obj) {
console.log(obj.detail);
},
}
五、vue发送事件给unity
unitySendMessage() {
this.$refs.iframe.contentWindow.unityInstance.SendMessage('WebInvoker', 'Unity_InsertNaviPoint', '这是参数')
},
六、销毁监听
deactivated() {
window.removeEventListener('UIClick', this.unityWatch)
}
destroyed() {
window.removeEventListener('UIClick', this.unityWatch)
}
七、完整代码
<template>
<div>
<iframe id="iframe" ref="iframe" src="/unity/index.html" width="100%" height="680px" frameborder="0" scrolling="auto" />
</div>
</template>
<script>
export default{
activated() {
window.addEventListener('UIClick', this.unityWatch)
},
methods: {
unitySendMessage() {
this.$refs.iframe.contentWindow.unityInstance.SendMessage('WebInvoker', 'Unity_InsertNaviPoint', this.nodeList.length)
},
unityWatch(obj) {
console.log(obj.detail);
},
},
deactivated() {
window.removeEventListener('UIClick', this.unityWatch)
}
}
</script>
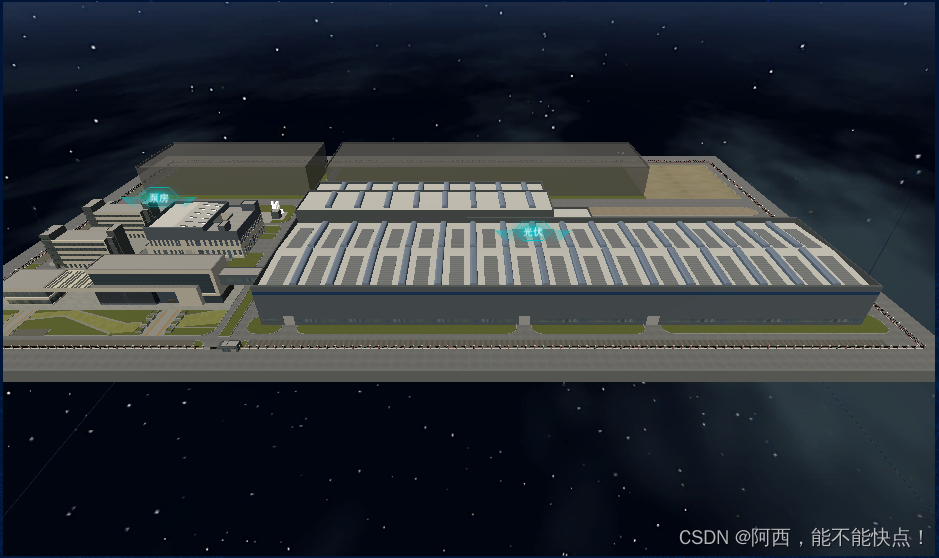
展示效果