目录
一、后端接口
1、Service层解析Excel数据
接口:DictService
List<ExcelDictDTO> listDictData();实现:DictServiceImpl
@Override
public List<ExcelDictDTO> listDictData() {

    List<Dict> dictList = baseMapper.selectList(null);
    //创建ExcelDictDTO列表,将Dict列表转换成ExcelDictDTO列表
    ArrayList<ExcelDictDTO> excelDictDTOList = new ArrayList<>(dictList.size());
    dictList.forEach(dict -> {

        ExcelDictDTO excelDictDTO = new ExcelDictDTO();
        BeanUtils.copyProperties(dict, excelDictDTO);
        excelDictDTOList.add(excelDictDTO);
    });
    return excelDictDTOList;
}
2、Controller层接收客户端请求
@ApiOperation("Excel数据的导出")
@GetMapping("/export")
public void export(HttpServletResponse response){

    try {
        // 这里注意 有同学反应使用swagger 会导致各种问题,请直接用浏览器或者用postman
        response.setContentType("application/vnd.ms-excel");
        response.setCharacterEncoding("utf-8");
        // 这里URLEncoder.encode可以防止中文乱码 当然和easyexcel没有关系
        String fileName = URLEncoder.encode("mydict", "UTF-8").replaceAll("\\+", "%20");
        response.setHeader("Content-disposition", "attachment;filename*=utf-8''" + fileName + ".xlsx");
        EasyExcel.write(response.getOutputStream(), ExcelDictDTO.class).sheet("数据字典").doWrite(dictService.listDictData());

    } catch (IOException e) {
        //EXPORT_DATA_ERROR(104, "数据导出失败"),
        throw  new BusinessException(ResponseEnum.EXPORT_DATA_ERROR, e);
    }
}
二、前端调用
1、页面添加导出按钮
    <div style="margin-bottom: 10px">
      <el-button
        @click="dialogVisible = true"
        type="primary"
        size="mini"
        icon="el-icon-download"
      >
        导入Excel
      </el-button>
      <el-button
        @click="exportData"
        type="primary"
        size="mini"
        icon="el-icon-upload2"
      >
        导出Excel
      </el-button>
    </div>
2、添加导出方法
//Excel数据导出
exportData() {
window.location.href = this.BASE_API + '/admin/core/dict/export'
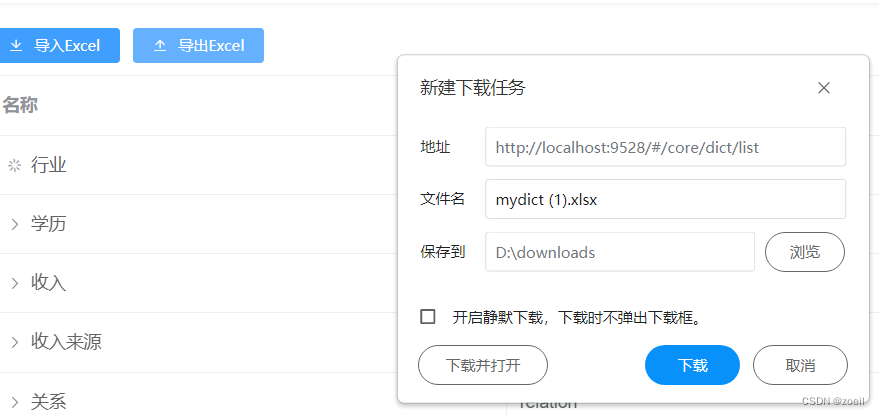
}3、测试
点击导出后弹出下载按钮