承接上篇博客,在进行二维码生成之后,app进行扫码,扫码成功之后,手机点击登录,进行绑定登录关系,后台做自动关联与自动登录。
本文git地址:https://github.com/xvshu/qrlogin
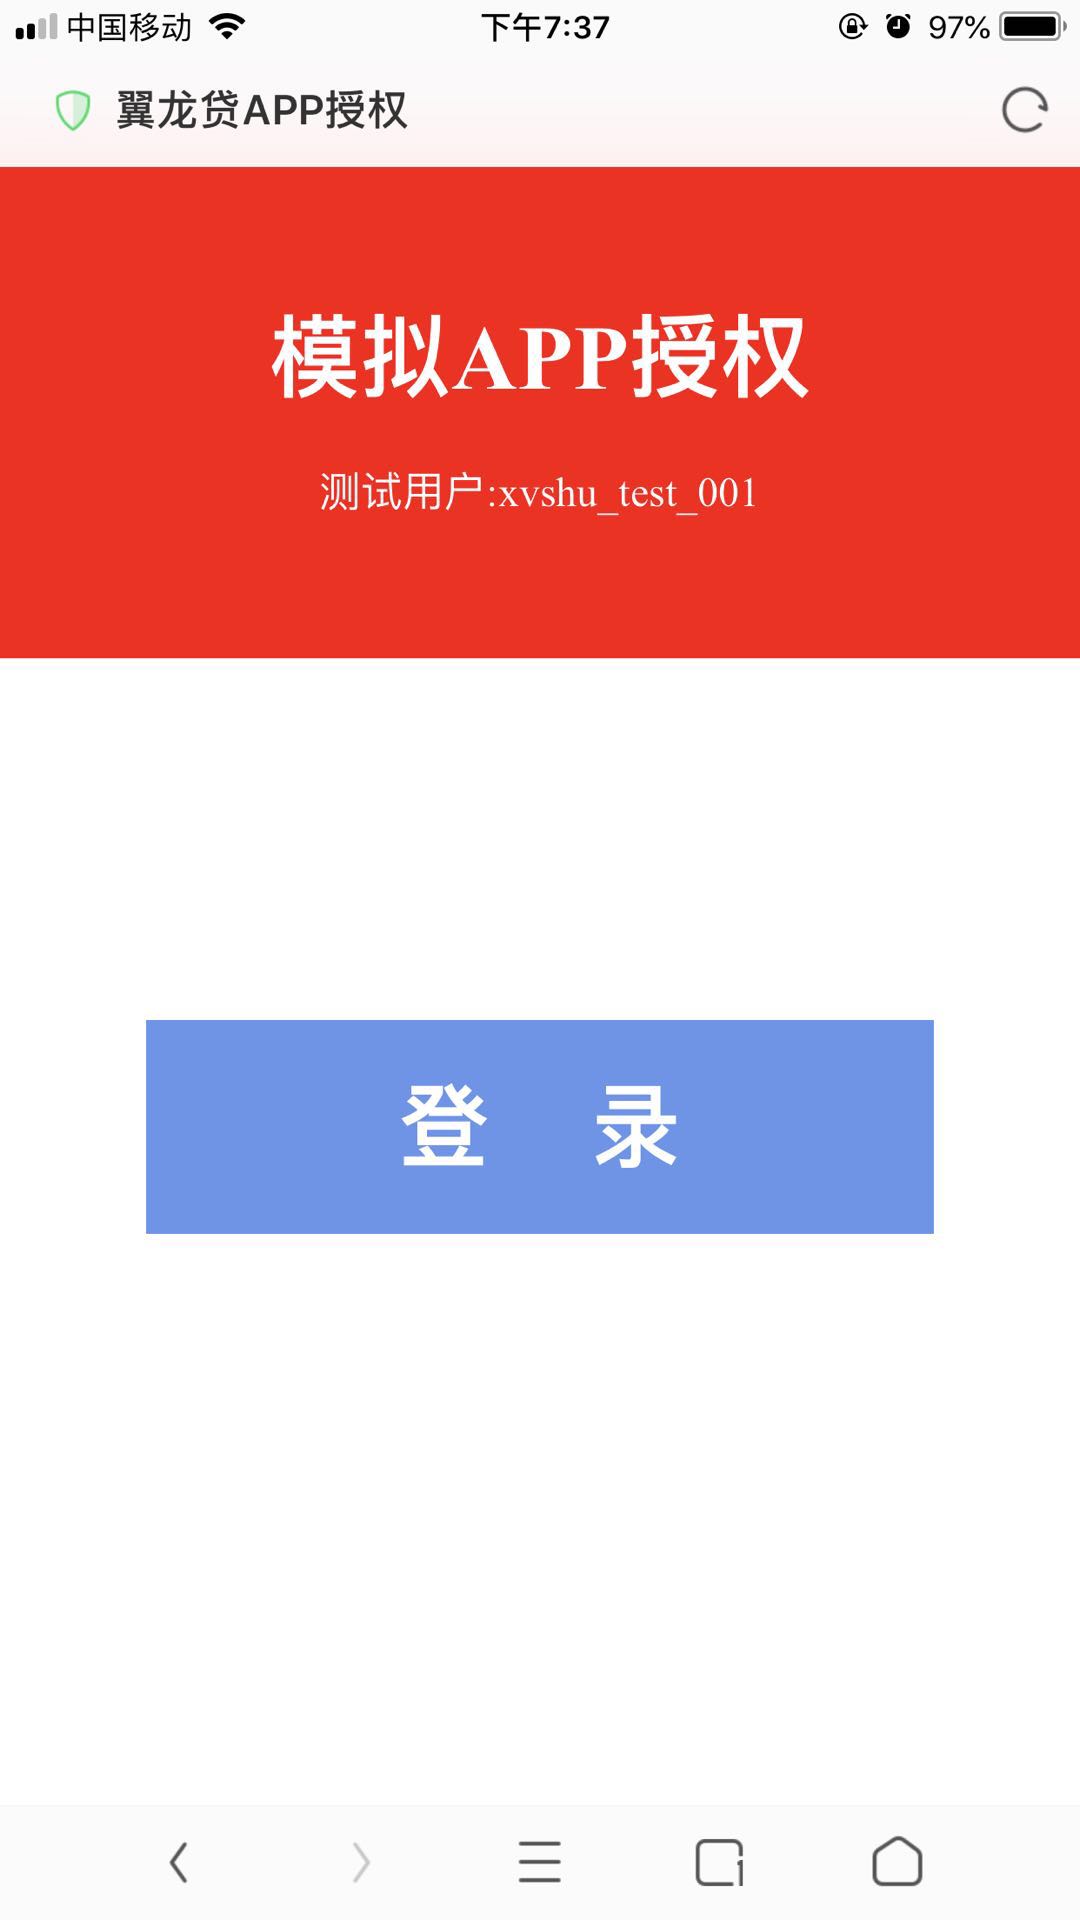
1,扫码登录页面
此页面是模拟app登录页面,功能是扫到二维码后,自动跳转授权页面,授权成功,调用后台服务进行登录关系绑定
代码:
<%@ page language="java" contentType="text/html; charset=UTF-8" pageEncoding="UTF-8"%>
<meta name="viewport" content="width=device-width, initial-scale=1.0, maximum-scale=1.0, minimum-scale=1.0, user-scalable=no">
<!DOCTYPE html>

<html lang="en">
<head>
    <title>翼龙贷APP授权</title>
    <script type="text/javascript" src="../../common/js/jquery-3.3.1.min.js" ></script>

    <script type="text/javascript" >
        var code_mark='${code_mark}';
        var userid="xvshu_test_001";

        function qr_login(){
            $.get("/qr/login/success?code_mark="+code_mark+"&userID="+userid,function(data,status){
                if(status=="success"&&data=="success"){
                    alert("用户[xvshu_test_001]授权登录成功!");
                    window.location.href="/qr/login/main";
                }
            });
        }
    </script>
    <style>

        .dow{display:block;width:302px;height:82px; line-height:52px; text-align:center; font-weight:bold; font-size:35px; background:cornflowerblue;color:white; text-decoration:none; border: 0px solid cornflowerblue; cursor:pointer}
        .dow:hover{background:cornflowerblue;}
        .dow:active{background:cornflowerblue;}

    </style>

</head>

<body style="margin: 0">


    <div style="width: 100%;height: 30%;background-color:red;text-align: center">
        <div style="width: 100%;height: 25%;background-color:red;text-align: center"></div>
        <h1 style="font-size: 35px;color: white;margin:auto;">模拟APP授权</h1>
        <p></p>
        <div style="color:white;text-align: center;">测试用户:xvshu_test_001</div>
    </div>

    <div style="width:100%;height:78%;text-align: center;background-color:white;text-align: center">
        <div style="width: 100%;height: 25%;background-color:white;text-align: center"></div>
        <p></p>
        <button  style="margin:auto;"  class="dow" onclick="qr_login()">登    录</button>
    </div>


</body>

</html>
2,后台自动登录服务
此服务是接受app发送来的请求,绑定生成二维码时的key与此时登录的用户的关系,已在前篇文章列代码,此处仅标志关键代码:
@RequestMapping(value = "/login/success")
    @ResponseBody
    public String success(String code_mark,String userID) {
        String result = "fail";
        if(StringUtils.isNotEmpty(code_mark)&&StringUtils.isNotEmpty(userID)){
            redisQRService.setQRKey(code_mark,userID);
            logger.info("=/login/success=>code_mark:{} userID:{}",code_mark,userID);
            result="success";
        }
        return result;
    }
3,自动登录
在二维码页面,每隔三秒检测一次是否登录成功,如果成功跳转页面,已在前篇文章列代码,此处仅标志关键代码:
function check_qrlogin(){
            var code_mark='${code_mark}';
            $.get("/qr/login/check?code_mark="+code_mark,function(data,status){
                if(status=="success"&&data!='nouser'){
                    int=window.clearInterval(int);
                    window.location.href="/qr/login/main?userId="+data;
                }
            });
        }
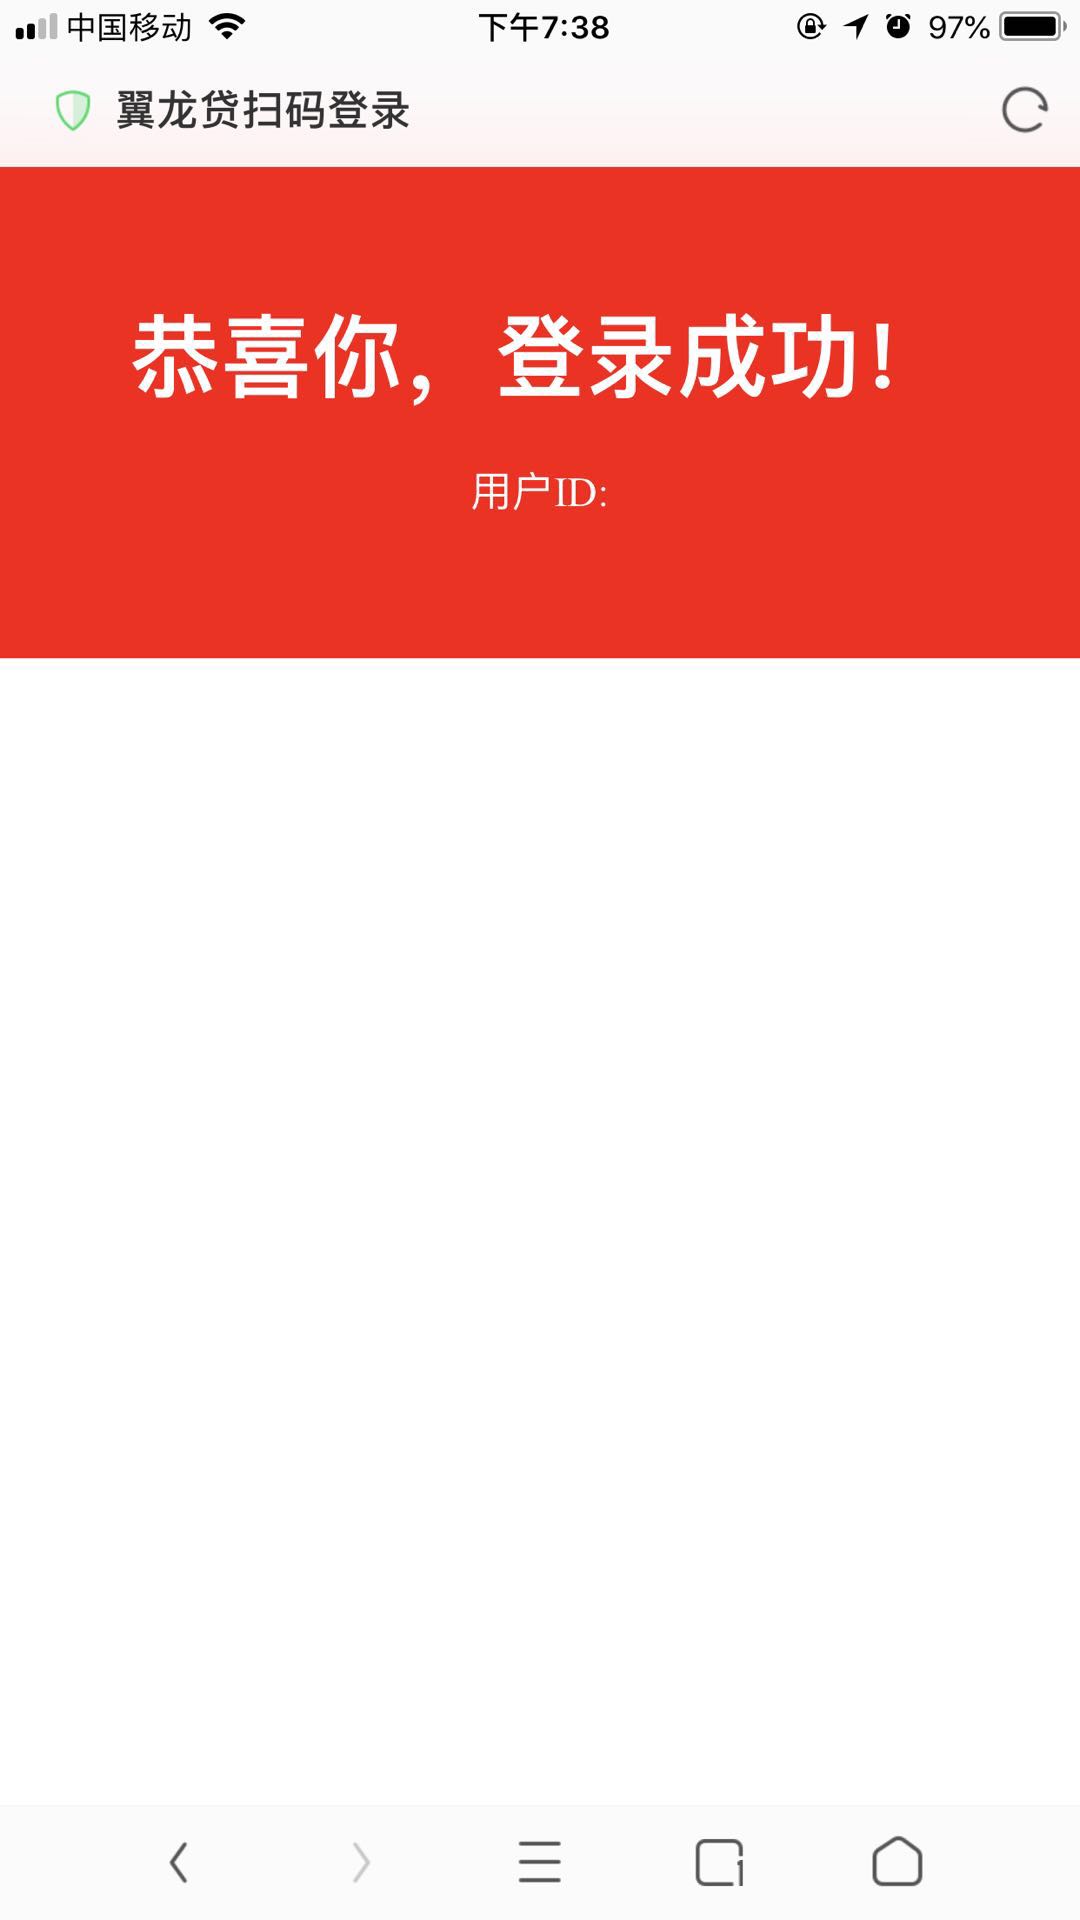
成功之后的页面:
总结:至此,一个简单的二维码登录就完成了,此处有很多使用的还是测试数据,在生产环境对接生产数据,并做网关等安全处理之后就 可以使用其完成二维码登录了,因为全程使用的redis,性能上一般会非常不错,文章多有不周,请大家指正。