1、什么是swagger2
-
编写和维护接口文档是每个程序员的职责,根据Swagger2可以快速帮助我们编写最新的API接口文档,再也不用担心开会前仍忙于整理各种资料了,间接提升了团队开发的沟通效率。
2、常用注解
-
swagger通过注解表明该接口会生成文档,包括接口名、请求方法、参数、返回信息的等等。
- @Api:修饰整个类,描述Controller的作用
@ApiOperation:描述一个类的一个方法,或者说一个接口
@ApiParam:单个参数描述
@ApiModel:用对象来接收参数
@ApiModelProperty:用对象接收参数时,描述对象的一个字段
@ApiImplicitParam:一个请求参数
@ApiImplicitParams:多个请求参数
3.项目当中使用
3.1:先新建一个maven模块
- 我是在上一篇复习cloud的项目当中建的一个模块
- swagger1103
- 导入依赖
-
<dependencies> <dependency> <groupId>org.springframework.boot</groupId> <artifactId>spring-boot-starter-web</artifactId> </dependency> <dependency> <groupId>org.springframework.boot</groupId> <artifactId>spring-boot-starter</artifactId> </dependency> <dependency> <groupId>org.springframework.boot</groupId> <artifactId>spring-boot-starter-test</artifactId> </dependency> <dependency> <groupId>io.springfox</groupId> <artifactId>springfox-swagger2</artifactId> <version>2.7.0</version> </dependency> <dependency> <groupId>io.springfox</groupId> <artifactId>springfox-swagger-ui</artifactId> <version>2.7.0</version> </dependency> <build> <plugins> <plugin> <groupId>org.springframework.boot</groupId> <artifactId>spring-boot-maven-plugin</artifactId> </plugin> </plugins> </build> - 写上启动类,注意加上对应的注解(因为我们是手动配置springboot项目@EnableSwagger2

-
@SpringBootApplication @EnableSwagger2 public class SwaggerApp { public static void main(String[] args) { SpringApplication.run(SwaggerApp.class,args); } } - 然后去写配置类SwaConfig(以后复制过去导包用就可以了,不用记)
-
package com.pro.config; import com.google.common.base.Predicates; import org.springframework.context.annotation.Bean; import springfox.documentation.builders.ApiInfoBuilder; import springfox.documentation.builders.PathSelectors; import springfox.documentation.service.ApiInfo; import springfox.documentation.service.Contact; import springfox.documentation.spi.DocumentationType; import springfox.documentation.spring.web.plugins.Docket; public class SwaConfig { @Bean public Docket webApiConfig() { //.groupName是组的意思 //apiInfo 在线文档的信息 return new Docket(DocumentationType.SWAGGER_2) .groupName("webApi") .apiInfo(webApiInfo()) .select() .paths(Predicates.not(PathSelectors.regex("/admin/.*"))) .paths(Predicates.not(PathSelectors.regex("/error.*"))) .build(); } private ApiInfo webApiInfo() { return new ApiInfoBuilder() .title("网站-课程中心API文档") .description("本文档描述了课程中心微服务接口定义") .version("1.0") .contact(new Contact("java", "http://java.com", "[email protected]")) .build(); } } 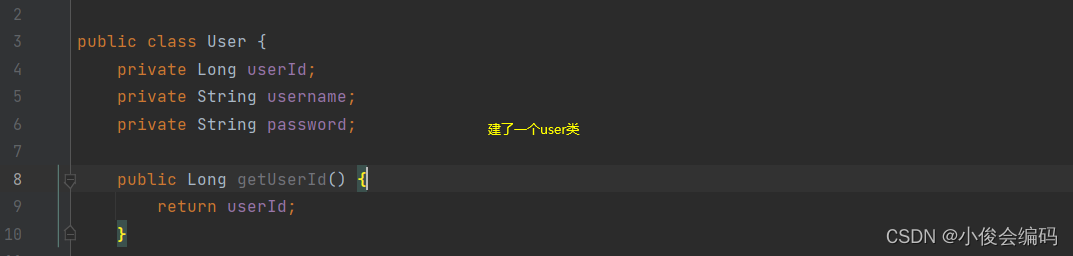
- 控制层,我们随便写了两个接口
-
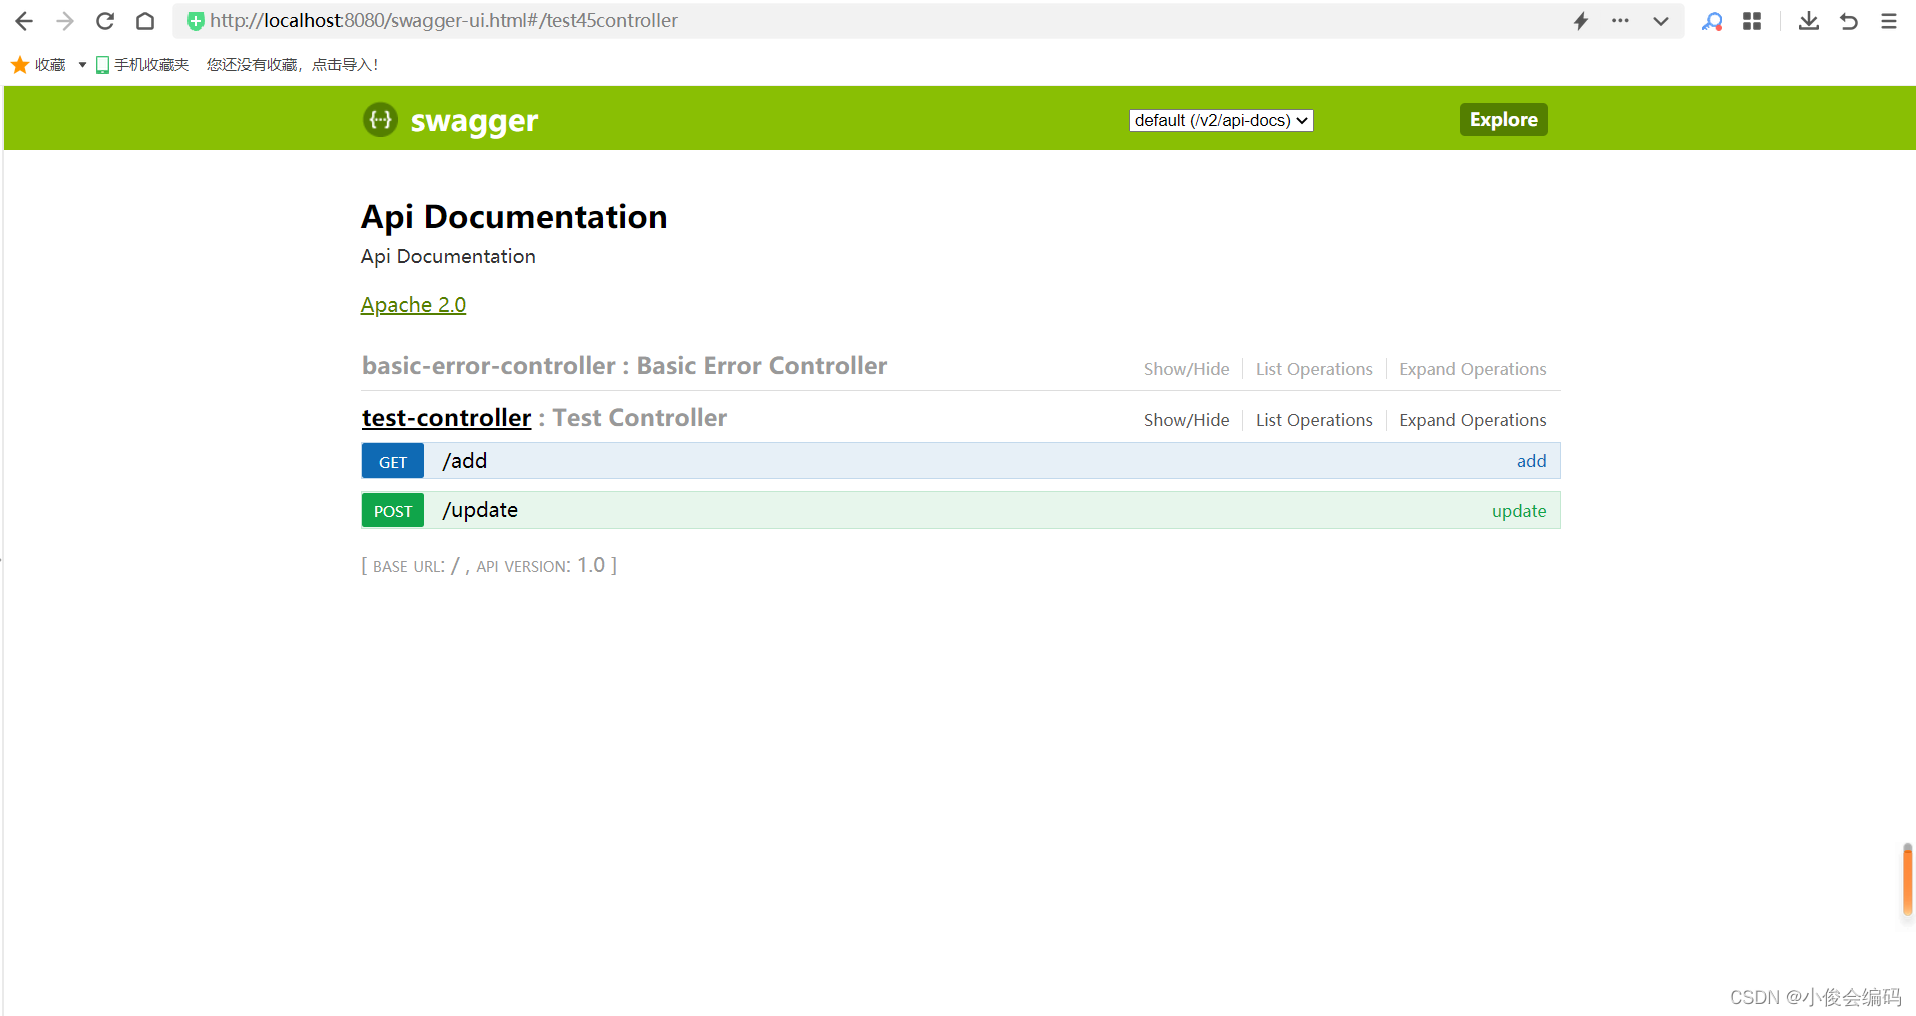
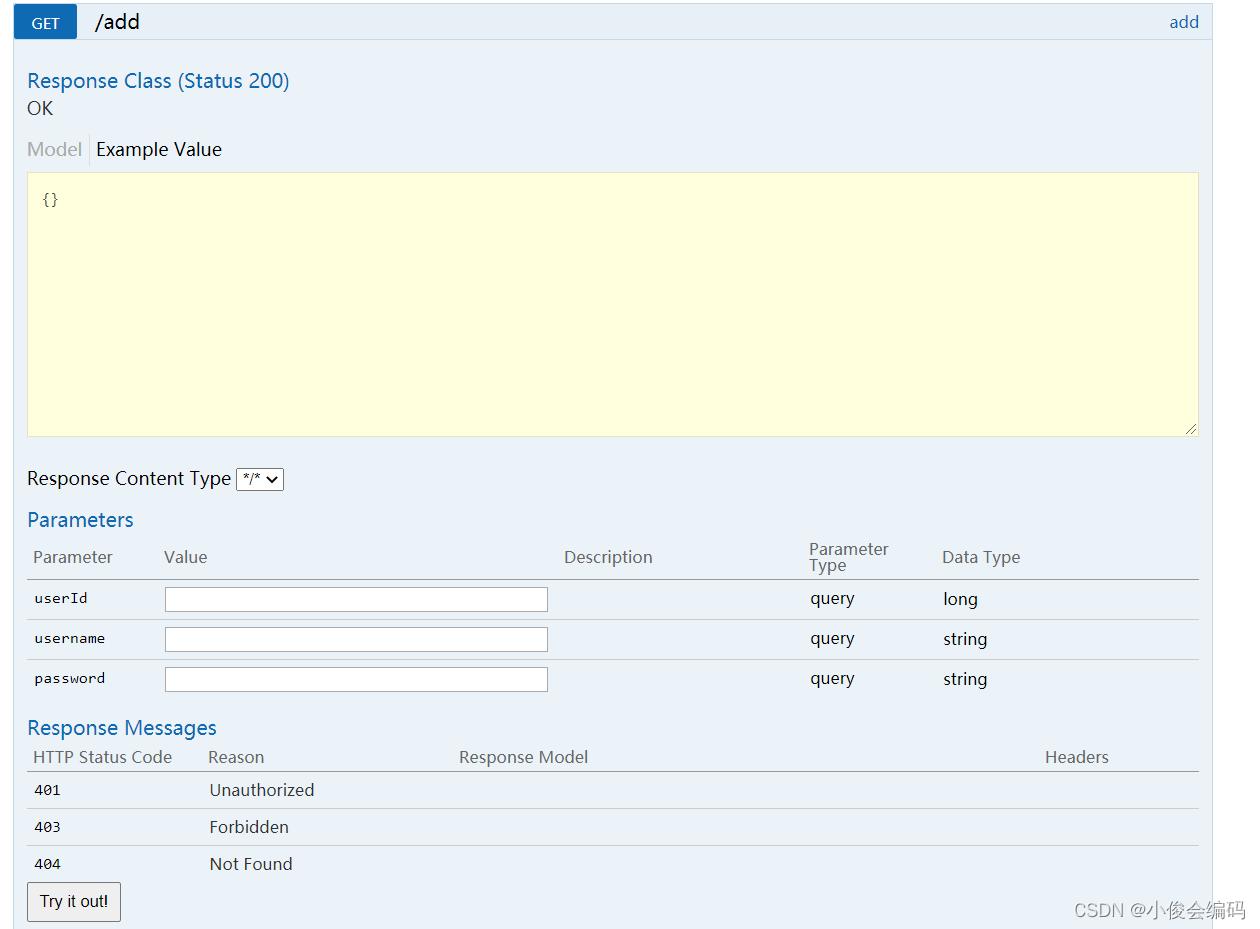
@RestController public class TestController { @GetMapping("/add") public Object add(User user){ return user; } @PostMapping("/update") public Object update(User user){ return user; } } - 然后启动模块,去访问地址:
- http://localhost:8080/swagger-ui.html
- 就可以看到这个接口文档
总结:
- swagger我们在这个学习案例当中只是单独的用在了一个模块当中
- 实际上,我们在其他真正要开发的模块当中,我们只需要将依赖引入进去,然后加上我们上面的那个配置类,在对应模块启动类当中加上注解@EnableSwagger2,一样的去访问对应端口的接口文档,也可以很方便的使用
- 我们重点只需要关注依赖,配置类,和注解就OK