之前项目遇到从文件服务器上传、下载、删除文件,一开始打算使用一些高级的文件系统,比如:FastDFS,GlusterFS,CephFS,这些高级厉害的文件存储系统,但是由于环境限制无法搭建,最终使用常用的FFTP或者SFTP实现文件上传和下载。
FTP是一种文件传输协议,一般是为了方便数据共享的。包括一个FTP服务器和多个FTP客户端。FTP客户端通过FTP协议在服务器上下载资源。而SFTP协议是在FTP的基础上对数据进行加密,使得传输的数据相对来说更安全。但是这种安全是以牺牲效率为代价的,也就是说SFTP的传输效率比FTP要低(不过现实使用当中,没有发现多大差别)。
(1)FTP要安装,SFTP不要安装。
(2)SFTP更安全,但更安全带来副作用就是的效率比FTP要低些。所以最终还是采用了SFTP来实现。
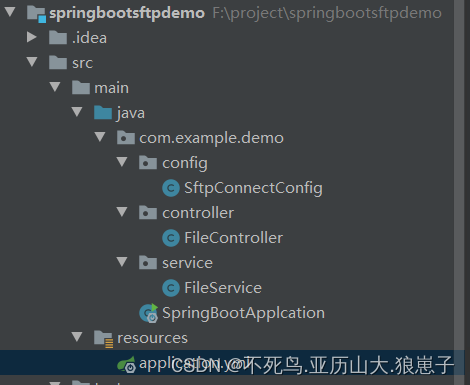
1 新建springboot项目
2 引入pom文件依赖包
<?xml version="1.0" encoding="UTF-8"?>
<project xmlns="http://maven.apache.org/POM/4.0.0" xmlns:xsi="http://www.w3.org/2001/XMLSchema-instance"
         xsi:schemaLocation="http://maven.apache.org/POM/4.0.0 https://maven.apache.org/xsd/maven-4.0.0.xsd">
    <modelVersion>4.0.0</modelVersion>
    <parent>
        <groupId>org.springframework.boot</groupId>
        <artifactId>spring-boot-starter-parent</artifactId>
        <version>2.7.9</version>
        <relativePath/> <!-- lookup parent from repository -->
    </parent>
    <groupId>com.example</groupId>
    <artifactId>demo</artifactId>
    <version>0.0.1-SNAPSHOT</version>
    <name>demo</name>
    <description>Demo project for Spring Boot</description>
    <properties>
        <java.version>1.8</java.version>
    </properties>
    <dependencies>
        <dependency>
            <groupId>org.springframework.boot</groupId>
            <artifactId>spring-boot-starter-web</artifactId>
        </dependency>
        <dependency>
            <groupId>org.springframework.boot</groupId>
            <artifactId>spring-boot-starter</artifactId>
        </dependency>
        <!--sftp核心依赖包-->
        <dependency>
            <groupId>com.jcraft</groupId>
            <artifactId>jsch</artifactId>
            <version>0.1.54</version>
        </dependency>
        <dependency>
            <groupId>org.apache.commons</groupId>
            <artifactId>commons-lang3</artifactId>
        </dependency>
        <dependency>
            <groupId>commons-io</groupId>
            <artifactId>commons-io</artifactId>
            <version>2.4</version>
        </dependency>
        <dependency>
            <groupId>org.projectlombok</groupId>
            <artifactId>lombok</artifactId>
            <version>1.18.12</version>
            <scope>provided</scope>
        </dependency>
        <dependency>
            <groupId>org.springframework.boot</groupId>
            <artifactId>spring-boot-starter-test</artifactId>
            <scope>test</scope>
        </dependency>
    </dependencies>

    <build>
        <plugins>
            <plugin>
                <groupId>org.springframework.boot</groupId>
                <artifactId>spring-boot-maven-plugin</artifactId>
            </plugin>
        </plugins>
    </build>

</project>
3 新建配置文件
server:
  port: 9001

spring:
  application:
    name: study_sftp_service
  servlet:
    multipart:
      #      单个文件的大小不能超过该值
      max-file-size: 100MB
      #      单个请求最大的大小不能超过该值
      max-request-size: 1000MB

# 这里也可以直接作为成员变量写死在类里。这里的配置都是我自定义的,叫什么都可以。
remoteserver:
  username: root
  password: 123456
  host: 192.168.222.131
  port: 22
4 编写配置类
注意:JSch登录sftp会进行Kerberos username 身份验证提示
如果需要跳过,需要添加配置如下:
config.put("PreferredAuthentications","publickey,keyboard-interactive,password");
package com.example.demo.config;

import com.jcraft.jsch.*;
import lombok.extern.slf4j.Slf4j;
import org.springframework.beans.factory.annotation.Value;
import org.springframework.context.annotation.Bean;
import org.springframework.context.annotation.Configuration;

import java.util.Properties;

@Configuration
@Slf4j
public class SftpConnectConfig {

    /**
     * FTP 登录用户名
     */
    @Value("${remoteserver.username}")
    private String username;
    /**
     * FTP 登录密码
     */
    @Value("${remoteserver.password}")
    private String password;

    /**
     * FTP 服务器地址IP地址
     */
    @Value("${remoteserver.host}")
    private String host;

    /**
     * FTP 端口
     */
    @Value("${remoteserver.port}")
    private String strPort;

    private Session getSession() throws JSchException {
        JSch jsch = new JSch();
        int port = Integer.parseInt(strPort.trim());
        Session session = jsch.getSession(username, host, port);
        if (password != null) {
            session.setPassword(password);
        }
        Properties config = new Properties();
        config.put("StrictHostKeyChecking", "no");
        // JSch登录sftp,跳过 Kerberos username 身份验证提示
        config.put("PreferredAuthentications","publickey,keyboard-interactive,password");
        session.setConfig(config);
        session.connect();
        return session;
    }

    /**
     * 连接sftp服务器,返回的是sftp连接通道,用来操纵文件
     * @throws Exception
     */
    @Bean
    public ChannelSftp channelSftp() {
        ChannelSftp sftp = null;
        try {
            Session session = getSession();
            Channel channel = session.openChannel("sftp");
            channel.connect();
            sftp = (ChannelSftp) channel;
        } catch (JSchException e) {
            log.error("连接失败",e);
        }
        return sftp;
    }

    /**
     * 连接sftp服务器,返回exec连接通道,可以远程执行命令
     * @throws Exception
     */
    @Bean
    public ChannelExec channelExec(){
        ChannelExec sftp = null;
        try {
            Session session = getSession();
            Channel channel = null;
            channel = session.openChannel("exec");
            channel.connect();
            sftp = (ChannelExec) channel;
        } catch (JSchException e) {
            log.error("连接失败",e);
            System.out.println("连接失败");
        }
        return sftp;
    }
}
5 编写service
package com.example.demo.service;

import com.jcraft.jsch.ChannelSftp;
import lombok.extern.slf4j.Slf4j;
import org.apache.commons.io.FileUtils;
import org.apache.commons.io.IOUtils;
import org.springframework.stereotype.Service;
import org.springframework.web.multipart.MultipartFile;

import javax.annotation.Resource;
import java.io.File;
import java.io.FileInputStream;
import java.io.InputStream;
import java.util.UUID;

@Service
@Slf4j
public class FileService {

    @Resource
    private ChannelSftp channelSftp;

    /**
     * 从服务器获取文件并返回字节数组
     * @param path 要下载文件的路径
     * @param file 要下载的文件
     */
    public byte[] download(String path, String file) throws Exception {
        // 切换到文件所在目录
        channelSftp.cd(path);
        //获取文件并返回给输入流,若文件不存在该方法会抛出常
        InputStream is = channelSftp.get(file);
        byte[] fileData = IOUtils.toByteArray(is);
        if(is != null){
            is.close();
        }
        return fileData;
    }

    /**
     * 将输入流的数据上传到sftp作为文件
     *
     * @param path
     *            上传到该目录
     * @param uploadFile
     *           服务器保存的文件
     * @throws Exception
     */
    public void upload(MultipartFile uploadFile, String path) throws Exception{
        String fileName = uploadFile.getOriginalFilename();
        // 用uuid + 原来的文件名生成新名字,防止文件名重复也可以辨识上传的文件是哪个,可以省略这一步
        String newName = UUID.randomUUID().toString().replaceAll("-","") + fileName;
        File file = new File(path + newName);
        //将MultipartFilez转换为File,会生成文件
        FileUtils.copyInputStreamToFile(uploadFile.getInputStream(), file);
        // 如果该目录不存在则直接创建新的目录,并切换到该目录
        try {
            channelSftp.cd(path);
        } catch (Exception e) {
            channelSftp.mkdir(path);
            channelSftp.cd(path);
        }
        channelSftp.put(new FileInputStream(file), newName);
        // 操作完成,删除刚刚生成的文件
        file.delete();
    }
}
6 编写控制器
package com.example.demo.controller;

import com.example.demo.service.FileService;
import lombok.extern.slf4j.Slf4j;
import org.springframework.beans.factory.annotation.Autowired;
import org.springframework.web.bind.annotation.*;
import org.springframework.web.multipart.MultipartFile;

import javax.servlet.http.HttpServletResponse;
import java.io.OutputStream;

@RestController
@Slf4j
public class FileController {


    @Autowired
    private FileService fileService;

    @GetMapping("/download")
    public void download(@RequestParam(required = true) String file, @RequestParam(required = true)String path,
                         HttpServletResponse response){
        //设置响应信息
        response.setContentType("application/octet-stream");
        // filename为文件下载后保存的文件名,可自行设置,但是注意文件名后缀,要和原来的保持一致
        response.setHeader("Content-Disposition", "attachment; filename=" + file);
        OutputStream out = null;
        try {
            out = response.getOutputStream();
            // 输出到客户端
            out.write(fileService.download(path, file));
        } catch (Exception e) {
            log.error("",e);
        }
    }

    /**
     * 上传文件到服务器
     * @param file 要上传到服务器的文件,注意此处的path必须在结尾添加 /
     * @param path 上传到服务器的路径
     */
    @PostMapping("/upload")
    public void upload(@RequestBody(required = true) MultipartFile file, @RequestParam(required = true) String path){
        try {
            fileService.upload(file, path);
        } catch (Exception e) {
            log.error("",e);
        }
    }
}
7 测试
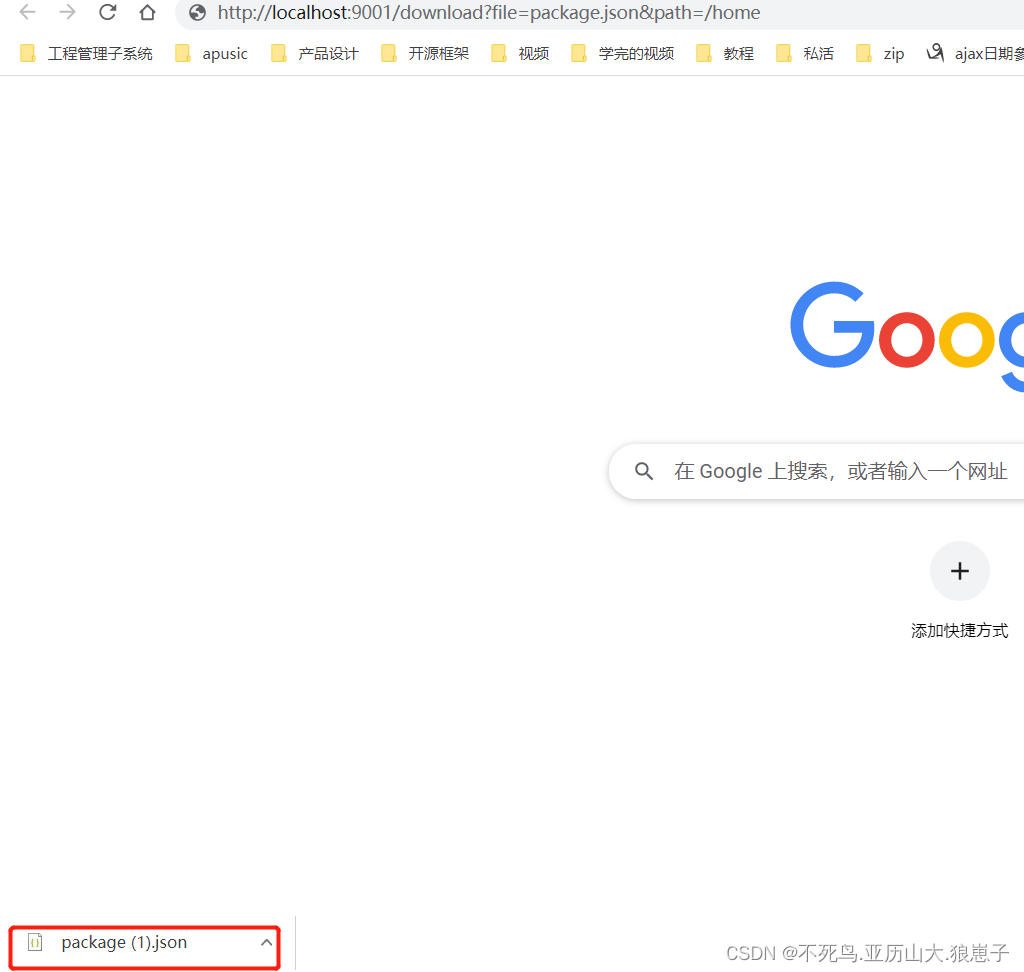
7.1 文件下载
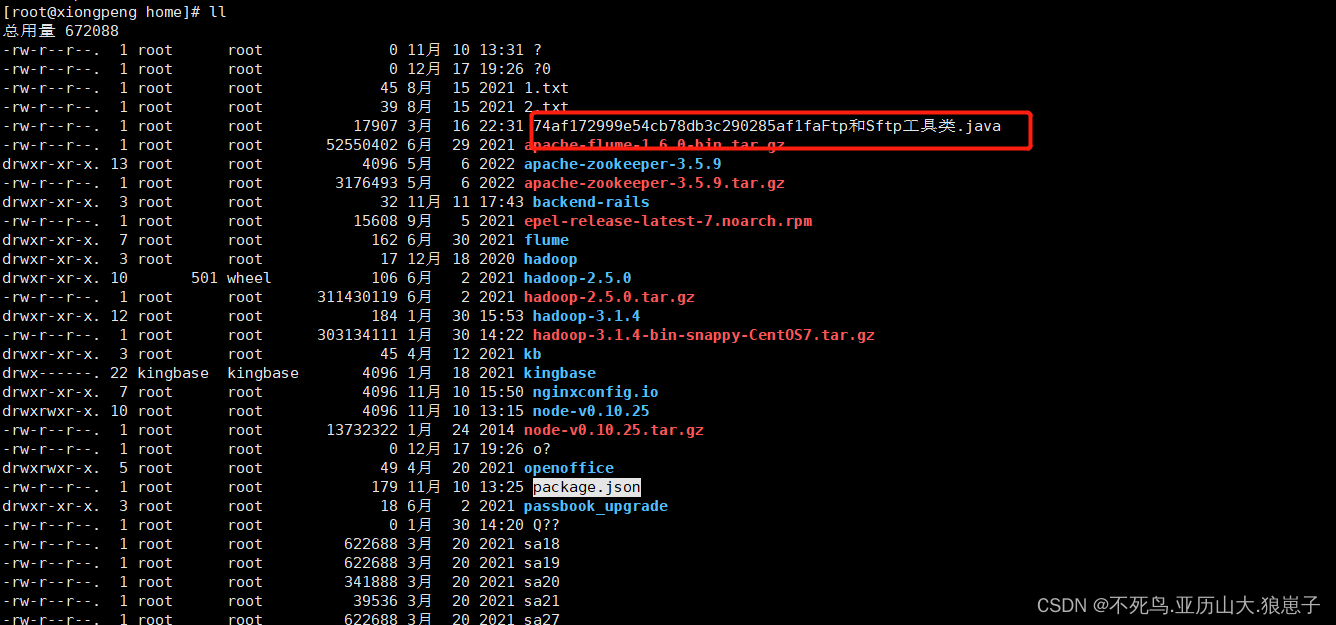
下载home目录下的package.json文件
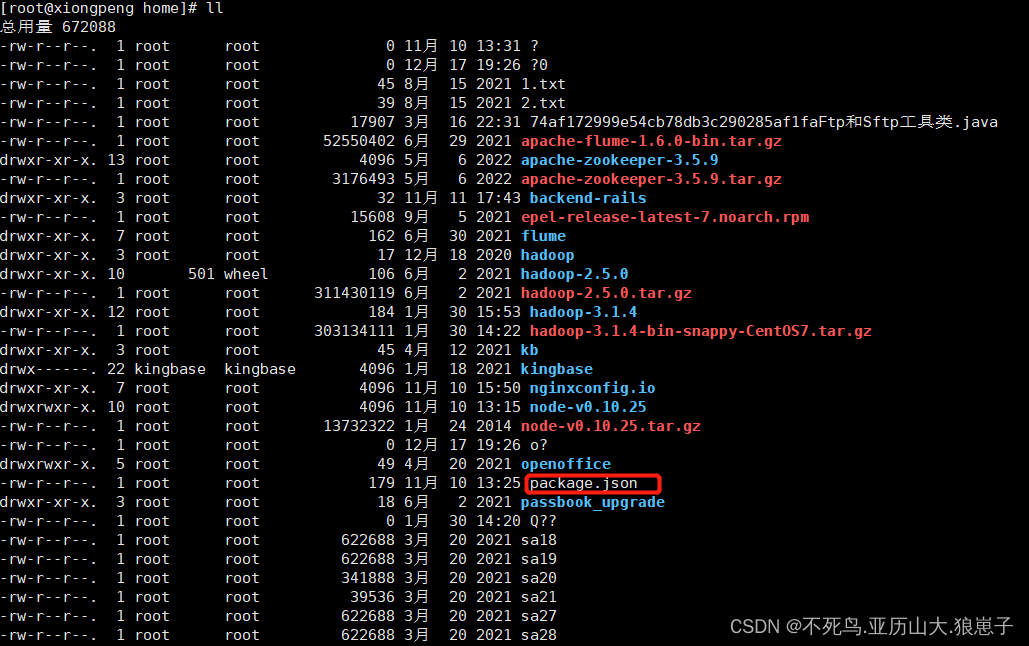
访问端口如下:
http://localhost:9001/download?file=package.json&path=/home
7.2 上传文件
端口参数为file文件和path上传的文件路径
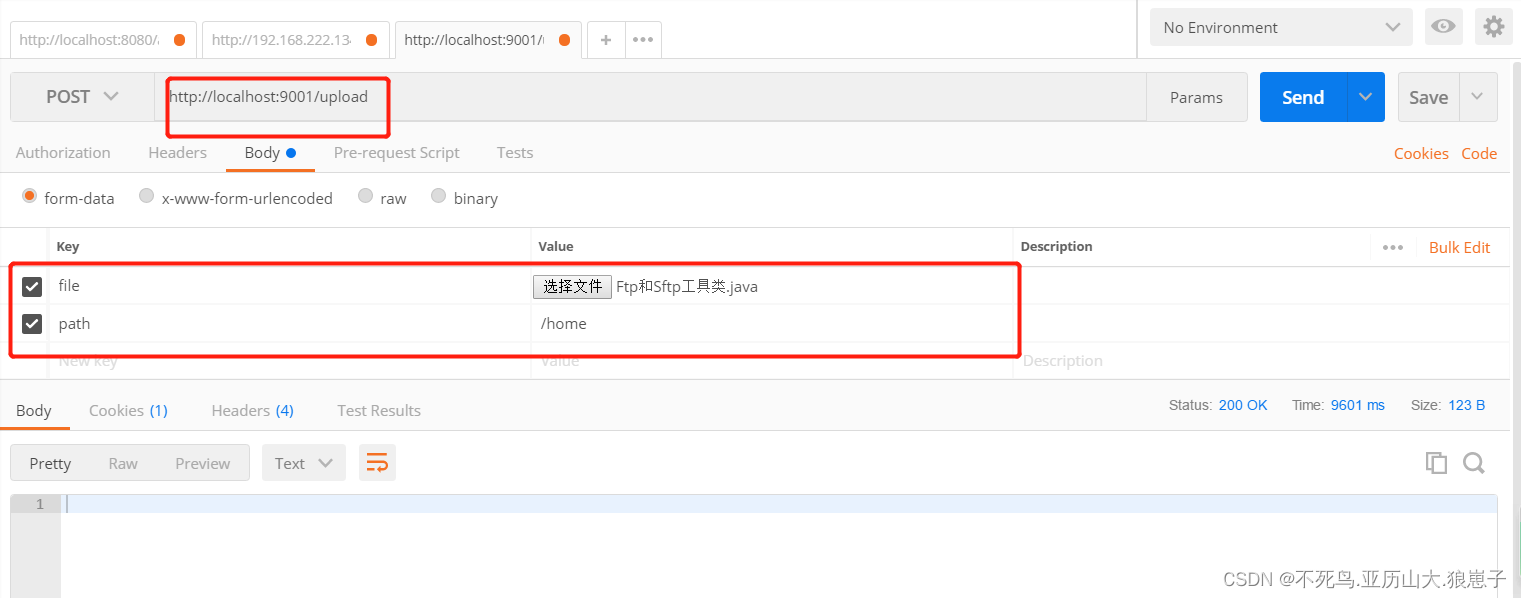
查看目录返现上传成功(注意:文件名不要有中文)