一.将视频转换为gif
采用opencv读取gif图并使用imageio转换
import cv2
import imageio


def read_video(video_path):
	video_cap = cv2.VideoCapture(video_path)
	frame_count = 0
	all_frames = []
	while True:
		ret, frame = video_cap.read()
		if ret is False:
			break
		frame = frame[..., ::-1]   # opencv读取BGR,转成RGB
		all_frames.append(frame)
		cv2.imshow('result', frame)
		cv2.waitKey(1)
		frame_count += 1
		print(frame_count)
	video_cap.release()
	cv2.destroyAllWindows()
	print(f'END\n{len(all_frames)}')

	return all_frames


def frame_to_gif(frame_list):
	gif = imageio.mimsave(f'./{file_name[:-4]}.gif', frame_list, 'GIF', duration=0.001)
	# duration 为图片间隔


if __name__ == "__main__":
	file_name = 'st.mp4'
	frame_list = read_video(file_name)
	frame_to_gif(frame_list)
执行效果:


二.读取gif,即获取每帧
1.3dsmax建模(非必要操作)
以<<时空的未来>>这本书的光锥封面为例
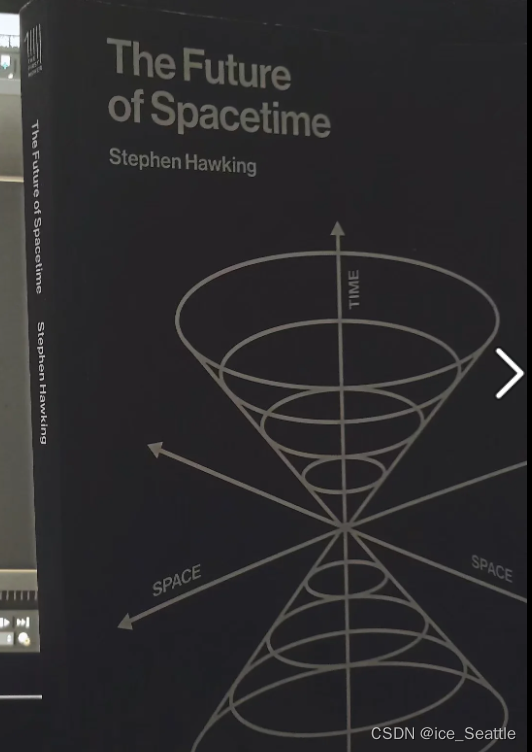
绘制大小,拉伸,形变保存为FBX格式

2.使用3D查看器查看,设置动态效果,录下视频(有视频就行)
或者在unity3d中写入脚本,添加shader,如:(与gif无关)
using System.Collections;
using System.Collections.Generic;
using UnityEngine;

public class A5 : MonoBehaviour {
	float radian=0;
	float perRadian=0.02f;
	float radius =0.4f;
	Vector3 oldPos;
	float rotateSpeed =22f;
	void Start(){
		oldPos=transform.position;
	}
    void Update () {
		 radian+=perRadian;
		 float dy =Mathf.Cos(radian)*radius;
		 transform.position=oldPos+new Vector3(0,dy,0);
		transform.rotation = Quaternion.Euler(0f,rotateSpeed*Time.time,0);
	}
}
这里采取3D查看器录制的视频(正文开始)
执行以下代码:
from PIL import Image
from PIL import ImageSequence
img = Image.open("D:/sc.gif")
i = 0
for frame in ImageSequence.Iterator(img):
    frame.save("frame%d.png" % i)
    i += 1
运行效果:

三.合成gif的代码
其中n为遍历i的次数,而i为图片序号,根据具体情况自行设置
import imageio

all_frames = []
n = 148
for i in range(0, n):
    all_frames.append(imageio.imread("frame"+str(i)+".png"))   # 批量读取图片
imageio.mimsave(f'./ok.gif', all_frames, fps=5)
print('转换完成')
1.若文件名是非序列化的,可以先改名,在文件夹内新建文本文件
DIR *.*/ B>提取name.TXT
goto 这是注释
复制提取的内容到excel中
在B列输入修改后的名称,在C1输入公式: ="REN "&A1" "&B1
下拉,然后复制到修改的文件夹中的txt内,保存改为.BAT
若是想批量修改文件后缀:
ren *.txt *.doc
ren *.doc *.xlsx*
ren *.* *.xlsx*
....
运行效果:
END