Hardhat是一个编译、部署、测试和调试以太坊应用的开发环境。
Hardhat内置了Hardhat网络,这是一个专为开发设计的本地以太坊网络。主要功能有Solidity调试,跟踪调用堆栈、 console.log() 和交易失败时的明确错误信息提示等
安装
# 创建项目目录
mkdir hardhat-tutorial
cd hardhat-tutorial

# 初始化node.js环境
npm init

# 安装 hardhat
npm install --save-dev hardhat
npx hardhat
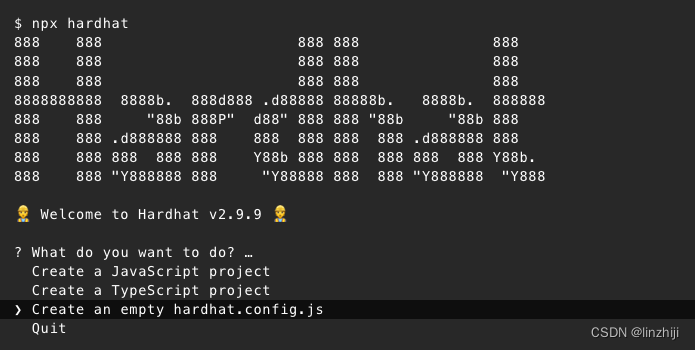
编写合约代码
编写代码,注意目录,文件名
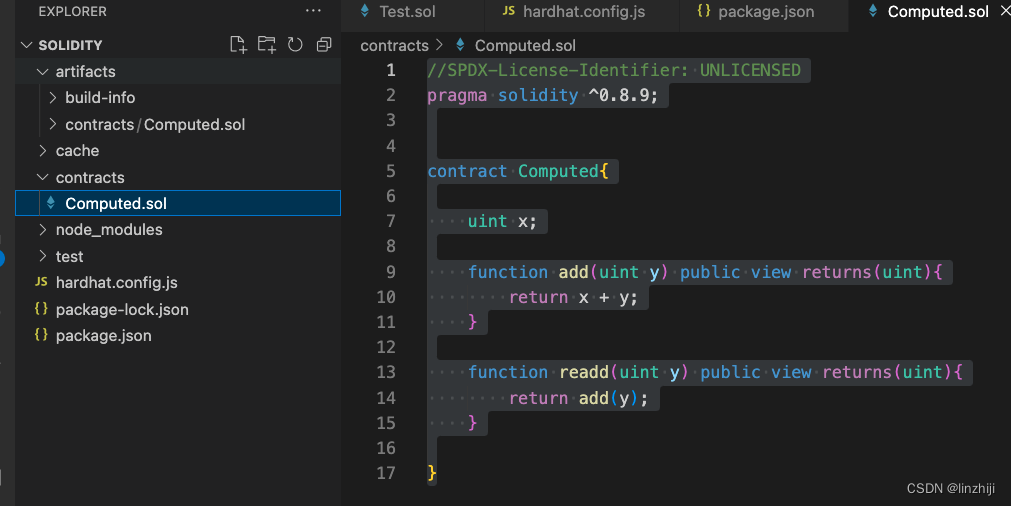
//SPDX-License-Identifier: UNLICENSED
pragma solidity ^0.8.9;


contract Computed{

    uint x;

    function add(uint y) public view returns(uint){
        return x + y;
    }

    function readd(uint y) public view returns(uint){
        return add(y);
    }

}
编译
npx hardhat compile编译成功后

测试
# 安装工具
npm install --save-dev @nomicfoundation/hardhat-toolbox
创建测试文件 computed.js,注意文件夹和文件名

const { expect } = require("chai");


describe("Computed contract", function () {
  it("Deployment Computed compute result", async function () {

    // ether.js里getSigners 表示账户
    const [owner] = await ethers.getSigners();

    // ether.js里getContractFactory 是部署合约的抽象类
    const Computed = await ethers.getContractFactory("Computed");

    // 部署合约
    const hardhatComputed = await Computed.deploy();

    // 调用合约函数
    const result = await hardhatComputed.add(2);


    expect( result == 2  );
  });
});
#执行测试
npx hardhat test
debug
// Computed.sol 里添加

pragma solidity ^0.8.9;

//添加内容
import "hardhat/console.sol";

contract Computed{

    uint x;

    function add(uint y) public view returns(uint){
        // 打印日志
        console.log(
            "start add",
            msg.sender,
            x,
            y
        );
        return x + y;
    }

    function readd(uint y) public view returns(uint){
        return add(y);
    }
}
执行结果

部署测试网、主网
新建目录,文件 deploy.js
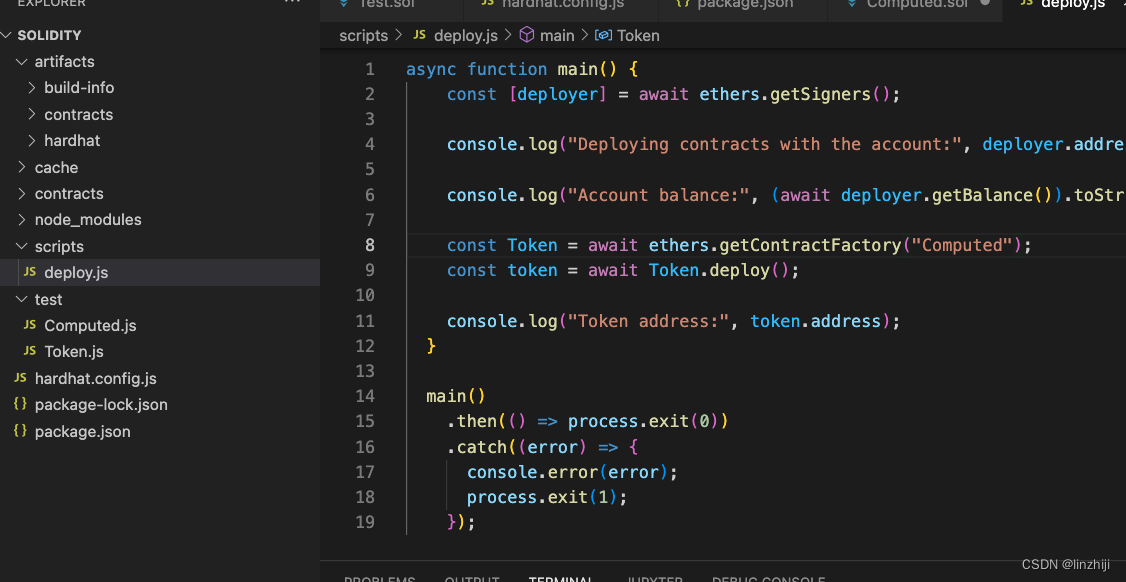
async function main() {
    const [deployer] = await ethers.getSigners();

    console.log("Deploying contracts with the account:", deployer.address);

    console.log("Account balance:", (await deployer.getBalance()).toString());

    const Token = await ethers.getContractFactory("Computed");
    const token = await Token.deploy();

    console.log("Token address:", token.address);
  }

  main()
    .then(() => process.exit(0))
    .catch((error) => {
      console.error(error);
      process.exit(1);
    });
修改 hardhat.config.js
require("@nomicfoundation/hardhat-toolbox");

// 到  https://www.alchemyapi.io, 创建dAPP,找到key , 替换 KEY
const ALCHEMY_API_KEY = "KEY";

// 替换钱包私钥,记得这是Goerli测试网
// 打开小狐狸 Metamask 钱包
// 打开 Account Details > 导出 Private Key
// 注意: 不要往测试网里转主网(真实账号)的eth
const GOERLI_PRIVATE_KEY = "YOUR GOERLI PRIVATE KEY";

module.exports = {
  solidity: "0.8.9",
  networks: {
    goerli: {
      url: `https://eth-goerli.alchemyapi.io/v2/${ALCHEMY_API_KEY}`,
      accounts: [GOERLI_PRIVATE_KEY]
    }
  }
};
以下2个可以 Goerli 水龙头可以领取 测试网的eth
部署:
npx hardhat run scripts/deploy.js --network Goerli

dAPP
官网的solidity代码是Token,项目地址:
GitHub - NomicFoundation/hardhat-boilerplate
git clone https://github.com/NomicFoundation/hardhat-boilerplate

cd hardhat-boilerplate
npm install
npx hardhat node
这里的 account 和 private key 都是测试用的钱包公钥私钥
checkout 代码后,安装依赖。 npx hardhat node 是建立本地Hardhat Network,这样小狐狸钱包就能访问了
接着部署合约
npx hardhat --network localhost run scripts/deploy.js
运行前端代码
cd frontend
npm install
npm run start
打开 http://127.0.0.1:3000/ 访问

添加metamask网络

这样点击connect wallet

可以看到当前wallet的余额是0,无法调用转账功能。开水龙头给你的钱包来点东西(send 100 MHT and 1 ETH to your address)
npx hardhat --network localhost faucet <your address>

查看Hardhat命令
npx hardhat hardhat.config.js 添加
require("@nomicfoundation/hardhat-toolbox");
