首先两张纹理
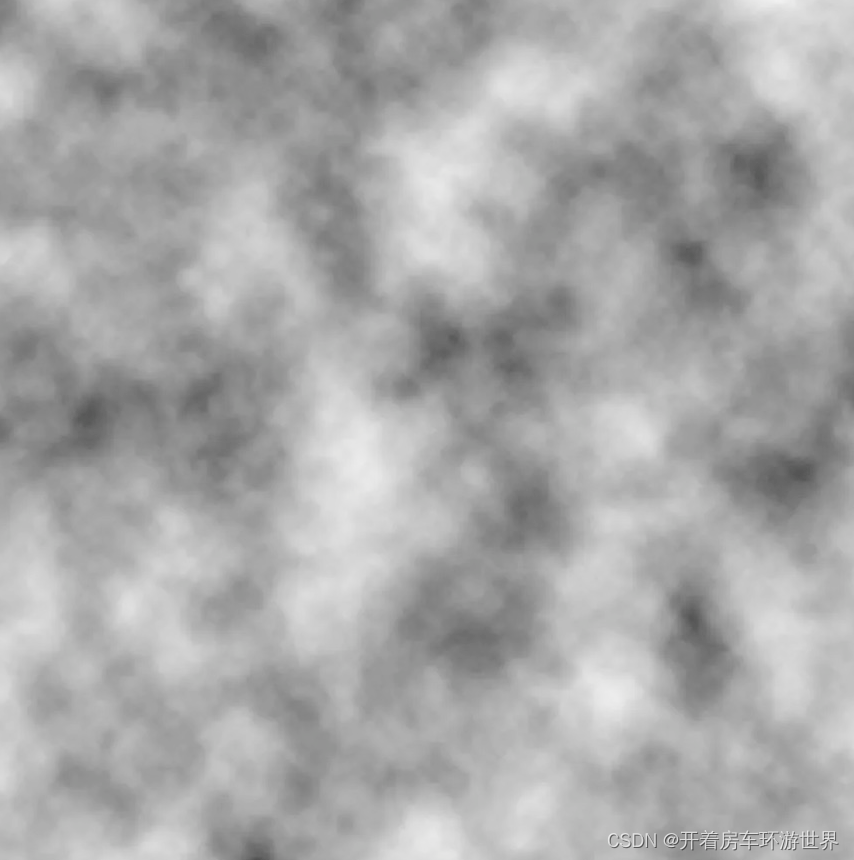
这个代表溶解的范围

这个图代表融化的边缘
切记 右边是黑色的
因为黑色加上任何颜色还等于原来的颜色
tex1D 方法取的是中间的
Shader "Unlit/rongjie"
{


    Properties
    {


        _MainTex ("Texture", 2D) = "white" {

    }
        _MainTex2 ("Texture2", 2D) = "white" {

    }
        _RampColor("RampColor",Color) = (0,0,0,0)
        _Glossiness ("Smoothness", Range(0,1)) = 0.5
        _fanwei ("fanwei", Range(0,1)) = 0.1 //控制边的宽度
        _D1 ("AAColor",2D) = "white" {

    }
    }
    SubShader
    {


        Tags {

     "RenderType"="Opaque" }
        LOD 100

        Pass
        {


            CGPROGRAM
            #pragma vertex vert
            #pragma fragment frag
            // make fog work
            #pragma multi_compile_fog

            #include "UnityCG.cginc"

            struct appdata
            {


                float4 vertex : POSITION;
                float2 uv : TEXCOORD0;
            };

            struct v2f
            {


                float2 uv : TEXCOORD0;
                UNITY_FOG_COORDS(1)
                float4 vertex : SV_POSITION;
            };

            sampler2D _MainTex;
            sampler2D _MainTex2;
            float4 _MainTex_ST;
            fixed4 _RampColor;
            float _Glossiness;
            float _fanwei;
            sampler1D _D1;

            v2f vert (appdata v)
            {


                v2f o;
                o.vertex = UnityObjectToClipPos(v.vertex);
                o.uv = TRANSFORM_TEX(v.uv, _MainTex);
                UNITY_TRANSFER_FOG(o,o.vertex);
                return o;
            }

            fixed4 frag (v2f i) : SV_Target
            {


                fixed4 col1 = tex2D(_MainTex2, i.uv);
                // sample the texture
                fixed4 mainColor = tex2D(_MainTex, i.uv);
                // apply fog
                // UNITY_APPLY_FOG(i.fogCoord, col);
                clip( col1 - _Glossiness);
                fixed offset = col1 - _Glossiness;
                float line1 = _fanwei;
                //上面的值 小于0的都被弃用了
                //取值 0 - 0.1 大于0.1的都抛弃 边只要0.1宽
                float fangda = 1 / line1;
                float a = saturate( offset * fangda );
                //使用 saturate 取得 0到目标范围内的值 超过的就舍弃 所以要放大
                float b = a / fangda; //还原回去
                float c = b / line1;//uv坐标 总长度就是设置的line
                fixed4 rampColor1 = tex1D( _D1, c);
                mainColor += rampColor1;
                return mainColor;
            }
            ENDCG
        }
    }
}
fixed offset =  col1 -  _Glossiness;
if(  offset > 0.6 )
 if里直接减不行 需要转换为 fixed 不然if不认
原理非常简单
第一张纹理图里有一些黑白色
用他减去你设置的值就可以让图按区块儿消失
但是需要一个渐变的边
所以就用第二张图
黑白色距离目标值的距离
就是第二张图里的uv值了
最后实现效果
