安装gcc
首次安装先查看是否安装了gcc因为后面需要用到它来编译
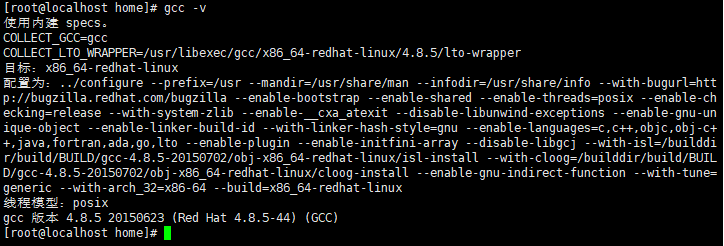
查看gcc-v

未安装先安装gcc
yum -y install gcc tcl
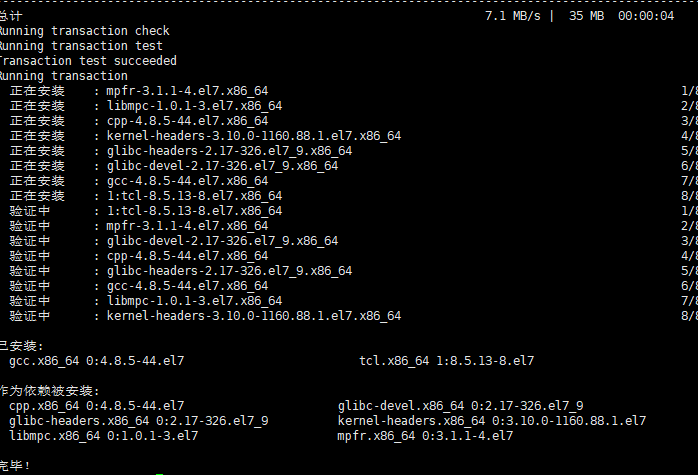
安装成功再次查看
安装成功,如果你要装的redis是5.3版本以上的就需要升级gcc,因为我这里安装的是redis-6.2.6,所以这里需要升级到gcc 9.3。命令如下(如果安装的redis版本不是5.3版本以上的可以忽略此操作)
yum -yinstall centos-release-scl
yum -yinstall devtoolset-9-gcc devtoolset-9-gcc-c++ devtoolset-9-binutils
//scl只是临时升级退出以后会自动恢复的
scl enable devtoolset-9 bash
执行完后在执行长期使用即可
echo-e"\nsource /opt/rh/devtoolset-9/enable">>/etc/profile
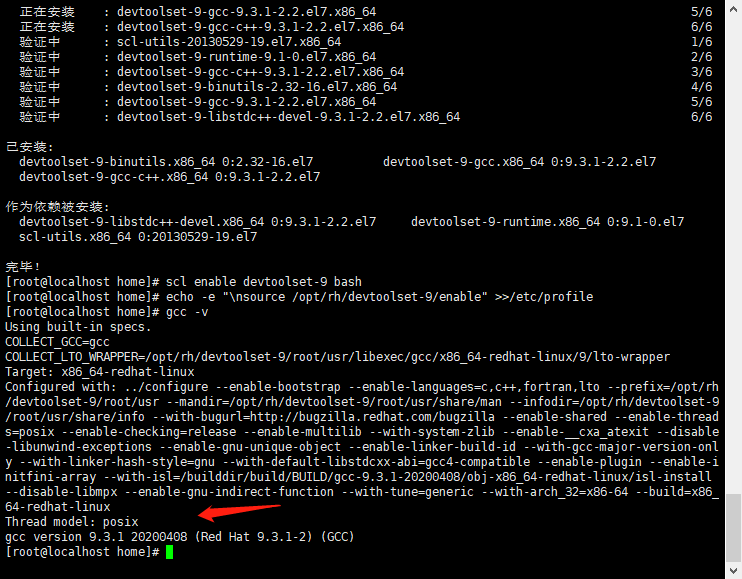
执行完以后可以看出就已经升级成功了
好到此为止gcc搞定以后可以开始安装redis了
安装redis
这里提供两种方法:
(1)用wegt直接拉取 wget http://download.redis.io/releases/redis-6.2.6.tar.gz
(2)直接复制地址到百度上搜索会直接下载,下载成功后上传到linux需要安装的目录下即可:
http://download.redis.io/releases/redis-6.2.6.tar.gz
(1)输入后会直接下载存入本机的目录下

(2)通过下载的Xshhell的xftp点击图标上

(3)
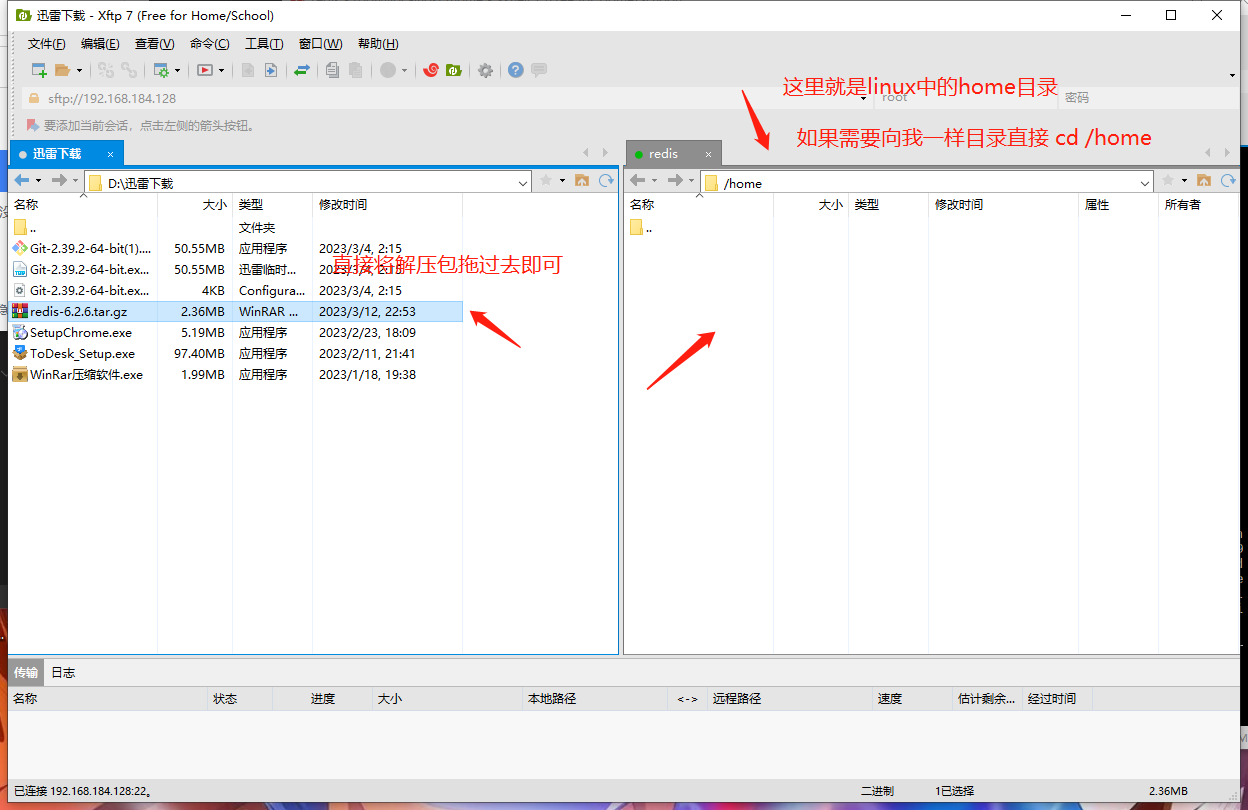
查看已经将文件拉进来了

解压安装包
[root@localhost home]# tar -zxvf redis-6.2.6.tar.gz
解压成功后查看文件,多出一个文件

进入安装包
[root@localhost home]# cd redis-6.2.6
编译和安装,这里需要点时间
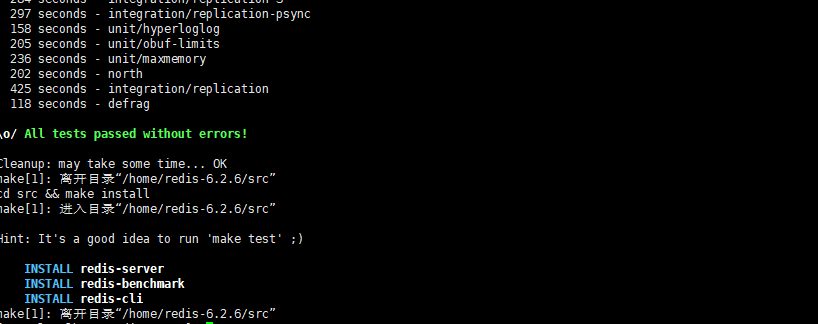
make && make test && make install
成功如下:
如果出现:server.c:5171:176: 错误:‘struct redisServer’没有名为‘maxmemory’的成员
那就是因为gcc版本过低,升级到gcc9.3后重新编译即可
编译出错时,清出编译生成的文件make distclean# 卸载make uninstall
在重新编译即可
安装成功后建议将服务端脚本和客户端脚本移到自己新建的文件下方便下次使用
在安装目录下新建bin目录
[root@localhost redis-6.2.6]#mkdir bin
root@localhost redis-6.2.6]#ll
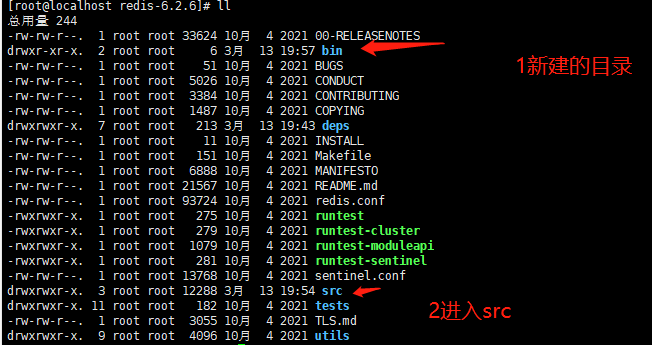
进入src目录下
[root@localhost redis-6.2.6]# cd src/
# 将 redis-server 和 redis-cli 移动到 bin 目录中
[root@localhost src]# cp redis-server ../bin/
[root@localhost src]# cp redis-cli ../bin/
#移动完成后退回上一级目录
[root@localhost src]# cd ..
#此时查看当前目录的所有文件
[root@localhost redis-6.2.6]# ls

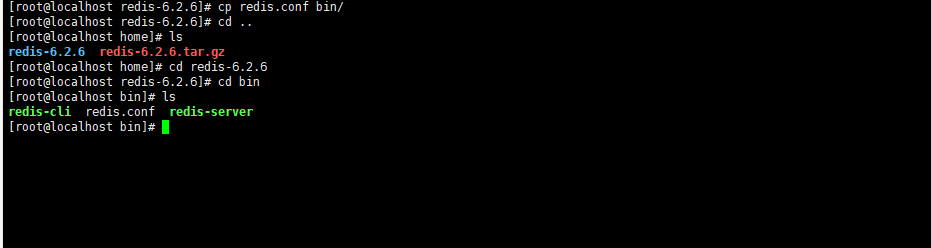
# 将 redis 的配置文件 redis.conf 移动到 bin 目录下
[root@localhost redis-6.2.6]# cp redis.conf bin/
[root@localhost redis-6.2.6]# cd bin/
可以看到此时bin目录下的文件
现在修改配置文件redis.conf
注:如果未安装vim直接yum -y install vim
[root@localhost bin]# vim redis.conf
vim编辑使用如下:
进入vim模式后 按i为插入模式也就是可以输入修改的模式,按Esc退出当前模式,如果要保存先按:号在输入wq即可,退出下面也给出了命令
保存命令
按ESC键 跳到命令模式,然后:
:w 保存文件但不退出vi
:w file 将修改另外保存到file中,不退出vi
:w! 强制保存,不推出vi
:wq 保存文件并退出vi
:wq! 强制保存文件,并退出vi
:q 不保存文件,退出vi
:q! 不保存文件,强制退出vi
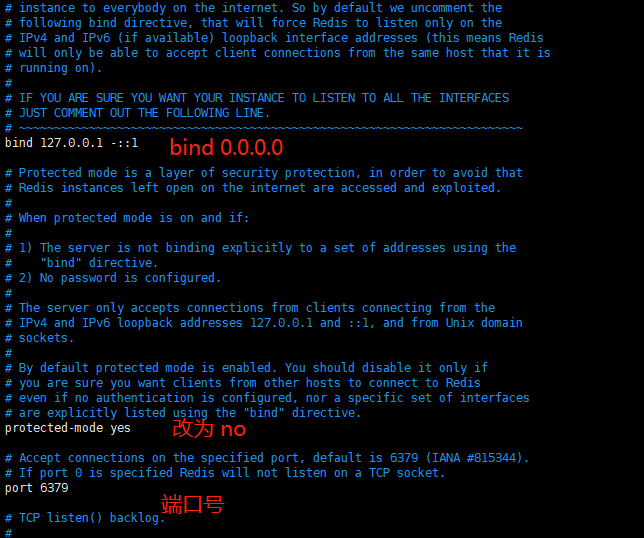
:e! 放弃所有修改,从上次保存文件开始再编辑设置可以访问redis服务的IP,0.0.0.0代表所有
bind 0.0.0.0
设置是否可以远程访问protected-mode yes改为no
protected-mode no
设置redis的访问端口号默认6379
prot 6379
设置访问redis密码
requirepss 123456
可以设置 redis-server 以守护线程方式启动,也可以不启动因为在启动客户端的时候会暂用整个页面得重新打开页面
所以看你的选择
daemonize yes
将注释去掉记得哦#号

修改好配置文件就就已经搞定了现在开始启动客户端
[root@localhost bin]# redis-server redis.conf
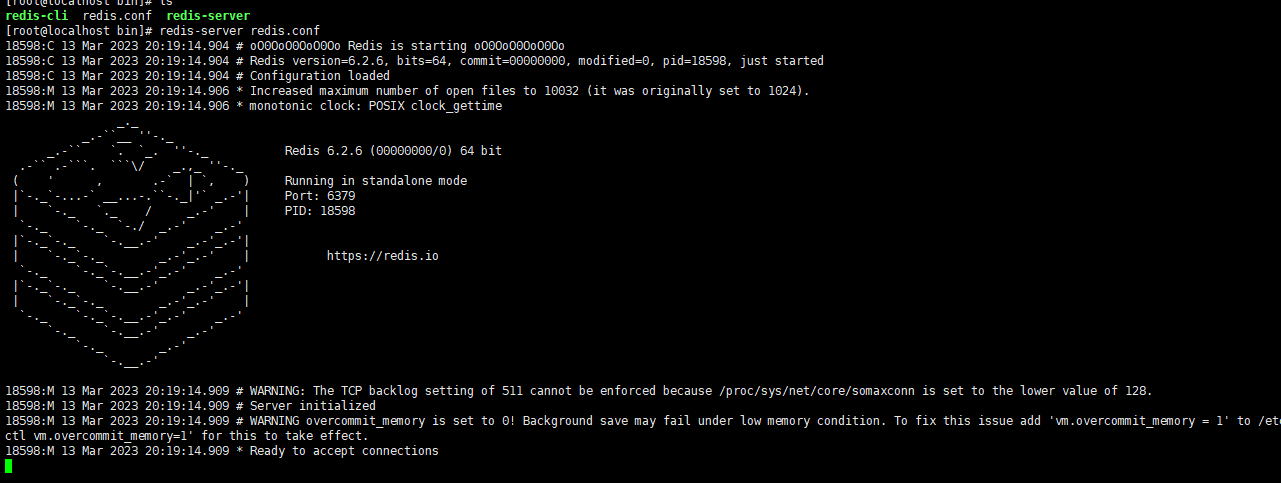
开启成功现在整个页面被占用了,如果不像出现这个界面可以将redis.conf中的daemonize yes改为yes
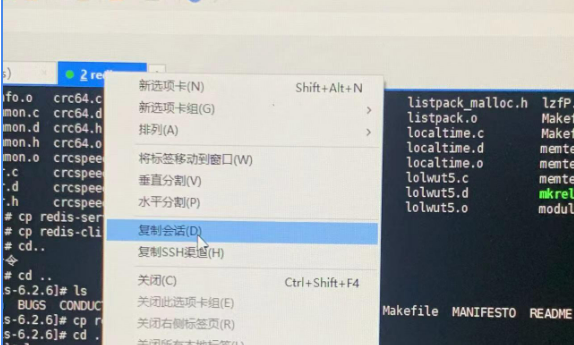
如果很难找的话在不是插入模式下按下/输入想找的配置回车搜索即可如果被暂用了页面的话可以右键复制当前会话即可如图
现在查看redis进程是否启动
[root@localhost bin]# ps -ef | grep redis

目前为止可以直接启动redisle
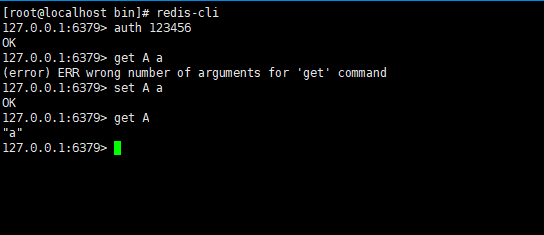
[root@localhost bin]# redis-cli
因为我们设置了密码需要密码验证
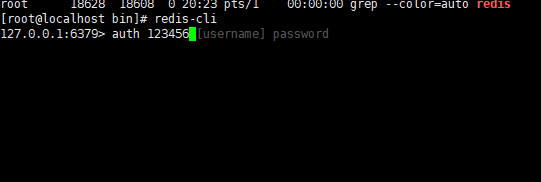
现在来验证
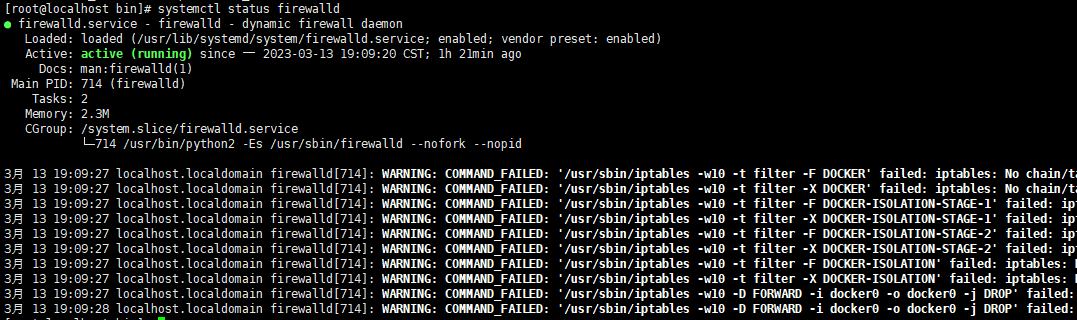
开始远程连接:先查看防火墙的状态 命令为:
[root@localhost bin]# systemctl status firewalld
开启6379因为目前是被限制的命令如下
[root@localhost bin]# firewall-cmd --permanent --zone=public --add-port=6379/tcp

重启firewalld服务,命令为:systemctl restart firewalld
开始连接
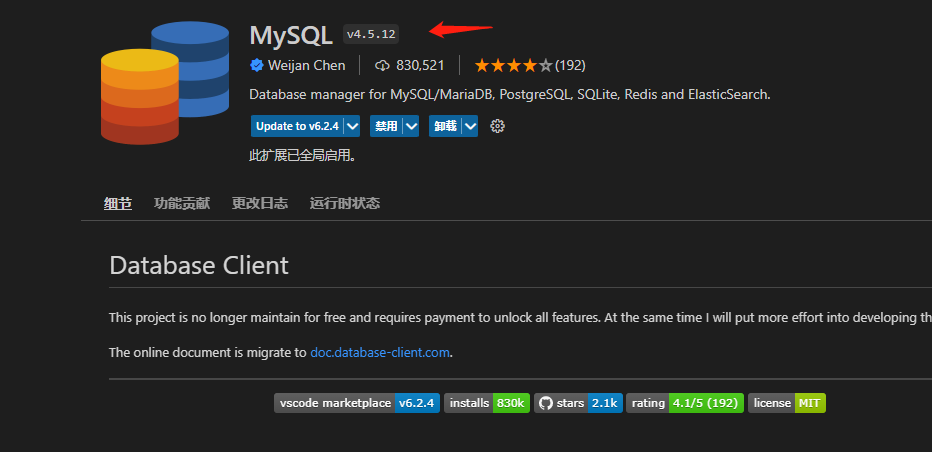
现在给大家推荐一个vsCode的插件可以直接连接redis
记住一定要装4.5.12版本别的版本收费!!!
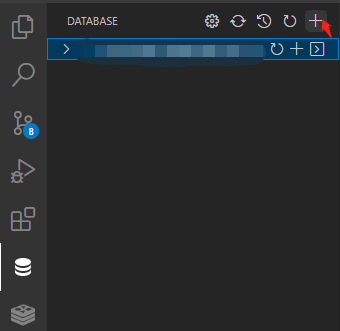
新建一个连接
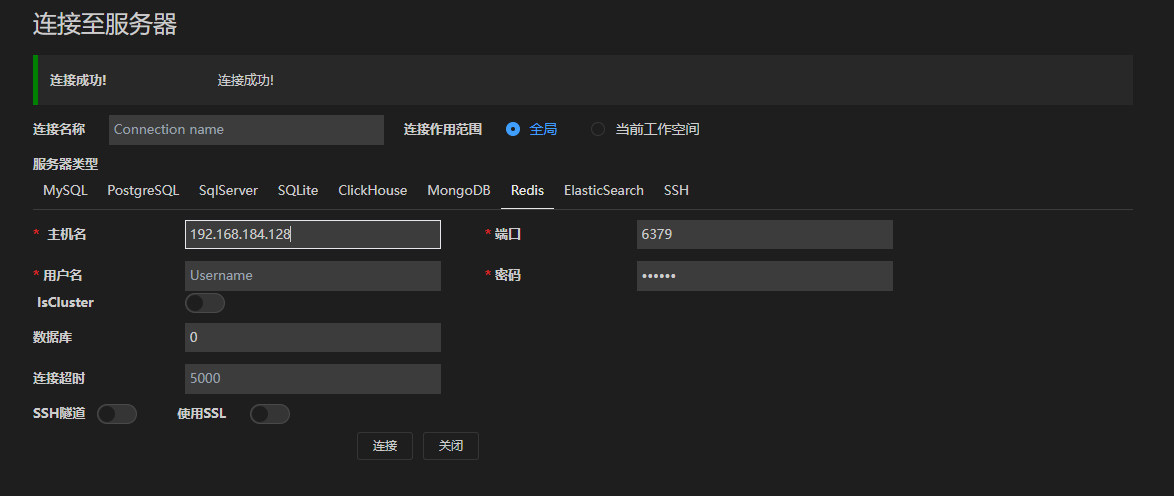
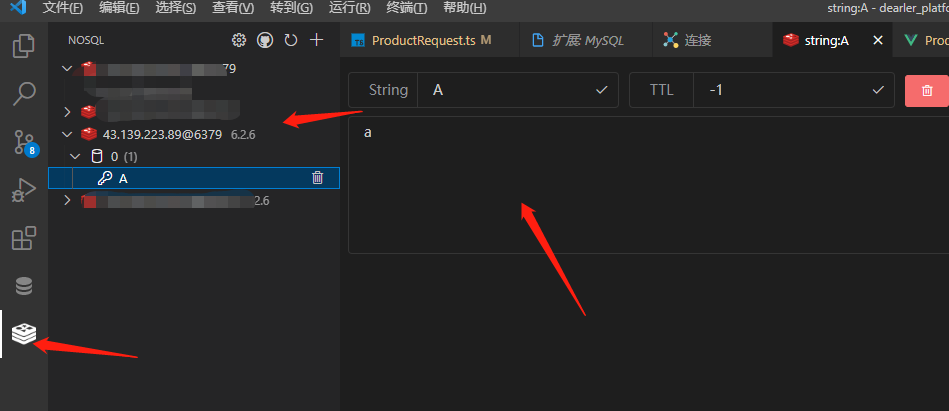
完成可以开始使用咯!!!
如果对你有用请点个赞!!!